Once the modeler who starts in the world of ship modeling has prepared the workshop and has supplied the necessary tools for modeling according to the skill level, the ship model lover can begin to know everything about the ship hull construction of the boat model thanks to this post.
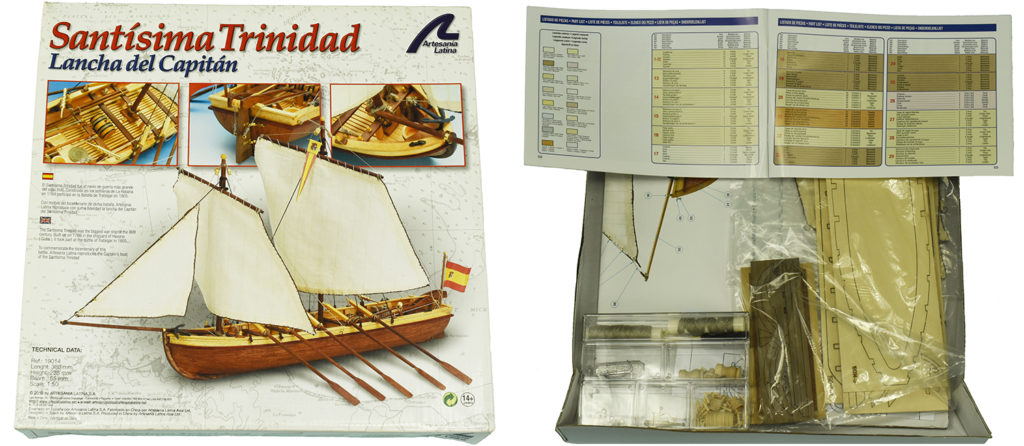
On this way, the steps that will be undertaken to carry out this purpose are divided as follows. Firstly, we emphasize that it is necessary to check the contents of the modeling kit, so that the modeler becomes familiar with the shapes of the different parts. Also, as most of these kits, in this case ship modeling, have a list of parts, we recommend that you make sure that all parts are present. Most of our references have digital instructions on PDF Format. You can free download them in the product sheet of Artesania Latina official website. No printed instructions are included. Some of them can be assembled by watching video tutorials.
SHIP HULL CONSTRUCTION: KEEL AND FRAMES OF THE SHIP MODEL
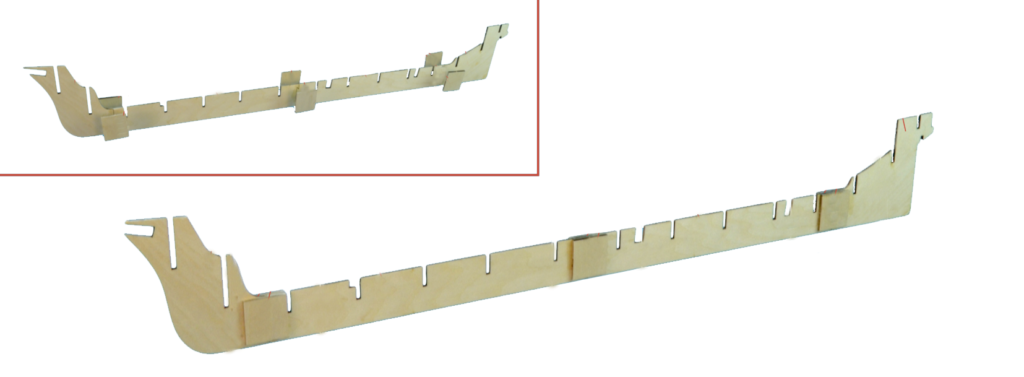
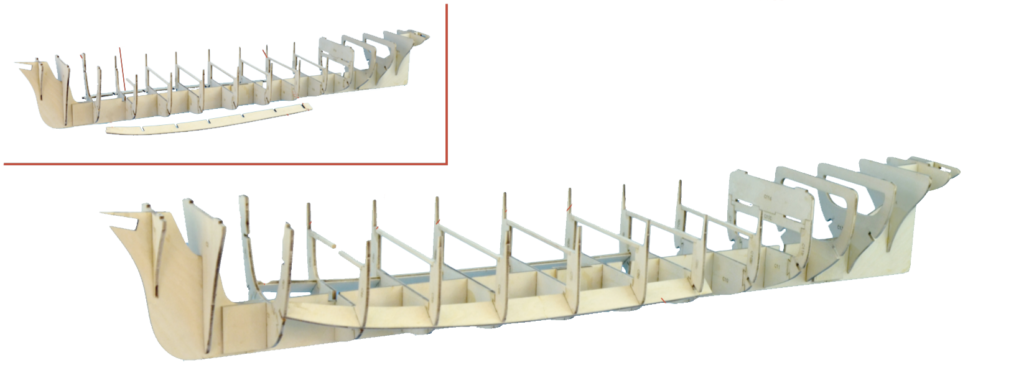
The next action would be the assembly of the keel. It is the fundamental area of the ship’s model structure. It goes from the bow to the stern of the ship longitudinally on the exact center of the model, since everything will be built from this part.
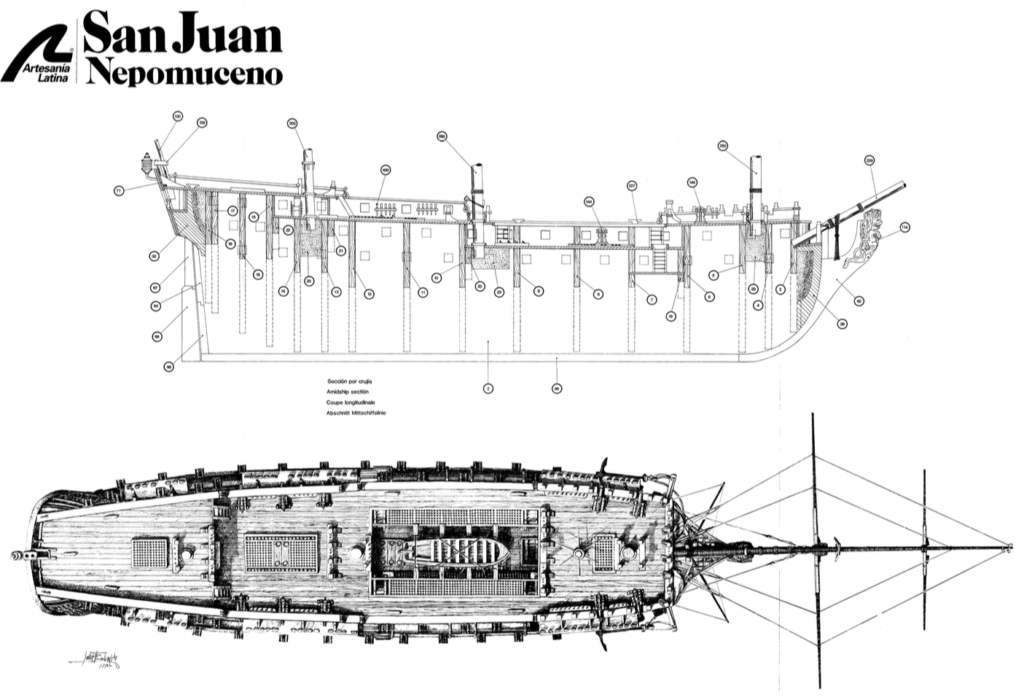
Remember to take the drawings that show the hull assembly and hang them in front of you, at your workshop. On this way, you can quickly and clearly see how to assemble each part.
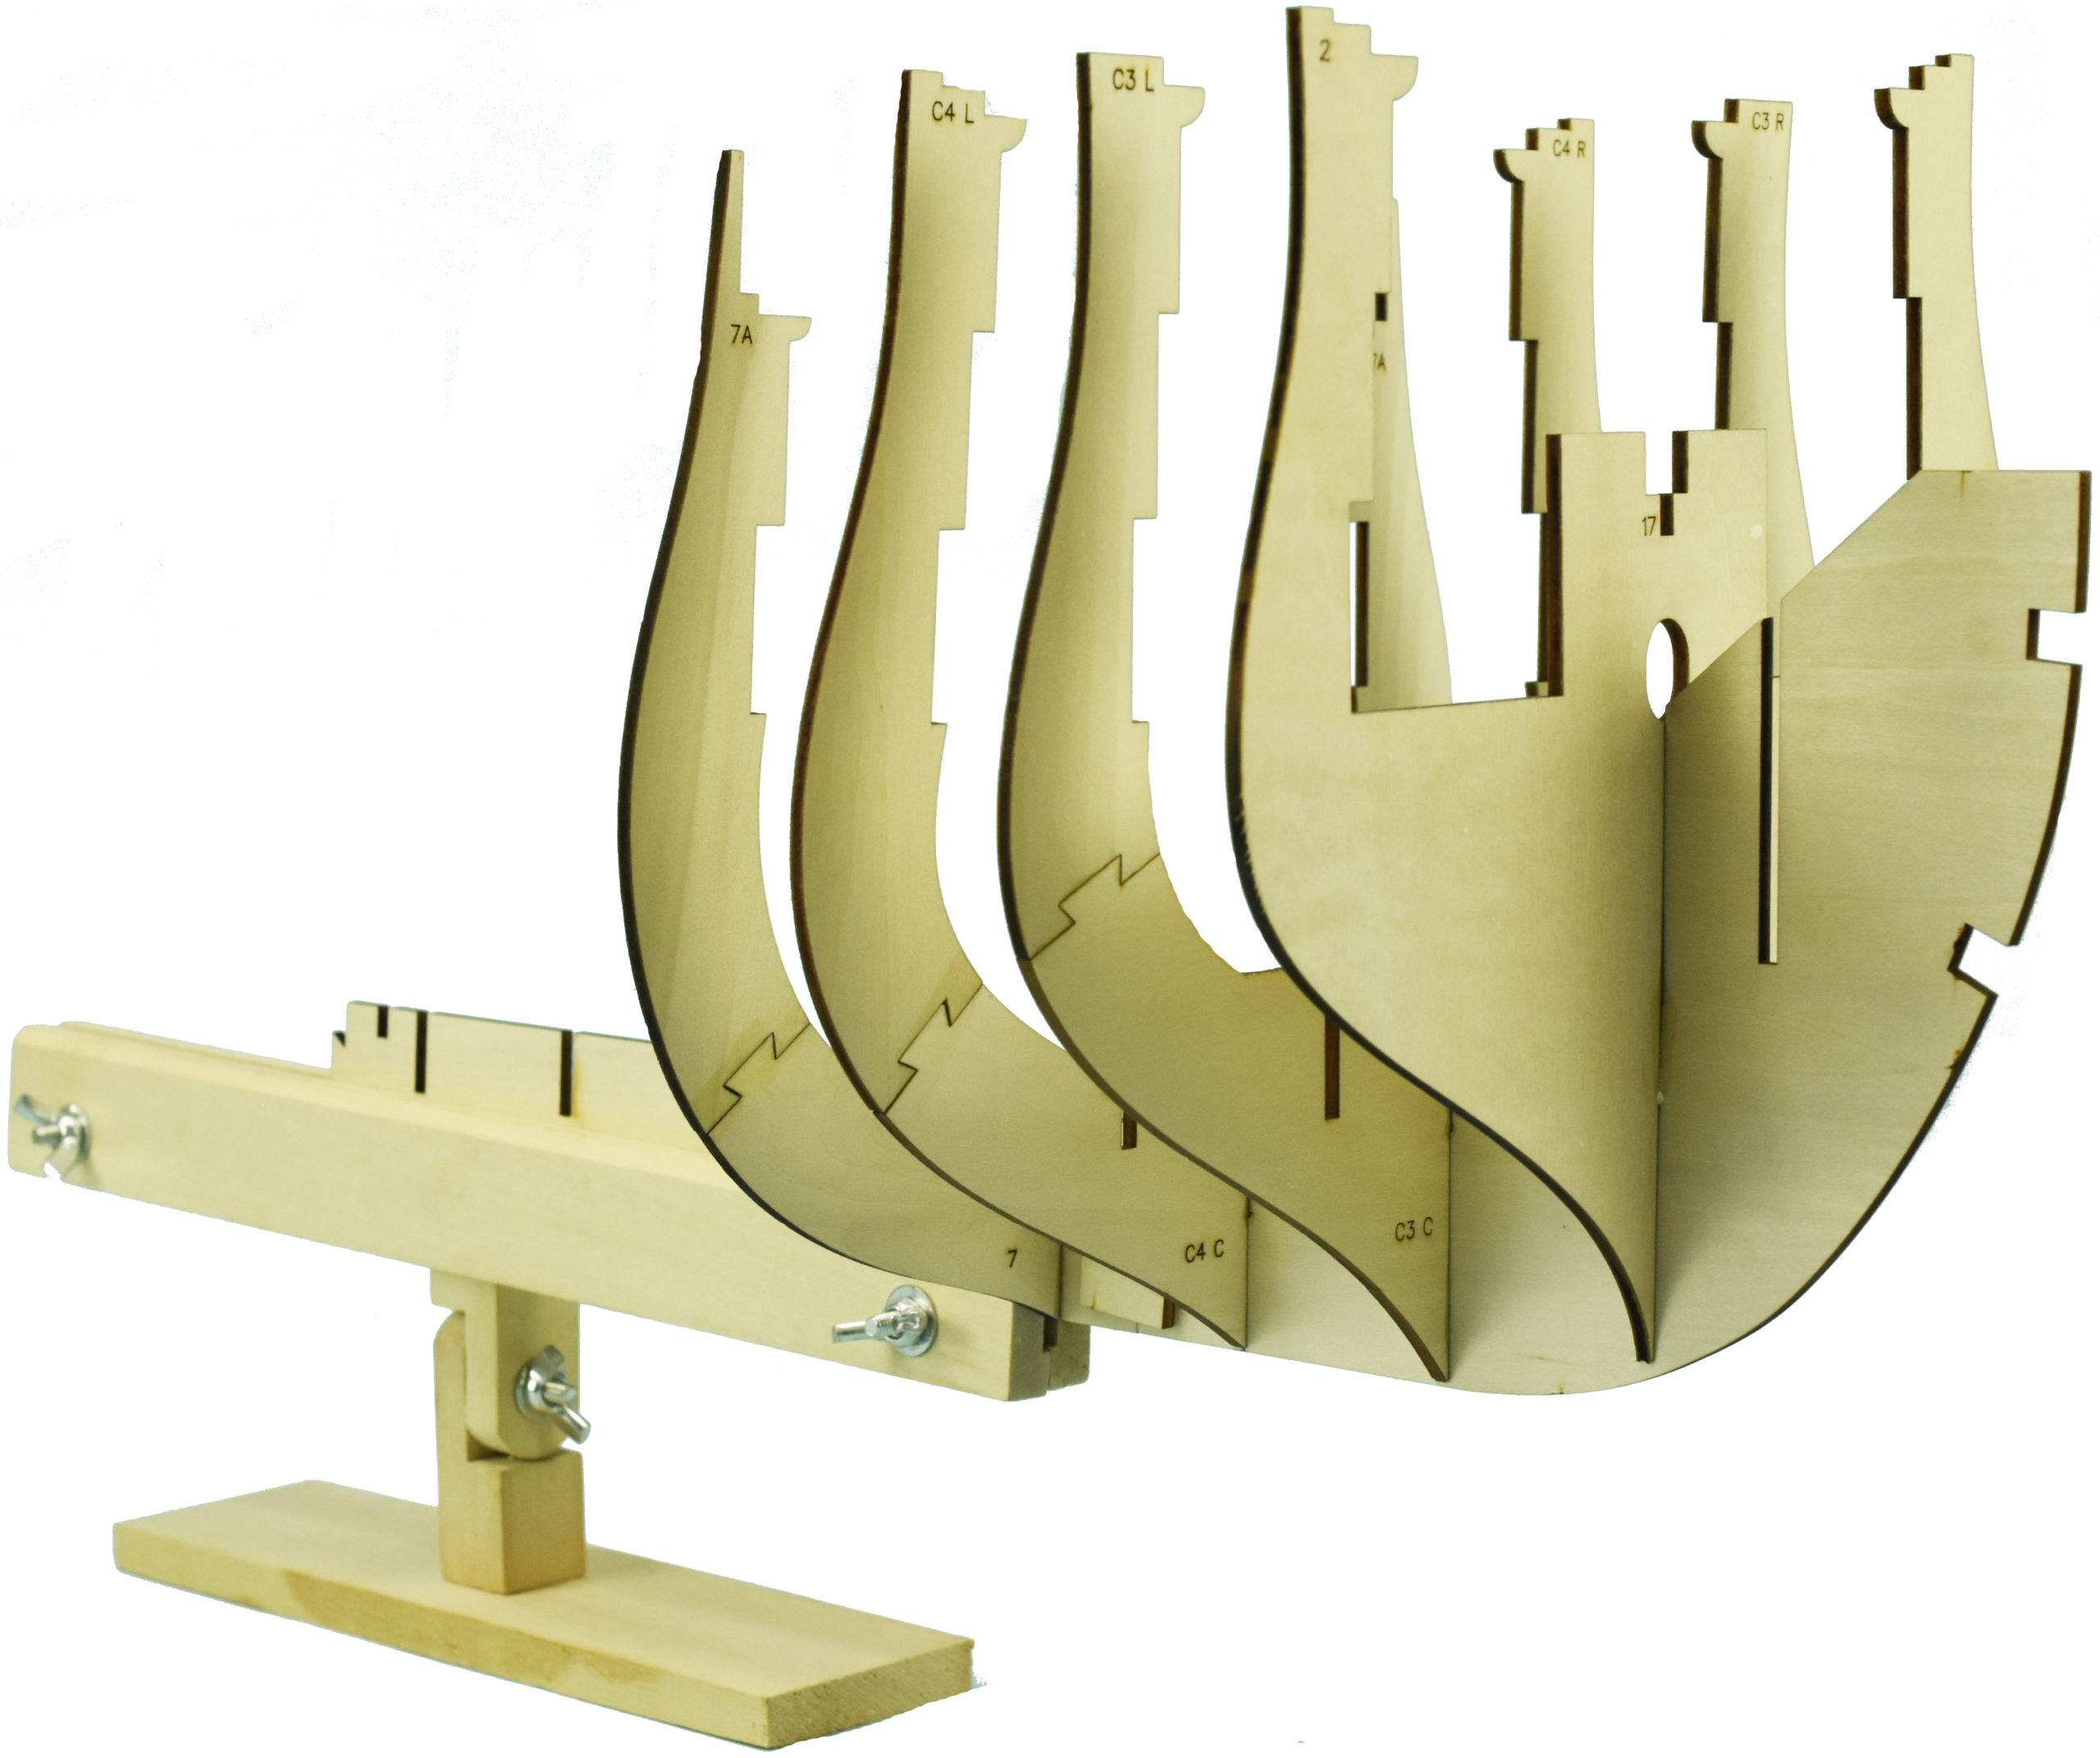
The next step would be to adjust the frames to the keel, although the modeler must first make sure that they are not broken. The good thing about Artesania Latina modeling kits is that you don’t have to file the frames before they are placed. They are ready to fit. Just do not paste them until you see that, once placed, all are perfectly.
ASSEMBLY OF SHIP MODEL DECK AND MASTS
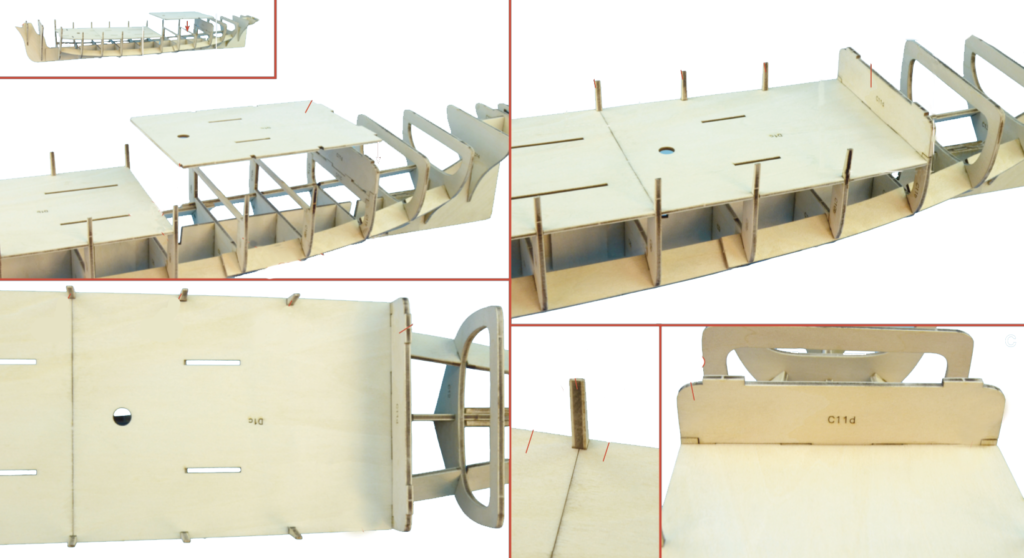
Afterwards, the modeler must check and fit the decks of the wooden ship model. This action has a great relevance since the decks will make the keel straight, and it help align the frames.
Small scale models, usually aimed at beginner modelers, only have one deck, thus facilitating the work of the novice. Never force the cover on the frames when assembling it, be very careful, or it will yield and damage the hull construction.
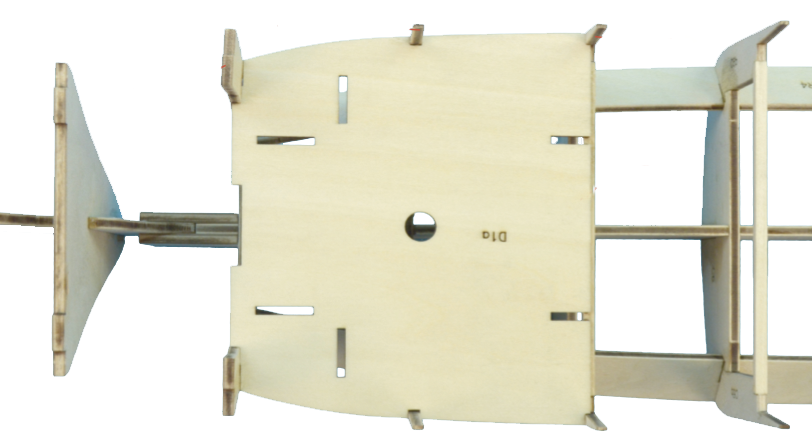
As for the installation of the masts, Artesania Latina’s ship miniatures facilitate the assembly to the modelers, because they will only have to insert the masts through holes arranged for it on the deck and the keel. Speaking about other brands, you have to put some wooden blocks to hold the mâsts. But we will comment this later, although we show you below where they would be inserted.
SHIP HULL CONSTRUCTION: BOW AND STERN OF THE NAVAL MODEL
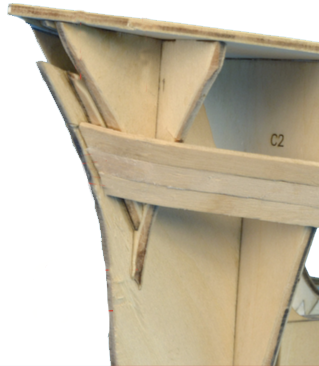
It is time to assemble and fit the bow and stern parts – the stern reinforcement is not necessary on Artesania Latina’s boat models because it comes to ‘die’ at the end of the last frame-, which will provide a solid base to the wooden strips that will finally cover the hull. The parts provided must be symmetrical and follow the shape of the mentioned hull of the wooden ship model.
Once you have seen the good disposition of the frames and that the decks are not bent or sunk, proceed to glue them, as well as the rest of the ship built, with cyanoacrylate for porous materials because you are working with wood. Once you have pasted everything, let it dry for at least twenty four hours. We will speak about more steps for ship hull construction on next post.

