
The files and sandpapers for modeling and crafts from Artesania Latina are essential for the modelers tasks. And the most important of all is our brand products… Are the best! Prepare wooden surfaces for later painting, remove slag and burrs, or give a better shape to any strong part made of wood or plastic. These modeling tools for filing and sanding allow perfect finishes for our ship model kits, aircraft model kits and heritage kits. We show below our catalog of files and sandpaper for modeling and crafts with all the different options that we offer to our client friends.

SET OF 5 FILES WITH ERGONOMIC HANDLE FOR MODELING AND HANDICRAFTS
The files are some basic modeling tools. For this reason, the ones made by Artesania Latina make it easier to roughen the wood, metal and plastic, the tasks that are usually carried out with these. If they already have an ergonomic and non-slip handle, the modeler can work with even greater comfort and precision. This is the case of our Set of 5 Files (27015-1) made of steel with flat pointed, flat beveled back, mouse tail, triangular and square shapes. Rough with these files any type of burr, for example, on the wood so that the part is completely smooth. Its variety of shapes allows you to have many options to achieve your goal.
.")
.")
SET OF 3 MINI DIAMOND FILES 100 MM AND SET OF 5 DIAMOND FILES 140 MM
On the one hand, we can say that diamond files are the ‘Ferrari’ of files due to their effectiveness. In this sense, our Set of 3 Mini Files with Diamond Dust 100 mm long (27015-3) also offers the possibility of roughing wood, metal and plastic. With diamond dust, with flat, half round and mouse tail shapes, and with non-slip handles. It is a pleasure to smooth any small surface so that the parts fit perfectly. Accuracy, speed and unbeatable results, your cover letter. In addition, the diamond files are presented in a slim and elegant case to keep them organized and prevent them from being lost.
.")
.")
.")
We continue our review of files and sandpapers for modeling and crafts by Artesanía Latina with the Set of 5 Diamond Files 140 mm (27015-5). These files are larger than the previous ones in length, and their thickness is 3 mm. Thus, it enables the lover of modelismo to be able to manipulate larger zones and parts. Its flat, half-round, mouse-tail, triangular and square shapes provide a range of possibilities for tasks to be carried out on your ship model or airplane and on its crafts. Do not forget that the non-slip handle of each of the five diamond files is very useful and practical. Better straightening… Always with the diamond! The final aesthetics of your assembly will be superior in quality. There will be no imperfections!
 made by Artesania Latina.")
FILES AND SANDPAPERS FOR MODELING AND HANDICRAFTS: SANDING BLOCK AND SANDPAPERS
Next, we go to the catalog of sandpapers made by Artesania Latina with the Wooden Sanding Block for Modeling and Crafts (27014) and the sandpapers that you can put on this or use separately. When the modeler passes the block over wooden surfaces, the imperfections on the aforementioned material are eliminated. Whether on a model or in another cabinetmaking creation. In addition to roughing, you can invent different shapes. Depending on the intensity of sanding required, you can put sandpaper of different weights or thicknesses, such as those of Artesania Latina. Of course, it already has one built in to be able to sand as soon as the product arrives at your home or office.
.")
As for its characteristics, the sanding block measures 113 mm length. Thanks to the various shapes on its ends, it can perform numerous roughing tasks.
.")
.")
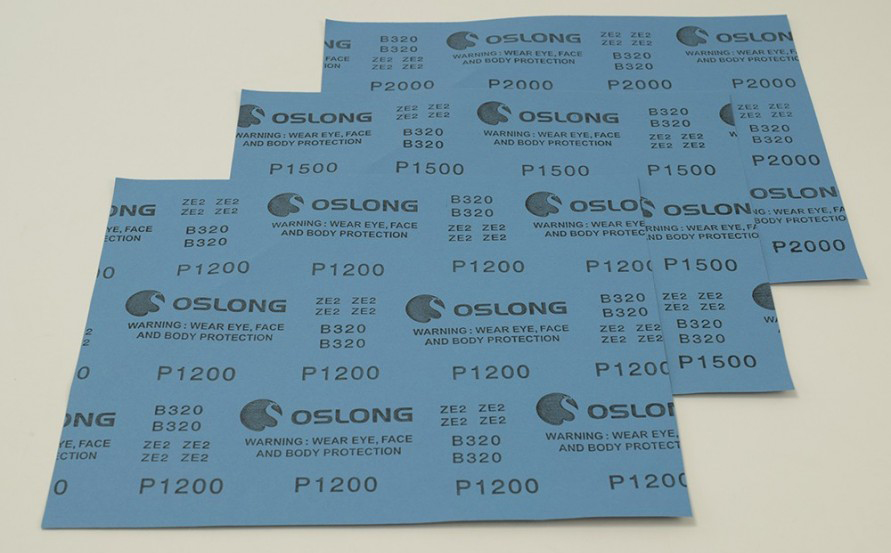
On the other hand, the sandpapers from Artesania Latina attaches perfectly to the sanding block. The sheets are size 230 x 280 mm. Regarding the thickness of the grain, from greater to lesser we have the Set of 4 thick sandpapers (27635). In relation to the weights, the sandpapers are 80, 120, 180 and 240, so these roughen in an important way, they are very powerful. Wood, cardboard, plastic, metal and many other materials can be left smooth and aesthetically pleasing.
 for Modeling and Handicrafts made by Artesania Latina (27635).")
It comes the Set of 4 Fine Sandpapers (27636). As for their weights, the sandpapers are 400, 600, 800 and 1,000, so these manage to roughen less strongly, for a smoother sanding.
 for Modeling and Handicrafts made by Artesania Latina (27636).")
Finally, the Set of 3 Extra Fine Sandpapers (27637). Its weights? They are 1,200, 1,500 and 2,000, so they manage to roughen and sand in the smoothest and most polished way.
 for Modeling and Handicrafts made by Artesania Latina (27637).")
SANDING SPONGES AND THICK SANDING BLOCKS
The latest files and sandpapers for modeling and crafts on our current catalog -no speaking about the Micro Shapers, which we will talk about later- are the sanding sponges and the sanding blocks. On the one hand, we find the Set of 2 Sanding Sponges with Fine and Extra Fine Grains(27639) to remove any imperfections or leftovers from materials such as wood and plastic, among others Many. Each one measures 125mm long, 95mm wide and 12mm thick.
Modelers can use the sponges to treat curved parts -they adapt fantastically to any type or shape of surface-. Also, so that the sanding is very smooth and the surface is perfect before painting or varnishing. In addition, they are ideal for giving a smooth sanding between coats of paint and varnish. Sanding sponges serve more during the finishing processes than in roughing or sanding when building a model or any other creation.
.")
On the other hand, we have the Set of 2 Thick Sandpaper Blocks of 60 and 100 (27638). Quickly eliminate leftovers of any kind in materials such as wood, cardboard and plastic, among others. Also, like sponges, they are often used to make excesses disappear in curved or difficult parts. But these have more strength than sponges, they are used for another job, as we have mentioned before. Sanding blocks are hard, firm sponges used in modeling to even curved surfaces. These measure 97mm long, 68mm wide and 25mm thick.
.")
MICRO MOULDING SCRAPERS / MICRO SHAPERS: THESE ONES… FOR THE MOLDINGS AESTHETICS!
We end this post with the Micro Moulding Scrapers / Micro Shapers, which are one of our top naval modeling tools. They are sandpaper/files, not to remove impurities or smooth the material, but… To create art! They provide a beautiful aesthetic in the form of moldings of all kinds, perfect for the strips of our boats or other handcrafted creations made of wood or plastic, for example. Incorporate them into your modeling or art workshop!

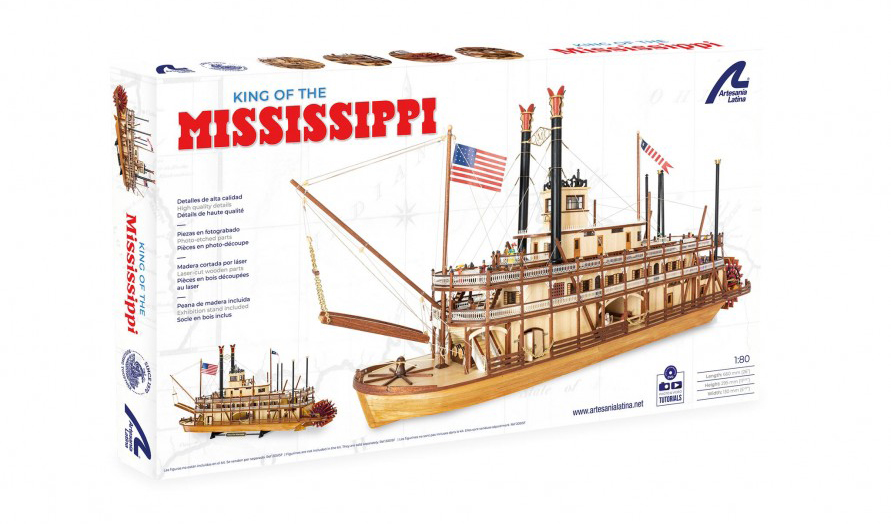
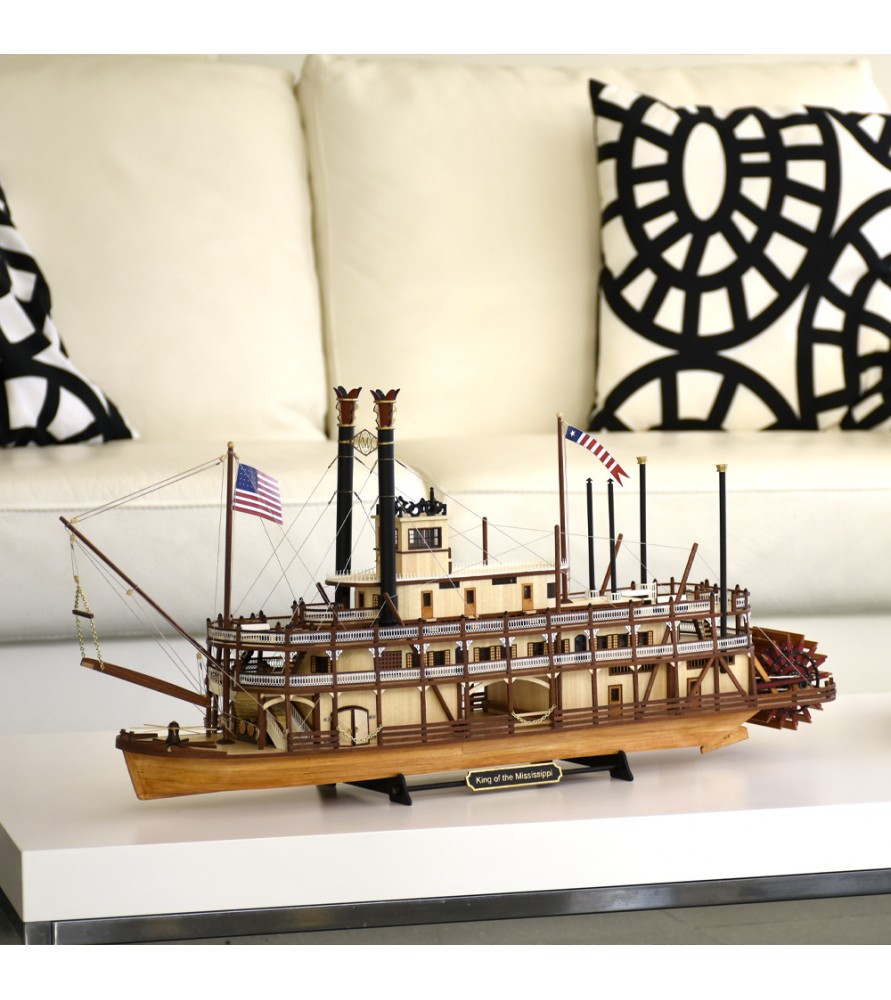
 by Artesania Latina (20515). Click here for more info about the perfect paddle steamer model kit.")
 by Artesania Latina (20515). Click here for more info about the perfect paddle steamer model kit.")
 by Artesania Latina (20515). Click here for more info about the perfect paddle steamer model kit.")
 by Artesania Latina (20515). Click here for more info about the perfect paddle steamer model kit.")
.")
.")
.")
. Click here for more info about the kit.")
. Click here for more info about the kit.")
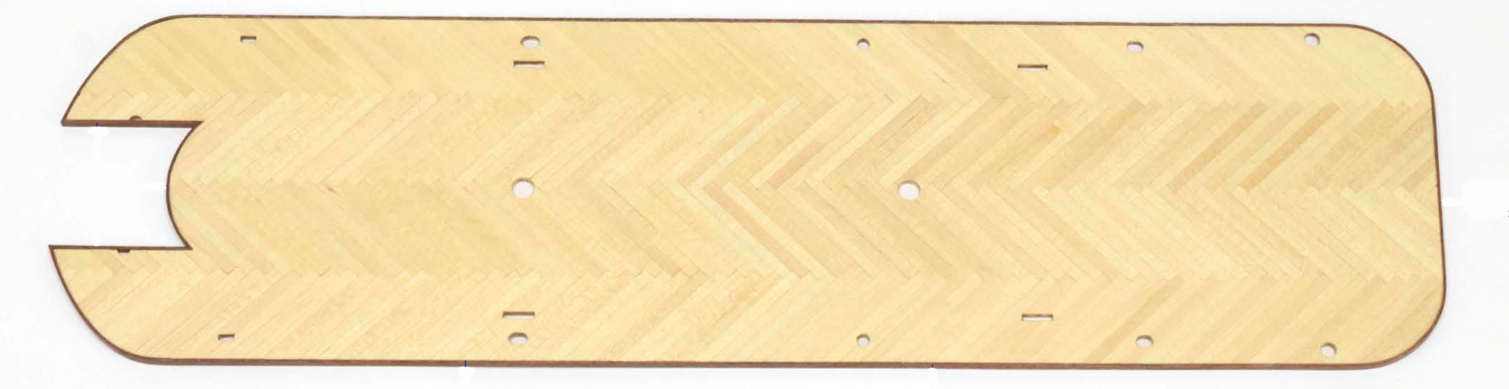
. Click here for more info about the kit.")
. Click here for more info about the kit.")
. Click here for more info about the kit.")


 Exhibition.")
 Exhibition.")


 for Crafts and Models Exhibition in Showcases.")
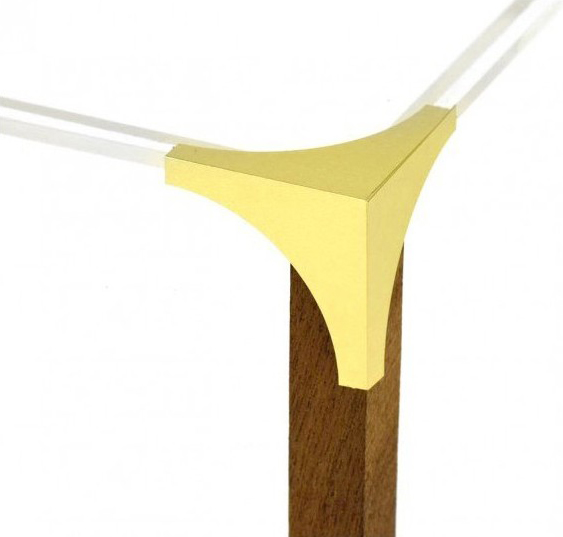
 for Crafts and Models Exhibition in Showcases.")
 for Crafts and Models Exhibition in Showcases.")
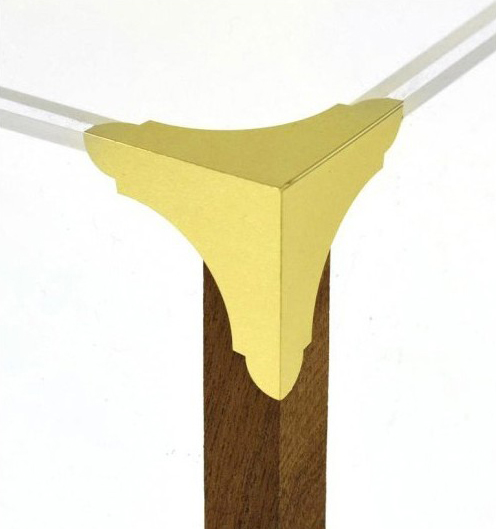
 for Crafts and Models Exhibition in Showcases.")