Today we present in this post a category of our products highly demanded by modelers of all levels: the ‘Woods‘ for model building and other crafts. Here you can find various types and forms of wood, all of them from sustainable crops, both to create parts and to assemble models or complete crafts.
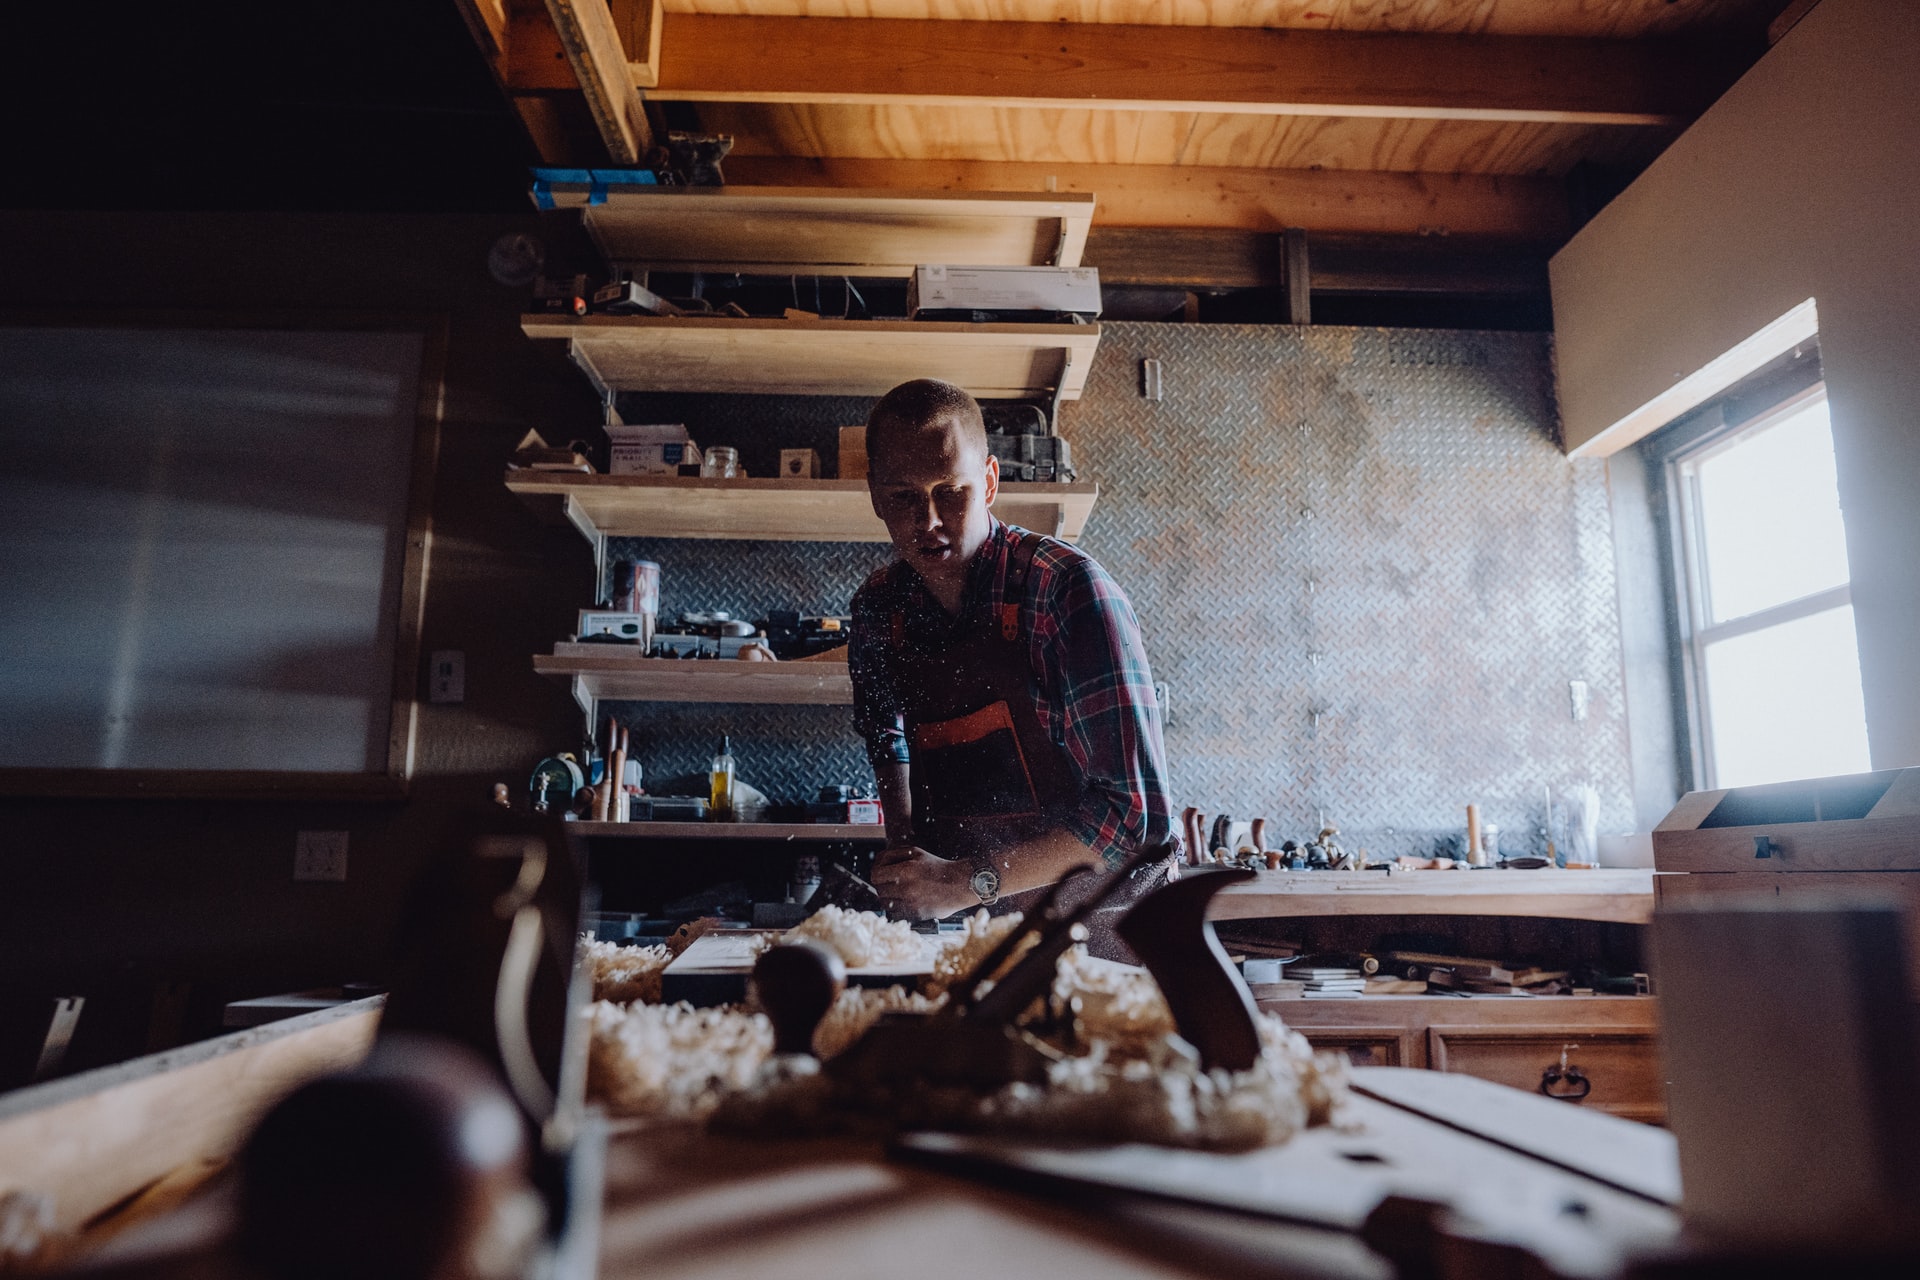
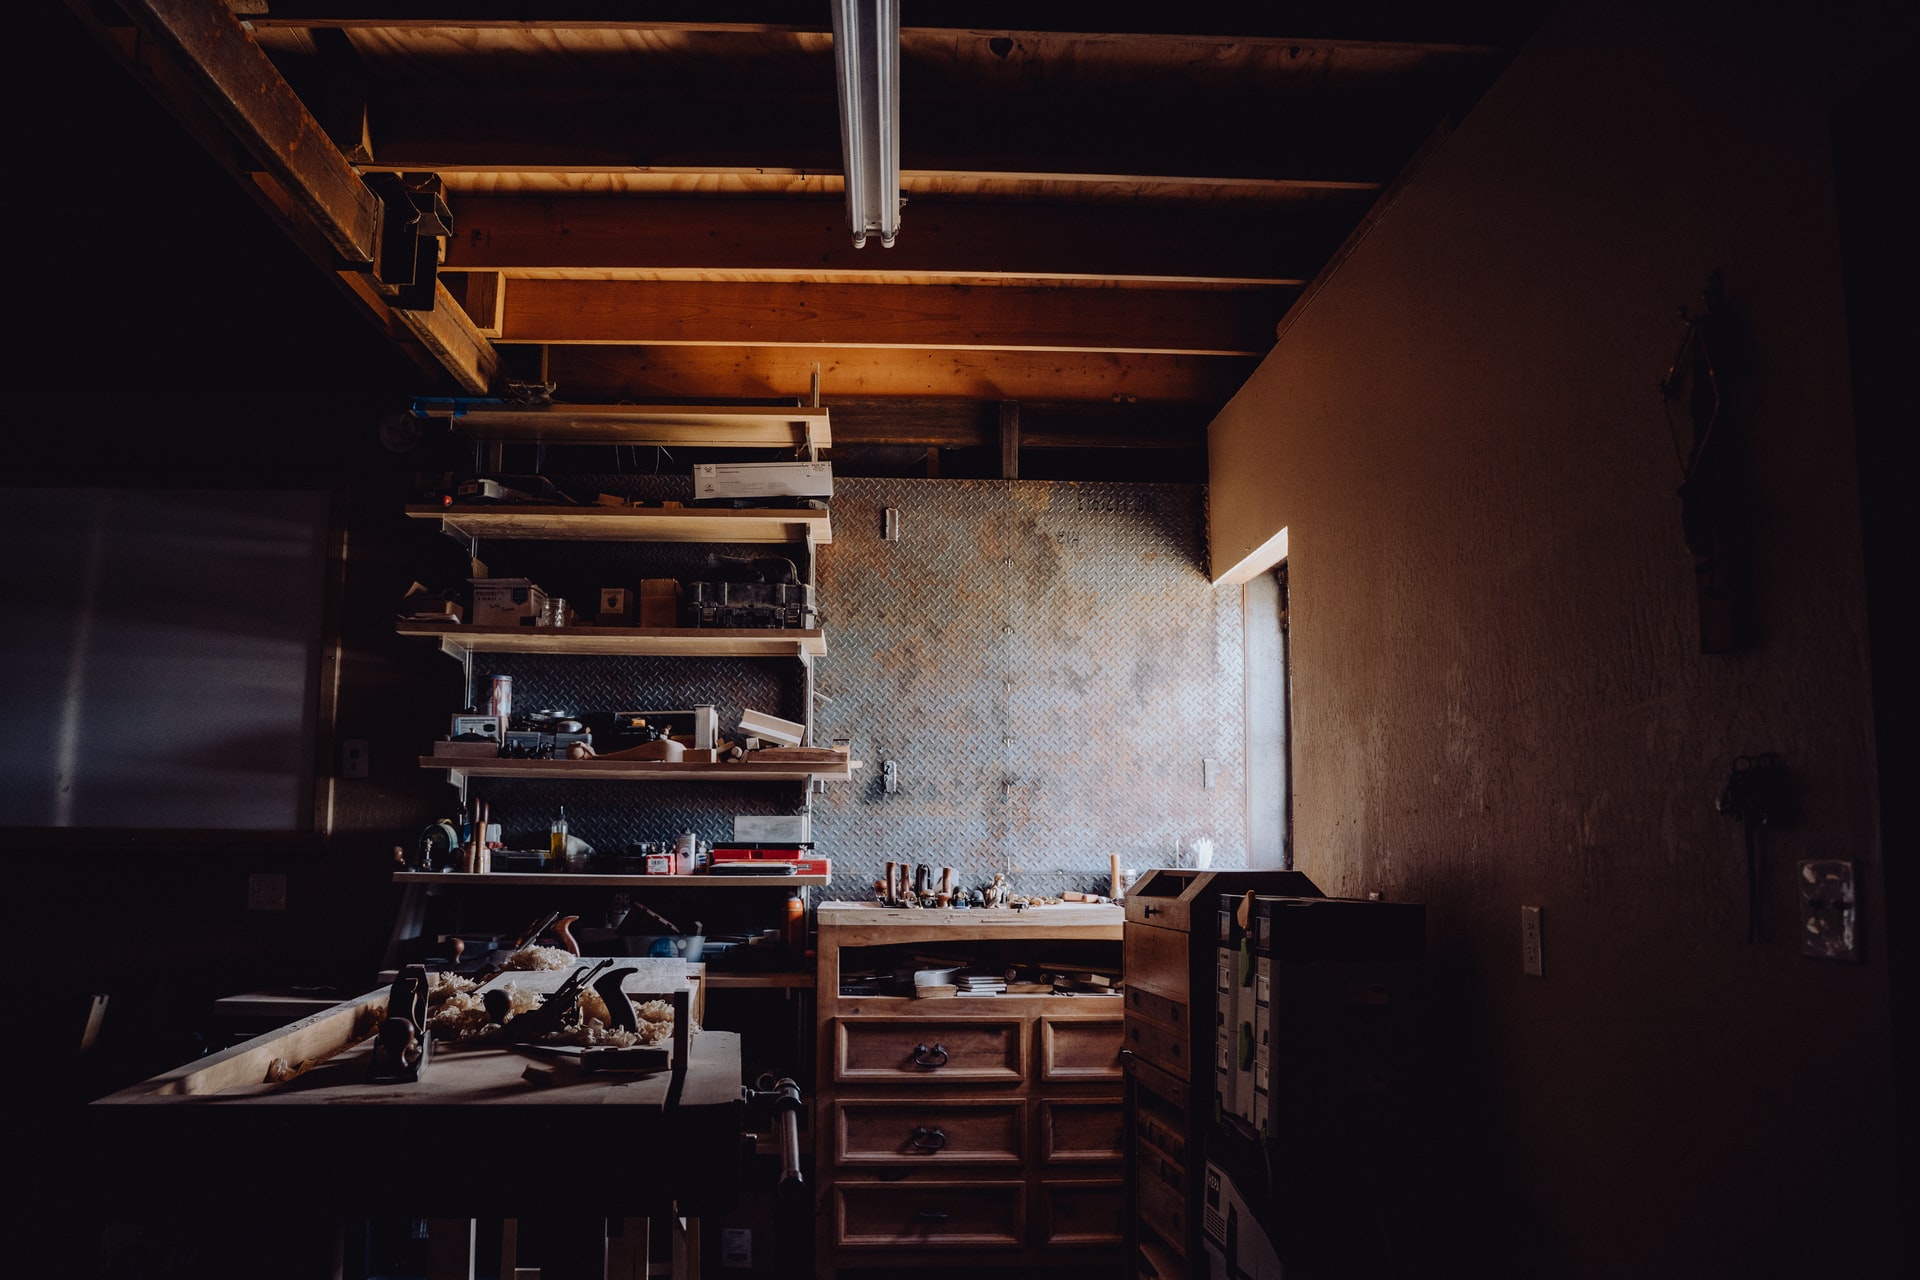
There are modelers who acquire our woods to make spare parts or who have lost them at their workshop -we recommend our modeling workbench-. Others to make parts imagined by themselves. And, finally, other lovers of this beautiful hobby who devise, cut and assemble the entire scale model from scratch… Only with our woods!

Artesania Latina has the best wood for naval modeling, other modeling and crafts on the market given its high quality. Most of these are noble woods, last over time and are prepared to be treated and manipulated with ease. Birch, basswood, American walnut, coral (padauk) and sapele make up the materials. Currently, we offer plywoods, boards, veneers, strips, round dowels, mouldings for showcases and exhibition bases. Next, we break down the characteristics of each of these products made of wood for a better understanding of the modeler.
WOODS FOR MODEL BUILDING AND HANDCRAFTS: PLYWOODS
Speaking about woods for model building and handcrafts, the plywood boards are the first to be presented. All the different variants of these have measures 35.43” (900mm) length and 11.81” (300mm) width, yes, with different thicknesses according to need. There are five options to choose from: from 0.059” (1.5mm) to 0.196” (5mm). The plywood boards are made from basswood, with a high quality fine finishes. Basswood -linden wood- has a light and uniform color ranging from white to cream. Its type of grain is straight and with a very fine texture. It is an ultralight material, easy to dry when glued and once dry it is stable.

WOODS FOR MODEL BUILDING AND HANDCRAFTS: VENEERS AND BOARDS
Regarding veneers, we find fifteen different alternatives in the catalog from Artesania Latina, all of them presented with a length of 1,000 mm and a thickness of 0.6 mm. Veneers can be used, for example, to give any piece that is not wood the appearance of wood, such as lining parts built with board or the deck of a model ship.
The variations are found in the width, in the units that the package brings -20 or 25- and in the solid wood used. The widths of the sheets range from 0.157” (4mm) to 0.314” (8mm). As for the wooden types, there are basswood or linden -whose characteristics already discussed above-, American walnut and sapele. In Europe, the wood of American walnut is considered one of the best. It is brown but it has details in gray and yellow tones. Great resistance and durability, very difficult to scratch. With high hardness and fine texture. Regarding the sapele, it can be said that it is dark brown with reddish and golden tones in some of its pronounced veins. It is very similar to mahogany wood, of medium hardness and can be easily manipulated.

The boards made of solid wood are other the fantastic products for modelers and crafts people to make their own spare parts and build their own scale models or other crafts with totally new ones. In this section, you can currently purchase three different planks, all of them 39.37” (1,000mm) length and 2.75” (70mm) width, in sapele and American walnut.

WOODS FOR SHIP MODELING: STRIPS
It is known that with the strips made of solid wood all kinds of parts can also be devised for modeling and other crafts. However, in nship modeling they can be used for more precise uses such as lining the hulls of the model ships or add details such as railings and baseboards.

We have solid birch and coral (red wood) strips. According to references, the packs are made up of 5, 6 or 20 units. All the strips measure 39.37” (1,000mm) length, the thicknesses and widths vary according to the different needs of the client. 89 different possibilities of your choice! Our woods for ship modeling and other crafts are the best!
On the one hand, the wood of birch is usually colored from white to cream. Over time, it darkens a bit. The grain is straight and its texture is very fine. Like the other woods from Artesania Latina, birch has a high-quality finishes. On the other hand, the wood of coral (padauk) is characterized by its deep red color with purple-brown hues in sunlight. It is hard but easy to work with during any handling process at your modeling workshop and other crafts.
ROUND DOWELS FOR MODEL BUILDING AND HANDCRAFTS
The round dowels made of solid wood are presented in packs of 2, 5, 10 or 20 units. We have ribs in birch, coral (padauk), American walnut and sapele. And different measures: you can find long rods of 35.98” (914mm) and 39.37” (1,000mm) in our catalogue. Regarding the diameters, from 0.078” (2mm) to 0.472” (12mm).

In naval modeling, round doweols are perfect for making masts and yards for wooden ship models. In addition to many other details with a cylindrical shape. Coming soon, we will talk about a products highly coveted by our client friends: wooden exhibition bases and mouldings for showcases.
In short, all the woods for model building and other crafts made by Artesania Latina are very useful for modelers and other hobbyists who want to create the parts they need or the new ones they devise. Adapted for carvings, turning and all kinds of handwork. They are easy to treat and behave optimally when glued and finished, quick drying. They last over time given their high quality. What more can you ask of a wood!

.")
.")
.")
.")
.")
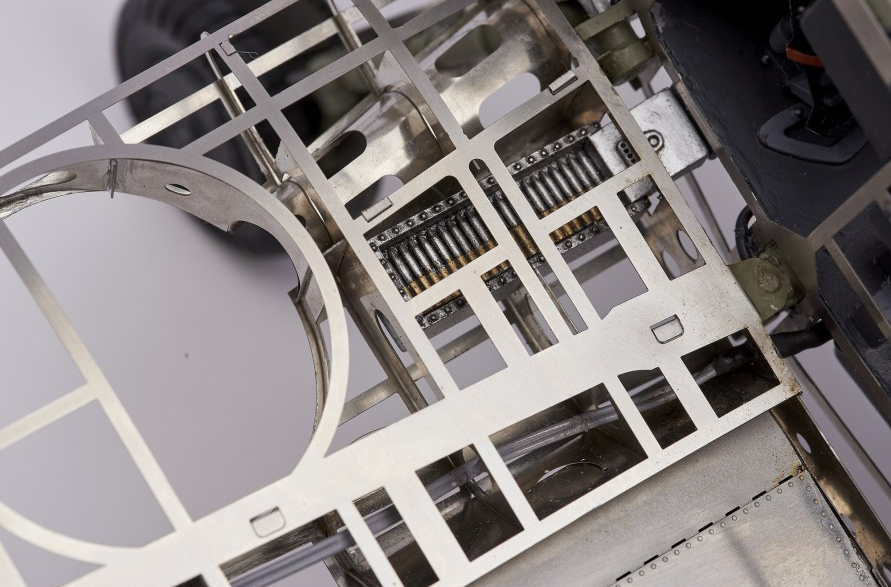
. Click here for more info of the 1/16 Scale Model of the German World War II Plane.")
. Click here for more info of the 1/16 Scale Model of the German World War II Plane.")
.")
.")
.")
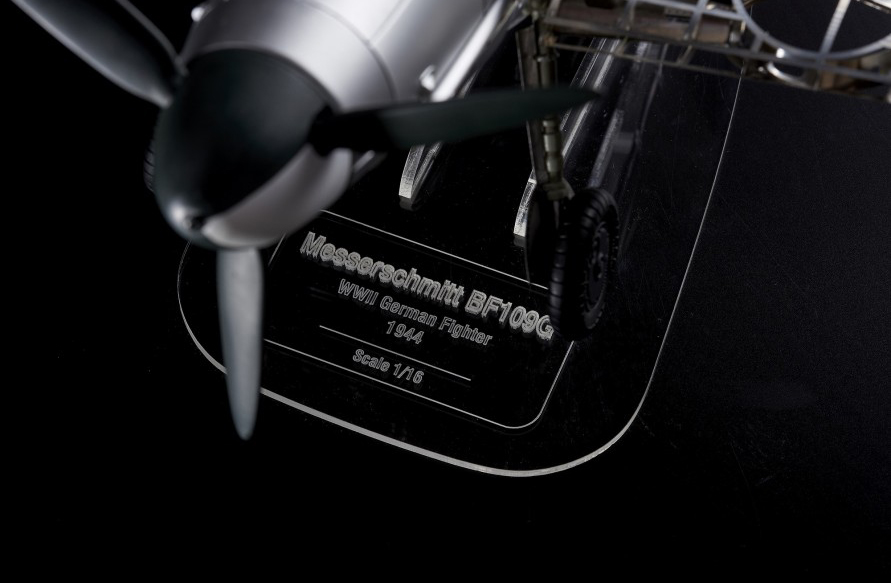
. Click here for more info about WWII German Fighter.")
. Click here for more info about WWII German Fighter.")
. Click here for more info about WWII German Fighter.")
. Click here for more info about WWII German Fighter.")