Posted in Model Building Tips

Santa Maria Model Construction (II): Video Tutorials for 1/65 Wooden Caravel Set Up

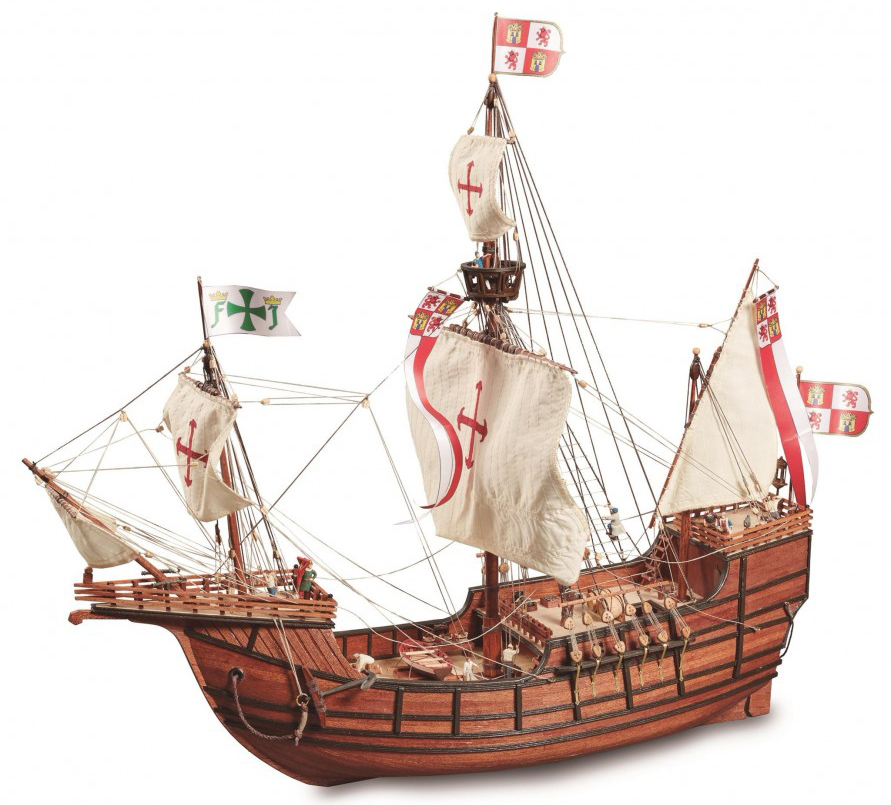
We continue this week with the second post to teach how you can develope the construction of the Santa Maria model (22411-N), the well-known caravel (nao) in wood at 1/65 scale. We specify on video the parts of the assembly that can be more complicated or remarkable due to the level of detail for our modelers friends. Last week we left it explaining the assembly of the rails and barrels. Now we return to this audiovisual guide with the capstans and the cannons.

Santa Maria Model Construction (22411-N). The wooden caravel of America Discovery.

HOW TO BUILD THE CARAVEL CAPSTANS AND CANNONS

On the audiovisual instructions for 1/65 scale Santa Maria wooden model construction, we now present Chapter 9: ‘Assembly of the Capstans’. First, varnish with your brush the outer parts to then apply cyanoacrylate (27650) and glue the three parts that make it up. Second, insert them and… Done!

Chapter 10 deals with the ‘Assembly and Decoration of the Cannons’ on this video guide for the construction of the Santa Maria model. First, use one of our cutters to extract parts of the photo-etched plate and to remove the remains. Once removed, glue the four U-shaped details with cyanoacrylate on each of the four corners of the two sides of the gun carriage part. Second, insert some cyanoacrylate into the four existing holes in the large part, then insert the four eyebolts into these.

Now, place or glue the cannon on top of the gun carriage -your choice-. Take a thread and begin to carefully pass it through the eyebolts so that the barrel fastening is tight and beautiful. If you need it, help yourself in this task with a curved fastening tweezers. Finally, tie the end of the thread and cut off the excess.

SANTA MARÍA MODEL CONSTRUCTION: PAINTING LANTERN, NAMEPLATE AND DOORS

The following demonstrative videos deal with the finishes of the 1/65 scale model of the Santa María caravel, specifically, with the painting of various parts. In Chapter 11 we will see how to ‘Painting the Lantern’. To be able to work comfortably, embed the lantern in a stick or punch. With a flat brush, apply the paint carefully. We remind you that you can use the Set of Paints for Caravels and Galleons (277PACK8), for sale separately, with all the necessary colors to make your model perfect.

We move on to Chapter 12 with the ‘Painting of the Nameplate for Exhibition Base’ on the following video for Santa Maria model construction. Once the modeler has the plate out of the photo-etched plate, take some straight tip precision tweezers to hold it. Using a flat brush, start to apply the paint without excess paint on the brush or plate. Scrape a round wooden stick with a cutter until you get a point like any pencil. Proceed to remove the paint that is on the letters with that tool that has been created. Do the same with the license plate frame. The letters and the frame will be gold while the background will be colored.

In Chapter 13 we will watch the ‘Painting the Doors’. Tape the door to the end of a wood part so it doesn’t move while you paint. Have a small amount of the two paints you are going to use on a small plastic. Soak the flat brush and remove the excess on a paper towel. Apply brown and black with the flat brush to make it look like wood grain.

SANTA MARIA MODEL CONSTRUCTION: MASTS REINFORCEMENTS AND SAILS DECORATION

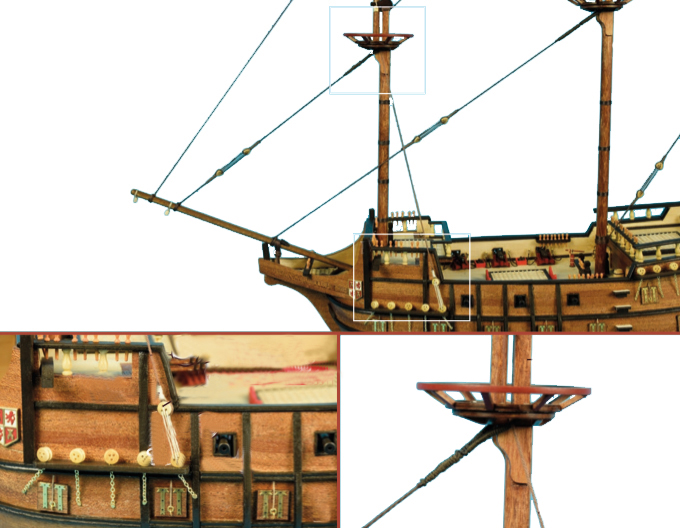
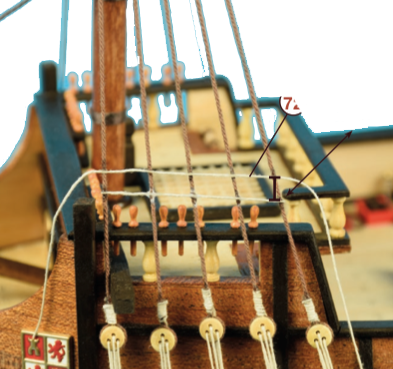
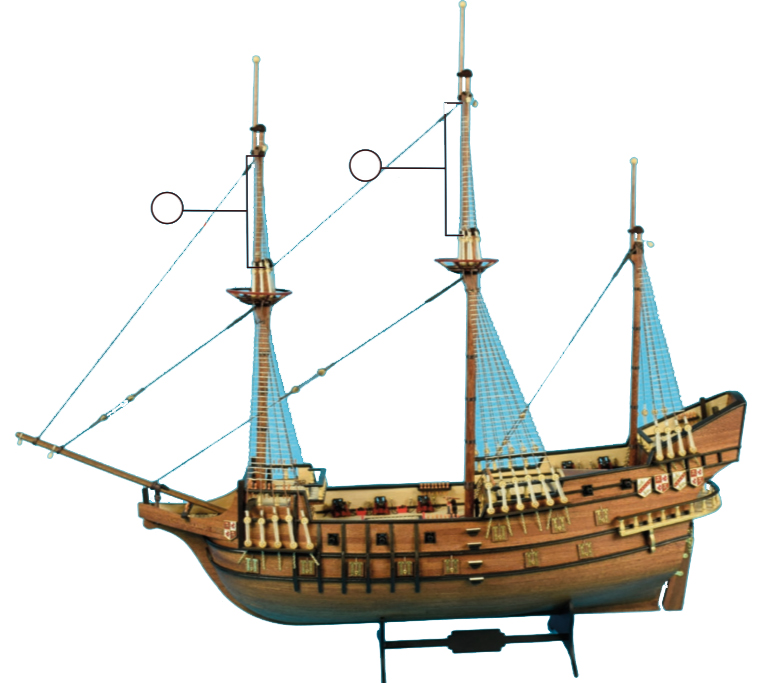
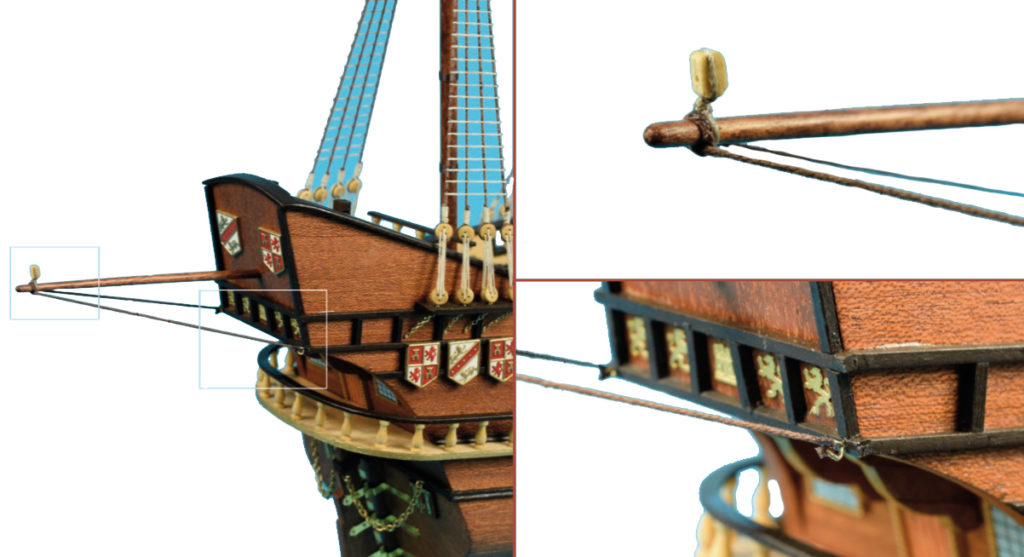
The last two videos of the audiovisual guide forconstruction details of Santa Maria model demonstrate how to carry out two tasks related to the propulsion of the caravel. The masts and the sails. Chapter 14 teaches the ‘Masts Reinforcements with Thread’. Take the thread and tie it to the mast as shown on the video. Using straight-nose pliers, tighten the thread wherever you see slack. Take the two ends of the thread with your hands and pull. Cut the excess thread with a cutter.

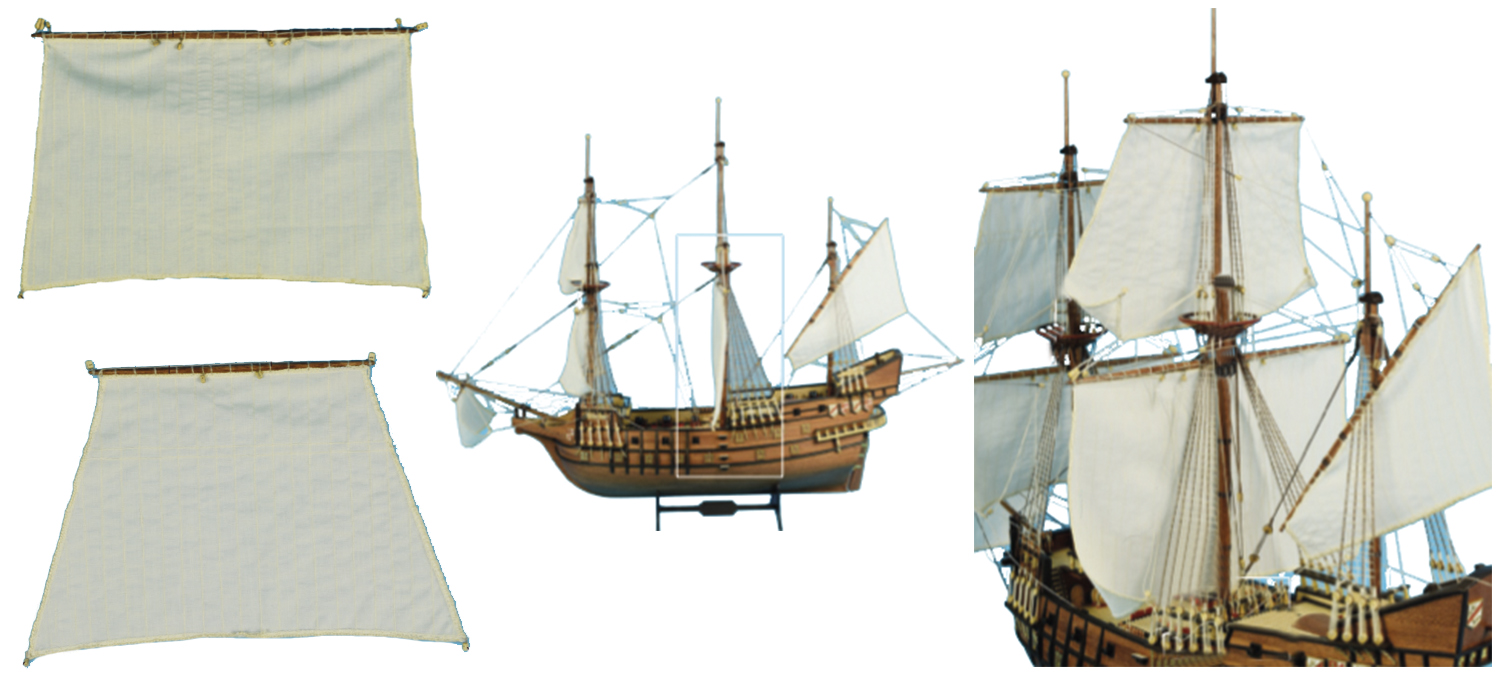
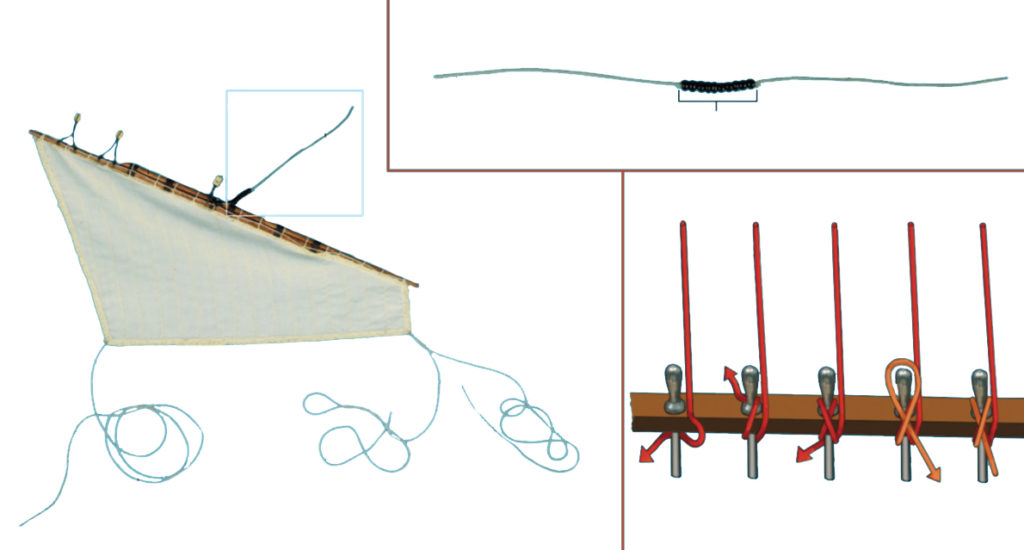
The last one is Chapter 15, here we show the ‘Sails Decoration’ process. Carefully remove the cross from its support. Take a parts of flat cardboard larger than the sail, place the sail on top and stick it to it with masking tape so it doesn’t move. Place the cross on top of the sail and use the new Micro Centering Ruler (27326) to check the measurements and that it is centered. With the cross already centered on the sail, take a pencil and draw the outline of the cross on the sail. Take a small round brush, and fill in the entire silhouette of the cross with the red paint.

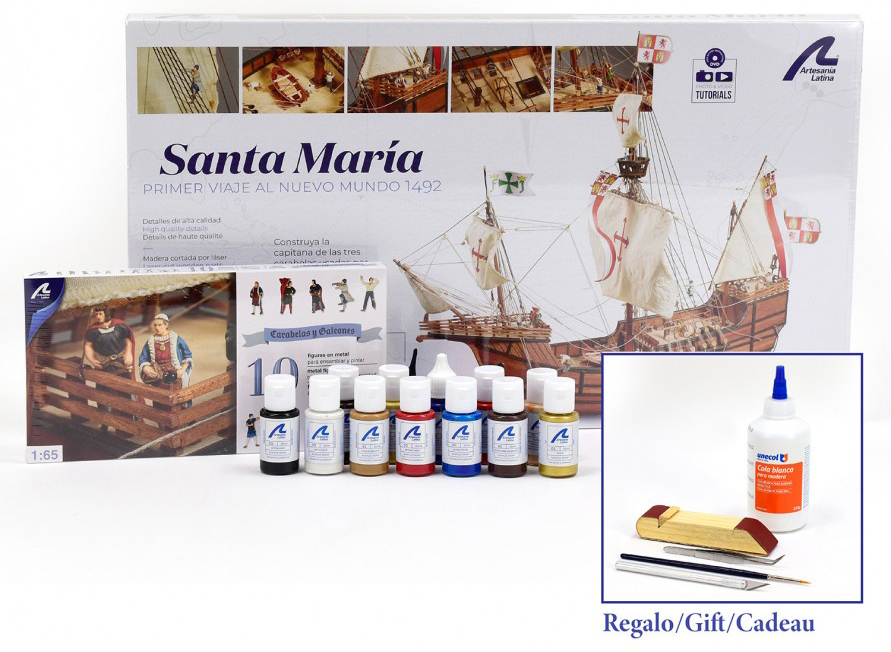
We are done with these video tutorials to help the modeler in the construction of the Santa Maria model kit at 1/65 scale (22411-N). This kit of naval modeling will make you enjoy many moments of joy and satisfaction. Do not forget that, in addition to selling the model alone, we also have the fabulous Santa Maria Model Gift Pack (22411-L). Find out!

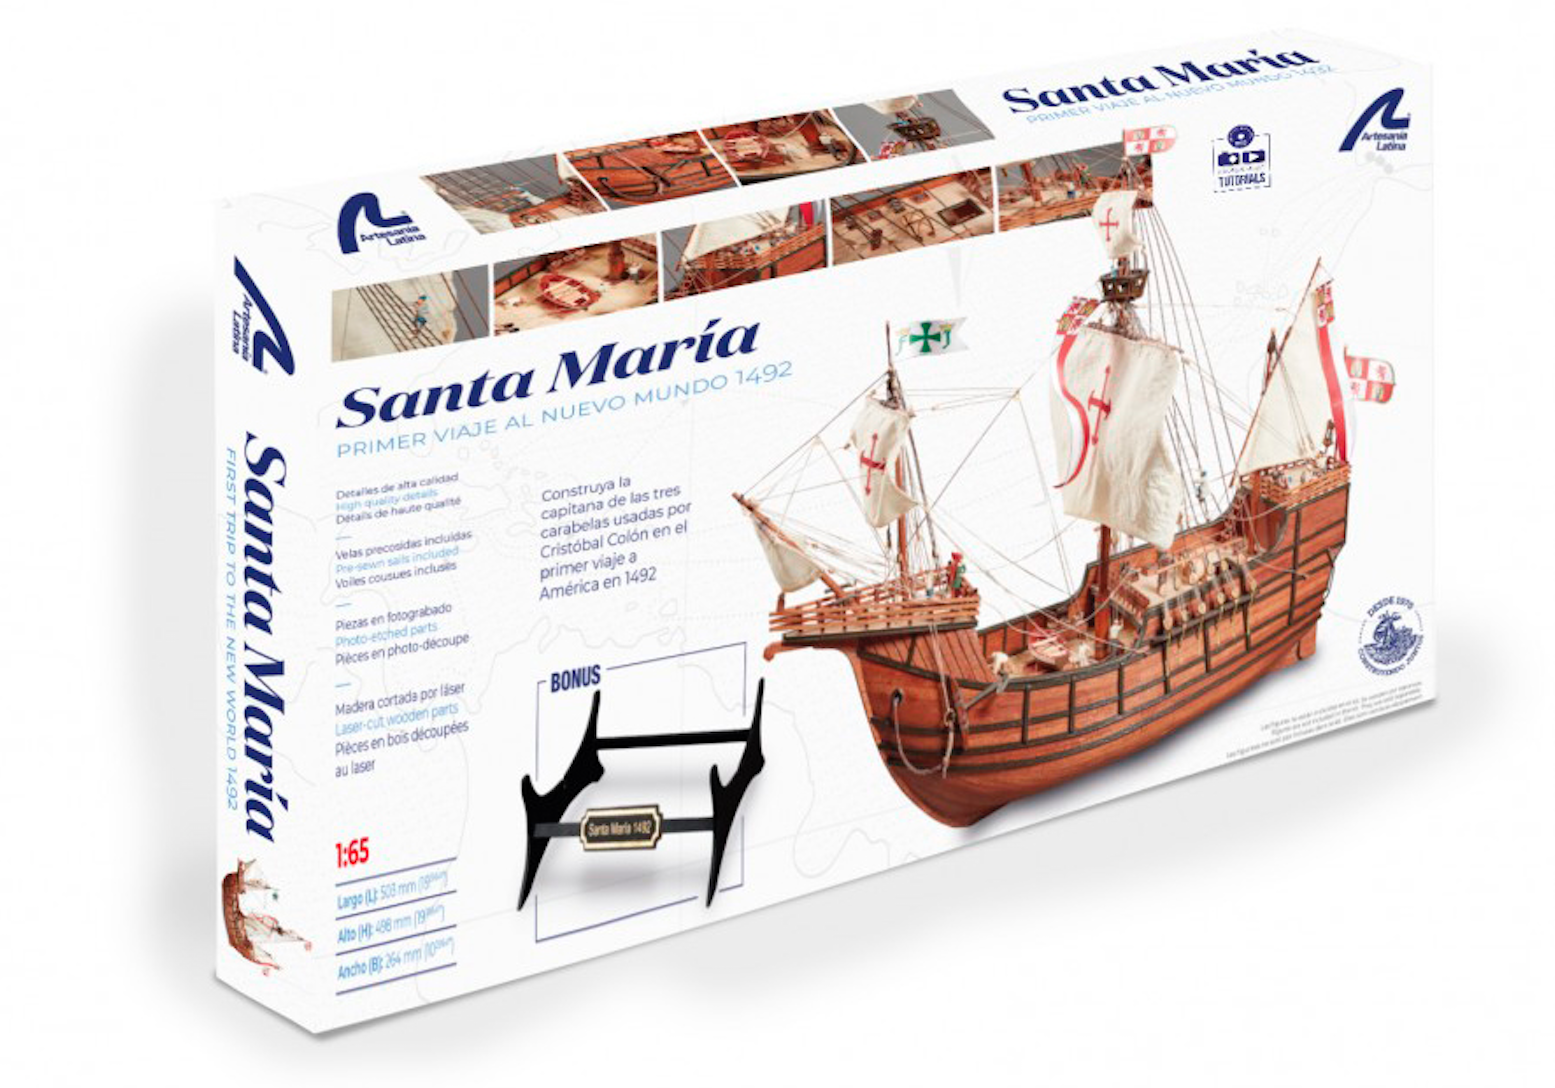
Gift Pack Santa Maria Caravel Model at 1/65 Scale (22411-L).

Read the First Part of the Post…

Posted in Model Building Tips

Ship Model Rigging: Assembly of a Wooden Boat Model (V)

The assembly of a wooden ship model rigging, we mean, the sails and the strings that knock the ship into shape. If a modeler assembles the rigging of any type of ship, she/he can surely do it on whatever a sailboat, a vessel, a caravel, a galleon or an online ship with any kind of rigging.

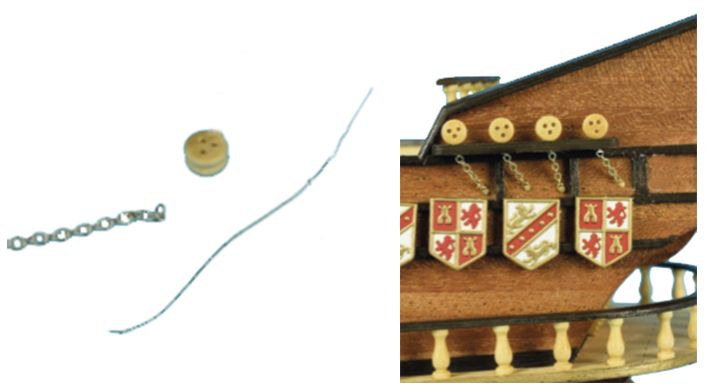
From this moment, we explain what are the steps, in order, that any fan of naval modeling should take when she/he is building the aforementioned rigging of the scale model. The first step, fundamental for the grip of the rigging rope, is the installation of the pink-racks, the fairleads and the chain-wales.

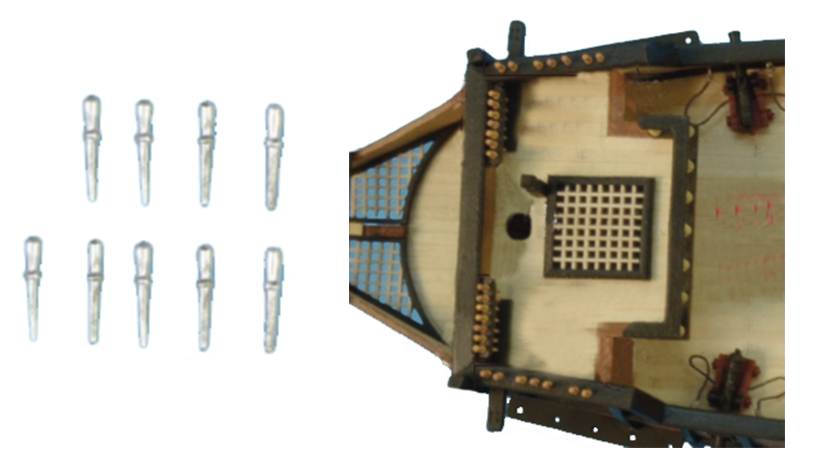
Once these three elements have been placed, the modeler must proceed to pierce the pink-racks in order to implant the belaying pins in them. Of course, we recommend to paint them in the desired color before inserting them.

Next, place the dead eyes in the chain-wales for the wooden ship model rigging. These will hold the shroud, which is the tensioning cable that passes through the top so that the mast is straight, and the lanyard, which will keep the shroud in balance with tension.

HOW TO ASSEMBLY THE MASTS

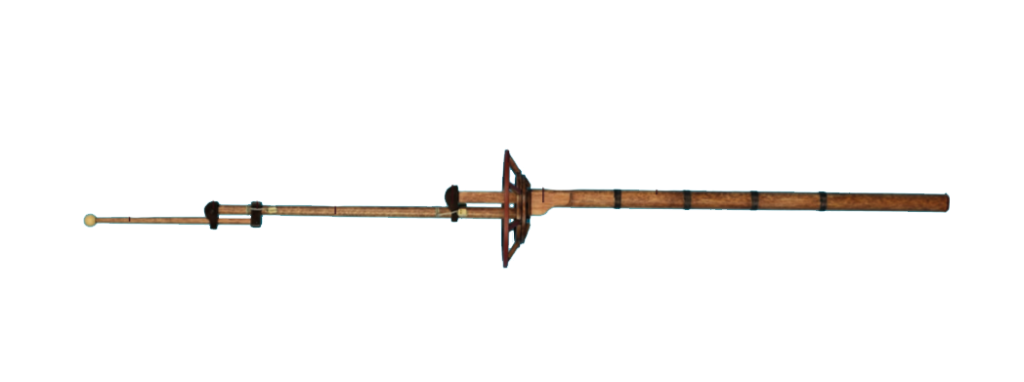
The next step is the masts assembly. You should proceed to assemble all the wooden ship model masts – don´t forget the bowsprit – and put their respective tops.

Assembly of a wooden ship model rigging: masts.

Later, start preparing the yards, the booms and the gaff rig mast.

Assembly of a wooden ship model rigging: yards, booms and gaff rig mast.

Once they are all built, place the masts on the boat. Artesania Latina facilitates the work thanks to the holes through which to introduce the masts so that there is no doubt.

Assembly of a wooden ship model rigging: positioning of the masts.

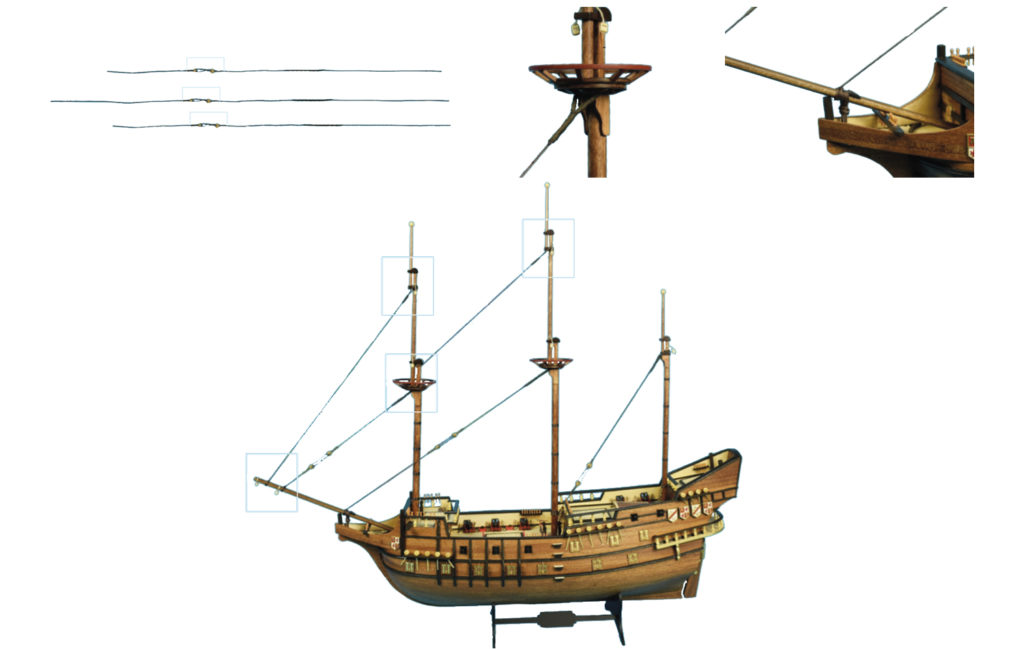
From now, we must begin to tie, balance and tighten the different masts. To do this, we start with the foremast and the main mast, tied with the stays from under the top to the bowsprit (almost horizontal spur that comes out of the bow), and with the mizzen mast, also with stays are up to the base of the main mast. Then, two stays come from the upper crosstree of the foremast and main mast, the first to the bowsprit and the second to the foremast.

CONSTRUCTION OF SHIP MODEL RIGGING: SHROUDS

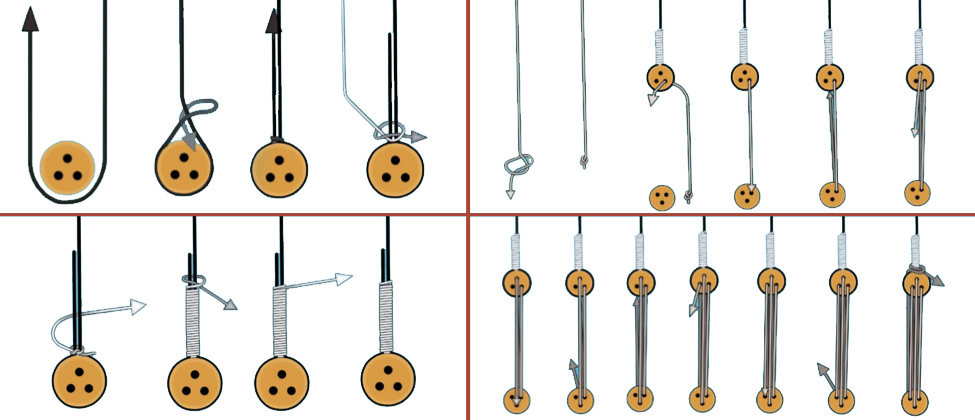
The next assembly action of any naval modeling kit is the placement of the shrouds, for which, first, you must also build the dead eyes with their lanyards and their chain-plates, these ones are hooked to the hull. As a tip, we can recommend that they should be installed one by one, alternating them on each side of the ship model. If the modeler does not do it this way, the mast could lose its perfect vertical position.

Once this action is done, the modeler must assemble the strings of the so-called ratlines, the horizontal strings perpendicular to the shrouds. We recommend the use of two clamps, one on the left side and one on the right side of the shrouds group, in order to be able to accurately put the aforementioned ratlines.

It is the moment when the shrouds are installed, in this case the upper ones, and their corresponding ratlines.

Next, the jib-boom should be placed (if the wooden ship model had it) with its two strings so that it is completely fixed. Of course, all the rigging screws of the boat and the bowsprit standing rigging, as it has been done with the jib-boom.

HOW TO BUILD THE RUNNING RIGGING ON A SHIP MODEL

At this point on the assembly process, the modeler would have finished all the so-called standing rigging, and now she/he would have to put all the running rigging with all its yards and sails. Then, the mizzen mast latin sail would be the first to be placed.

Assembly of a wooden ship model rigging: latin sail.

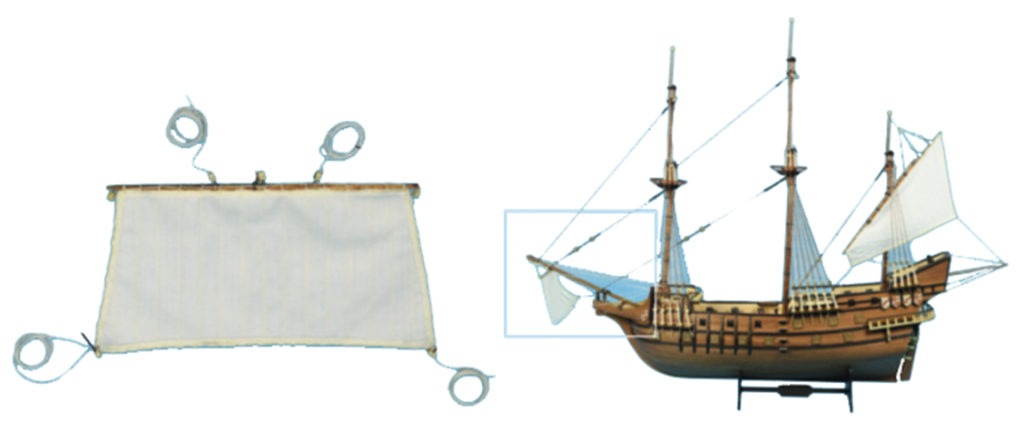
It is the turn of the spritsail, which is located on the bowsprit.

Assembly of a wooden ship model rigging: spritsail.

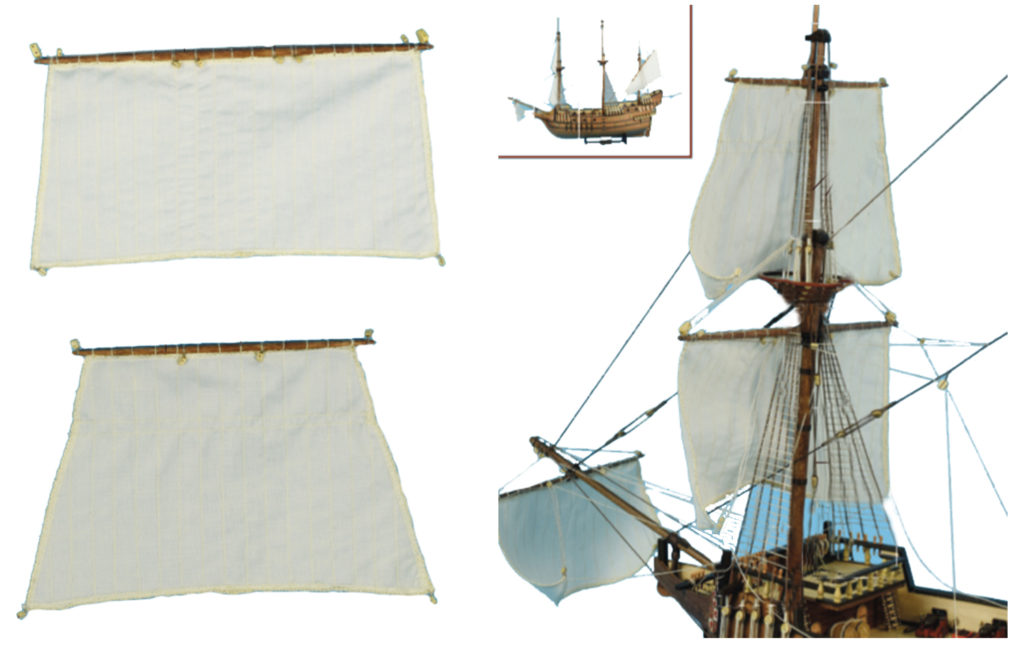
To give way, just later, to the stay sail and the fore top sail.

Assembly of a wooden ship model rigging: stay sail and fore top sail.

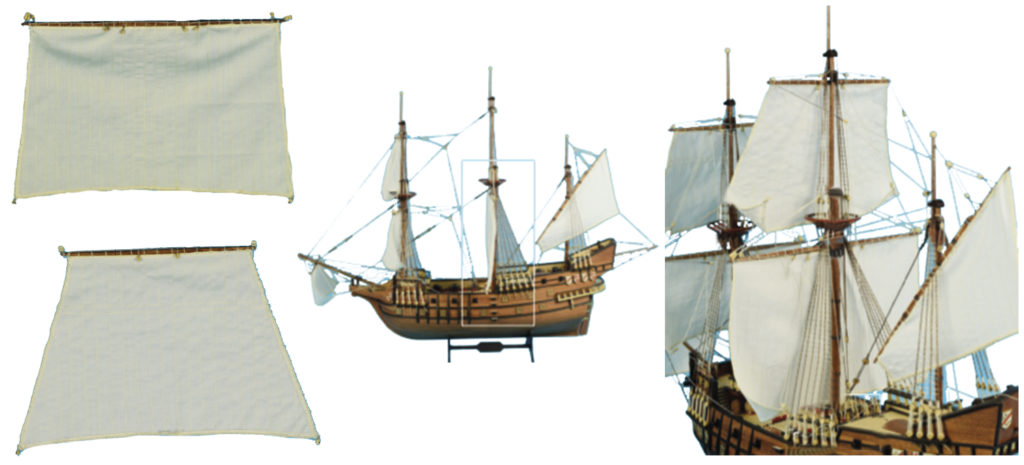
Of course, it’s time for the main sail and the main top sail.

Assembly of a wooden ship model rigging: main sail and main top sail.

The last step to finish the ship model rigging and, specifically, the running rigging is the installation of the bowlines on the bow, that is, the ends or moorings of the mentioned area. They were used in square sailboats to withstand the leeches of the bow sails when sailing towards windward.

You can consult all the rigging accessories for wooden model ships here.

Read the sixth part of the post…

Read the fourth part of the post…

Posted in Model Building Tips

Ship Hull Construction: Assembly of a Wooden Boat Model (III)

Once the modeler who starts in the world of ship modeling has prepared the workshop and has supplied the necessary tools for modeling according to the skill level, the ship model lover can begin to know everything about the ship hull construction of the boat model thanks to this post.

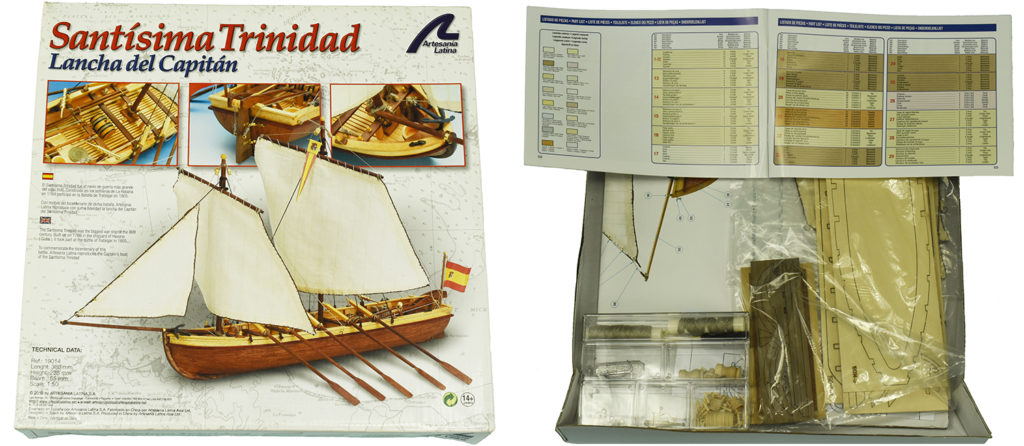
On this way, the steps that will be undertaken to carry out this purpose are divided as follows. Firstly, we emphasize that it is necessary to check the contents of the modeling kit, so that the modeler becomes familiar with the shapes of the different parts. Also, as most of these kits, in this case ship modeling, have a list of parts, we recommend that you make sure that all parts are present. It is also convenient to see if it brings all the plans and instructions for its construction. (Artesania Latina modeling kits bring them on DVD format).

Naval modeling. Wooden Ship Model Captain Boat Santisima Trinidad (19014).

SHIP HULL CONSTRUCTION: KEEL AND FRAMES OF THE SHIP MODEL

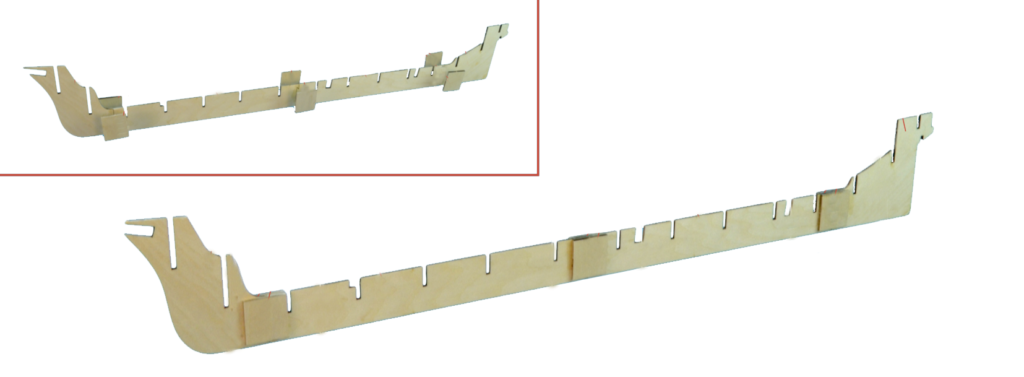
The next action would be the assembly of the keel. It is the fundamental area of ​​the ship’s model structure. It goes from the bow to the stern of the ship longitudinally on the exact center of the model, since everything will be built from this part.

Ship Hull Construction. Assembly of the Wooden Naval Model Keel.

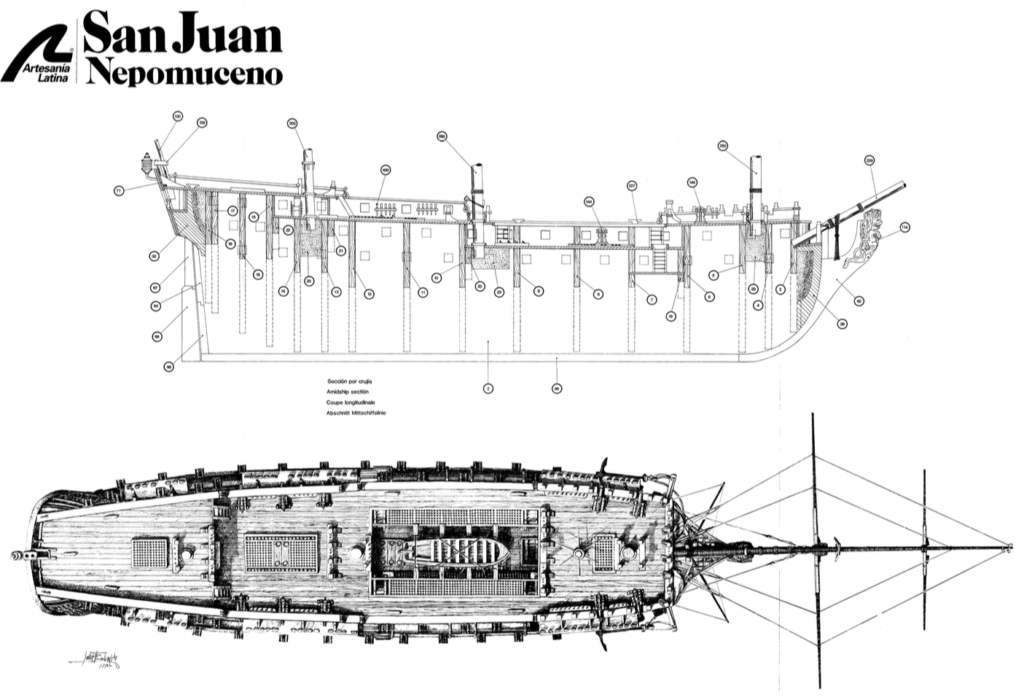
Remember to take the drawings that show the hull assembly and hang them in front of you, at your workshop. On this way, you can quickly and clearly see how to assemble each part.

Ship Hull Construction. Plan for the Assembly of the Wooden Ship Model San Juan Nepomuceno (22860).

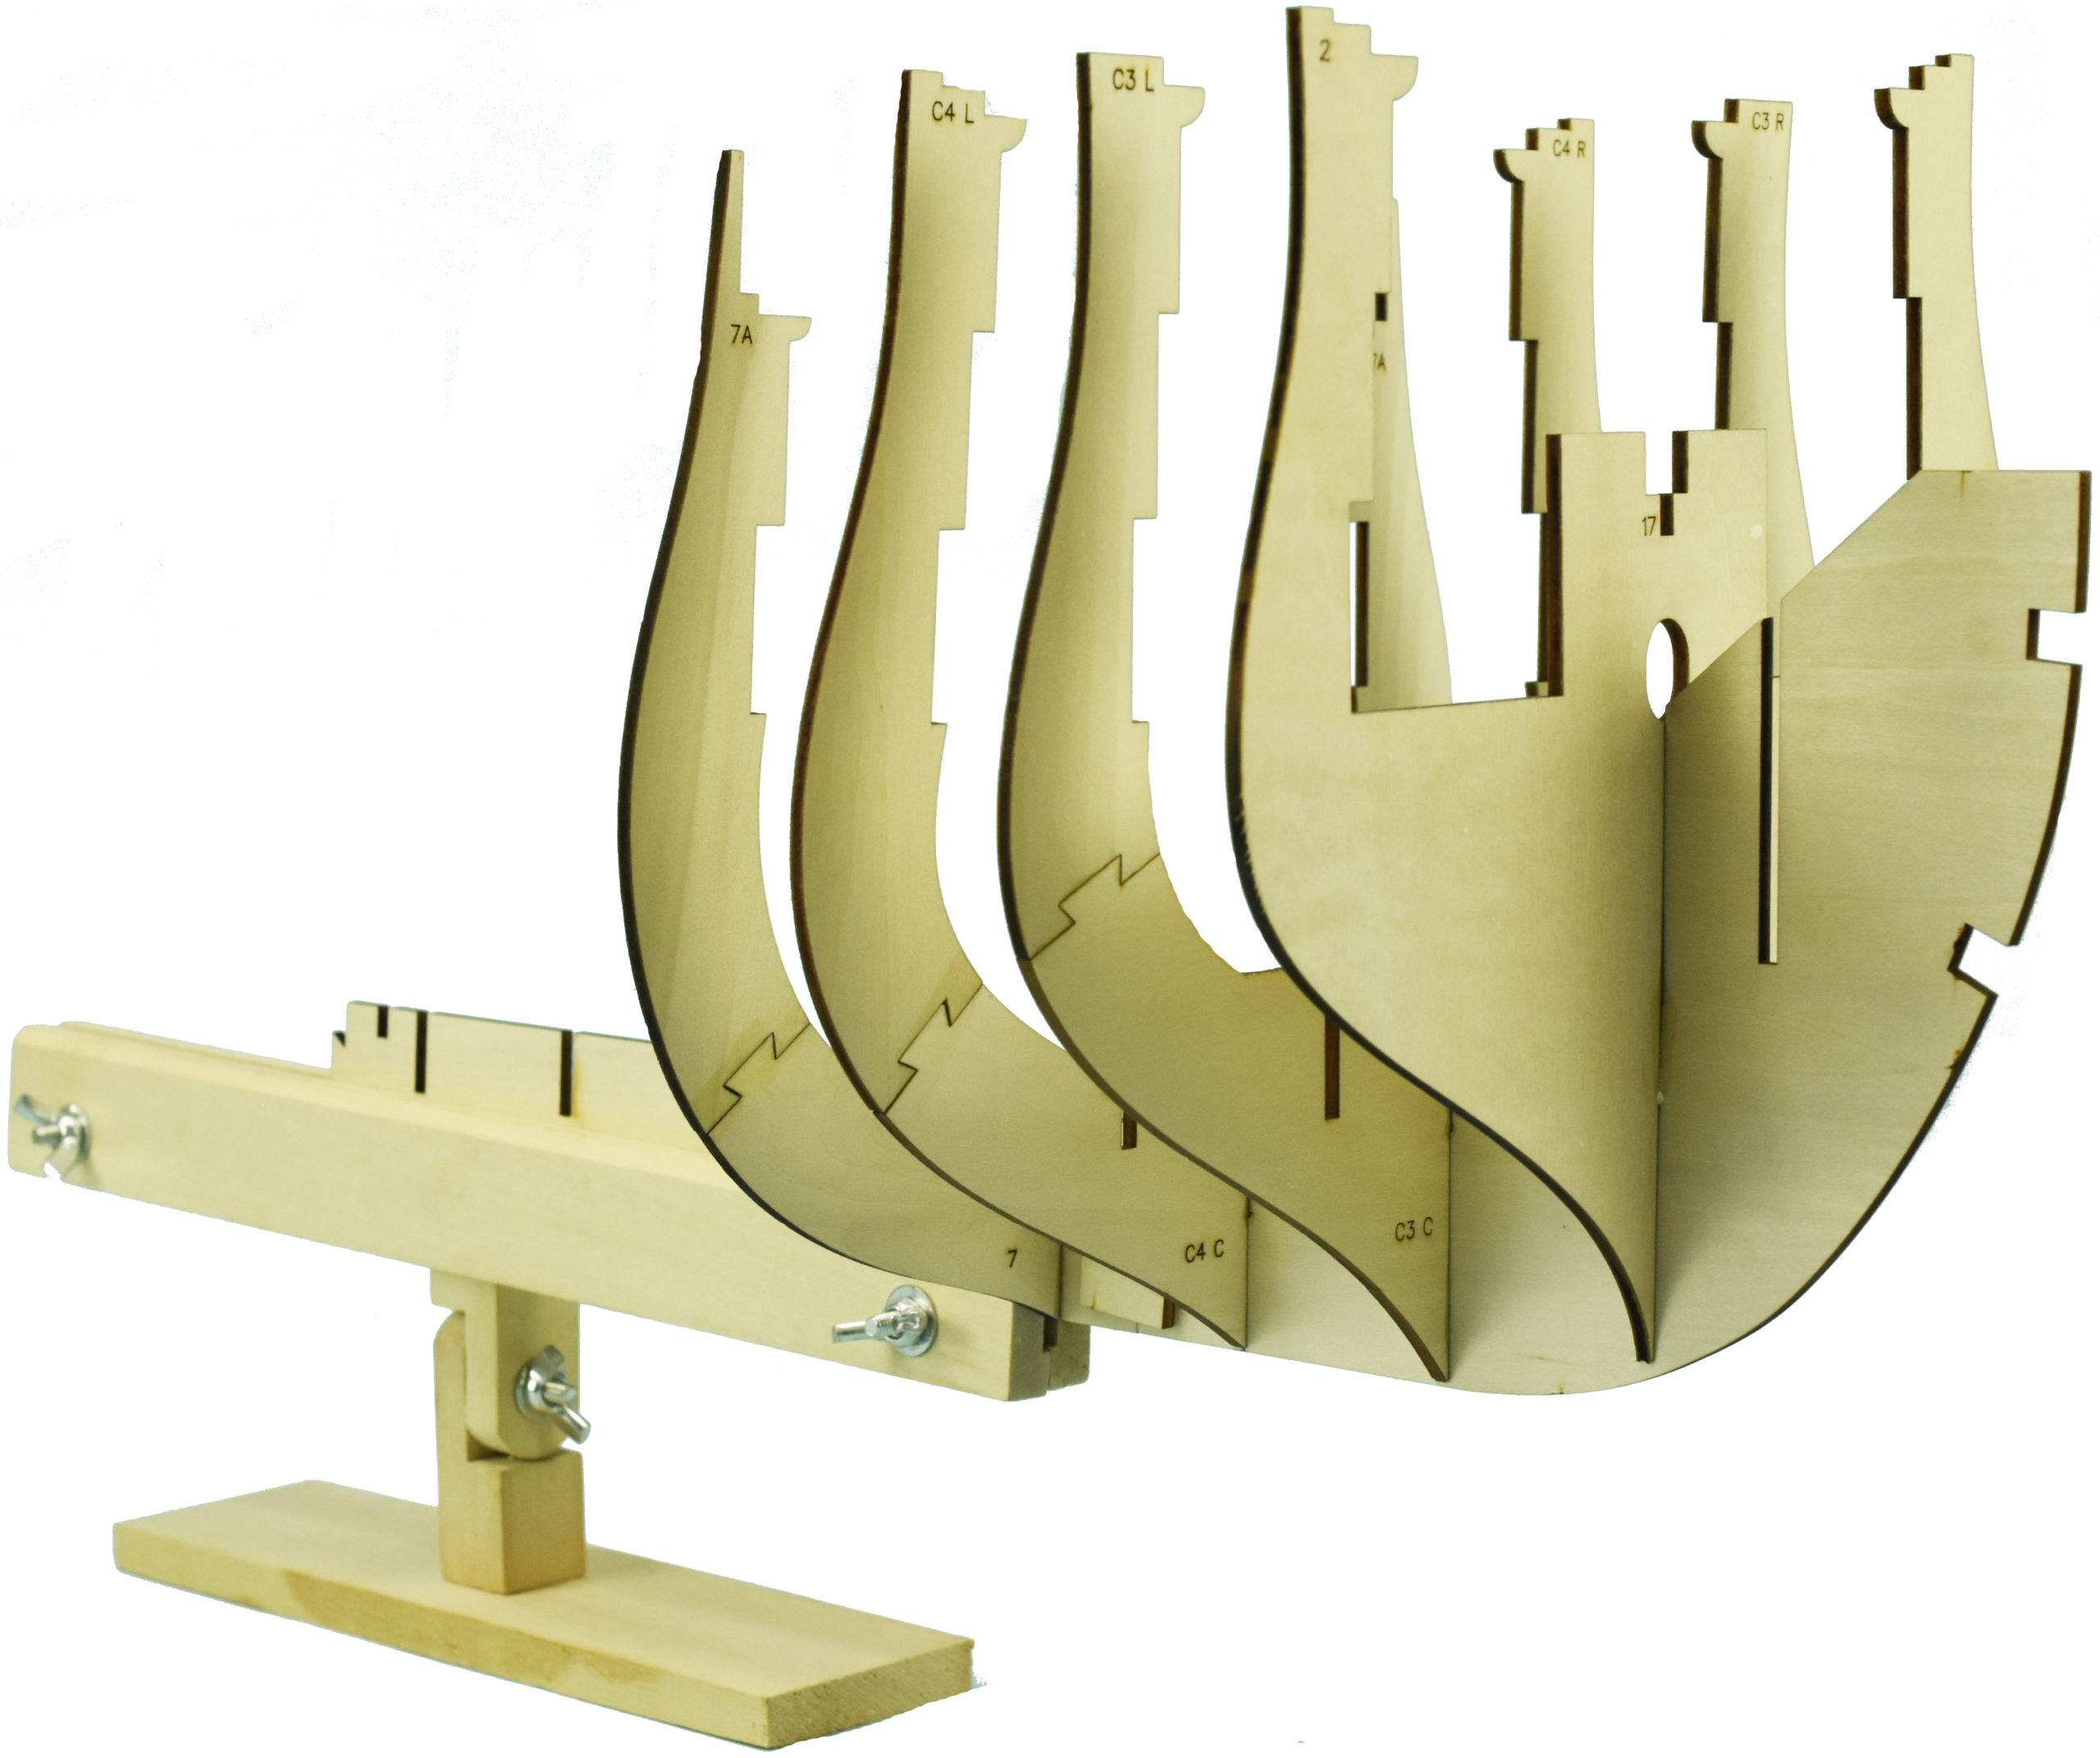
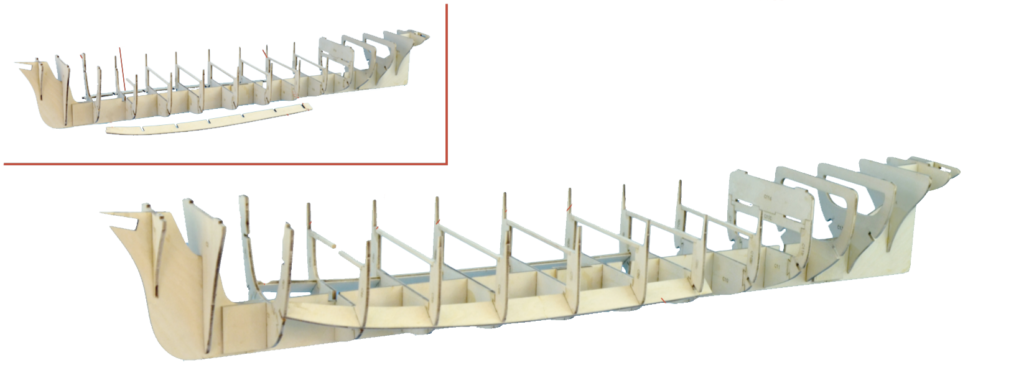
The next step would be to adjust the frames to the keel, although the modeler must first make sure that they are not broken. The good thing about Artesania Latina modeling kits is that you don’t have to file the frames before they are placed. They are ready to fit. Just do not paste them until you see that, once placed, all are perfectly.

Ship Hull Construction. Adjustment of the Frames on the Assembly of the Wooden Ship Model.

ASSEMBLY OF SHIP MODEL DECK AND MASTS

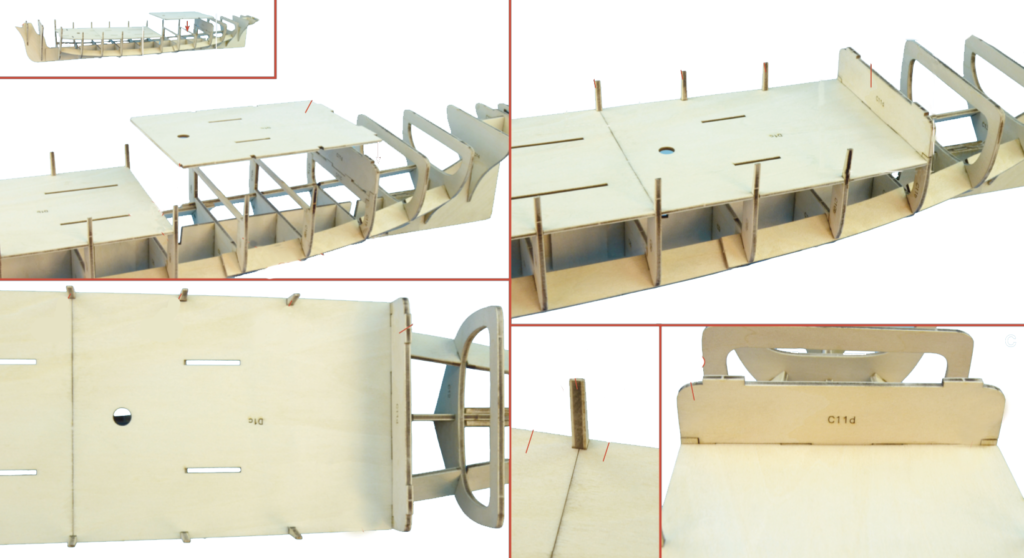
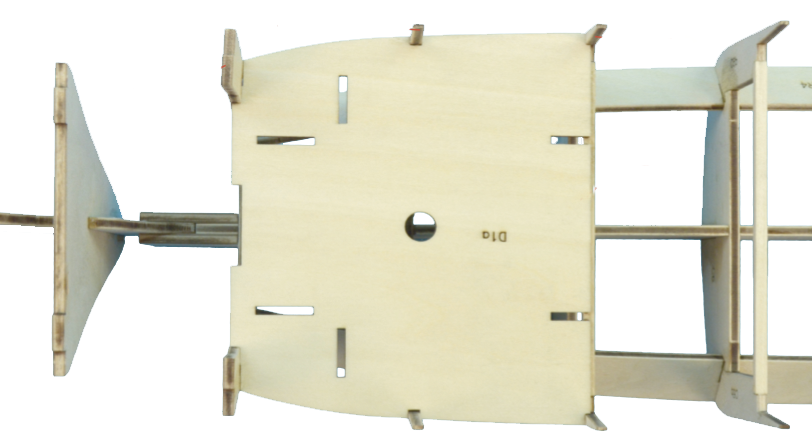
Afterwards, the modeler must check and fit the decks of the wooden ship model. This action has a great relevance since the decks will make the keel straight, and it help align the frames.

Small scale models, usually aimed at beginner modelers, only have one deck, thus facilitating the work of the novice. Never force the cover on the frames when assembling it, be very careful, or it will yield and damage the hull construction.

Fitting the Decks on the Assembly of the Wooden Ship Model.

As for the installation of the masts, Artesania Latina’s ship miniatures facilitate the assembly to the modelers, because they will only have to insert the masts through holes arranged for it on the deck and the keel. Speaking about other brands, you have to put some wooden blocks to hold the mâsts. But we will comment this later, although we show you below where they would be inserted.

Assembly of the Masts on a Wooden Ship Model.


SHIP HULL CONSTRUCTION: BOW AND STERN OF THE NAVAL MODEL

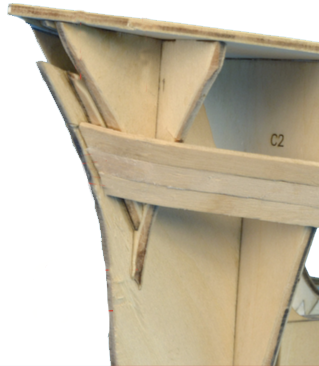
It is time to assemble and fit the bow and stern parts – the stern reinforcement is not necessary on Artesania Latina’s boat models because it comes to ‘die’ at the end of the last frame-, which will provide a solid base to the wooden strips that will finally cover the hull. The parts provided must be symmetrical and follow the shape of the mentioned hull of the wooden ship model.

Placement of Bow and Stern Parts on the Wooden Ship Model Assembly.

Once you have seen the good disposition of the frames and that the decks are not bent or sunk, proceed to glue them, as well as the rest of the ship built, with cyanoacrylate for porous materials because you are working with wood. Once you have pasted everything, let it dry for at least twenty four hours. We will speak about more steps for ship hull construction on next post.

Read the fourth part of the post…

Read the second part of the post…