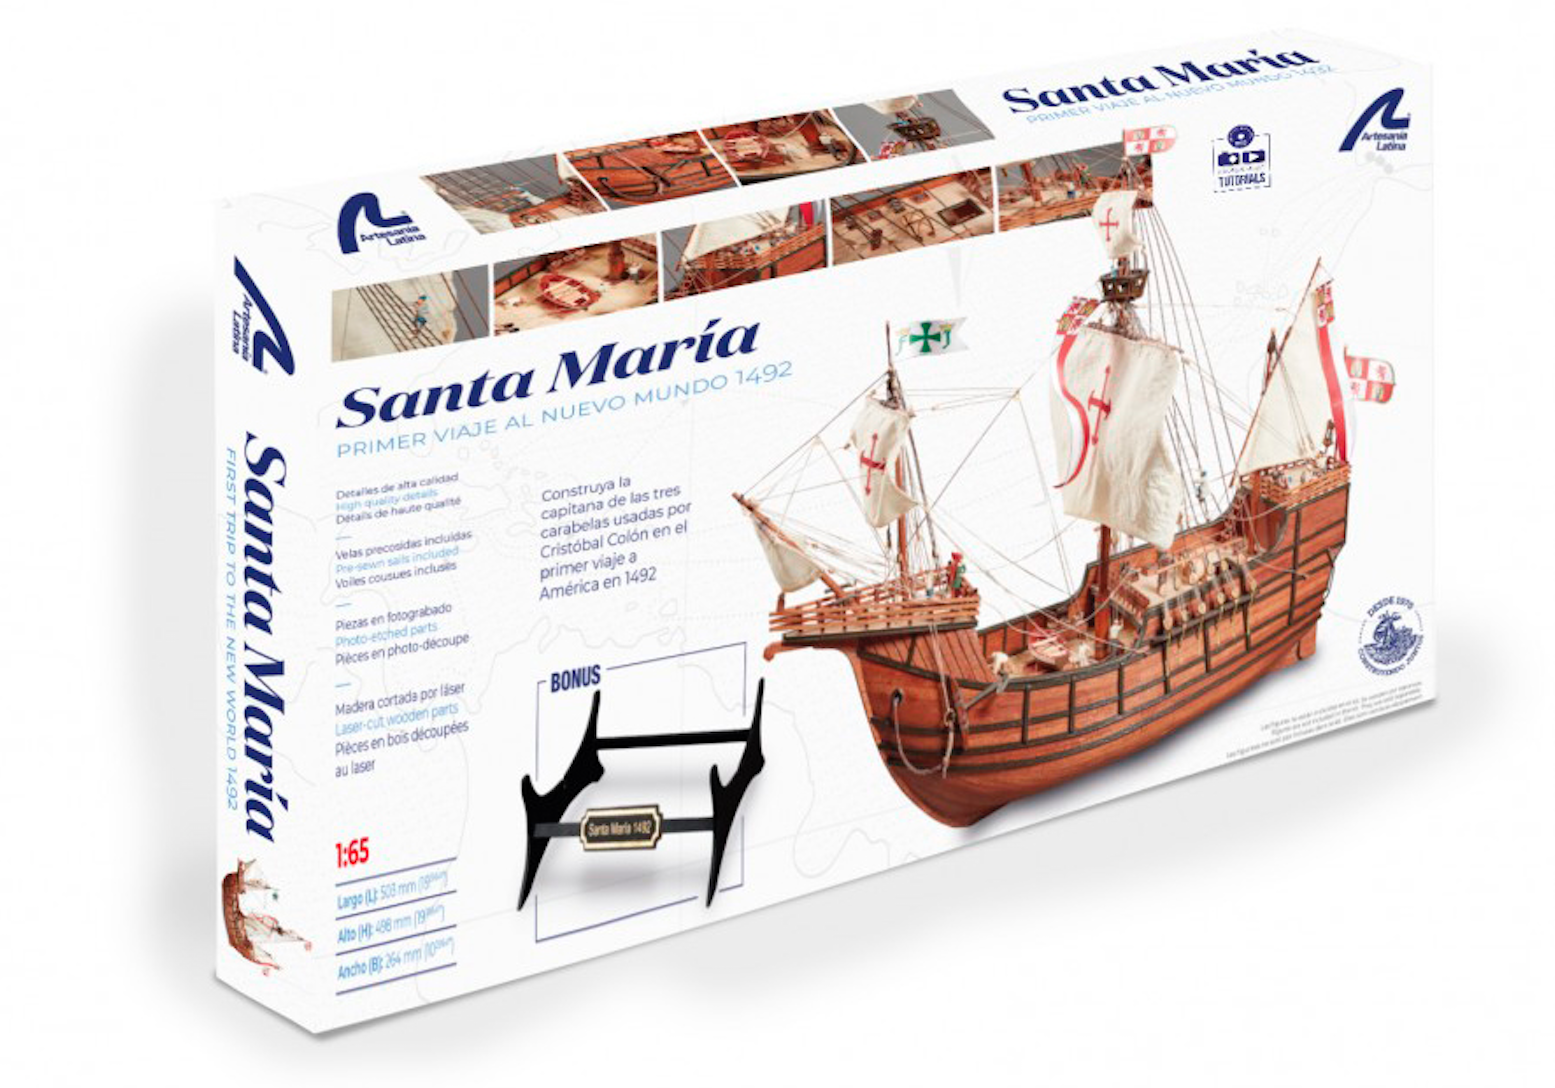
We continue this week with the second post to teach how you can develope the construction of the Santa Maria model (22411-N), the well-known caravel (nao) in wood at 1/65 scale. We specify on video the parts of the assembly that can be more complicated or remarkable due to the level of detail for our modelers friends. Last week we left it explaining the assembly of the rails and barrels. Now we return to this audiovisual guide with the capstans and the cannons.
. Click here for more info about the wooden caravel of America Discovery.")
HOW TO BUILD THE CARAVEL CAPSTANS AND CANNONS
On the audiovisual instructions for 1/65 scale Santa Maria wooden model construction, we now present Chapter 9: ‘Assembly of the Capstans’. First, varnish with your brush the outer parts to then apply cyanoacrylate (27650) and glue the three parts that make it up. Second, insert them and… Done!
Chapter 10 deals with the ‘Assembly and Decoration of the Cannons’ on this video guide for the construction of the Santa Maria model. First, use one of our cutters to extract parts of the photo-etched plate and to remove the remains. Once removed, glue the four U-shaped details with cyanoacrylate on each of the four corners of the two sides of the gun carriage part. Second, insert some cyanoacrylate into the four existing holes in the large part, then insert the four eyebolts into these.
Now, place or glue the cannon on top of the gun carriage -your choice-. Take a thread and begin to carefully pass it through the eyebolts so that the barrel fastening is tight and beautiful. If you need it, help yourself in this task with a curved fastening tweezers. Finally, tie the end of the thread and cut off the excess.
SANTA MARÍA MODEL CONSTRUCTION: PAINTING LANTERN, NAMEPLATE AND DOORS
The following demonstrative videos deal with the finishes of the 1/65 scale model of the Santa María caravel, specifically, with the painting of various parts. In Chapter 11 we will see how to ‘Painting the Lantern’. To be able to work comfortably, embed the lantern in a stick or punch. With a flat brush, apply the paint carefully. We remind you that you can use the Set of Paints for Caravels and Galleons (277PACK8), for sale separately, with all the necessary colors to make your model perfect.
We move on to Chapter 12 with the ‘Painting of the Nameplate for Exhibition Base’ on the following video for Santa Maria model construction. Once the modeler has the plate out of the photo-etched plate, take some straight tip precision tweezers to hold it. Using a flat brush, start to apply the paint without excess paint on the brush or plate. Scrape a round wooden stick with a cutter until you get a point like any pencil. Proceed to remove the paint that is on the letters with that tool that has been created. Do the same with the license plate frame. The letters and the frame will be gold while the background will be colored.
In Chapter 13 we will watch the ‘Painting the Doors’. Tape the door to the end of a wood part so it doesn’t move while you paint. Have a small amount of the two paints you are going to use on a small plastic. Soak the flat brush and remove the excess on a paper towel. Apply brown and black with the flat brush to make it look like wood grain.
SANTA MARIA MODEL CONSTRUCTION: MASTS REINFORCEMENTS AND SAILS DECORATION
The last two videos of the audiovisual guide forconstruction details of Santa Maria model demonstrate how to carry out two tasks related to the propulsion of the caravel. The masts and the sails. Chapter 14 teaches the ‘Masts Reinforcements with Thread’. Take the thread and tie it to the mast as shown on the video. Using straight-nose pliers, tighten the thread wherever you see slack. Take the two ends of the thread with your hands and pull. Cut the excess thread with a cutter.
The last one is Chapter 15, here we show the ‘Sails Decoration’ process. Carefully remove the cross from its support. Take a parts of flat cardboard larger than the sail, place the sail on top and stick it to it with masking tape so it doesn’t move. Place the cross on top of the sail and use the new Micro Centering Ruler (27326) to check the measurements and that it is centered. With the cross already centered on the sail, take a pencil and draw the outline of the cross on the sail. Take a small round brush, and fill in the entire silhouette of the cross with the red paint.
We are done with these video tutorials to help the modeler in the construction of the Santa Maria model kit at 1/65 scale (22411-N). This kit of naval modeling will make you enjoy many moments of joy and satisfaction. Do not forget that, in addition to selling the model alone, we also have the fabulous Santa Maria Model Gift Pack (22411-L). Find out!
.")