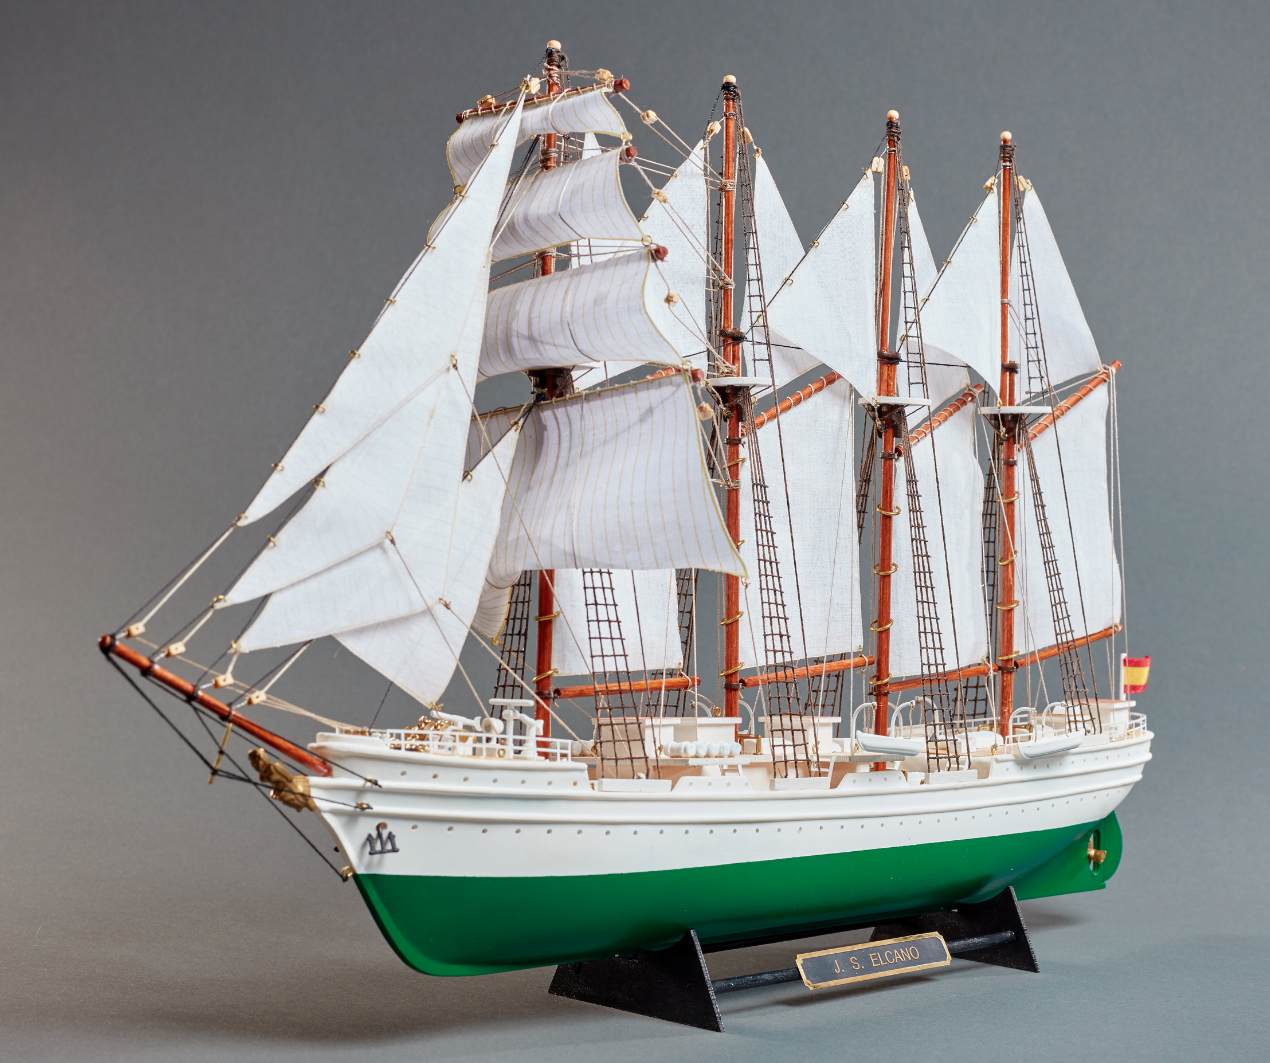
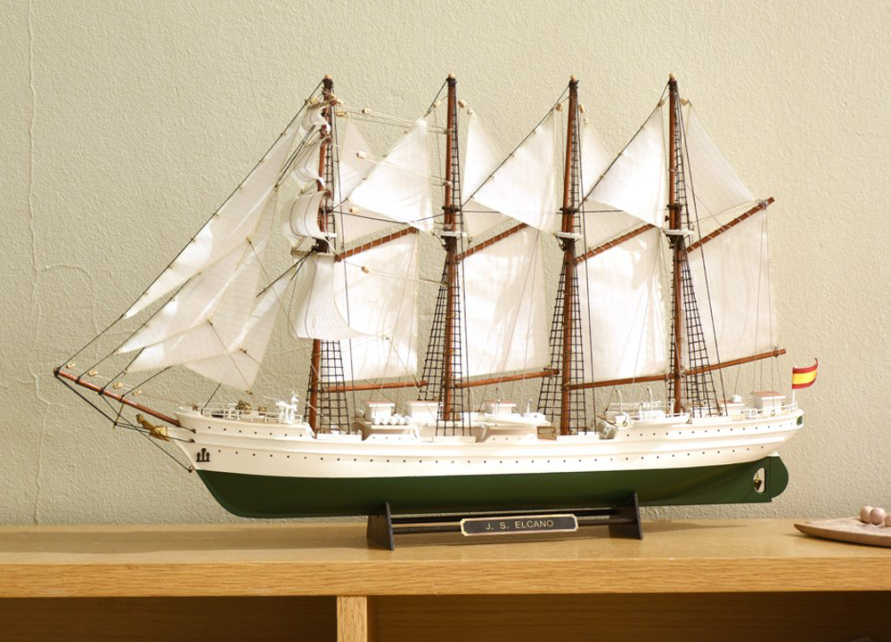
We dive into the last part of the Elcano ship model instructions for its assembly. With these video tutorials made by our modelers, we put the finishing touch to the set up of the Spanish school ship model Juan Sebastián Elcano / Chilean Esmeralda (22260) at 1:250 scale. As we mentioned before, it is a faithful miniature replica excellent for beginners on the hobby of naval modeling.
ELCANO SHIP MODEL INSTRUCTIONS: SAILS (PART III – A)
We continue with ‘Sails – Part III’, which is Step 21 of the instructions for assembling the Elcano ship model (22260).
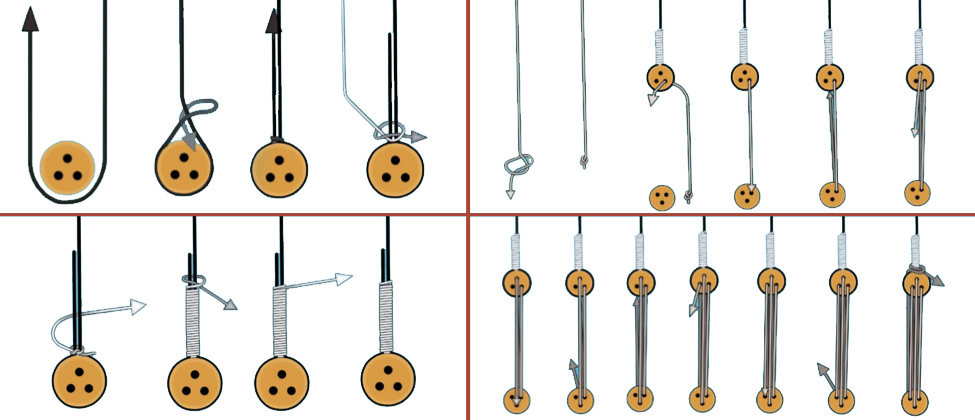
Arrange one unit of parts S7, S8, S9 and S10, that is, more sails. Take part S7, and sew it with a needle cotton thread –part CT1– around the stick part Y1, from top to bottom. When you finish sewing, help yourself with some Straight Fastening Tweezers (27020) to tie the knot on the stick.
Now, with a cutter, drill two small holes in the two opposite corners of the stick. Insert the two BR1 parts -two rings- into these. Take a part BL and thread -part CT1-. Put the thread through the hole and around part BL. Tie a knot at the end with the help of the aforementioned tweezers. The thread should be fully stretched through the hole and around the part BL. Apply Dense Cyanoacrylate for Porous Materials on the knot and allow to dry.
Next, you will have excess thread on both sides of the knot. First, completely cut one of the threads, while the other leave a few centimeters long. Don’t cut it all the way. Second, also using the tweezers, tie that thread with the BL part to the left side of the stick and tie the knot with cyano. Third, if there is excess thread, remove it with a cutter. Repeat all these actions on the other end of the stick with another BL part.
The result should be this:
 by Artesanía Latina.")
ELCANO SHIP MODEL INSTRUCTIONS: SAILS (PART III – B)
Then go through the entire process again with the other SAILS. For the sail part S8, you will need one Y2 part, two BR1 parts and two BL parts. For the part S9, one Y3 part, two BR1 parts and two BL parts. And for the S10, one part Y4, two parts BR1 and four parts BL. Take again the sail part S7 and thread part CT1. At one end of the stick, tie a knot with plenty of thread left over from both sides. Apply cyano and let dry. Repeat the process on the other end of the stick.
 by Artesanía Latina.")
Take the S7 sail. Use a Curved Fastening Tweezers (27021) to pass the thread -part CT1- with a needle above the mast top, as seen on the video. The goal is the sail can be already hanging on its mast. Make the knots as shown, apply a little of cyano and cut the excess thread with the Thread Snips (27060). The sail already stays in place.
Repeat the process with the S8 sail. Once hung, it has to be attached to the S7 sail with thread. Tie them by means of the two BR1 parts that are on the sail. Passing the CT1 thread through the BR1 ring and, right after, tie it to the end of the stick. Repeat the process also for the other end of the pole with the other BR1 ring.
Do the same with the S9 sail, but this time tying it to the S8 sail. And finally, with the S10 sail, knotting it to the S9. This should be the final look with all the sails in place.
 by Artesanía Latina.")
ELCANO SHIP MODEL INSTRUCTIONS: SAILS (PART IV – A)
Well, it’s time for the next task. Step 22 of the assembly instructions for the ship model Elcano (22260). This one is about ‘Sails – Part IV’.
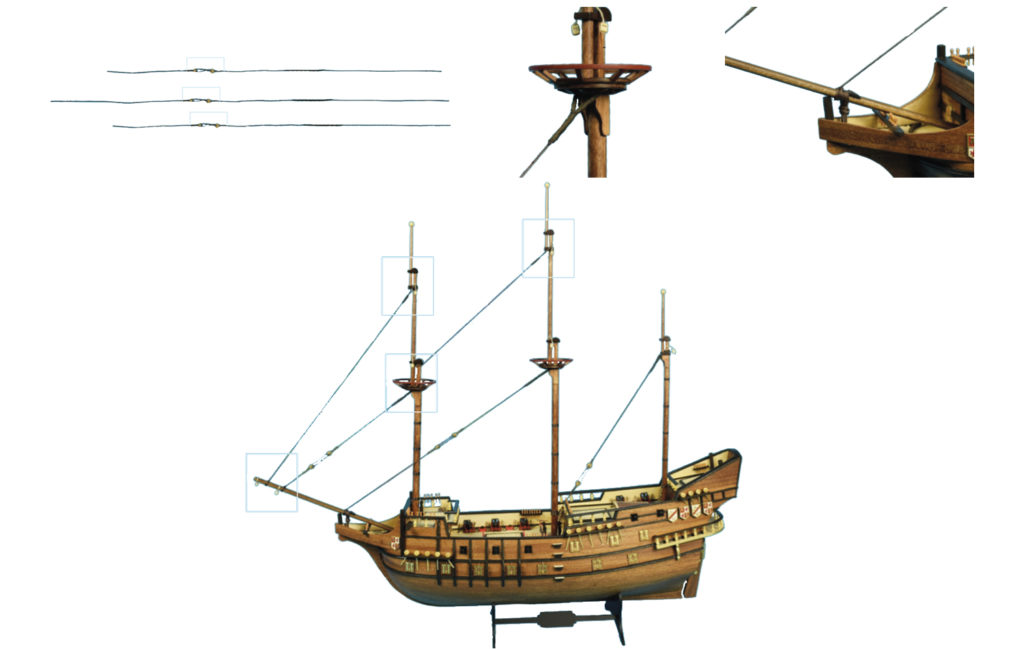
Take the four sails parts S11. Now take one and, using a utility knife, drill three holes in each of the three corners of the sail. Then, insert one of the three parts BR1 -rings- into each hole. Open each part BR1 with two Needle Nose Pliers (27213) and insert the ring through the sail. After inserting it, close it again using the aforementioned pliers. As we have discussed, repeat the process with the other three sails.
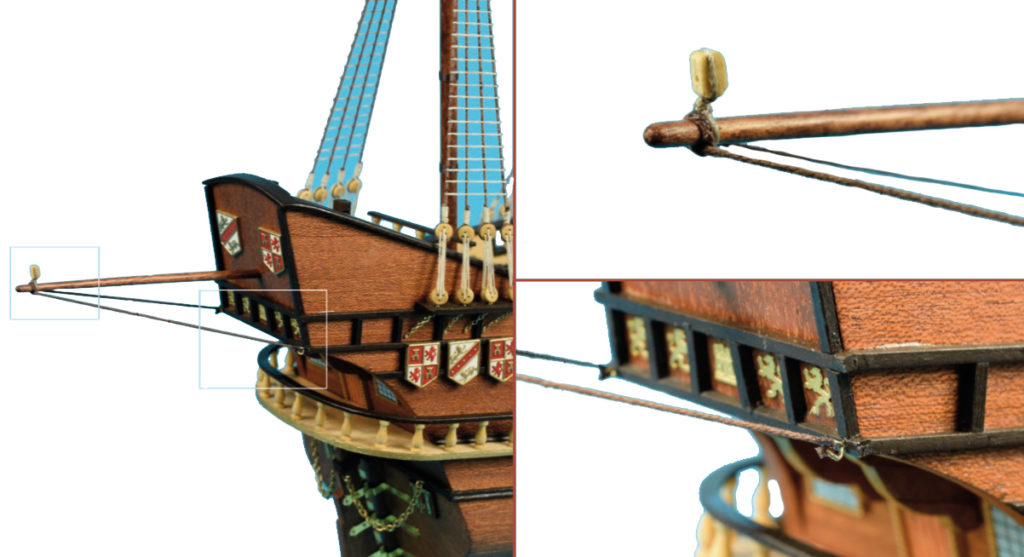
Again, take a sail part S11. Insert thread through the BR1 ring found on the most pointed part of the sail, at the top and tie a knot. Cut the excess of one of the ends of the thread and pass the other end through the mast. Then bring the thread to the hull, tighten it, tie it off and glue it with cyano. Watch the video for it.
Now, thread CT1 through the outermost ring BR1. Begin to tie a knot and leave a hole to insert it into the bottom sail pole. Insert into the stick and close the knot. Do the same with more thread through the remaining BR1 ring, the third one, the one closest to the mast. In this sense, the sail part S11 will be attached to the lower sail.
 by Artesanía Latina.")
ELCANO MODEL SHIP INSTRUCTIONS: SAILS (PART IV – B)
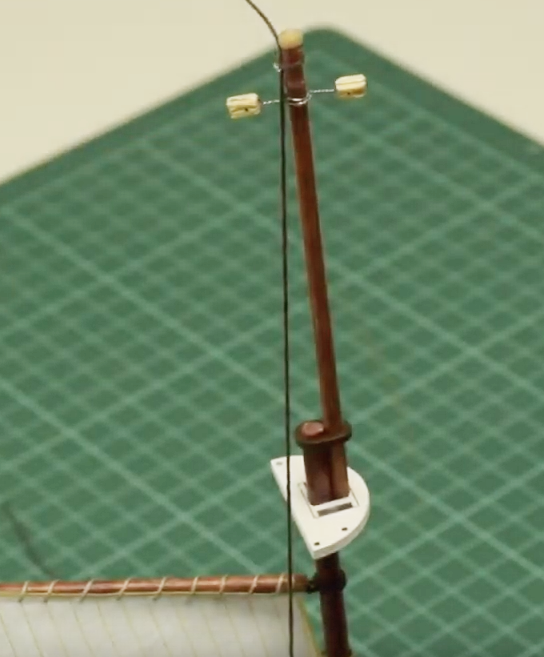
Below that bottom sail, place a PCL part. Bend the wire that has the stick on it and attach it to the mast. Use the pliers to twist the wire around the mast.
Take CT1 thread and pass it through the eye of the BR1 part of that lower sail to make a knot and pass it through the PCL stick. The sail will be attached to the mast. Remember to apply cyano to all the knots you make.
Thread CT1 through the ring on the hull and tie it to the stick so that it is taut. The rest of the thread, pass it through the mast top and tie it to the deck. Take a look at the video to run this process, which you will need to repeat for the other three sails.
 by Artesanía Latina.")
ELCANO SHIP MODEL INSTRUCTIONS: SAILS (PART V)
Step 23 of Elcano ship model instructions (22260) for the assembly of Spanish school ship, is about the ‘Sails – Part V’. You need to pay close attention to the video so that you can build the rest of the sails.
JUAN SEBASTIAN ELCANO MODEL SHIP: DECKS (PART III – A)
We continue with Step 24 of the Elcano ship model instructions for its assembly. This is about ‘Decks – Part III’.
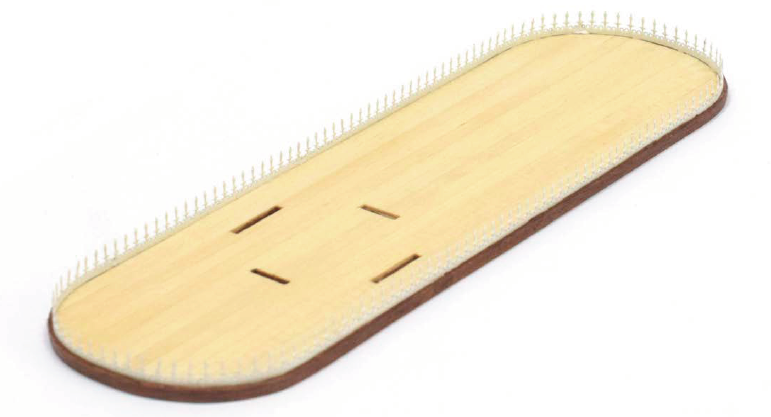
Take two M8 parts and glue them parallel to the foredeck as shown on the video. Next, take ten units of the part DM4. With the help of cyano and grip pliers, take five of these and glue each one next to the other on the deck area shown. Then turn the boat 180º and do the same for the other five on the other side of the deck.
Once this task is done, take a Stainless Steel Ruler 150 mm (27069). Use it to mark with a pencil on the edge of the hull two points with an equidistance of 18 mm. From each of these two points, with the ruler, measure and mark two points 6 mm inside the deck. Drill with a small hand drill at the two points marked on the deck.
Take an M6 part. Apply a drop of cyano and insert it with tweezers into one of the two holes made. Repeat the process with another M6 part and insert it into the other deck hole.
JUAN SEBASTIAN ELCANO MODEL SHIP: DECKS (PART III – B)
It is time to use thread part CT2 for the placement of part P2, previously painted with Off-White Acrylic Paint (27702). First, thread the thread through the two holes in part P2. Second, take the other end of the thread and feed it through an M6 part. Do the same with the other end. When you are inserting the two ends of the thread into each M6 part, insert them from the outside to the inside.
Next, make a knot in each of the two inserted ends so that the part P2 does not come loose. Apply a little cyano to each one. Repeat the process on the opposite side of the boat.
 by Artesanía Latina.")
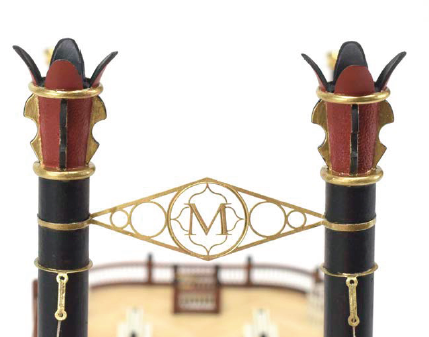
JUAN SEBASTIÁN ELCANO ASSEMBLY: HANDRAILS AND PROPELLER
The ‘Handrails and Propeller’ is Step 25 of the video tutorial for building the model of the Elcano ship. Take two PE3 parts, previously painted with off-white paint. Apply cyano to each of the tips of the base that will be inserted. Place each of the two PE3 parts on the edge of the hull and the deck with the help of a Curved Fastening Tweezers (27021). There are two in the bow.
 by Artesanía Latina.")
Then, take a PE4 part, also previously painted with off-white colour. Bend it with your hands so that it takes on the curved shape of the stern. Once you have the shape, apply cyano to each of the corners and glue the part with both hands to the edge of the deck. Take another PE4 part and tack it right next to the one you placed earlier. Put it behind the lifeboat. Repeat the process on the other side of the hull.
 by Artesanía Latina.")
Finally, the part M11 -propeller- enters the scene. Apply cyano to the tip to be inserted and place it with your hands and a pair of tweezers on the hull.
JUAN SEBASTIÁN ELCANO ASSEMBLY: LAST DETAILS TO FINISH (PART I)
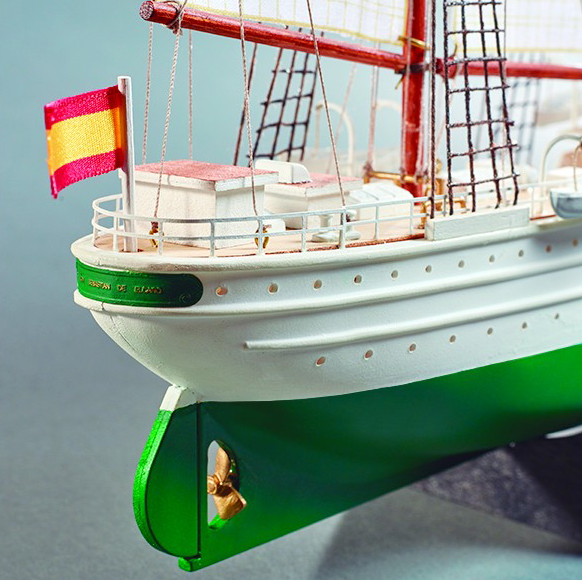
We continue with the final step of the Elcano ship model instructions for its assembly with the ‘Last Details’, which is Step 26. Arrange a unit of the part WD3 with a diameter of 2×35 mm, previously painted off-white. Later, take the part FL1 -Spanish flag- and with the help of a cutter, remove the sticker protector.
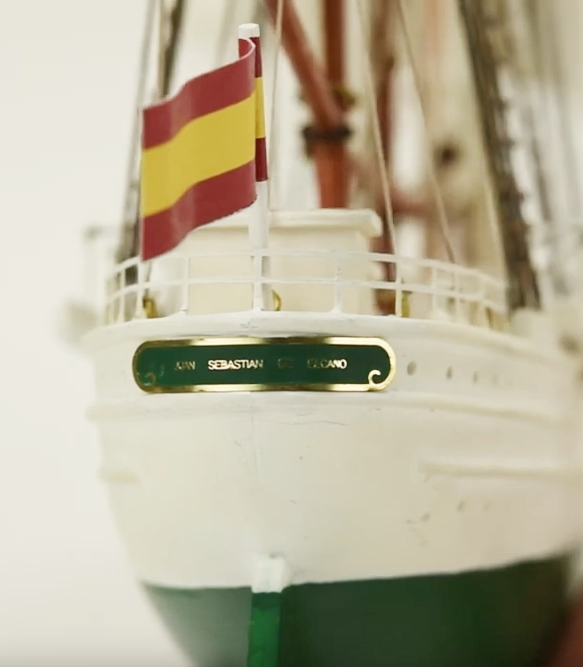
Place the center of the sticker -it has a stripe drawn- on the stick and close the sticker with your hands and the handle of a scalpel cutter until both sides of the flag stick together. Stick it in the hole in the aft deck provided for it.
It is the turn of the part PE5 Elcano / PE6 Esmeralda -metal sheet with the name of the ship-. First, paint it with Hull Green Colour (27751). Then, sand the entire edge of the sheet with a utility cutter until you can see the metal of the sheet. Apply cyano and glue it to the stern of the boat, just below the flag.
JUAN SEBASTIÁN ELCANO ASSEMBLY: LAST DETAILS TO FINISH (PART II)
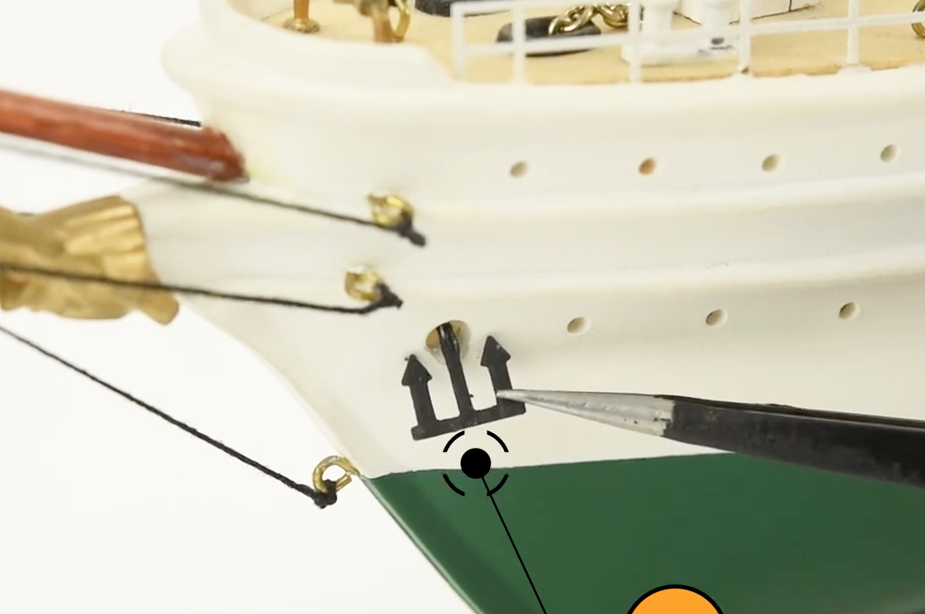
Now, take the two parts M17 -anchors-, previously painted with Off-Black Colour (27703). Place them into the two holes provided for this with the help of tweezers and a few drops of cyano. Finally, there is the part PE7 / PE8 -name of the ship for the base-. Also paint it with off-black colour, sand the edges with a cutter until you see the metal part and, with cyano, glue it to the exhibition base.
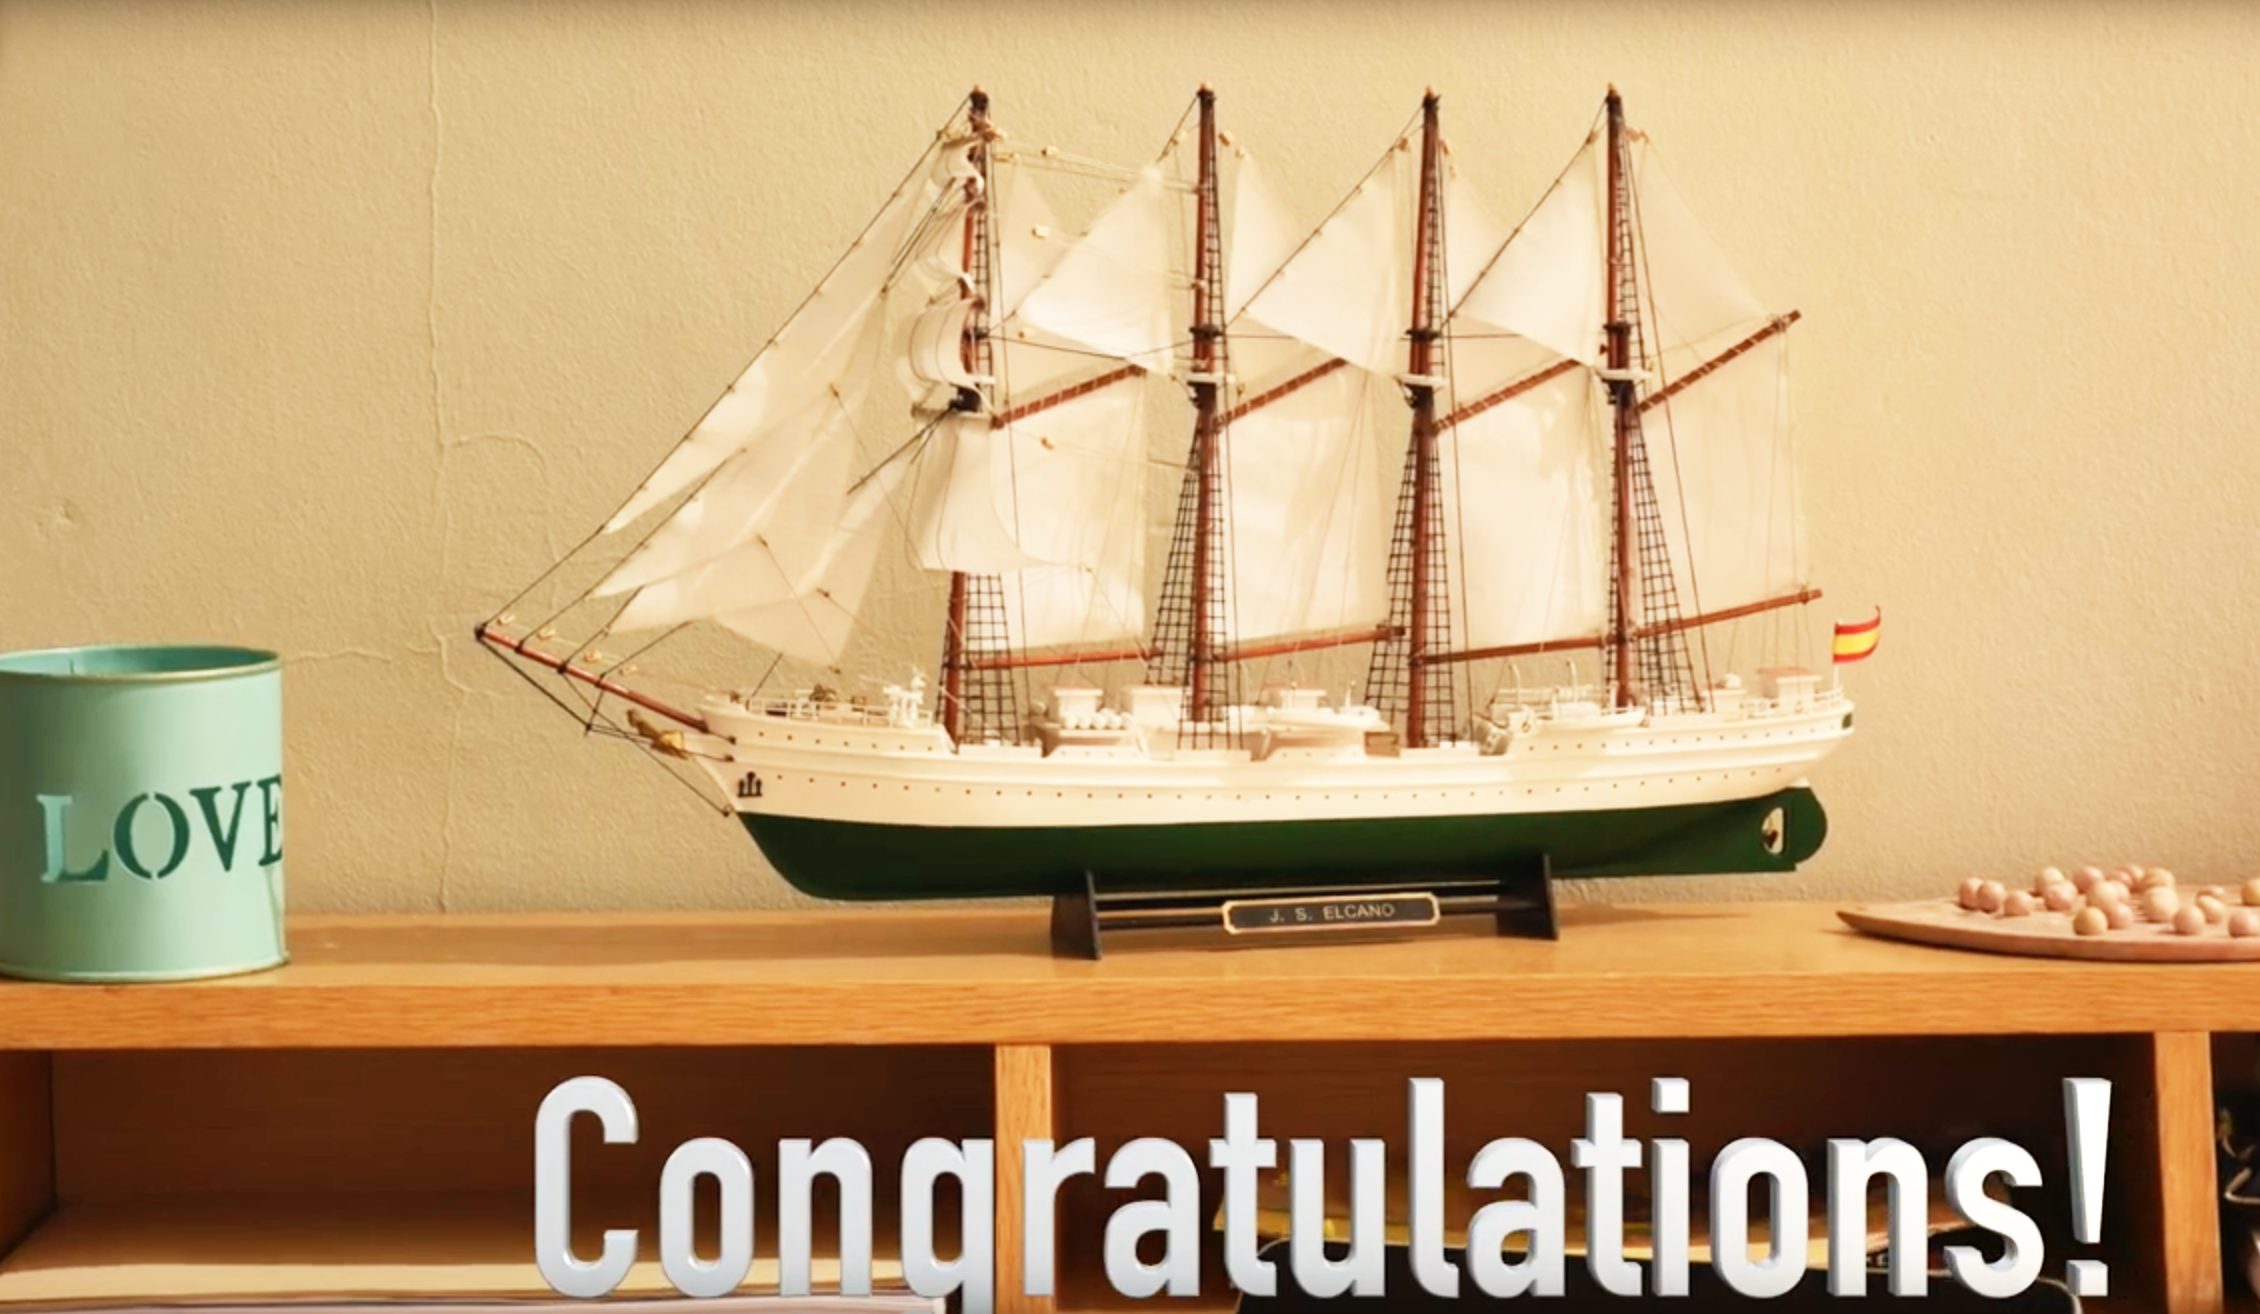
You have just finished building the wonderful model of the training ship Juan Sebastián Elcano / Esmeralda (22260)! Congratulations!

We remind you that you can also purchase the Elcano Gift Pack (22260L), which includes the kit with the schooner sailboat, its paints and some tools. It has a lower price than if the products are purchased separately.  by Artesanía Latina.")
 by Artesanía Latina. Click here for more info.")
 by Artesanía Latina. Click here for more info.")
 by Artesanía Latina. Click here for more info.")
 by Artesanía Latina. Click here for more info.")
 by Artesanía Latina. Click here for more info.")

 by Artesanía Latina. Click here for more info.")
 by Artesanía Latina. Click here for more info.")
 by Artesanía Latina. Click here for more info.")
 by Artesanía Latina.")
 by Artesanía Latina.")
 by Artesania Latina (20515). Click here for more info about the perfect paddle steamer model kit.")
 by Artesania Latina (20515). Click here for more info about the perfect paddle steamer model kit.")
 by Artesania Latina (20515). Click here for more info about the perfect paddle steamer model kit.")
 by Artesania Latina (20515). Click here for more info about the perfect paddle steamer model kit.")
.")
.")
.")
. Click here for more info about the wooden caravel of America Discovery.")
.")
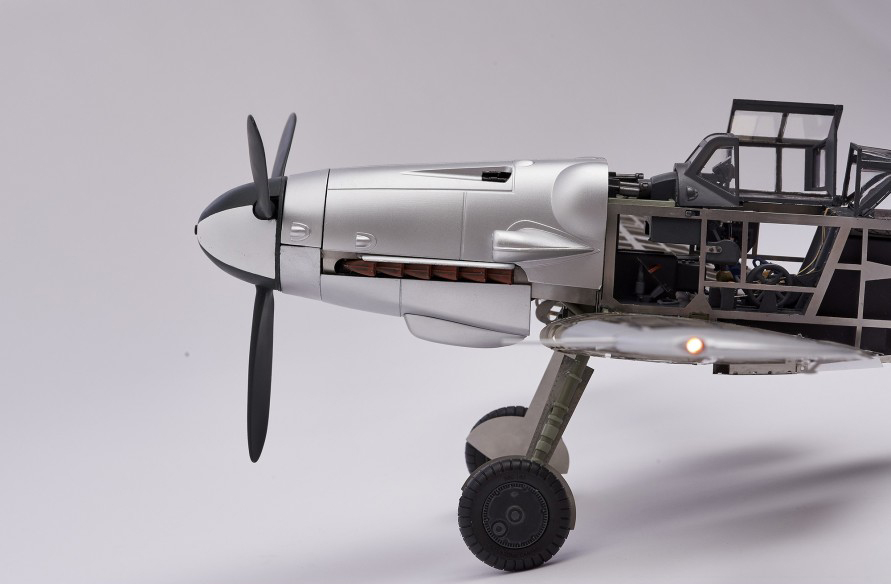
. Click here for more info of the 1/16 Scale Model of the German World War II Plane.")
. Click here for more info of the 1/16 Scale Model of the German World War II Plane.")
.")
.")
.")
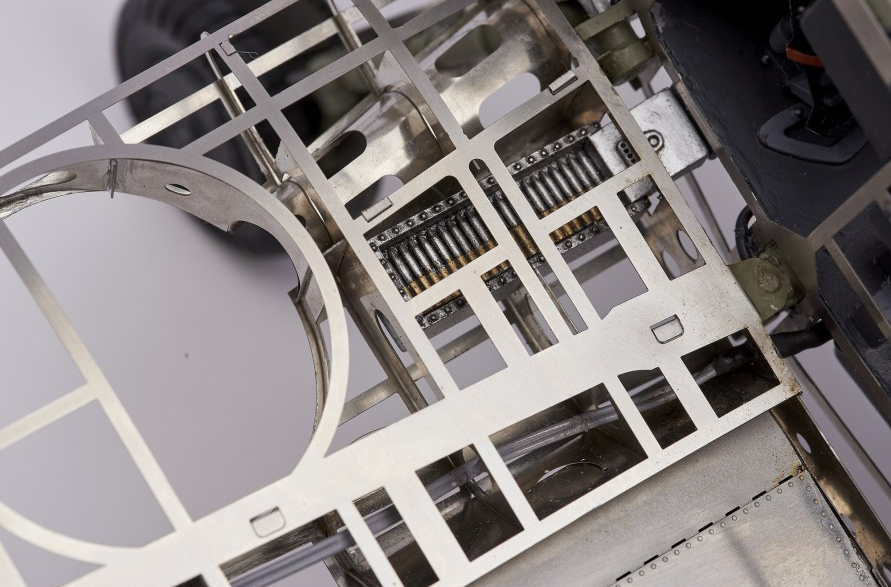
. Click here for more info about WWII German Fighter.")
. Click here for more info about WWII German Fighter.")
. Click here for more info about WWII German Fighter.")
. Click here for more info about WWII German Fighter.")


.")

. Click here for more information about this ship model.")


