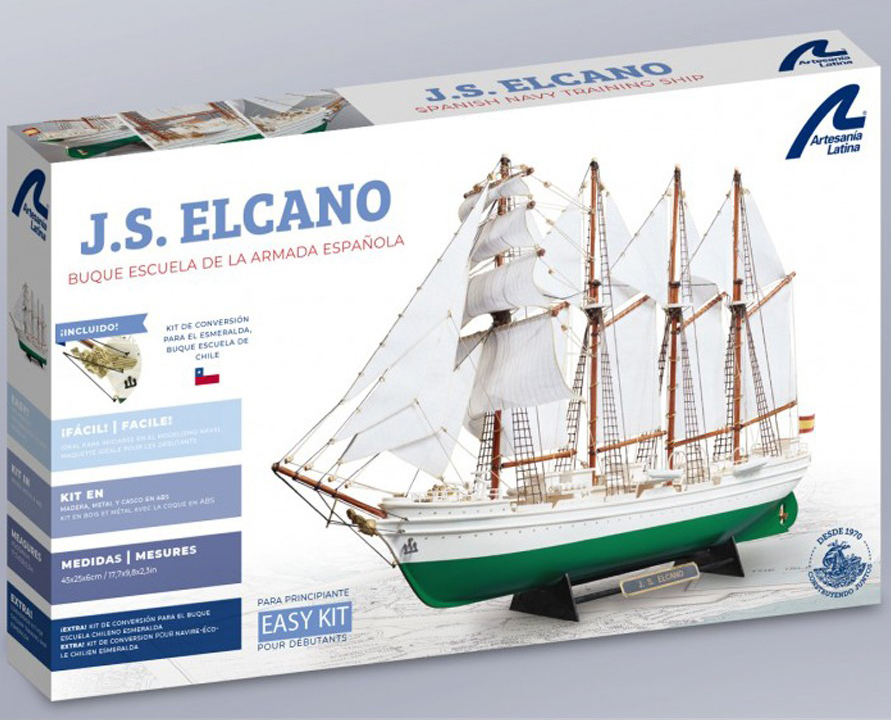
We are back to show you the second part of Elcano model set up with other video tutorials made by our professional modelers. This faithful 1:250 scale miniature replica of the Spanish training ship Juan Sebastian Elcano / Chilean Esmeralda (22260) is aimed at beginners modelers.
.")
ELCANO MODEL SET UP : UPPER DECK
We continue to accompany our modelers friends during Elcano model set up with Step 9, dedicated to the ‘Upper Deck’. Take the parts 5 and MD3 of the deck shown on the image. Next, apply our Cyanoacrylate for Porous Materials (27650), sold separately, around the edge of the top of the part MD3. Take part 5 and paste it on top of the MD3 as shown on the video.
Once the adhesive is dry, take a small flat brush and a jar of White Primer Filler (27701), sold separately. Paint these and carefully, paint the sides of the two joined parts. Drill with a 4 mm hand drill the central area to make a hole.
Then, paint all the parts M15 and start cyanoacrylate gluing each of the parts M15 and DM2 with off-white acrylic paint (27702). We remind you that you can purchase the complete Juan Sebastian Elcano Acrylic Paints Set (277PACK17). Once all the parts have been painted, glue them with parts 7, the two previously joined parts as seen on the video. Adhere also, without prior painting, the part M10.
Make eight small holes on the places indicated on the video. Using some Straight Fastening Tweezers (27020), place the eight parts M2. Lastly, cut the lower excess of these parts with a Professional Straight Cutting Pliers (27212). Finally, take another part M2 and put it on the roof of the middle cabin on the upper deck.
ELCANO MODEL SET UP: LIFERAFTS
Step 10 of Elcano model set up, the Spanish brigantine sailing ship, deals with the ‘Liferafts’. Take the part WD1 -4 mm in diameter and 10 mm long- and proceed to sand it down.
Put some cyano on two BR3 parts, which are sort of washers. Insert them into each of the both sides of the part WD1 with the help of a pair of tweezers. Finally, paint the joined part with off-white acrylic paint (27702). The end result is a DM4 part. Repeat the process eleven times.
ELCANO TRAINING SHIP MODEL: DECKS (PART II)
We continue on Step 11 of the Elcano model set up, the Spanish school ship. This is about ‘Decks – Part II -‘. Gather two parts M7, three piarts M2, one part M4, another M5 and one M9. Paint them with color off-white and stick them with cyan on the places provided for it on the video, specifically, on the foredeck .
Subsequently, take the two parts MBC – 30 mm long – and adhere them as shown. It is time for another collection: the one of two parts M9, two parts M12, two parts M21, one part M3, one part M10, two parts PE2 and two parts M2. Paint them in white and glue them as you have done a few moments ago, but in the consecutive part of the deck.
Again, repeat the process on the central part of the deck with four parts PE2 and two parts M9. Do the same on the fourth part of the deck with two parts M12, two parts M9, one part M2, one M3, another M10, two parts PE2 and two parts M21.
On the stern deck, do it with seven parts M2, two parts M7, another two M9 and two parts 7. To which you must add, two parts M3, another part M2, one M10, one M15, one M16, a part DM1, another DM2 and a last DM4. See on the video the beautiful final result of the placement of all the details.
JUAN SEBASTIAN ELCANO MODEL SHIP ASSEMBLY: BOW
The ‘Bow’ is Step 12 of the video tutorial for the assembly of Elcano trainingship. Take a drill of 0,75 mm and drill it five times on the forward hull, where our professional modeler indicates.
Using pliers, hold the eyebolts (parts M2) to be attached and apply a bit of cyanoacrylate at each one before inserting them into position horizontal in the holes.
ELCANO MODEL SHIP SET UP: TOPS
We continue on ‘Tops’, which is Step 13 of the assembly of the reduced model of the famous Spanish school ship Juan Sebastian Elcano (22260). Lay out one part 13 and one part WD1. With a file, sand the inner center area of part 13 as seen on the video until you can insert part WD1 through it. Take the part WD1 and paint with off-white and a flat brush the part 13 -use a pair of tweezers to hold the part while you do it-.
Next, remove the eight part 12 from your plank of wood. Sand the sides of all the parts before painting them burnt umber colour (27743). Let them dry.
ELCANO MODEL SET UP: BLOCKS
Let’s go with the video tutorial of Step 14, in which we will work on the ‘Blocks’. Using a scalpel cutter, remove all twenty-four parts BL from your wooden plate. Sand them on all sides, emphasizing the central part with relief.
Take a manual drill with a 0.75 mm bit and drill through the part BL from one end to the other. Repeat the process with the remaining twenty-three blocks.
ELCANO MODEL SET UP: MASTS (PART I – A)
Step 15 of the video tutorials in which our modelers teach the assembly of the model of Elcano / Esmeralda boat refers to ‘Masts – Part I’. Take two parts WD1, which have a diameter of 4 mm and five parts WD2, which are 3 mm.
You must cut and take four parts MA1 -diameter 4 mm and length 149 mm-, four parts MA2 -diameter 3 mm and length 91 mm-, eight parts PCL -diameter 3 mm and length 63 mm- and a part BSP -diameter 3 mm and length 90 mm-. Repeat the process with a part Y1 -diameter 3 mm and length 105 mm-, a Y2 -3 and 93 mm-, a Y3 -3 and 72 mm- and a Y4 -3 and 61 mm-. Varnish all the mentioned parts with water-based stain for sapele wood (27690-20), included in the indicated Juan Sebastián Elcano Acrylic Paints Set (277PACK17).
Then, cut a part of wire (SW part) with the Professional Flat-Cutting Pliers (27210), give it a U-shape and insert a block (part BL) into it through the hole made before. Surround the block with the wire through the slit, turn it until it is fixed with a Professional Needle Nose Pliers (27213). Do the same with another three blocks.
JUAN SEBASTIÁN ELCANO MASTS (PART I – B)
Take a part MA1 and a part 13 -before worked- and introduce the 13 through the hole from the middle of the MA1. Apply cyan near the end of the stick, and lay part 13 on top until dry, 15mm from the end of the stick. Use our Stainless Steel Rule 15 cms (27069) for it. Put, again, cyano, but this time on the final part of the mast and join a part 14 to it -previously painted-, put it on the tip of the mast.
After drying, insert a part MA2 through the other hole on part 14. Apply cyano so that it sticks to the part MA1 and to part 13 as seen on the video. Also put adhesive on part 12 and attach it to part 13. Repeat this last step with another part 12. Now, insert the part M18 -previously painted- through the lower part of the mast, calculate with the 15 mm rule, put cyano on the mast and glue it there. Drill a hole with a 0.75 mm hand drill on the mast, glue an M2 part -eyebolt- and insert it into the hole with the help of pliers.
ELCANO MODEL SET UP: MASTS (PART I – C)
Next, take a part BL -block with wire- and wind the wire with your hands and the flat-grip pliers to the top of the mast. Cut the excess wire. Repeat the process with another, placing it at the same height. Put glue on the two wires attached to the pole so that the blocks do not move. It is time for the part WB. Attach it to the top of the mast, above the two blocks. The modeler must do this task again until four masts are finished.
On the next post, we will continue showing our modelers friends how to continue building the model in wood and plastic of the Spanish training ship Juan Sebastian Elcano (22260). In the meantime, start building it now with us!
.")