Posted in Model Building Tips, Modeling Tools & Accessories

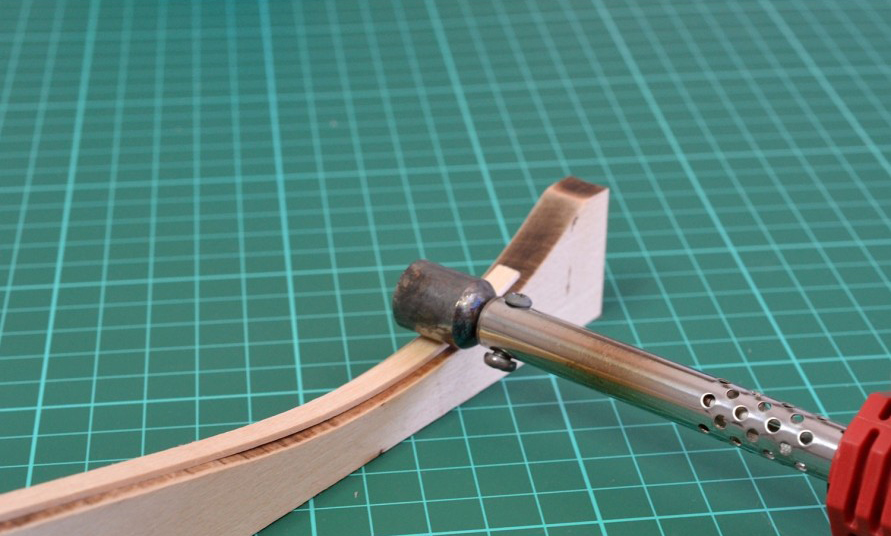
Electric Plank Bender: Learn How to Use an Essential Tool for Naval Modeling

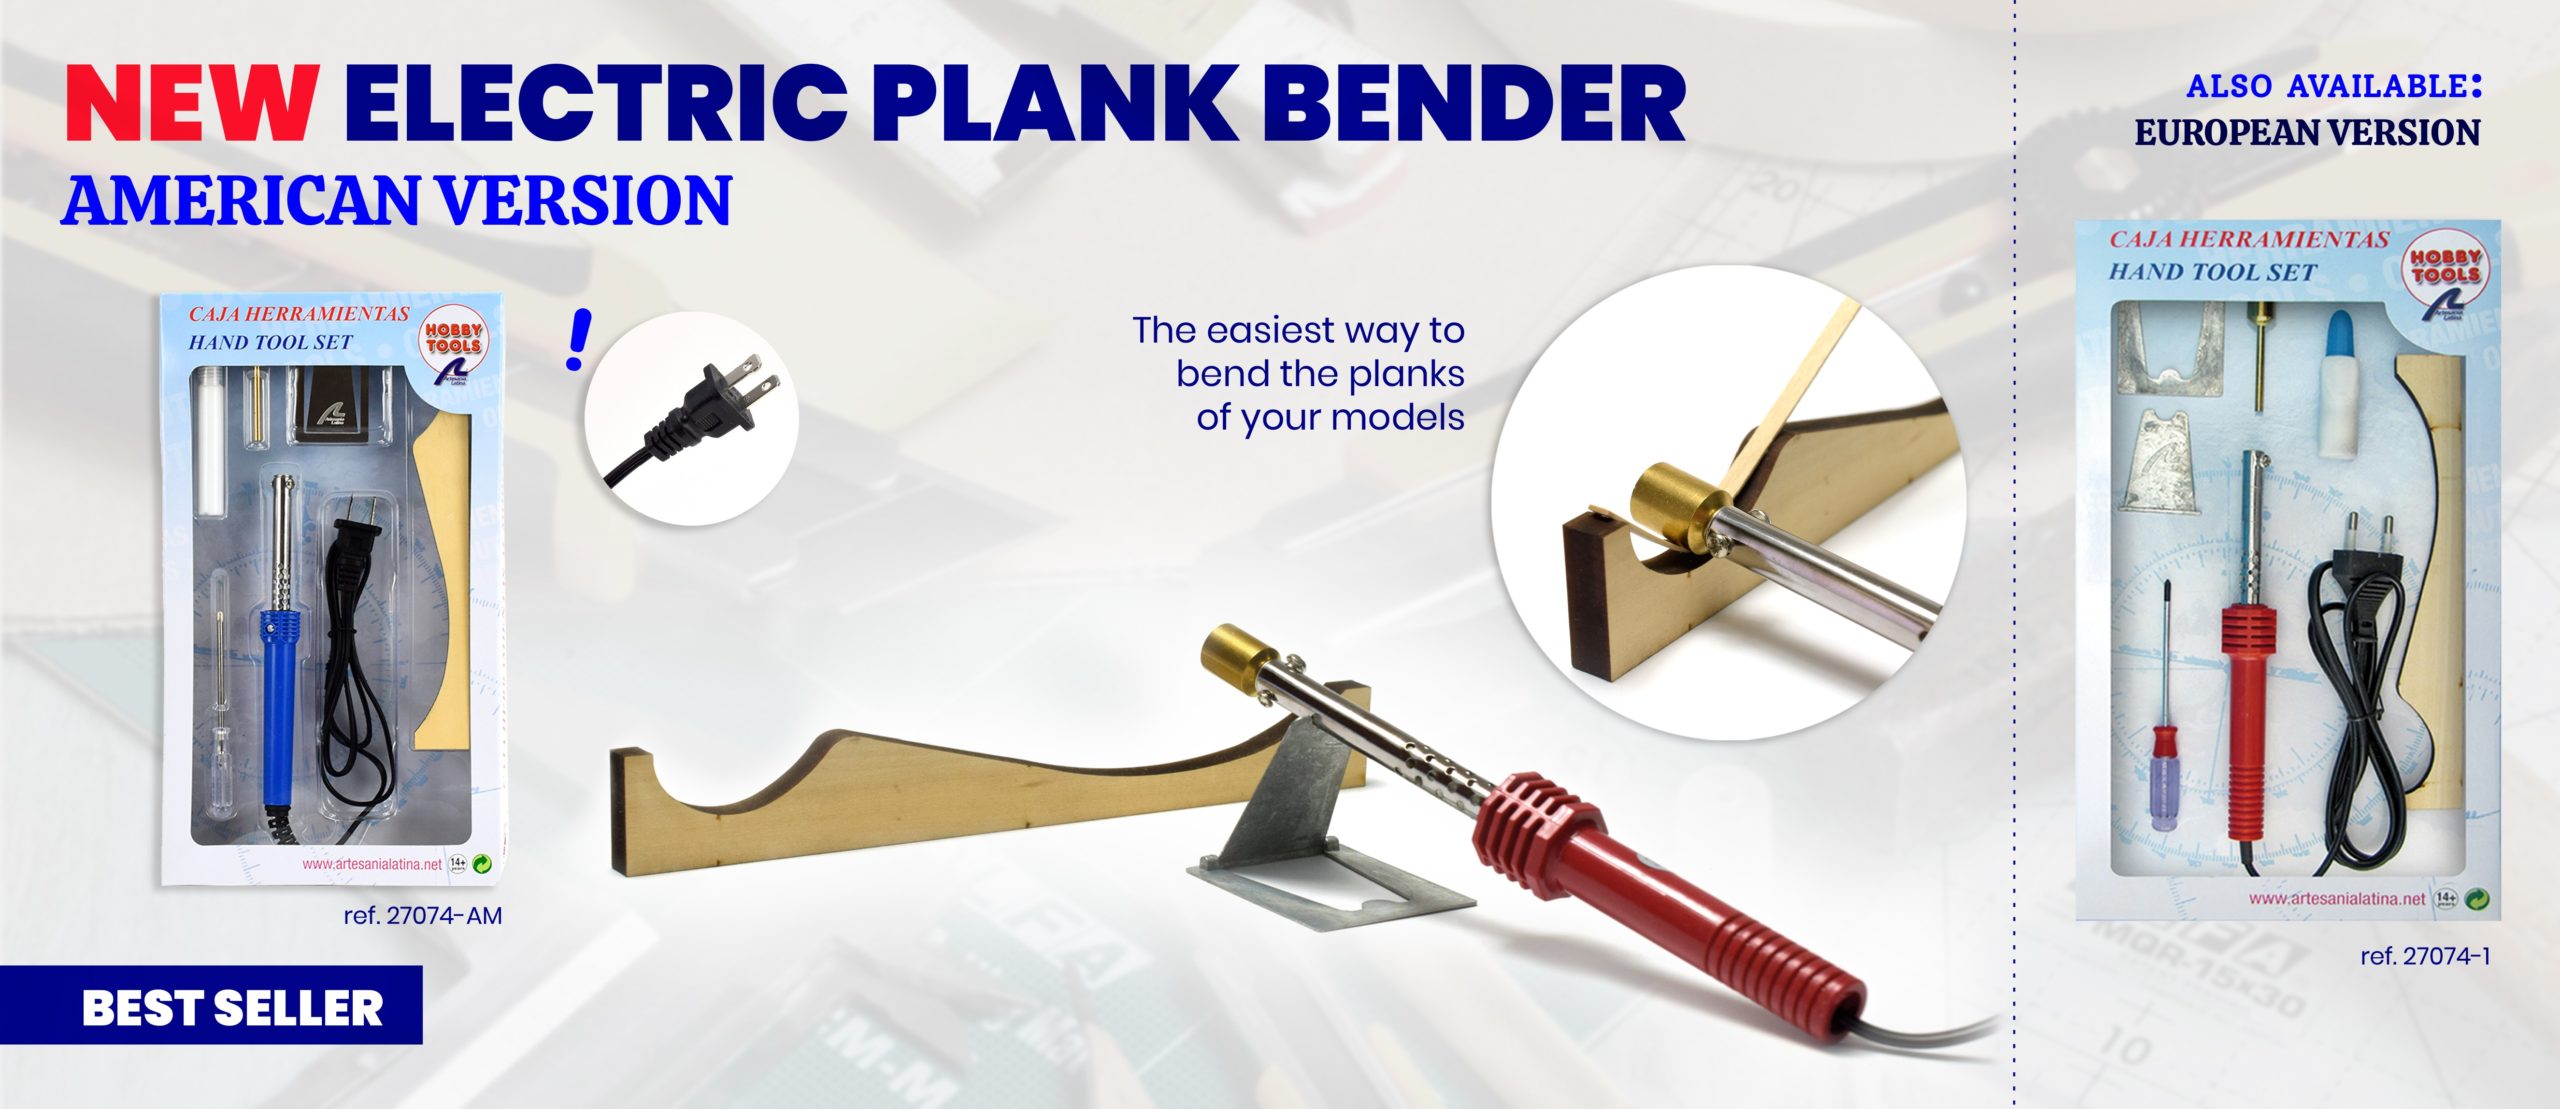
It is, without any doubt, one of the star products made by Artesania Latina. Simply, because it is perfectly designed for the wooden ship modeling. We are talking about an essential and specific tool in these times to properly assemble the hulls of ship models. The Electric Plank Bender is one of the tools that any modeler friend should have at her/his workshop.

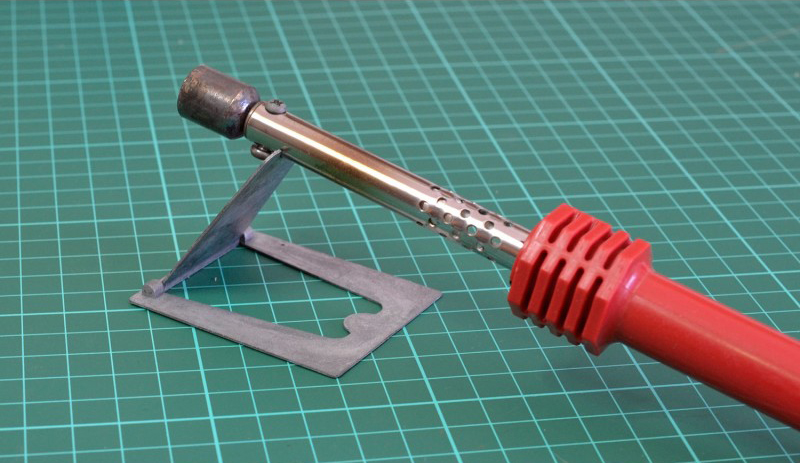
Electric Plank Bender for Ship Modeling, made by Artesania Latina (27074-1).

The Electric Plank Bender made by Artesania Latina (27074-1) is the most demanded on the market given its fantastic value for money. During the construction of the naval scale model hulls manufactured in wood, the fan of this hobby suffered folding the strips that are placed to cover the aforementioned area of the ship, given its curved shape.

Electric Plank Bender for Ship Modeling, made by Artesania Latina (27074-1).

Specifically, our Electric Plank Bender helps the modeler to mold strips up to 3 mm thick. And it comes with what is required for its use, we will highlight it below.

CONTENTS ELECTRIC PLANK BENDER KIT FOR WOODEN SHIP MODELING

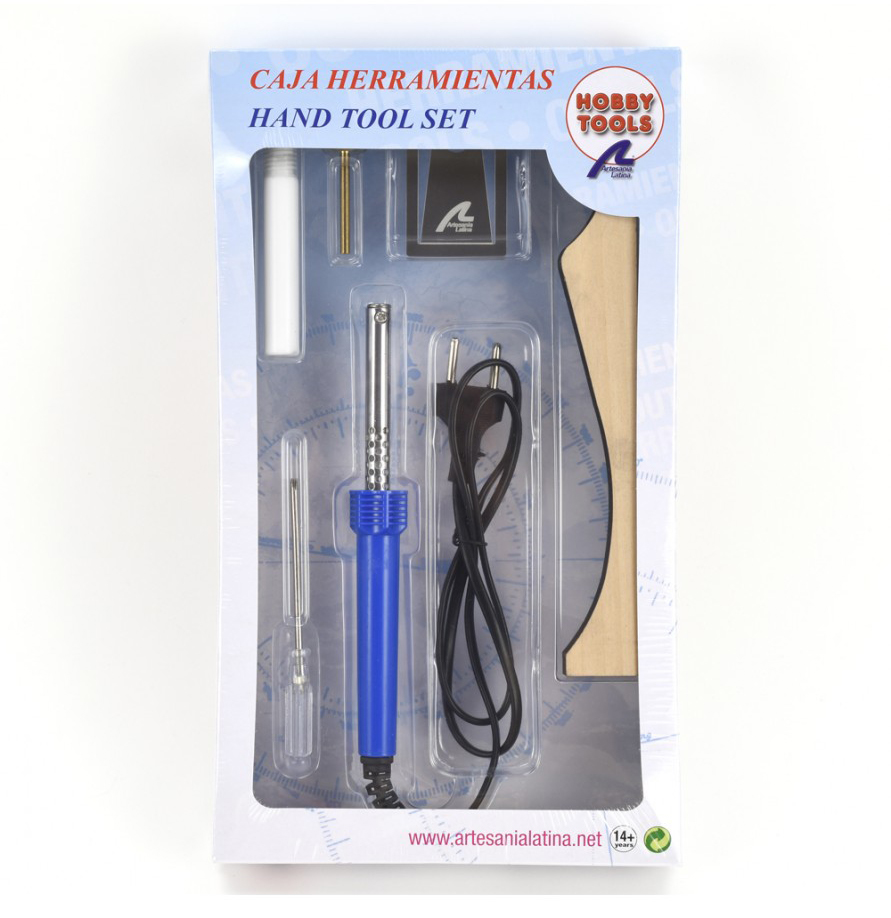
The contents of the Electric Plank Bender Kit for wooden naval modeling are six different objects, the following:

  • A 220-volt electric soldering iron in blue -it can also be in red, depending on the existing stock-.
  • A brass tip for bending and shaping wooden strips.
  • Metal support that avoids burning the area where the modeler builds the ship model.
  • A very useful screwdriver to fix the tip to the device.
  • Wooden template with compound curves.
  • And a fantastic gift: a jar of white glue to stick parts together.

Electric Plank Bender for Ship Modeling, made by Artesania Latina (27074-1).

If you are a beginner modeler, and even if you are an expert one, you may not know how to use the electric plank bender for ship modeling so precisely. Don’t worry about it.

HOW TO USE IT FOR BENDING AND SHAPING

From now on we are going to explain how to use the Electric Plank Bender step-by-step. We do it thanks to the fantastic help of a video made by one of the professional modelers on our team. Previously, two fundamental tips for those who are going to use this modeling tool for the first time.

  1. Moisten wood to be pre-treated for several hours for best results.
  2. It is not necessary to exert great pressure with the tool to be able to shape the wood.

As you have watched on the video, once you see how to do it, it is much easier to bend and shape wooden parts. This Artesania Latina‘s great product, the Electric Plank Bender (27074-1), it will save you a lot of sweat on your forehead and a lot of frustration in your mind.

SET OF 6 MINI FASTENING PLIERS

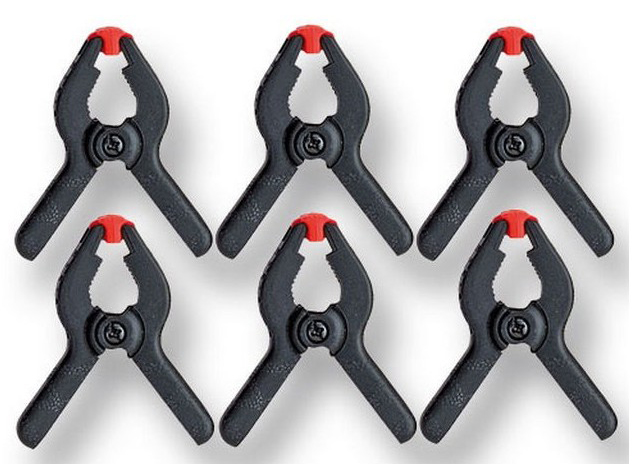
If you want the work to look totally professional, we recommend that you also use the Set of 6 Mini Fastening Pliers 30 mm (27200), sold separately. It allows the modeler to fix the already bent and molded strips with an opening of up to 30 mm to, for example, a glass so that they do not lose their achieved shape. Without forgetting that during the bonding processes with adhesive they are essential. The retractable spring of each of these clips causes it to return to its closed position.

Set of 6 Mini Fastening Pliers 30 mm - 1.18'' (27200).

If you also need to know a few brushstrokes of theoretical information about how to build model ship hulls, there is a related blog post. Click here to read it.

NOW AVAILABLE 110-VOLTS AMERICAN VERSION ELECTRIC PLANK BENDER!

The modelers of the American continent are lycky thanks to a 2022 new product from Artesania Latina: the 110-Volts Electric Plank Bender American Version (27074-AM) -you can only see the product sheet if you live in America-. Many times demanded by our client friends, until now we could not send it to be used because it was not adapted to the electrical systems of their homes and workshops. You can use it now!

New 110-Volts American Version Electric Plank Bender for Model Building (27074-AM).

In short, the electric plank bender for naval modeling and its consequent use greatly facilitate the assembly of one of the most complicated areas to assemble on a model ship. Try this ship modeling tool! As soon as you use it, the modeler can only live with it!

Posted in Model Building Tips

Cover the Model Ship Hull: Assembly of a Wooden Boat Model (IV)

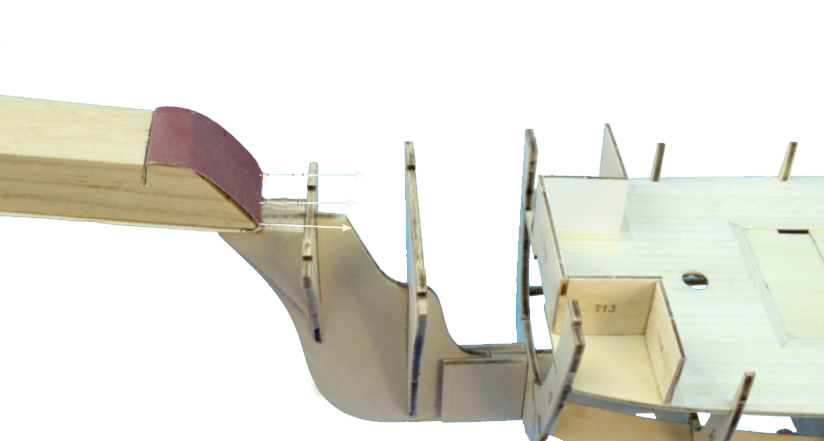
We have to cover the model ship hull during the assembly of a wooden naval model, but before we have to sand the frames. Specifically, its more square edges, in order to make them blunt so that, later, they fit better with the cover as they are a little curved. To do this, you can use our sanding block and sandpaper.

In this image, how to sand the ship frames of a naval modeling kit.

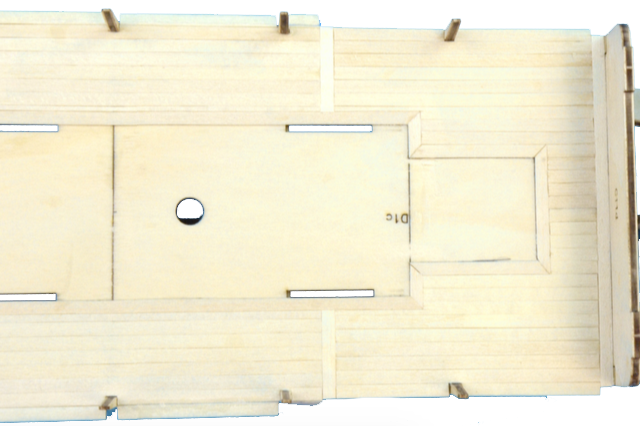
Later, proceed to cover the deck with wood veneer with glue. We recommend our dense cyanoacrylate and spray accelerator or the white glue. You can also make it with nails, a magnetic nailer and a modeler’s hammer. It all depends on the age and make of the naval scale model you have purchased, or the method you like best.

In this image, how to cover the ship deck of a naval modeling kit.

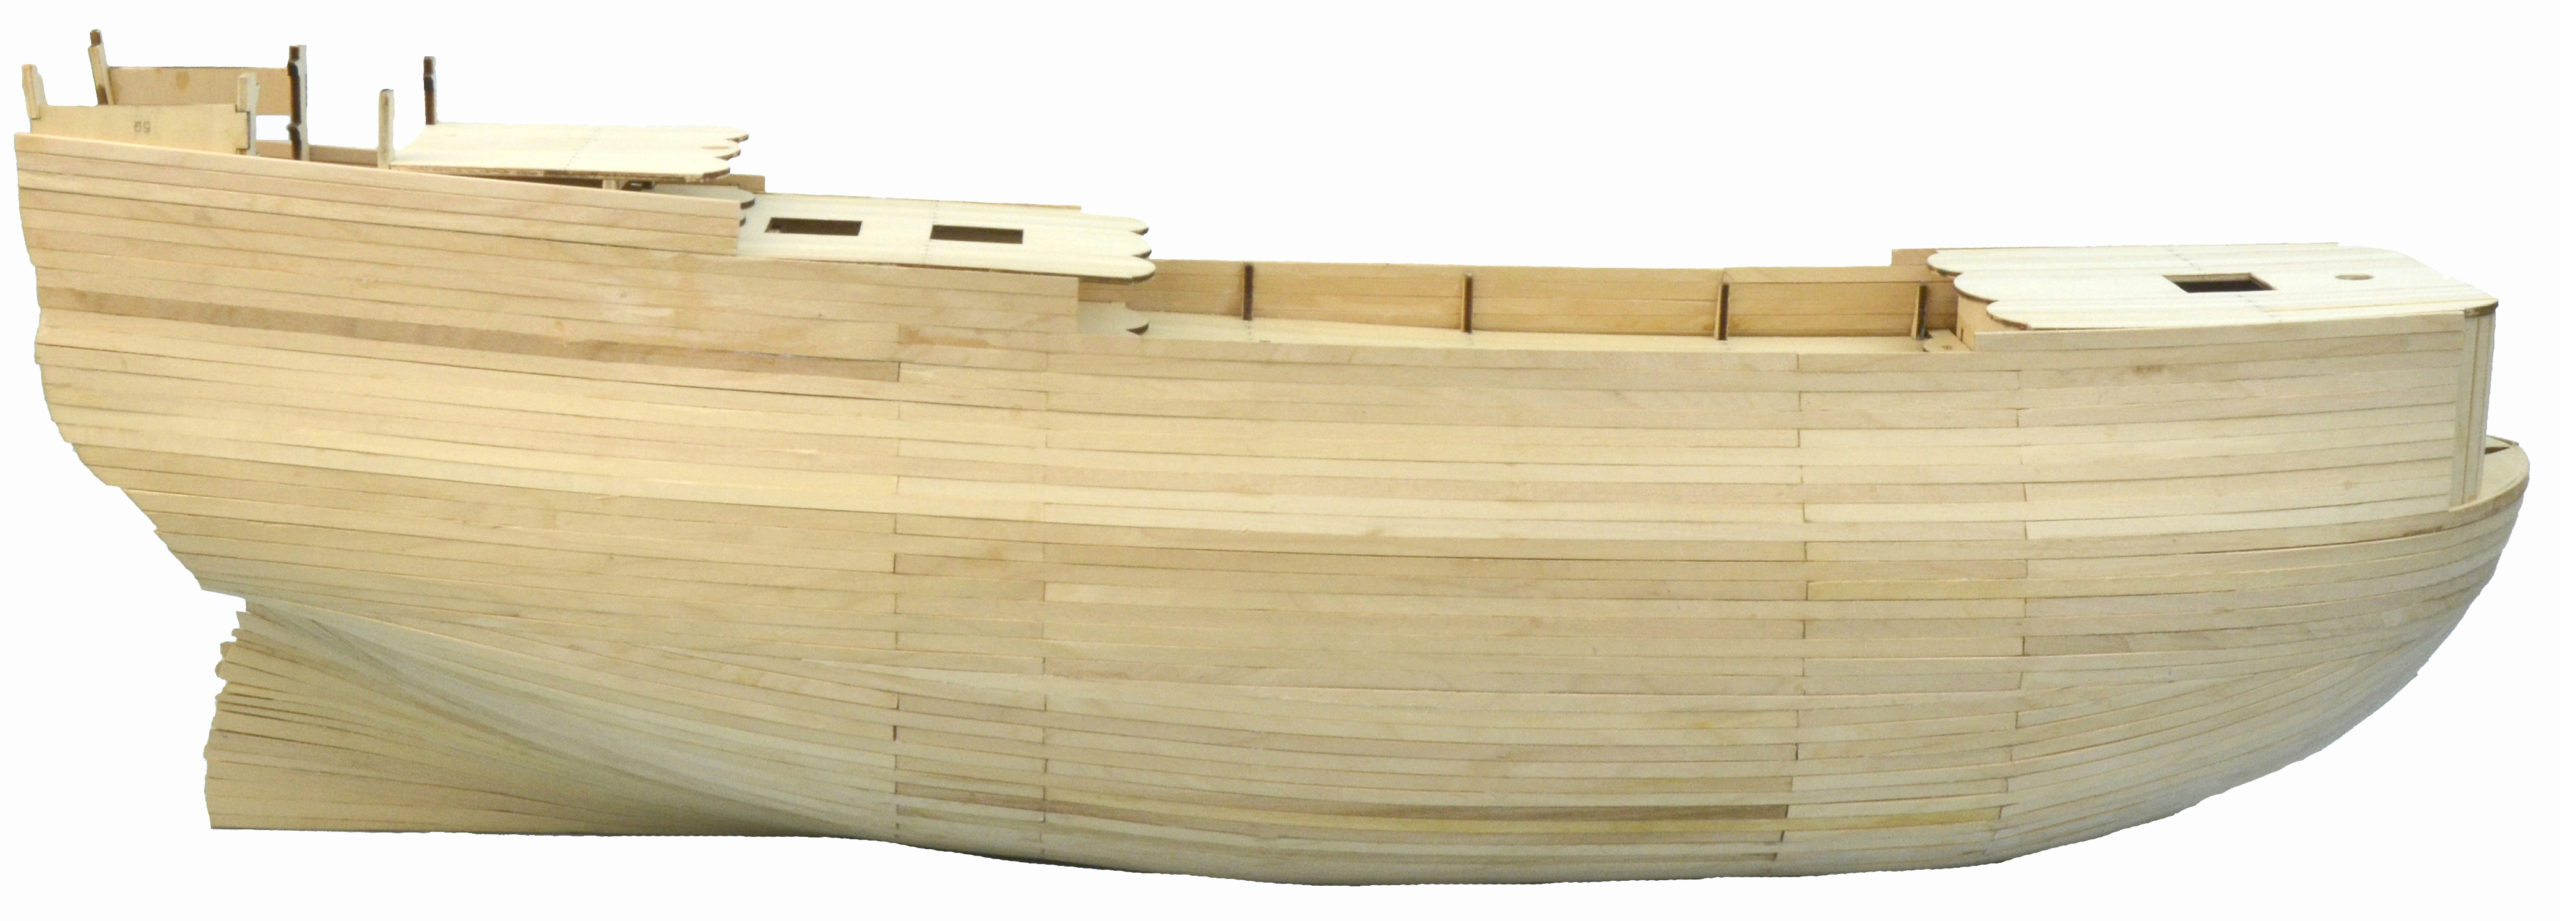
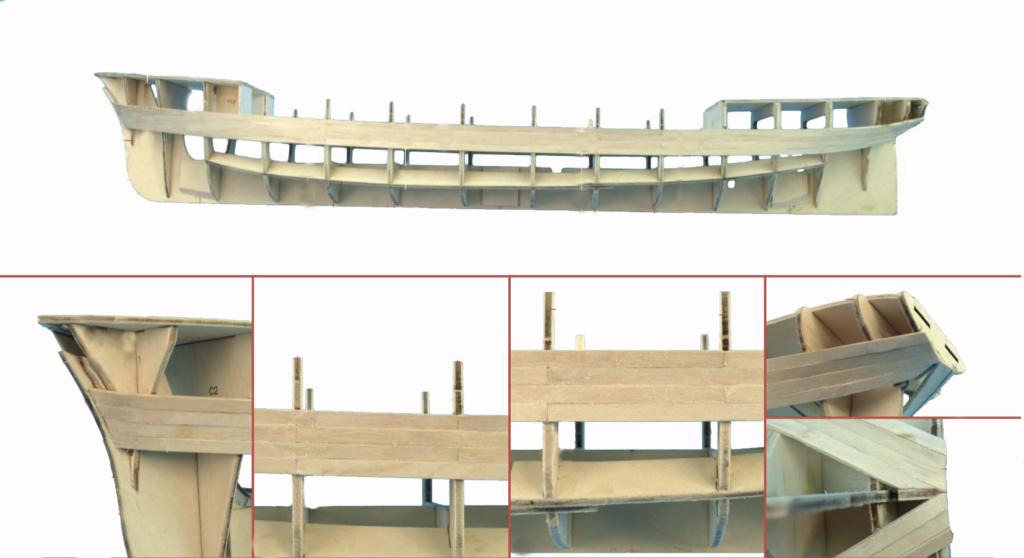
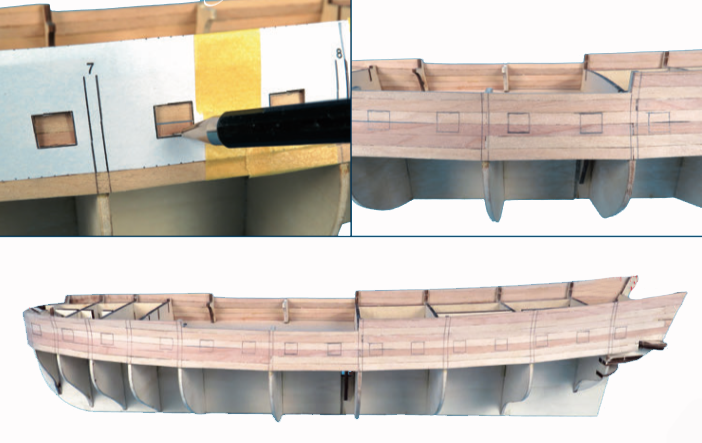
It is time to start covering the boat hull with, in this case, the first layer of wooden strips, as can be seen in the image below. Artesanía Latina electric plank bender tool will help you shape the strips. Wet the strips for at least half an hour and apply the heat of the aforementioned tool to shape them. You can also use the manual plank bender tool.

In this image, how to cover model ship hull from a naval modeling kit.

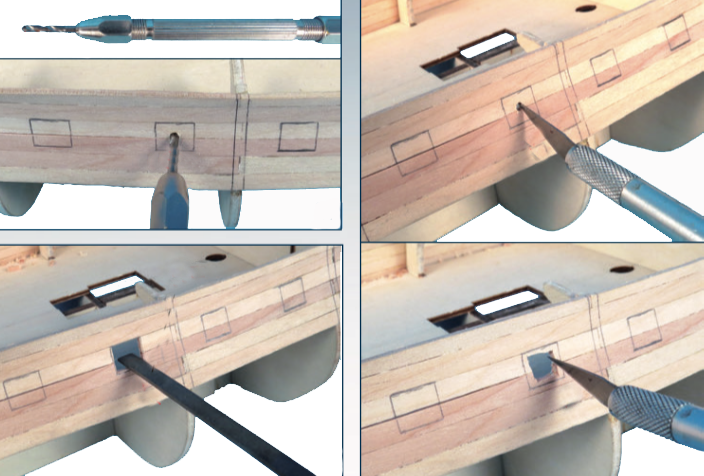
Then, make the holes where the cannons will come out, that is, the cannon ports, as we said, once you have built the first layer of the hull cover. We recommend the use of a template so that the distance between the loop-holes is the same and to facilitate this thorough work. We also recommend tools like drill, cutter and file.

In this image, how to cover model ship hull from a naval modeling kit.

In this image, how to cover model ship hull from a naval modeling kit.

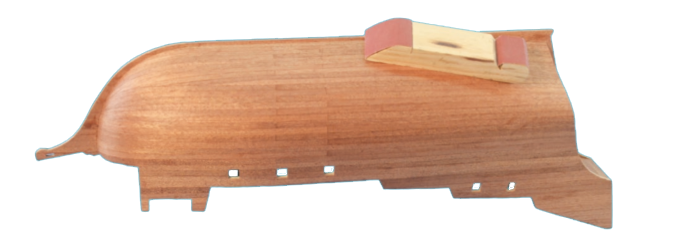
It is time to cover the model ship hull with the second layer, but this time with wooden veneer.

In this image, how to cover model ship hull from a naval modeling kit.

COVER MODEL SHIP HULL: SANDING AND VARNISHING

When the hull cover is finished, sand the entire hull gently and varnish it. Depending on the ship model being worked, some will require that your hull be painted with some color and some brush.

In this image, how to cover model ship hull from a naval modeling kit.

You already have the ship model ready for the rigging installation. This process will be seen in the next post dedicated to any wooden model ship building process. In this sense, Artesania Latina‘s ship modeling kits are the best in value for money.

Read the fifth part of the post…

Read the third part of the post…

Posted in Model Building Tips

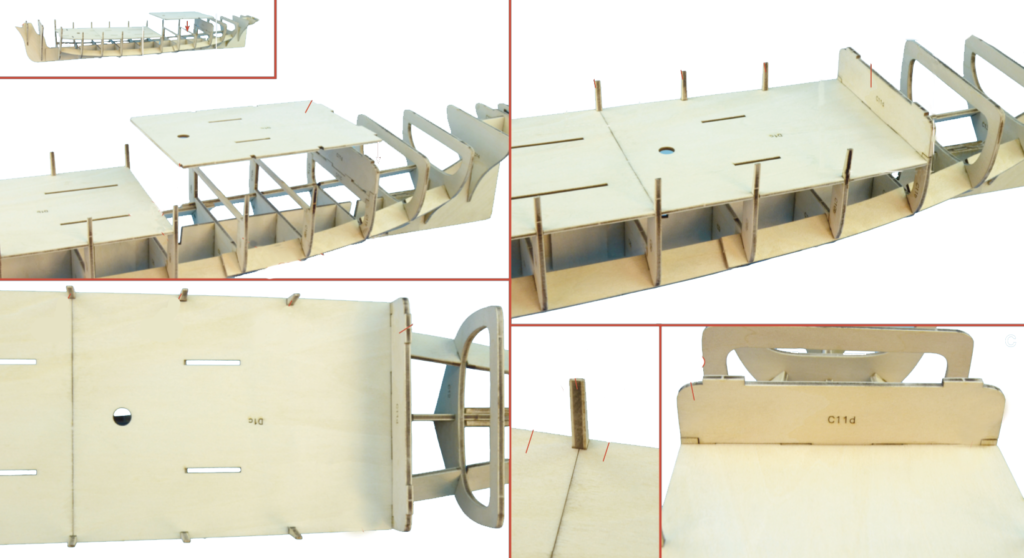
Ship Hull Construction: Assembly of a Wooden Boat Model (III)

Once the modeler who starts in the world of ship modeling has prepared the workshop and has supplied the necessary tools for modeling according to the skill level, the ship model lover can begin to know everything about the ship hull construction of the boat model thanks to this post.

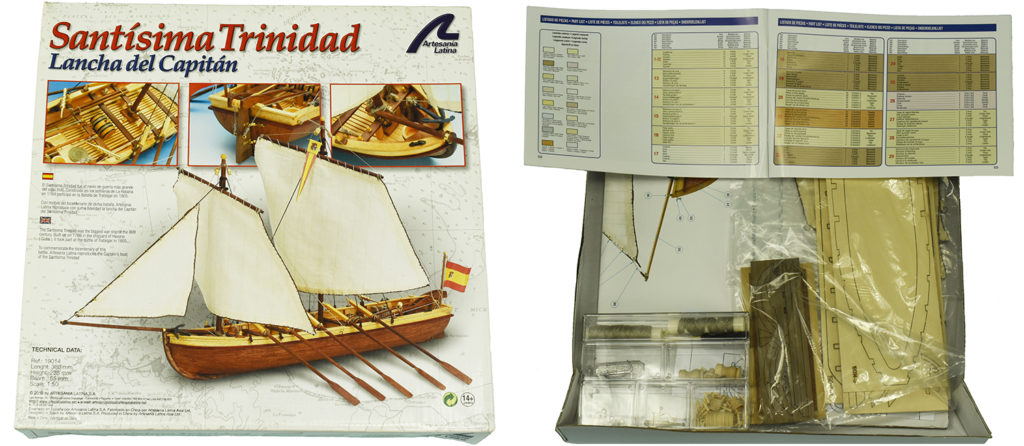
On this way, the steps that will be undertaken to carry out this purpose are divided as follows. Firstly, we emphasize that it is necessary to check the contents of the modeling kit, so that the modeler becomes familiar with the shapes of the different parts. Also, as most of these kits, in this case ship modeling, have a list of parts, we recommend that you make sure that all parts are present. It is also convenient to see if it brings all the plans and instructions for its construction. (Artesania Latina modeling kits bring them on DVD format).

Naval modeling. Wooden Ship Model Captain Boat Santisima Trinidad (19014).

SHIP HULL CONSTRUCTION: KEEL AND FRAMES OF THE SHIP MODEL

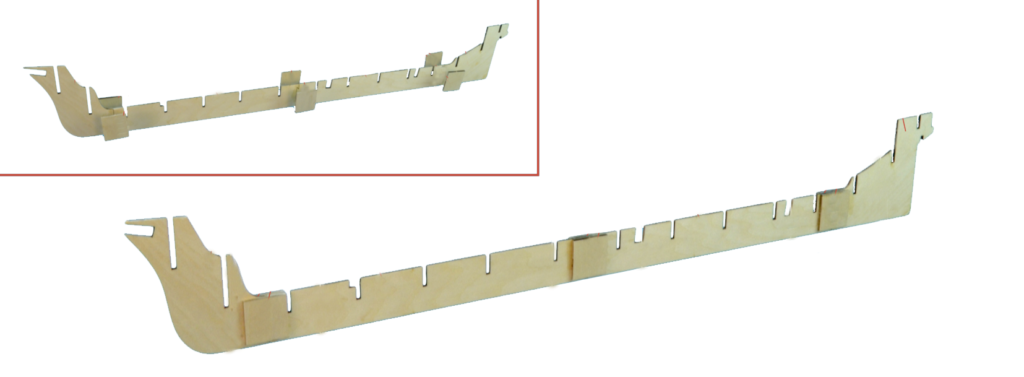
The next action would be the assembly of the keel. It is the fundamental area of ​​the ship’s model structure. It goes from the bow to the stern of the ship longitudinally on the exact center of the model, since everything will be built from this part.

Ship Hull Construction. Assembly of the Wooden Naval Model Keel.

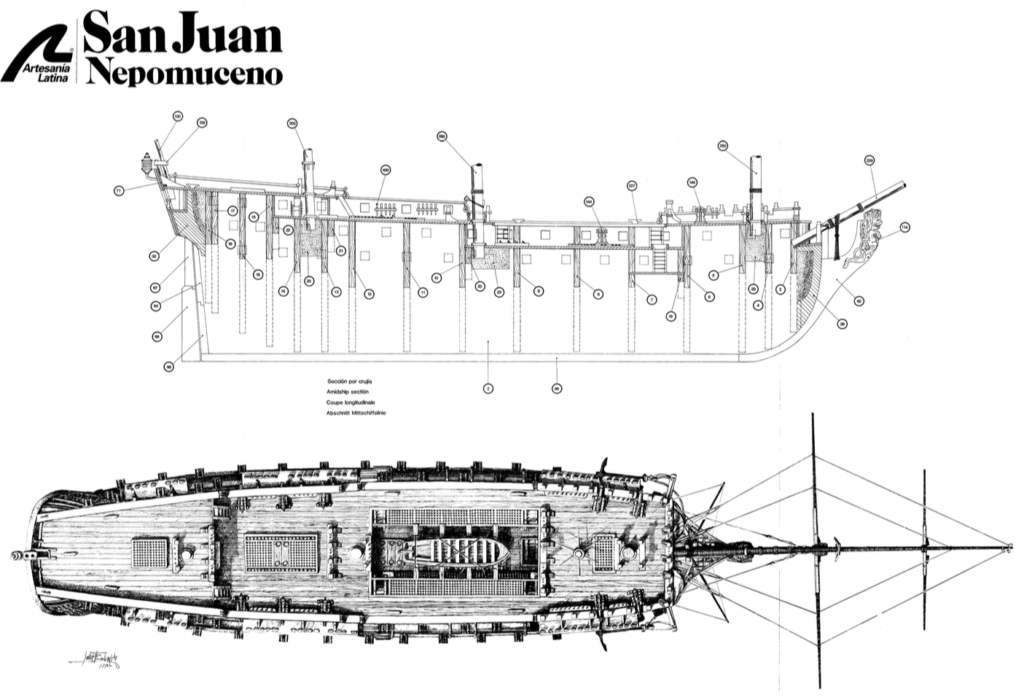
Remember to take the drawings that show the hull assembly and hang them in front of you, at your workshop. On this way, you can quickly and clearly see how to assemble each part.

Ship Hull Construction. Plan for the Assembly of the Wooden Ship Model San Juan Nepomuceno (22860).

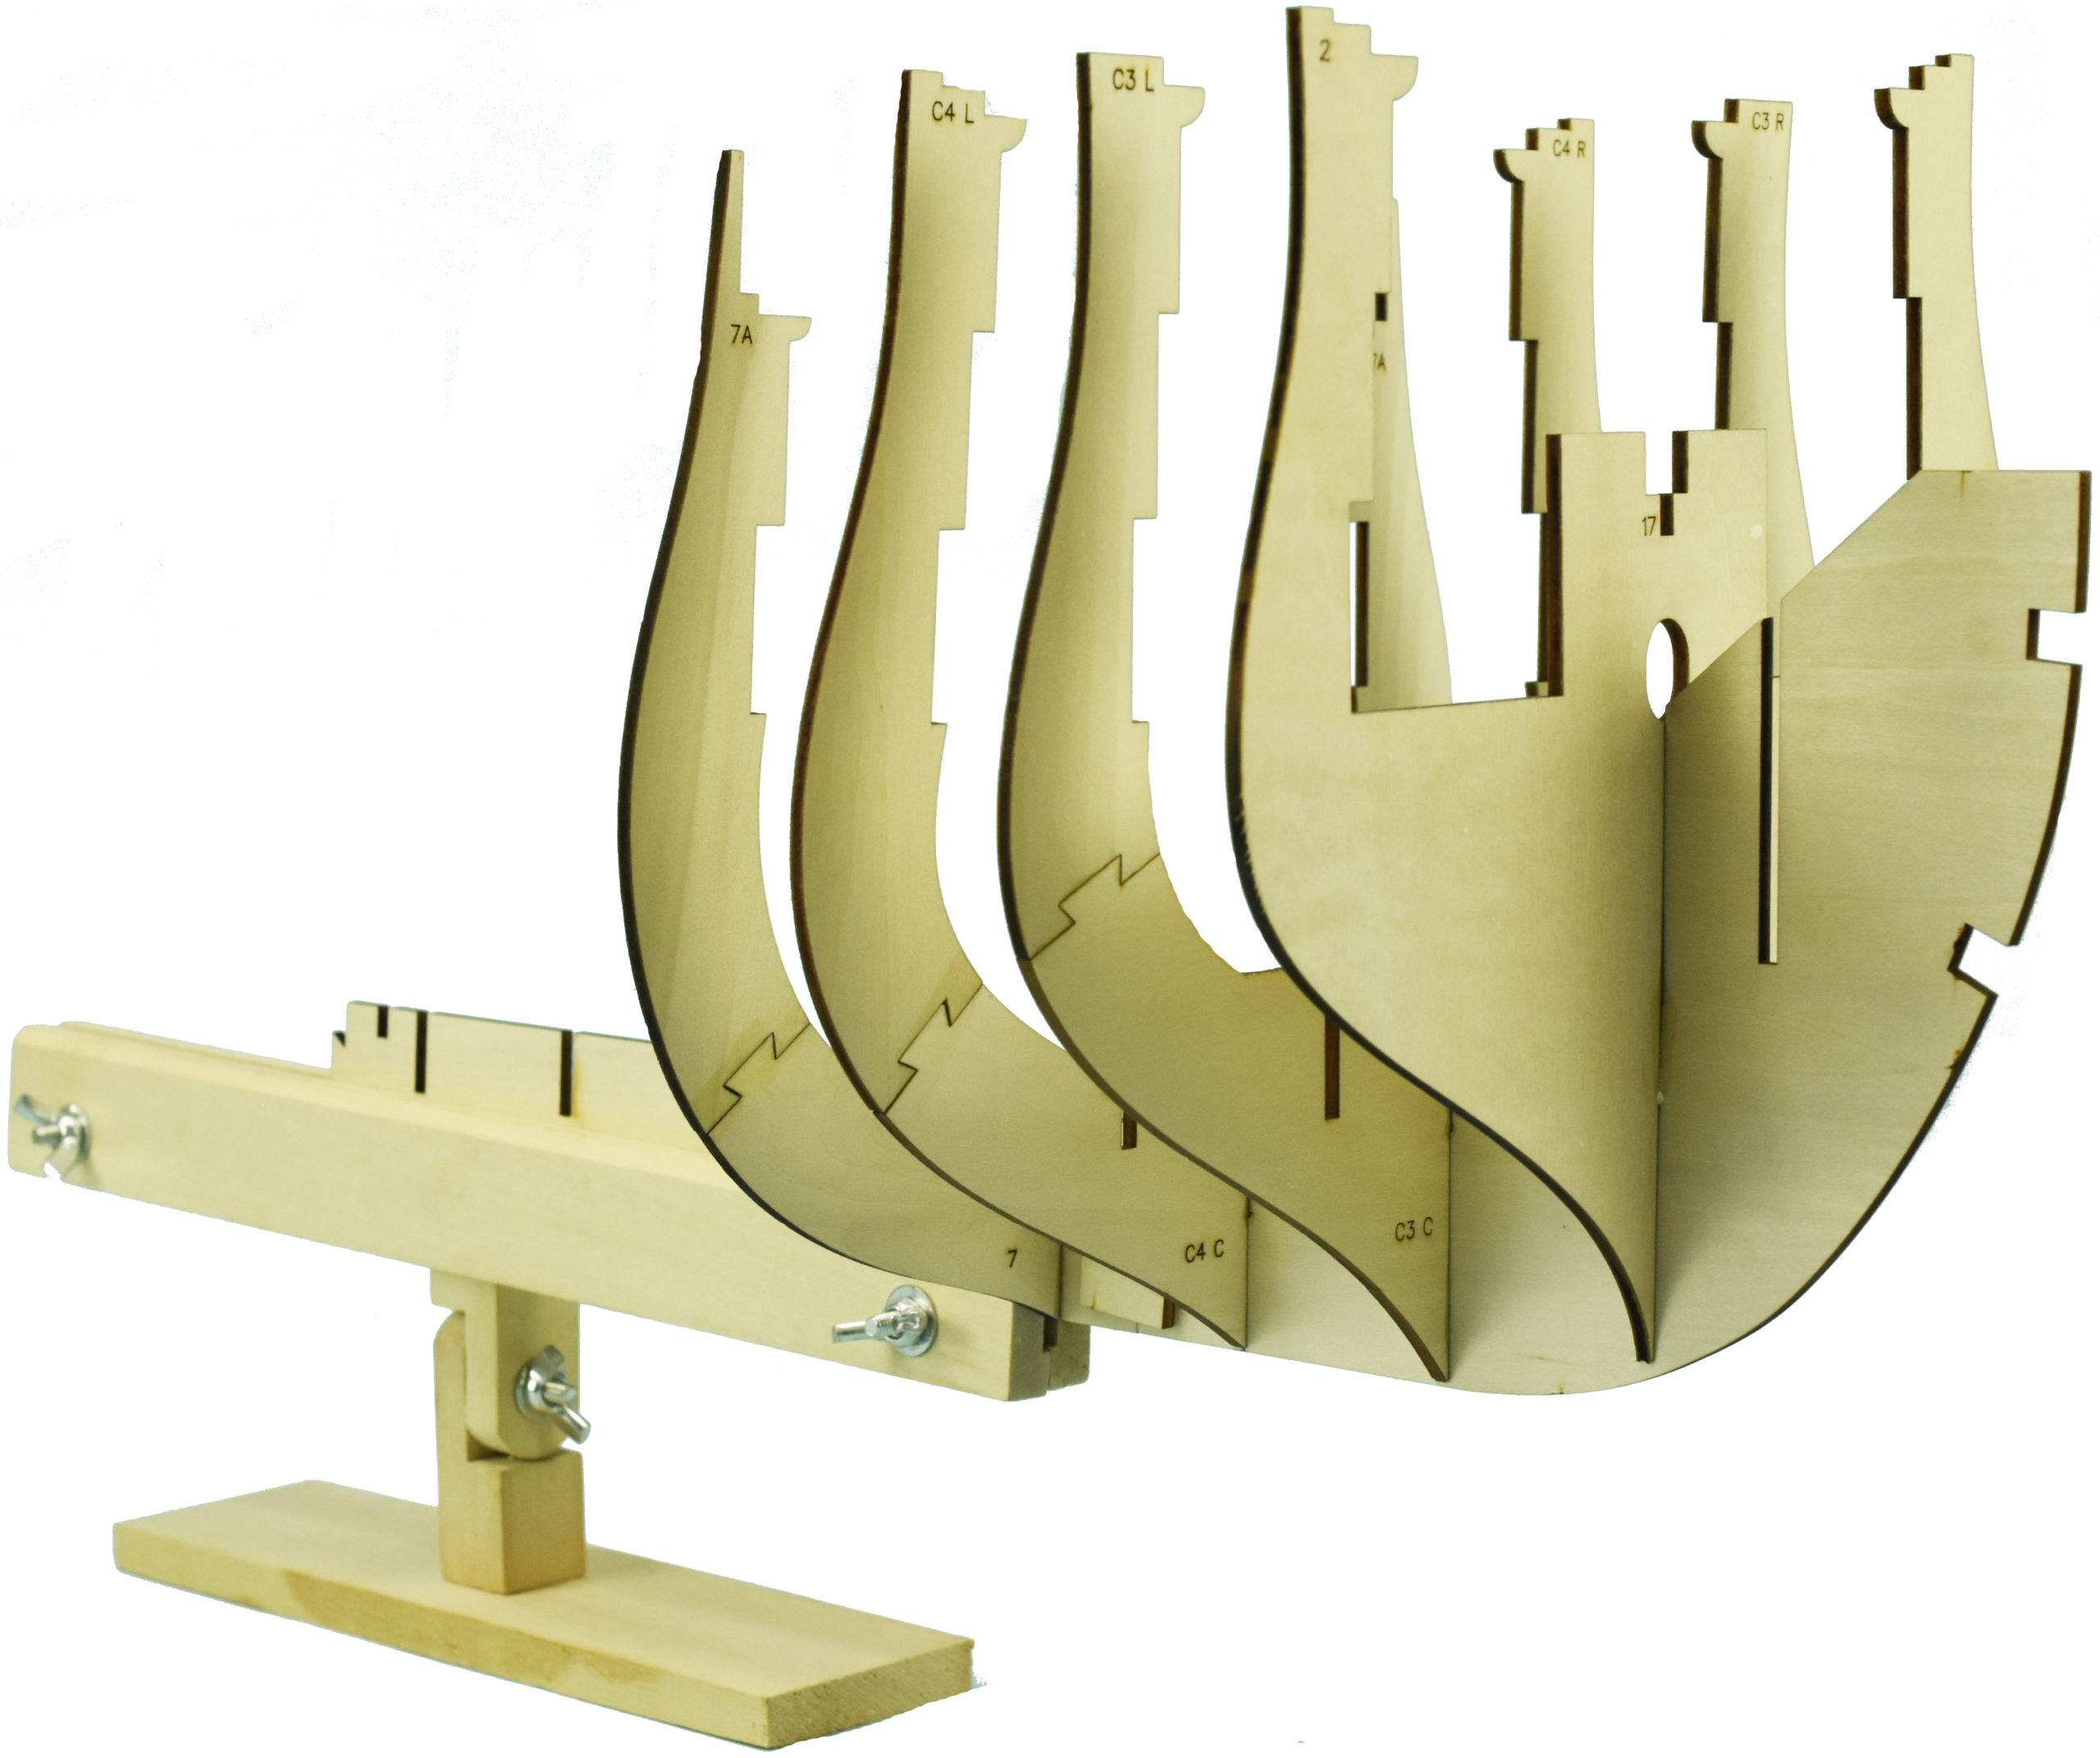
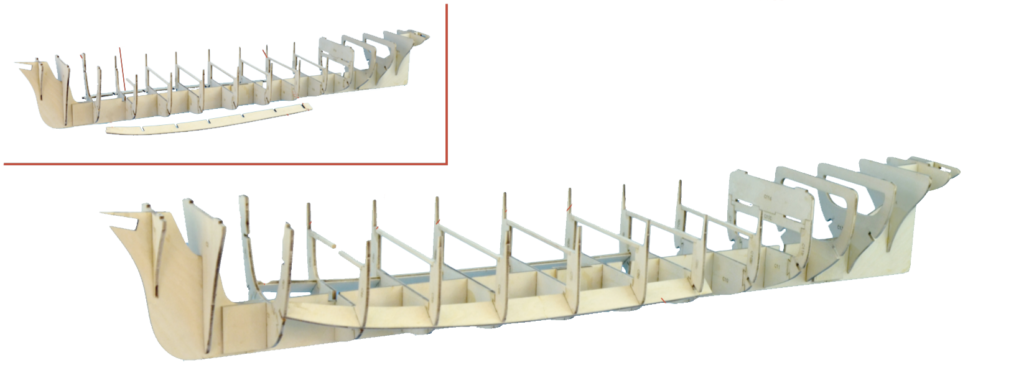
The next step would be to adjust the frames to the keel, although the modeler must first make sure that they are not broken. The good thing about Artesania Latina modeling kits is that you don’t have to file the frames before they are placed. They are ready to fit. Just do not paste them until you see that, once placed, all are perfectly.

Ship Hull Construction. Adjustment of the Frames on the Assembly of the Wooden Ship Model.

ASSEMBLY OF SHIP MODEL DECK AND MASTS

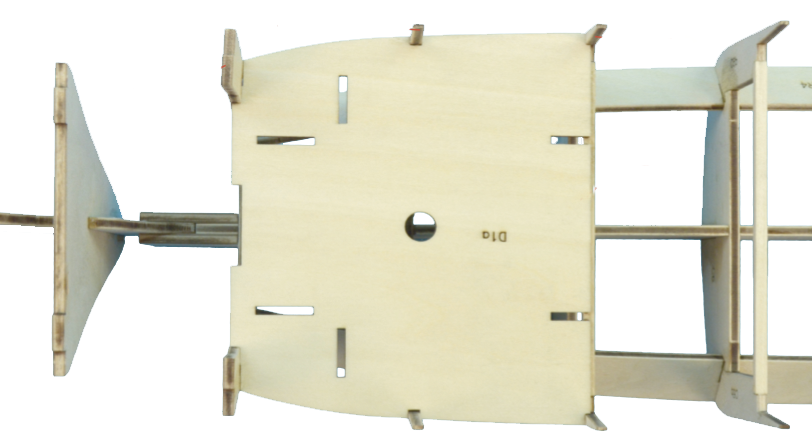
Afterwards, the modeler must check and fit the decks of the wooden ship model. This action has a great relevance since the decks will make the keel straight, and it help align the frames.

Small scale models, usually aimed at beginner modelers, only have one deck, thus facilitating the work of the novice. Never force the cover on the frames when assembling it, be very careful, or it will yield and damage the hull construction.

Fitting the Decks on the Assembly of the Wooden Ship Model.

As for the installation of the masts, Artesania Latina’s ship miniatures facilitate the assembly to the modelers, because they will only have to insert the masts through holes arranged for it on the deck and the keel. Speaking about other brands, you have to put some wooden blocks to hold the mâsts. But we will comment this later, although we show you below where they would be inserted.

Assembly of the Masts on a Wooden Ship Model.


SHIP HULL CONSTRUCTION: BOW AND STERN OF THE NAVAL MODEL

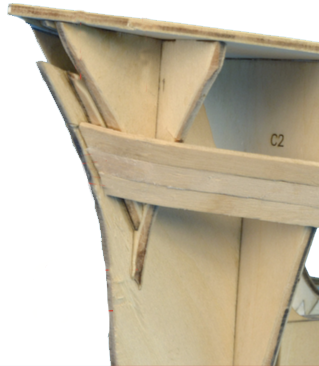
It is time to assemble and fit the bow and stern parts – the stern reinforcement is not necessary on Artesania Latina’s boat models because it comes to ‘die’ at the end of the last frame-, which will provide a solid base to the wooden strips that will finally cover the hull. The parts provided must be symmetrical and follow the shape of the mentioned hull of the wooden ship model.

Placement of Bow and Stern Parts on the Wooden Ship Model Assembly.

Once you have seen the good disposition of the frames and that the decks are not bent or sunk, proceed to glue them, as well as the rest of the ship built, with cyanoacrylate for porous materials because you are working with wood. Once you have pasted everything, let it dry for at least twenty four hours. We will speak about more steps for ship hull construction on next post.

Read the fourth part of the post…

Read the second part of the post…