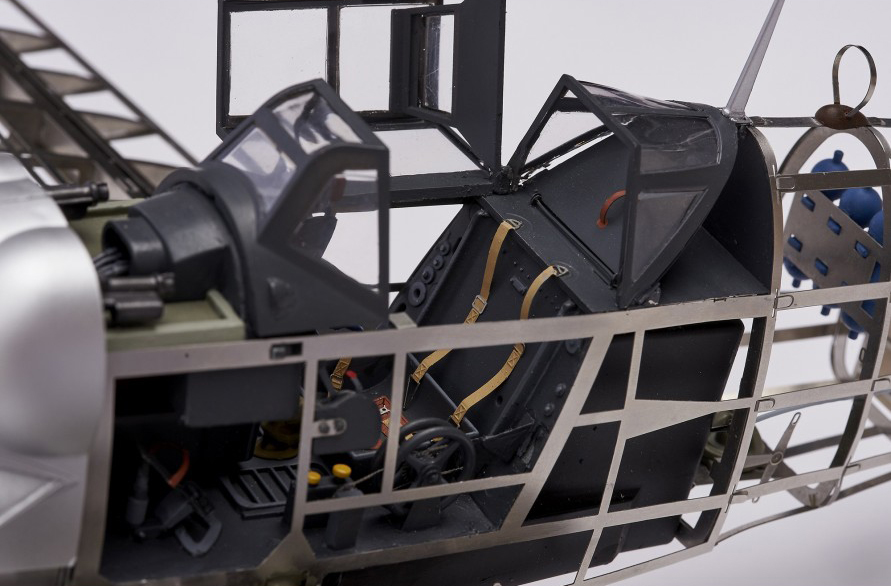
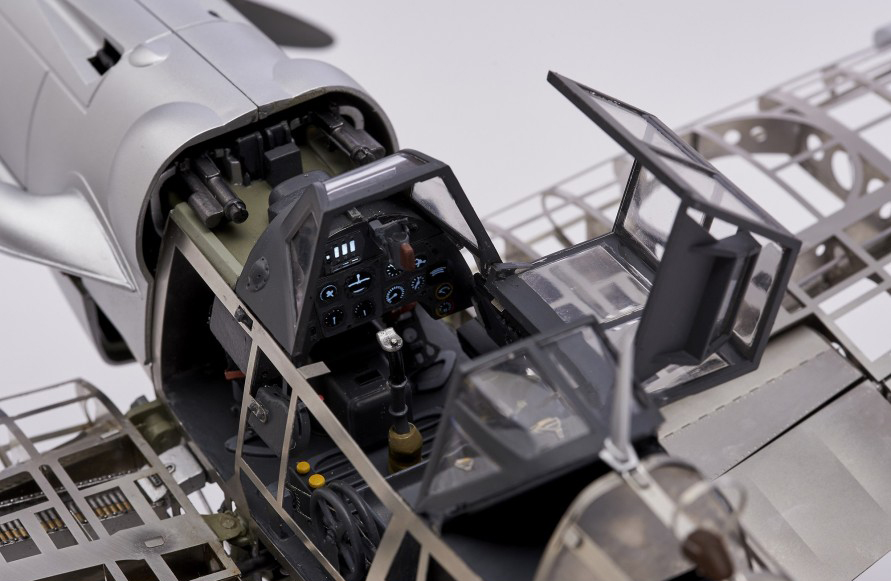
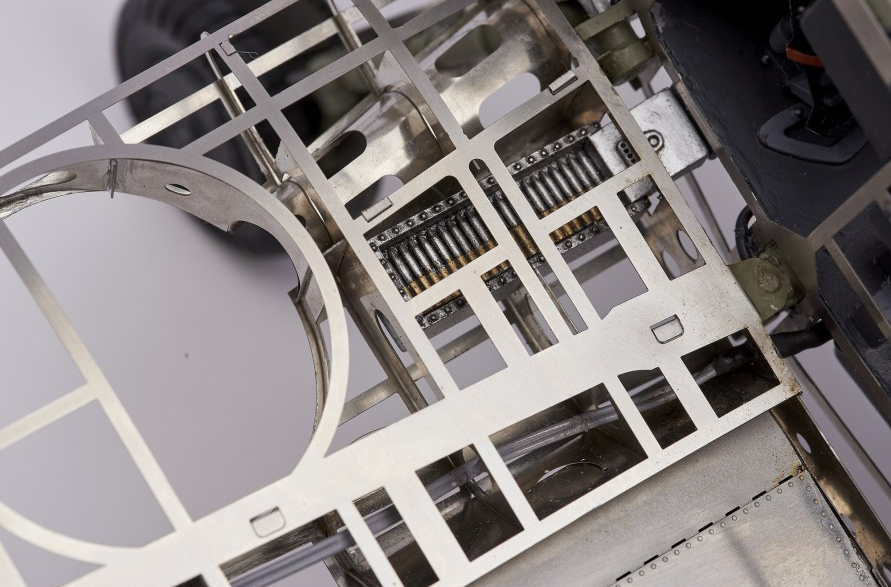
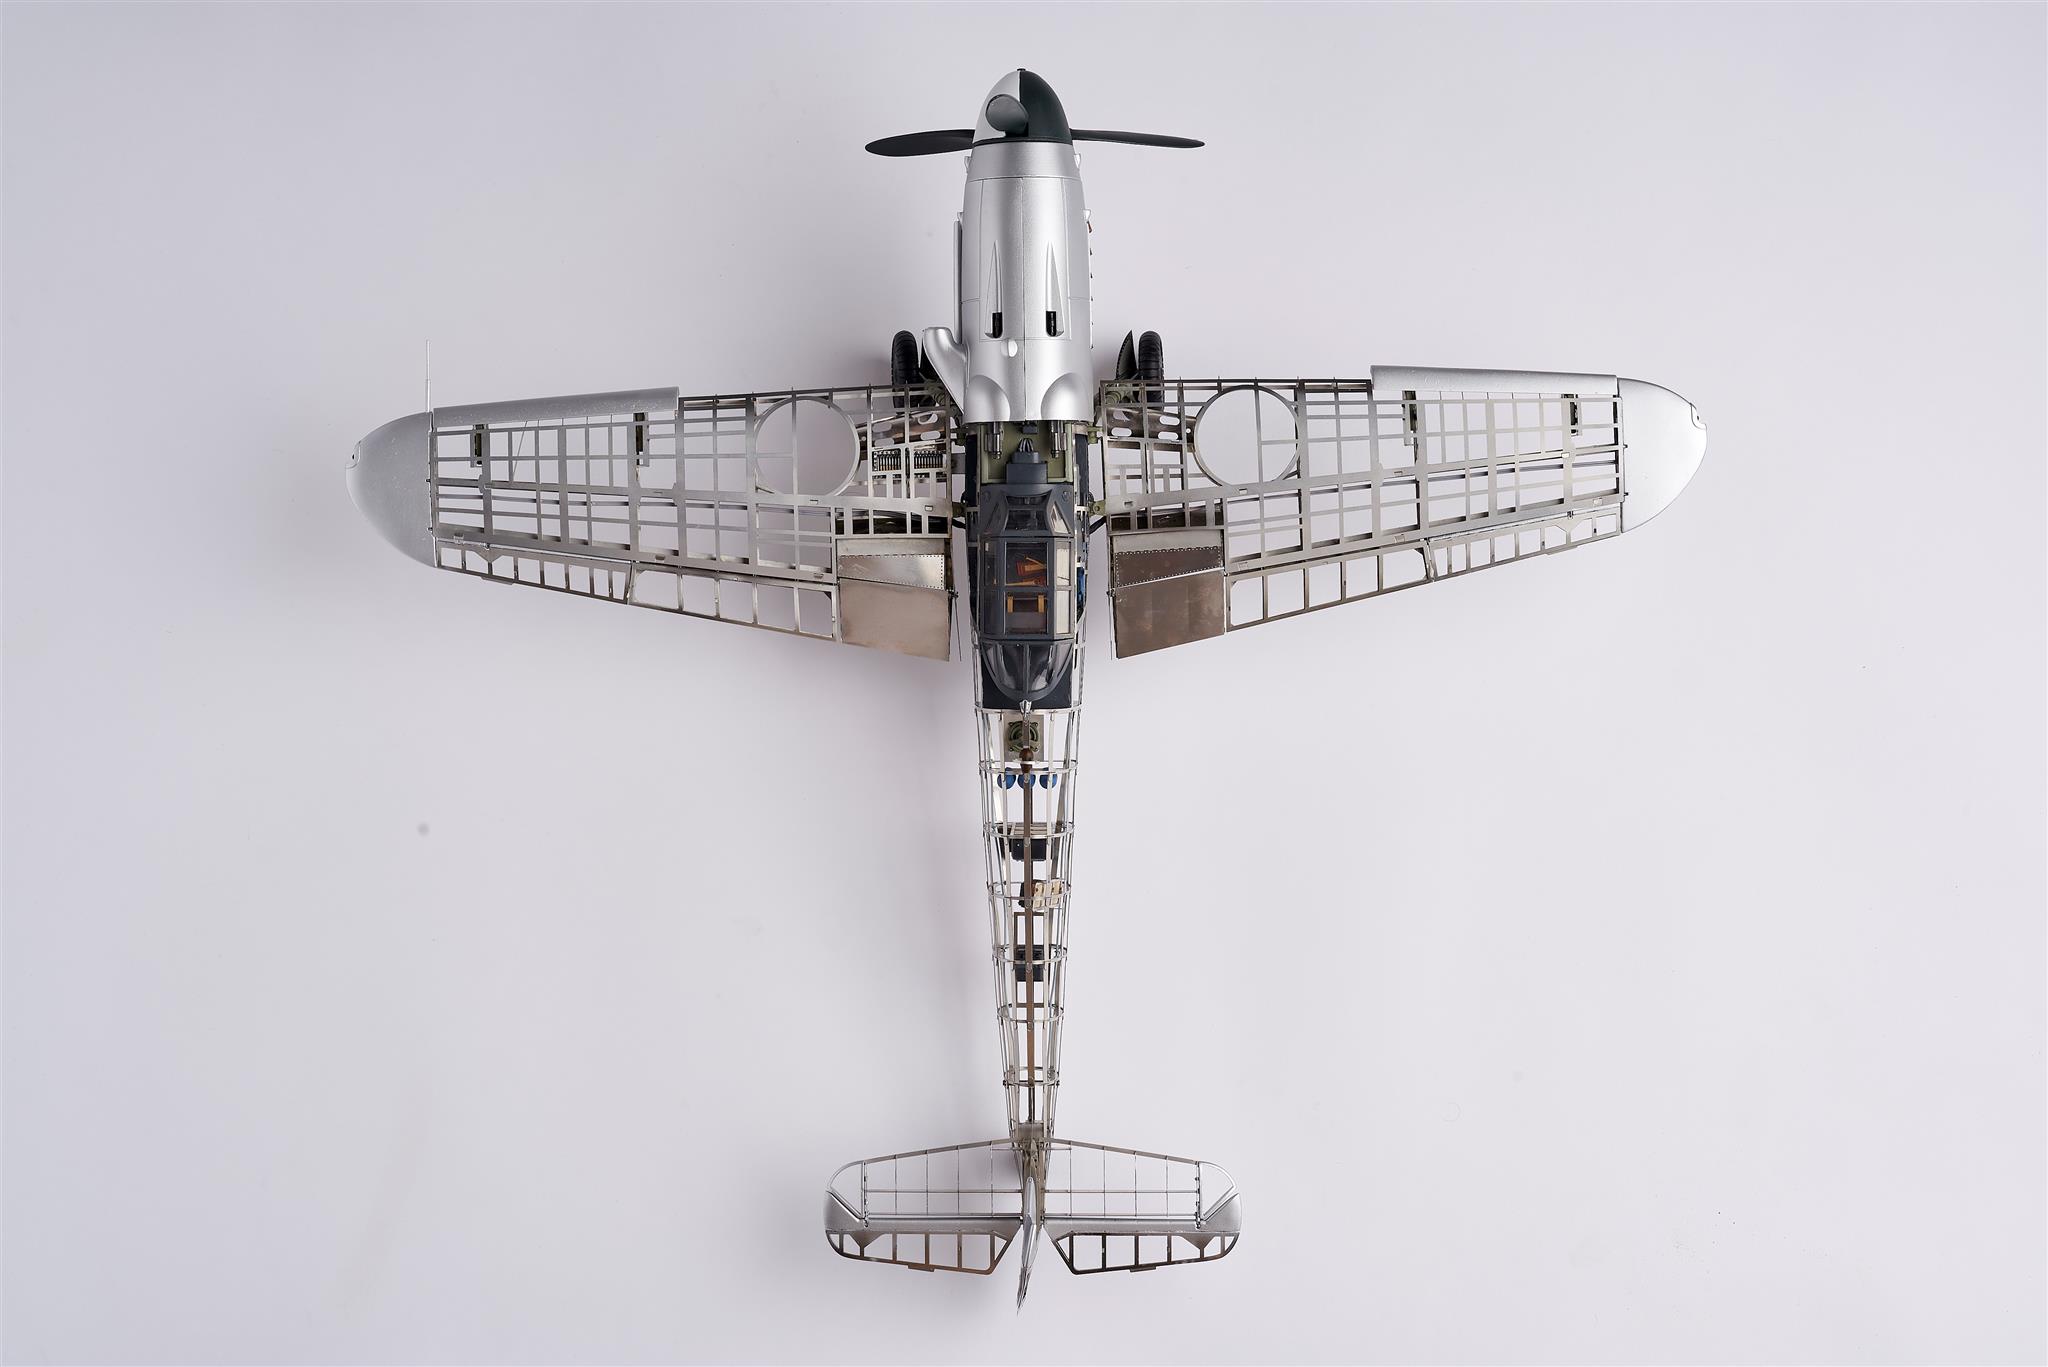
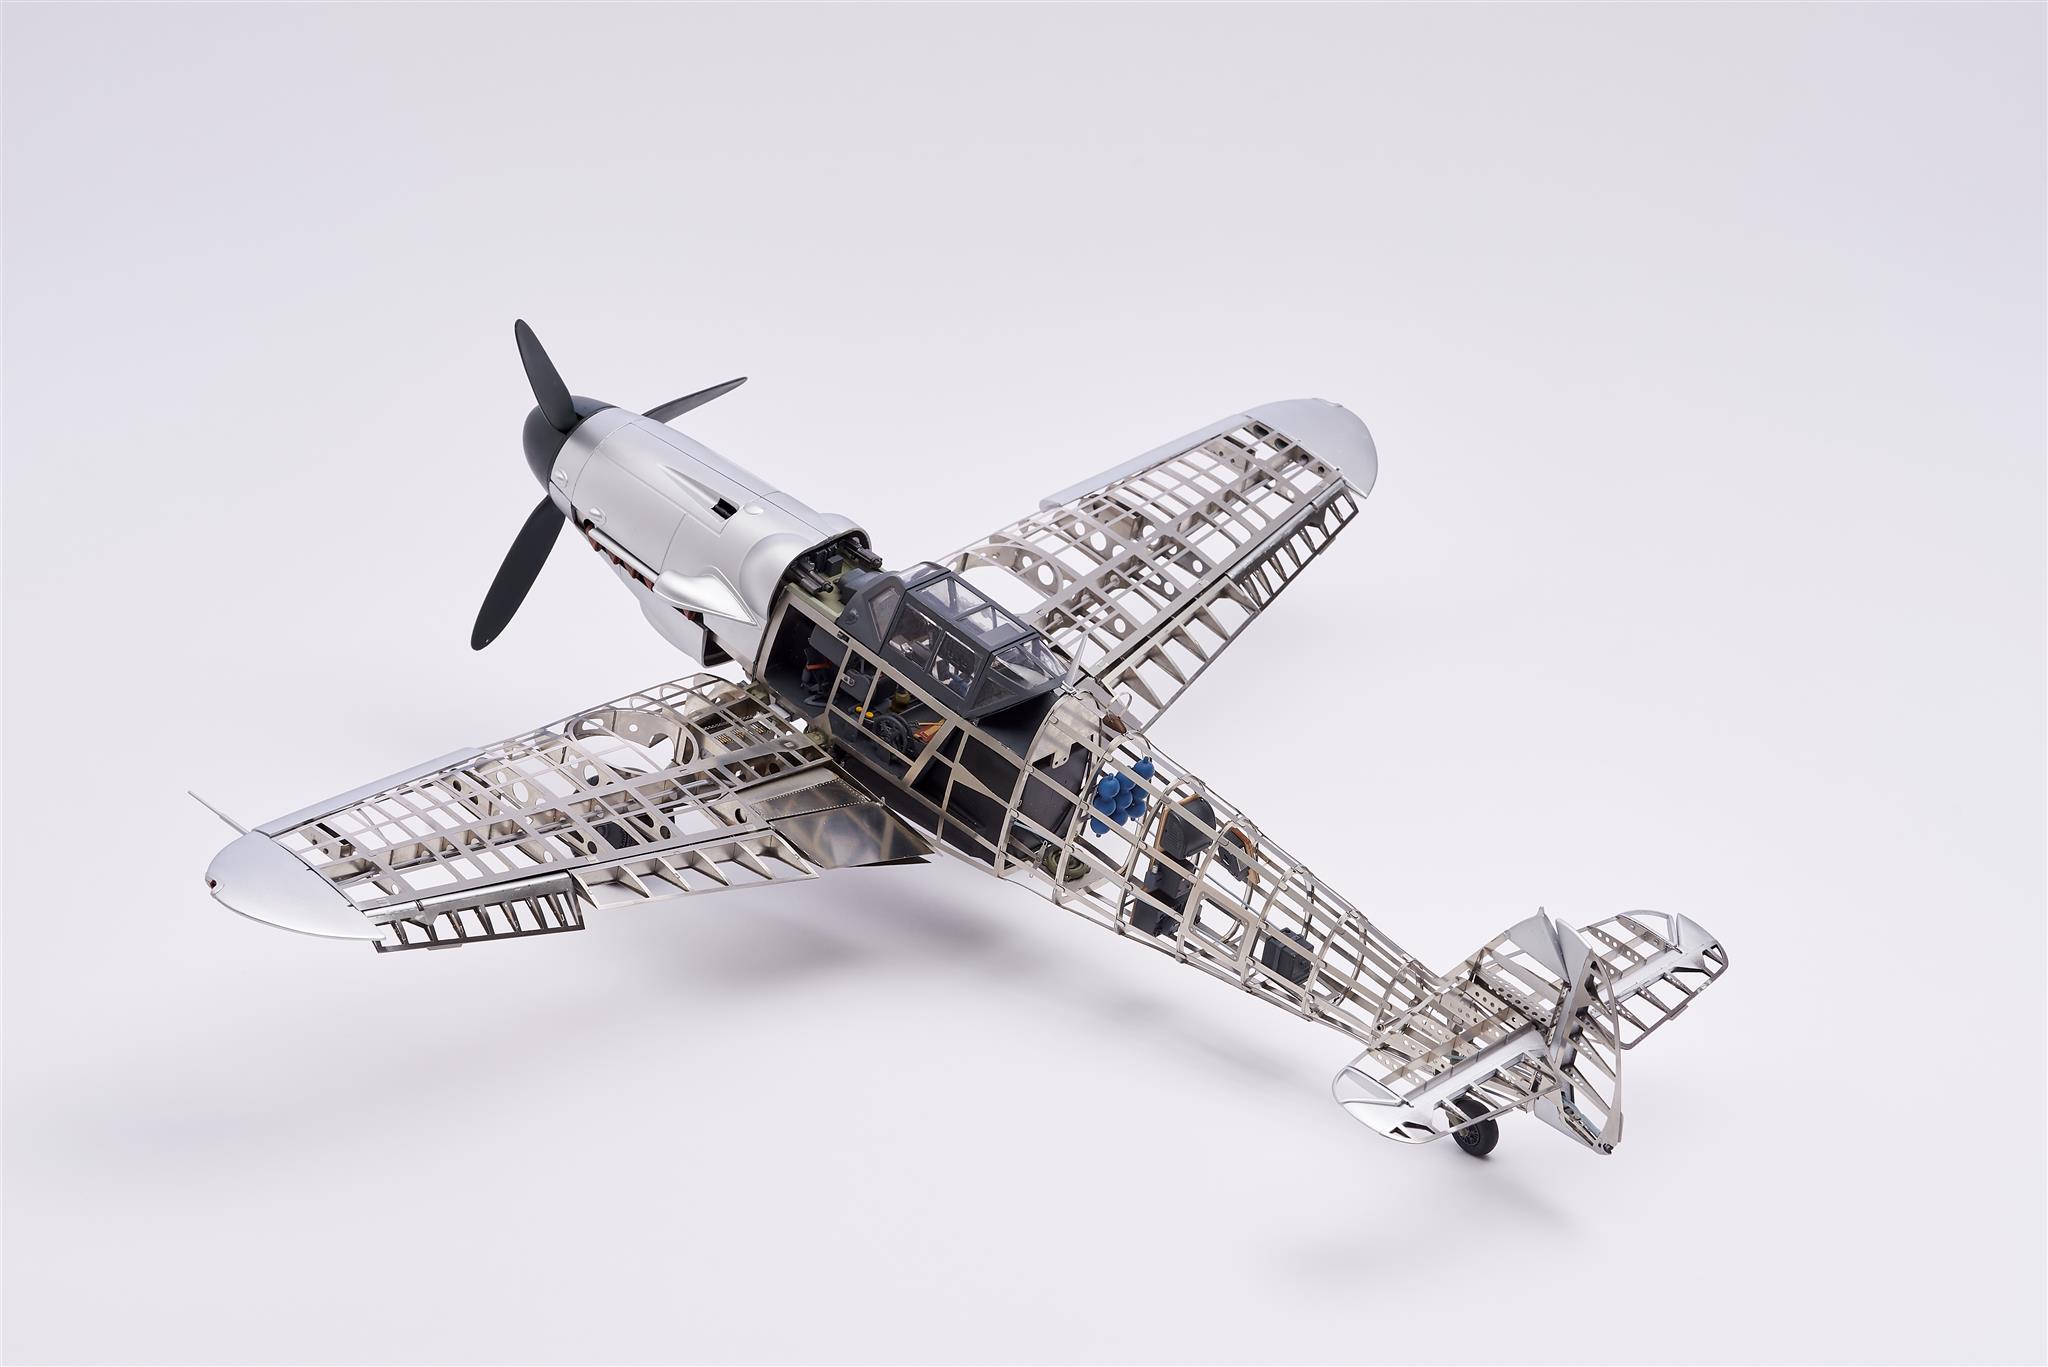
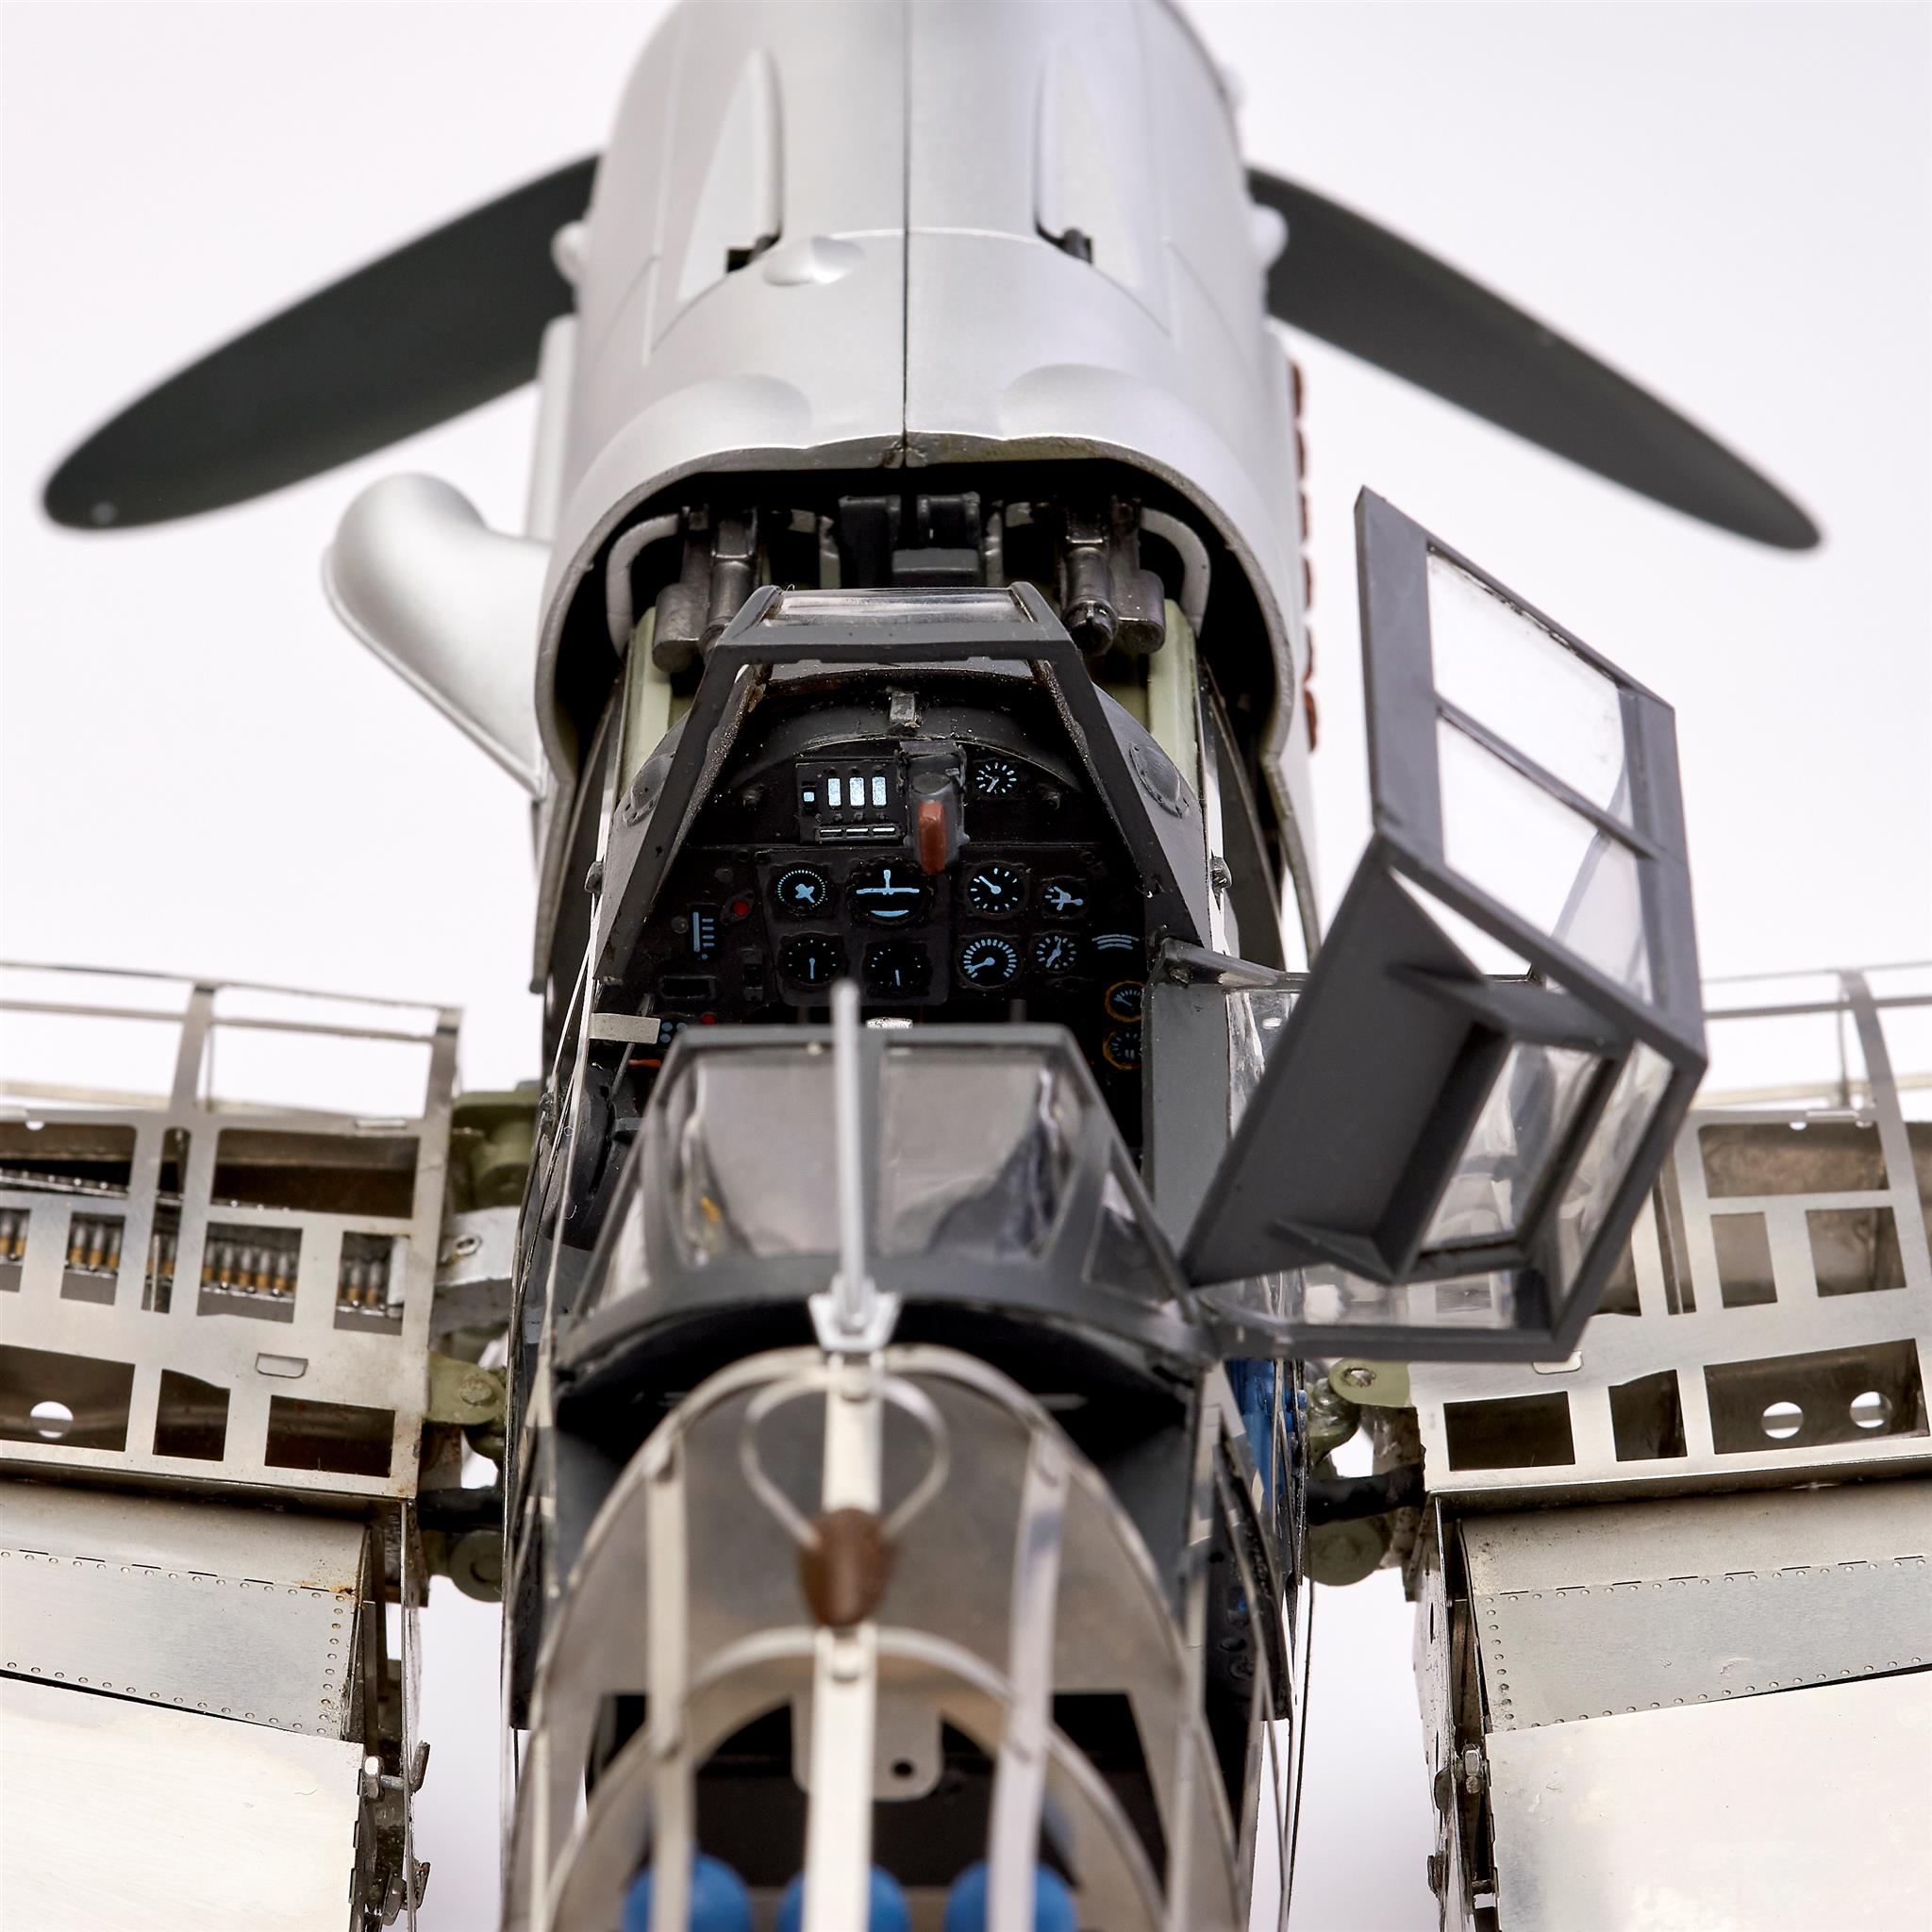
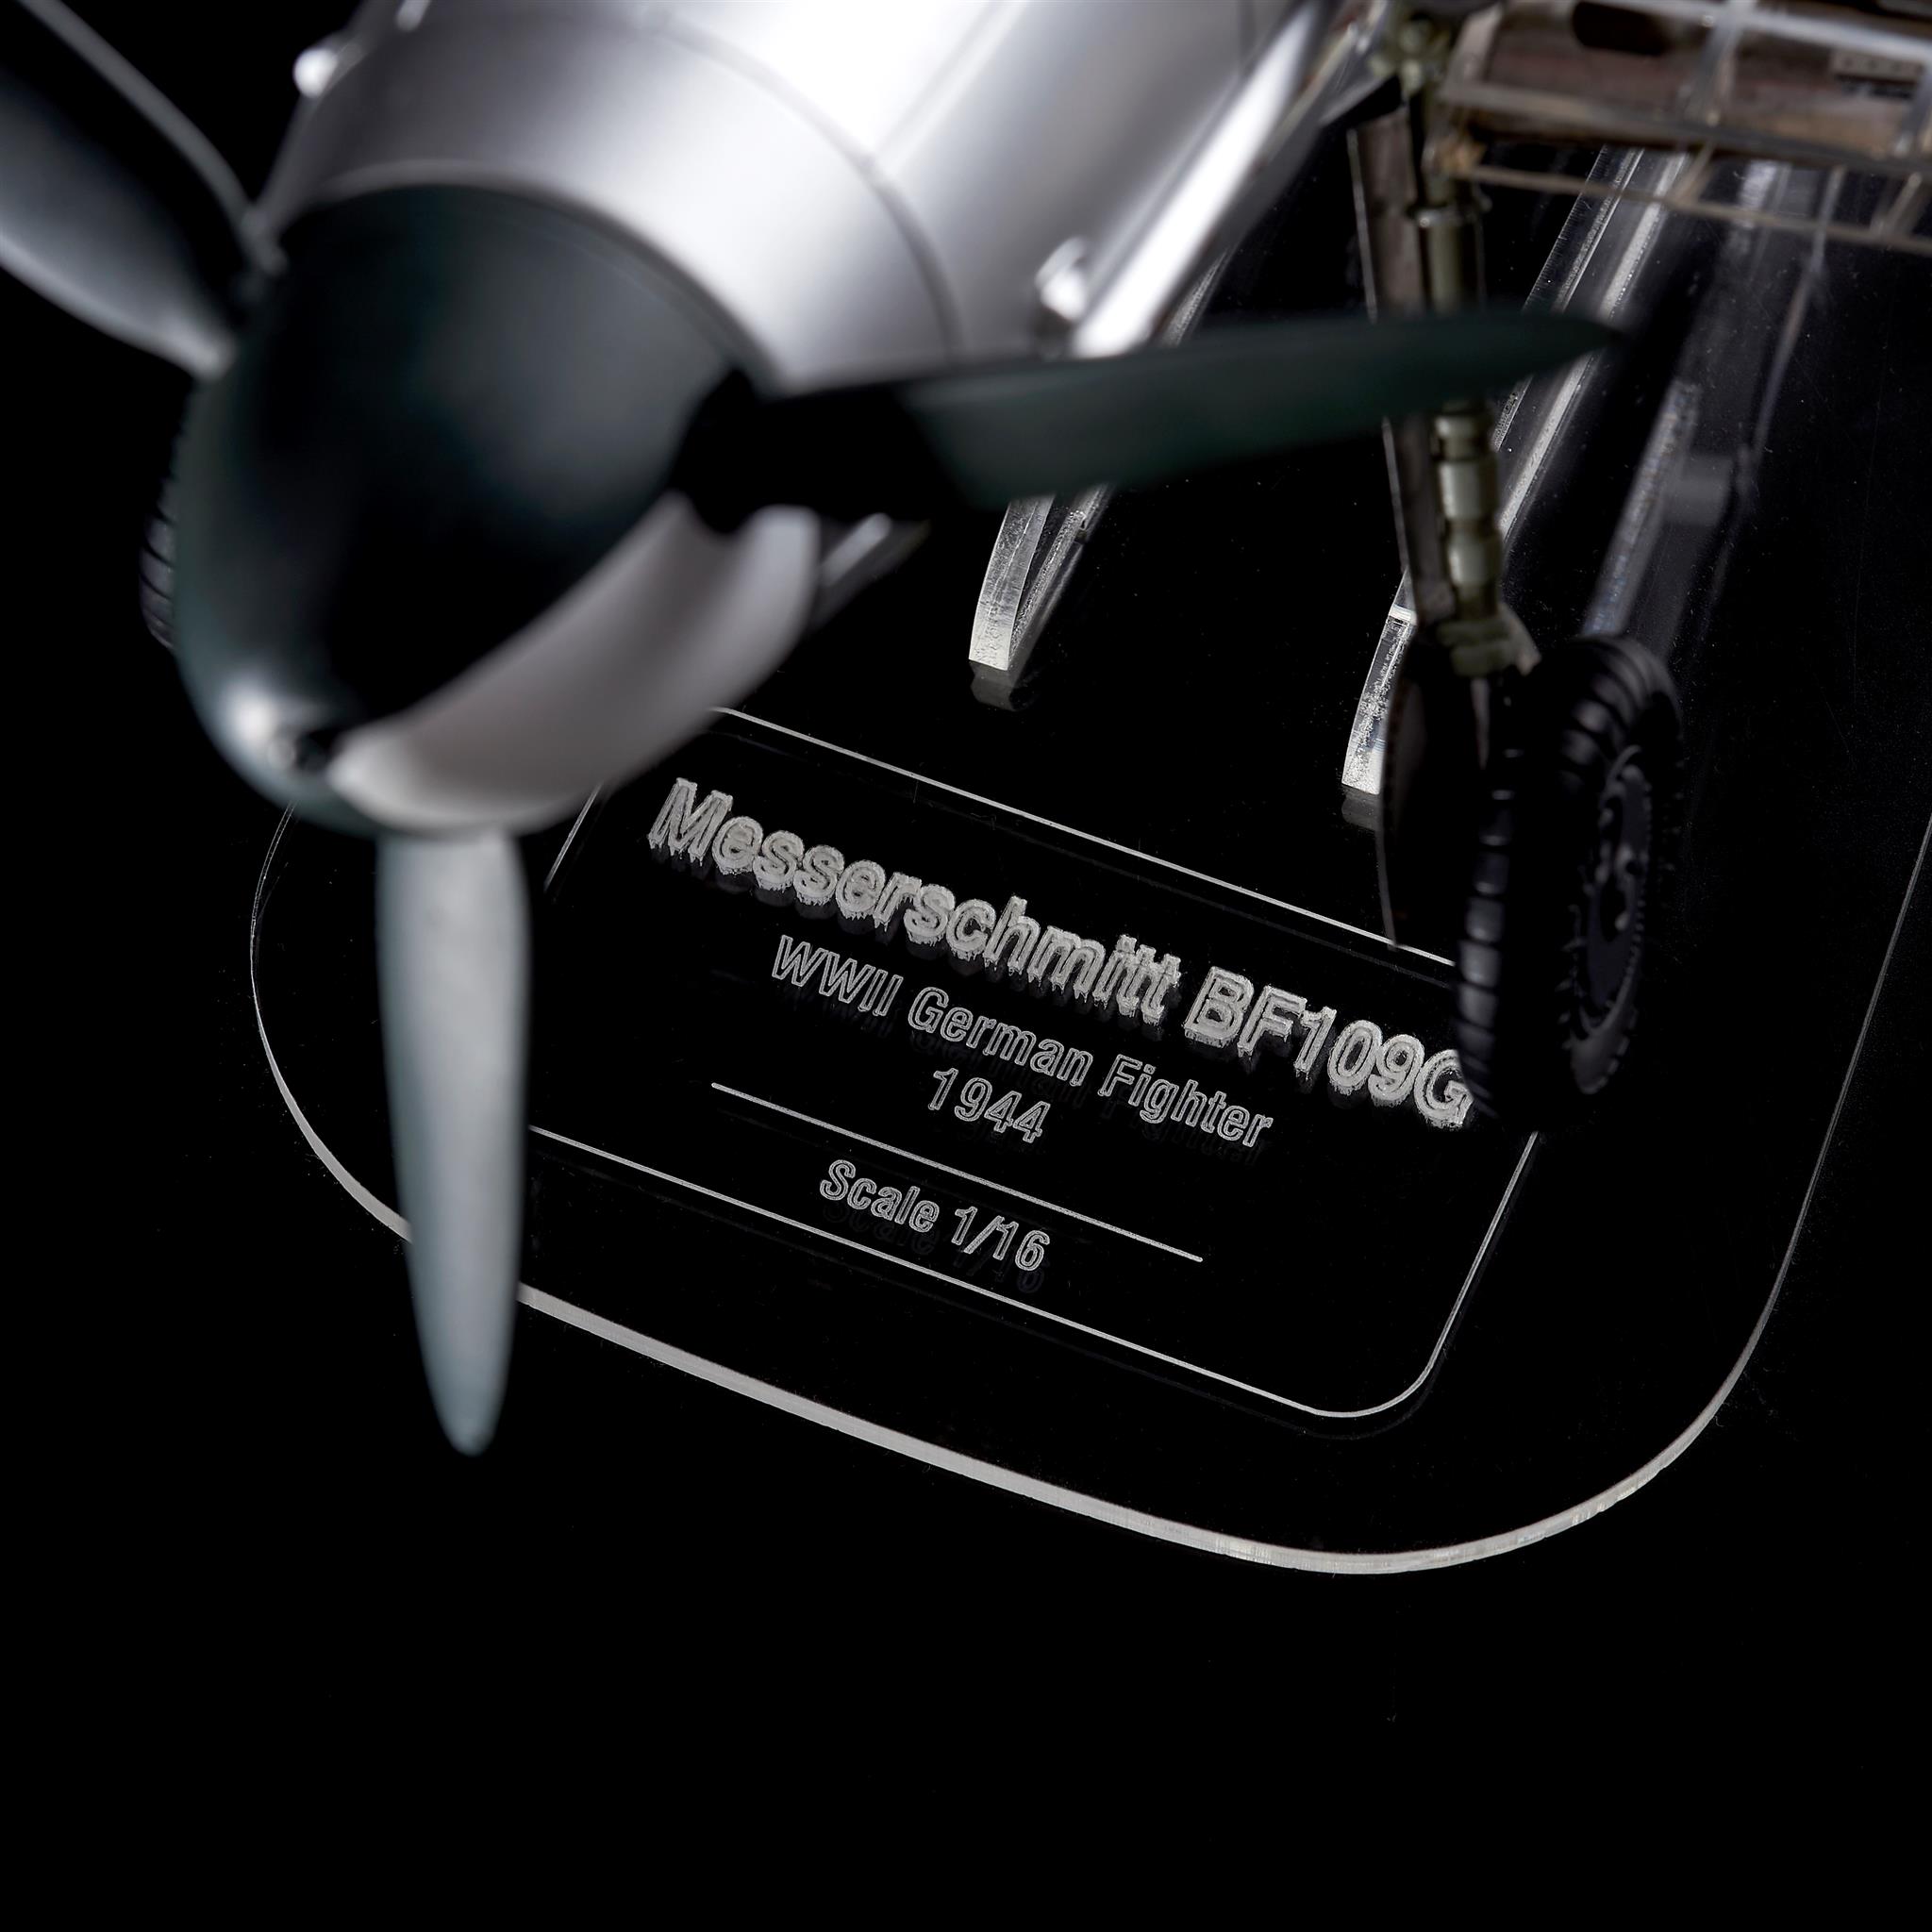
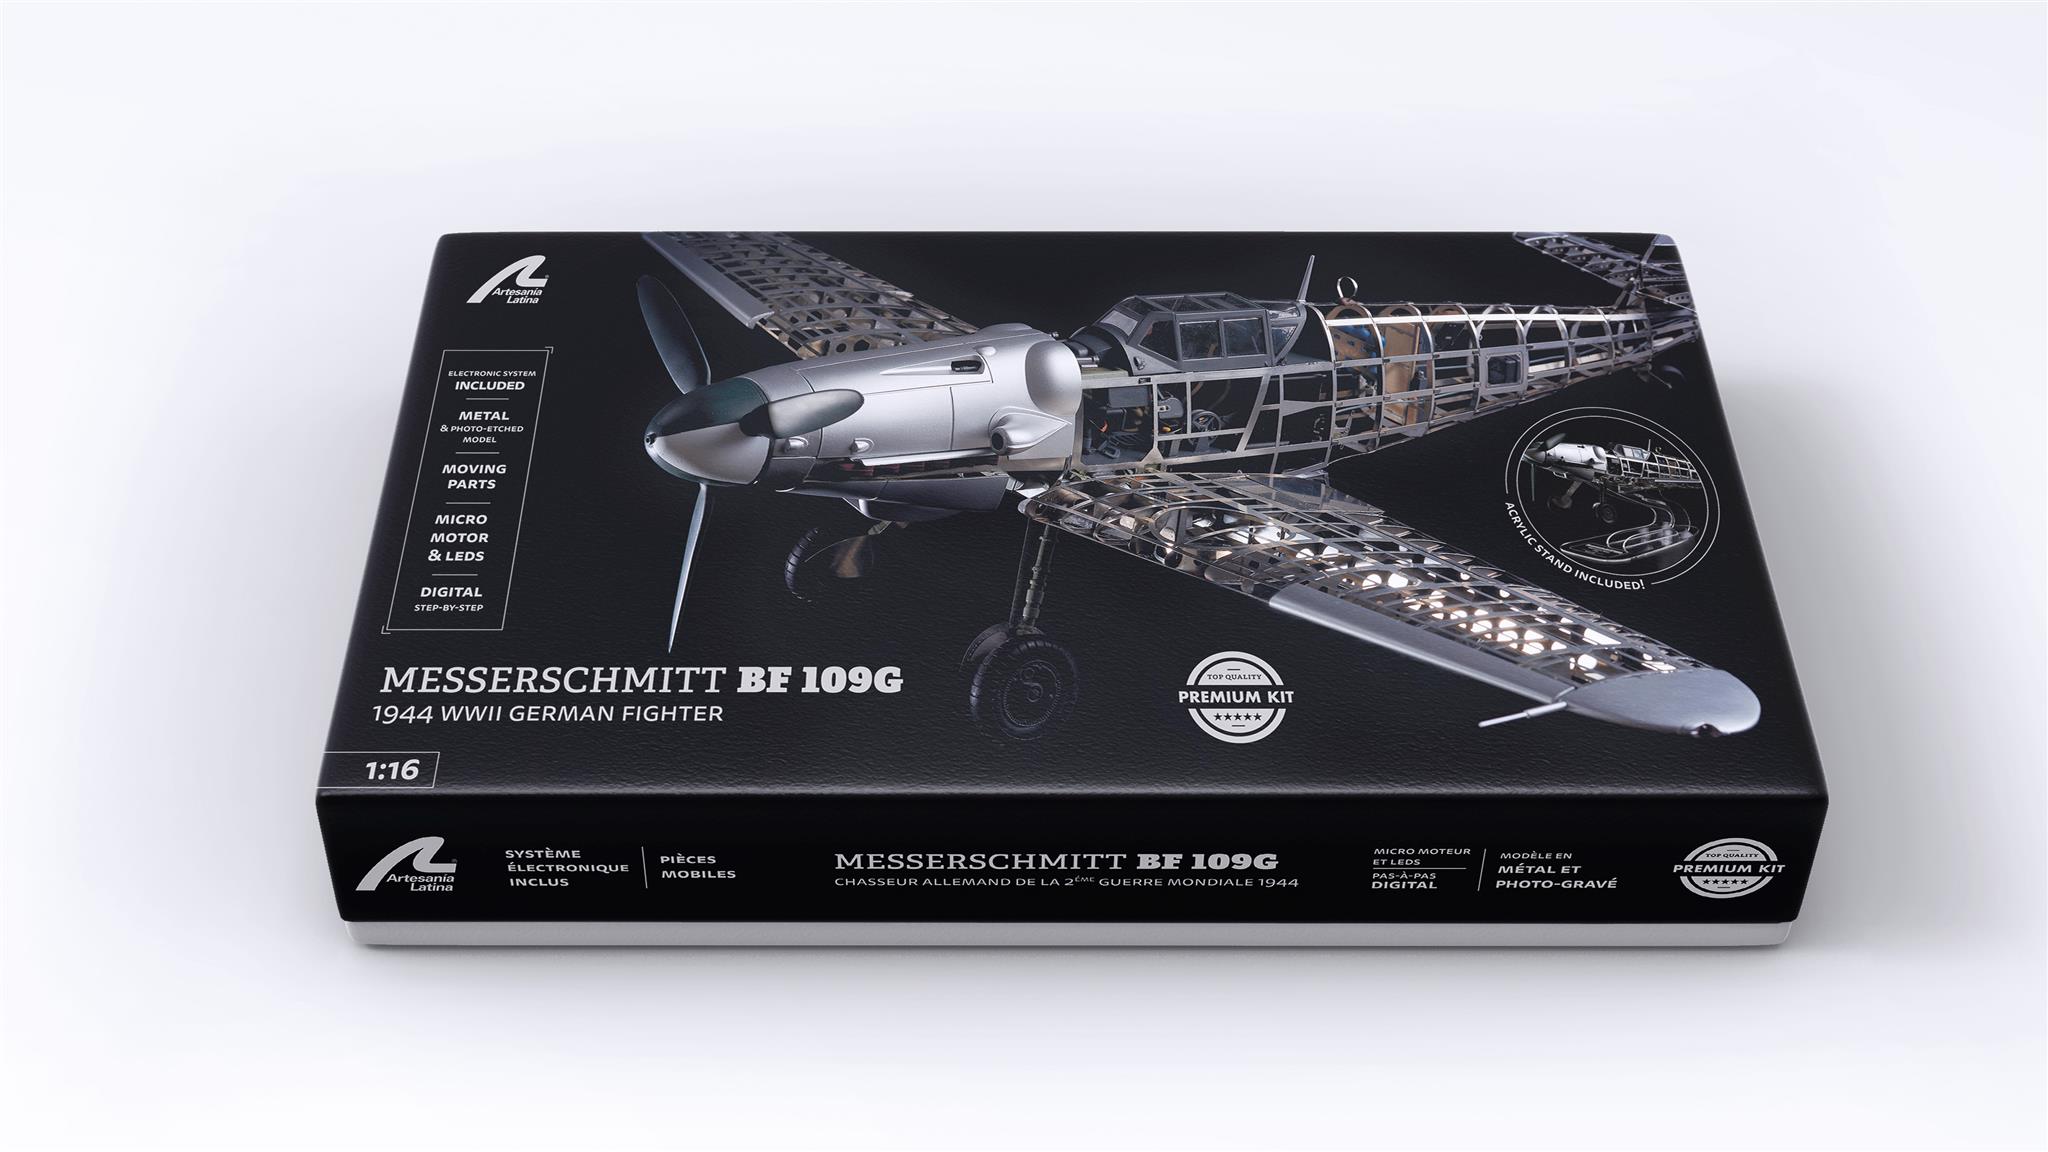
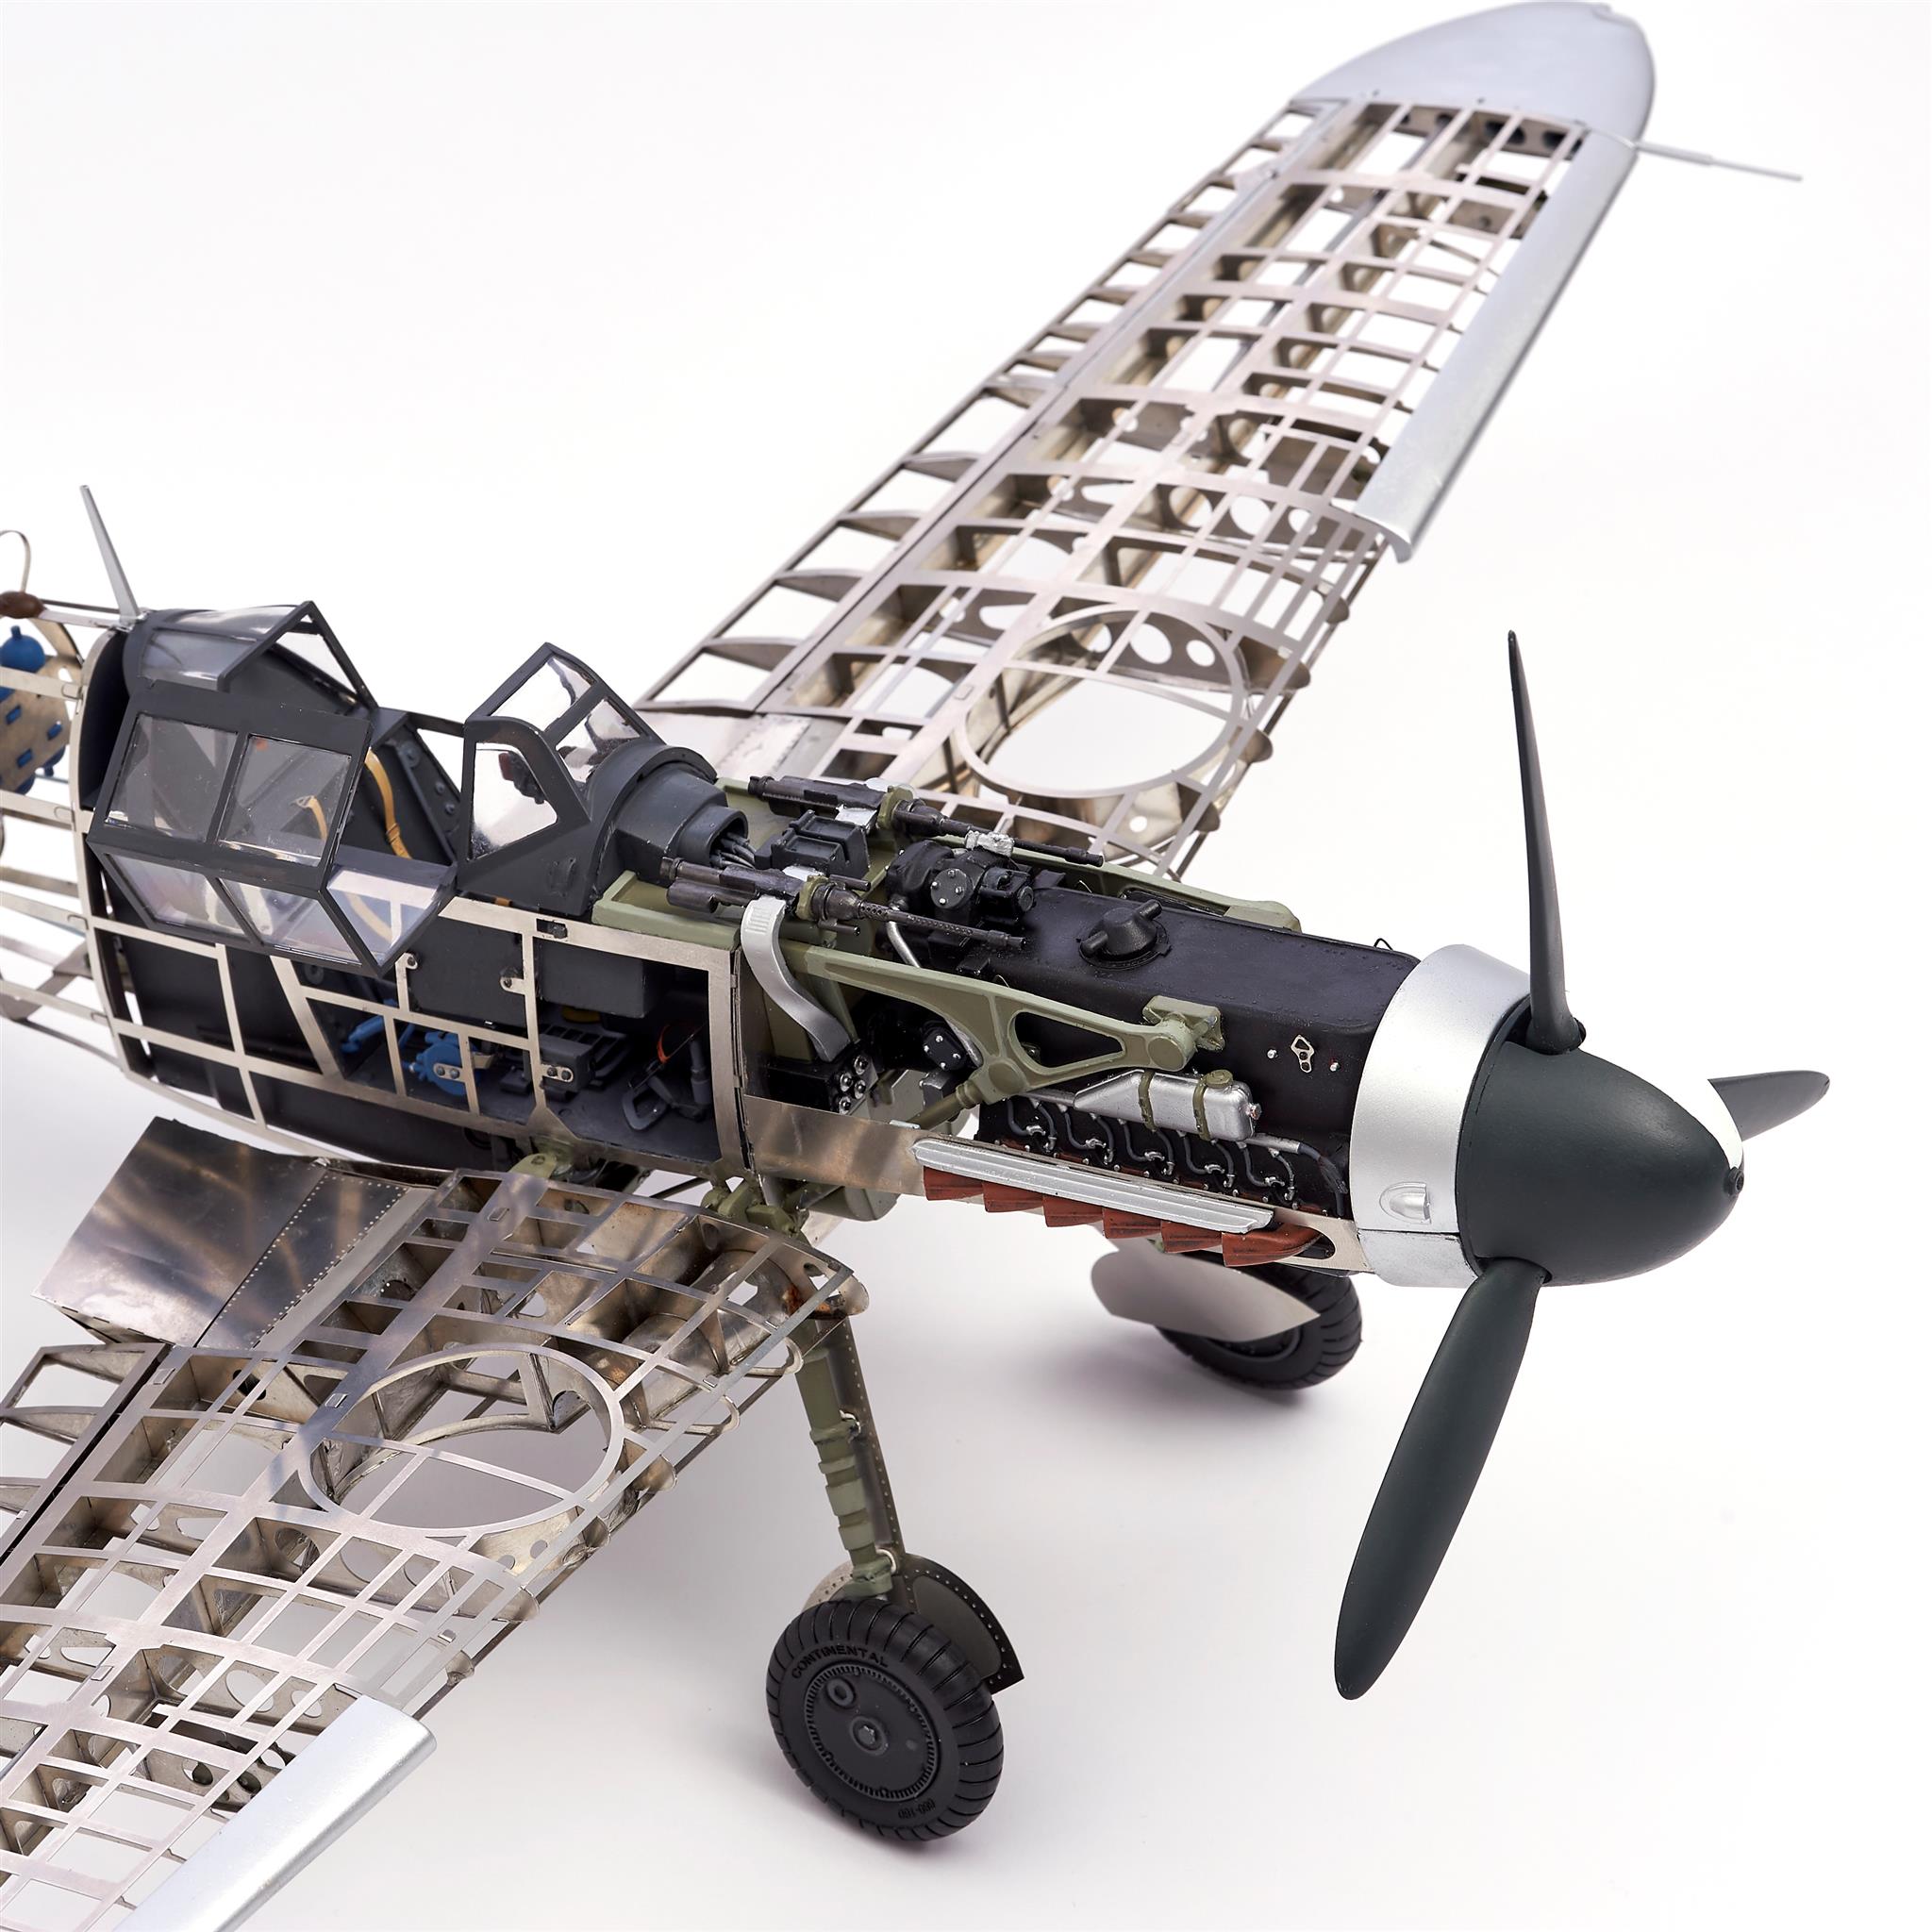
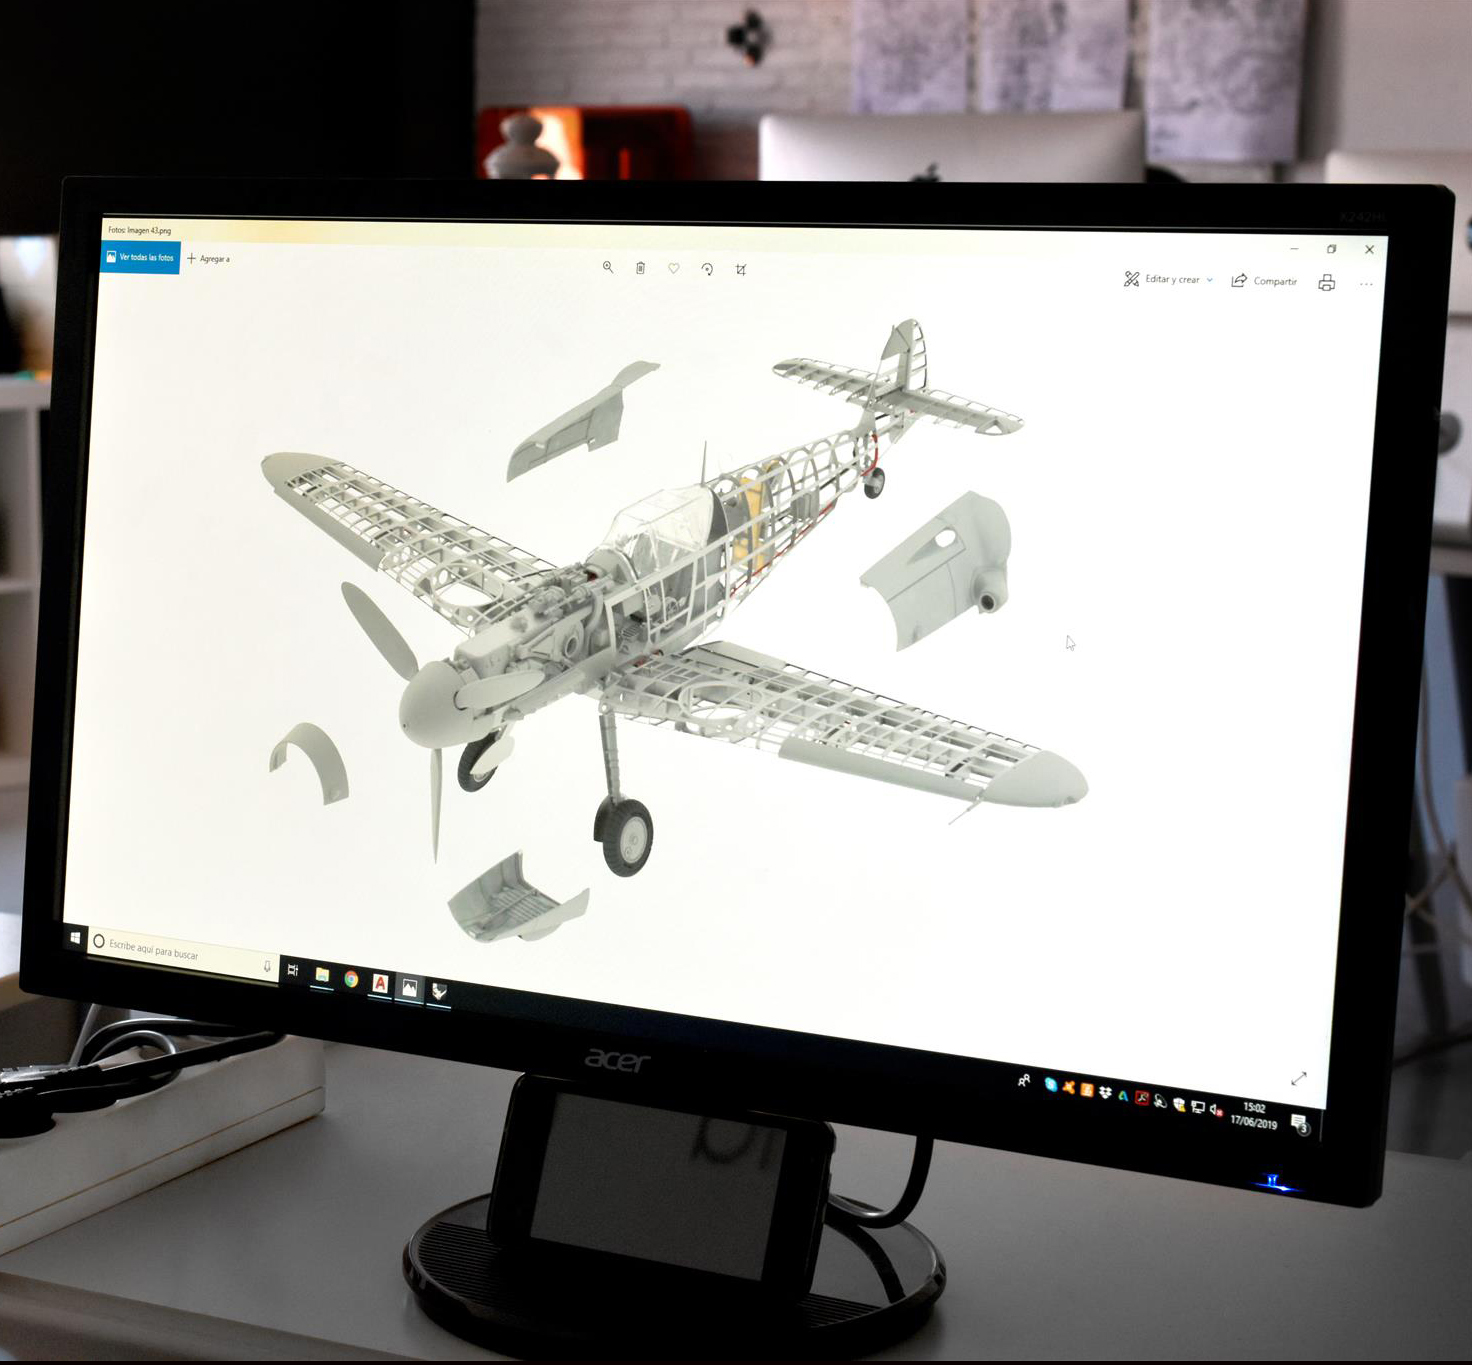
We continue this week on the blog with the second part of the post on the set up of the Messerschmitt BF109G model kit at 1/16 scale. It is a useful video guide for all our client friends. Through this, the modeler can more easily build this luxurious faithful miniature replica of the German fighter of the World War II.
To the delight of the modeler, this modeling kit has a tab system that allows the assembly of the aircraft structure almost without the use of glue. Precisely, its metal parts come in stainless steel photo-engraving plates and in injected die-cast. With that said, let’s build it.
BF109G MODEL SET UP: RIGHT WING
First, it must be said that we continue with Messerschmitt BF109G model set up (20356), specifically, with the correct assembly of the ‘Right Wing’ First Part in the Chapter 10. Steps 198-22 of the instructions for its construction. To do this, you can continue using the same modeling tools discussed in the first part of the post.
Second, we finished building the ‘Right Wing’ with Part Two, Chapter 11. The steps on PDF format instructions for this scale model are from 223 to 251.
FRONT LANDING GEAR ASSEMBLY
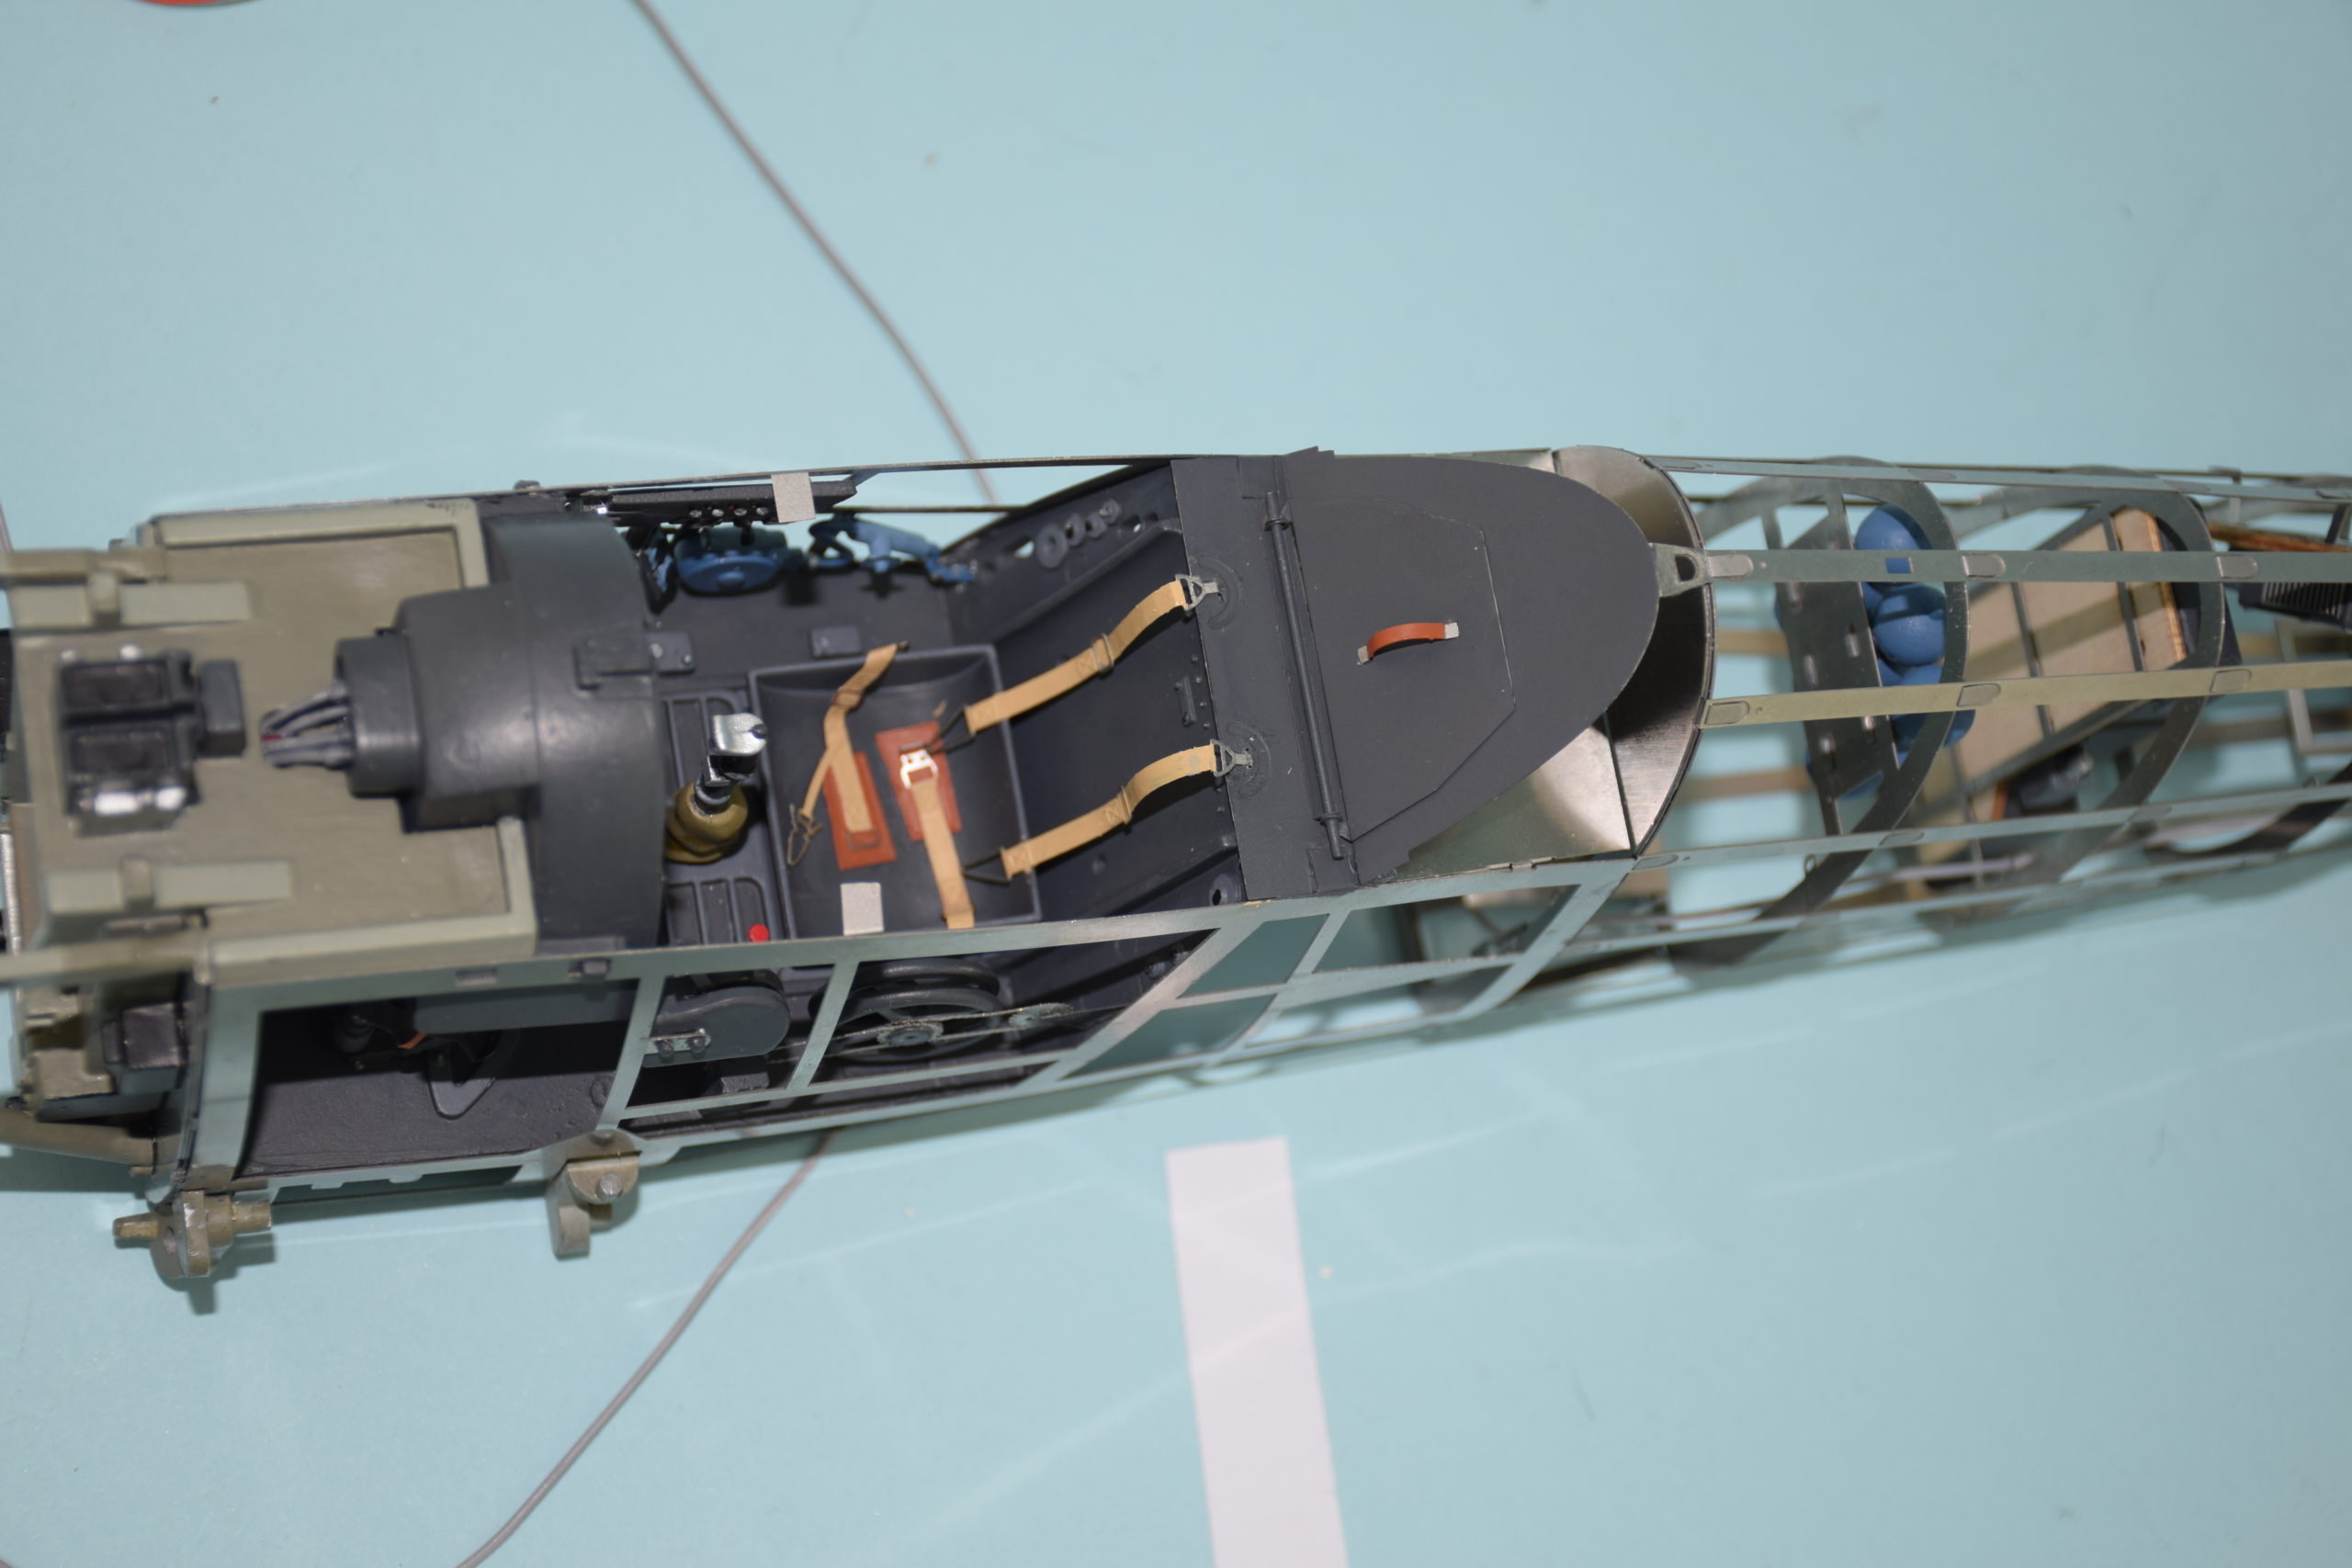
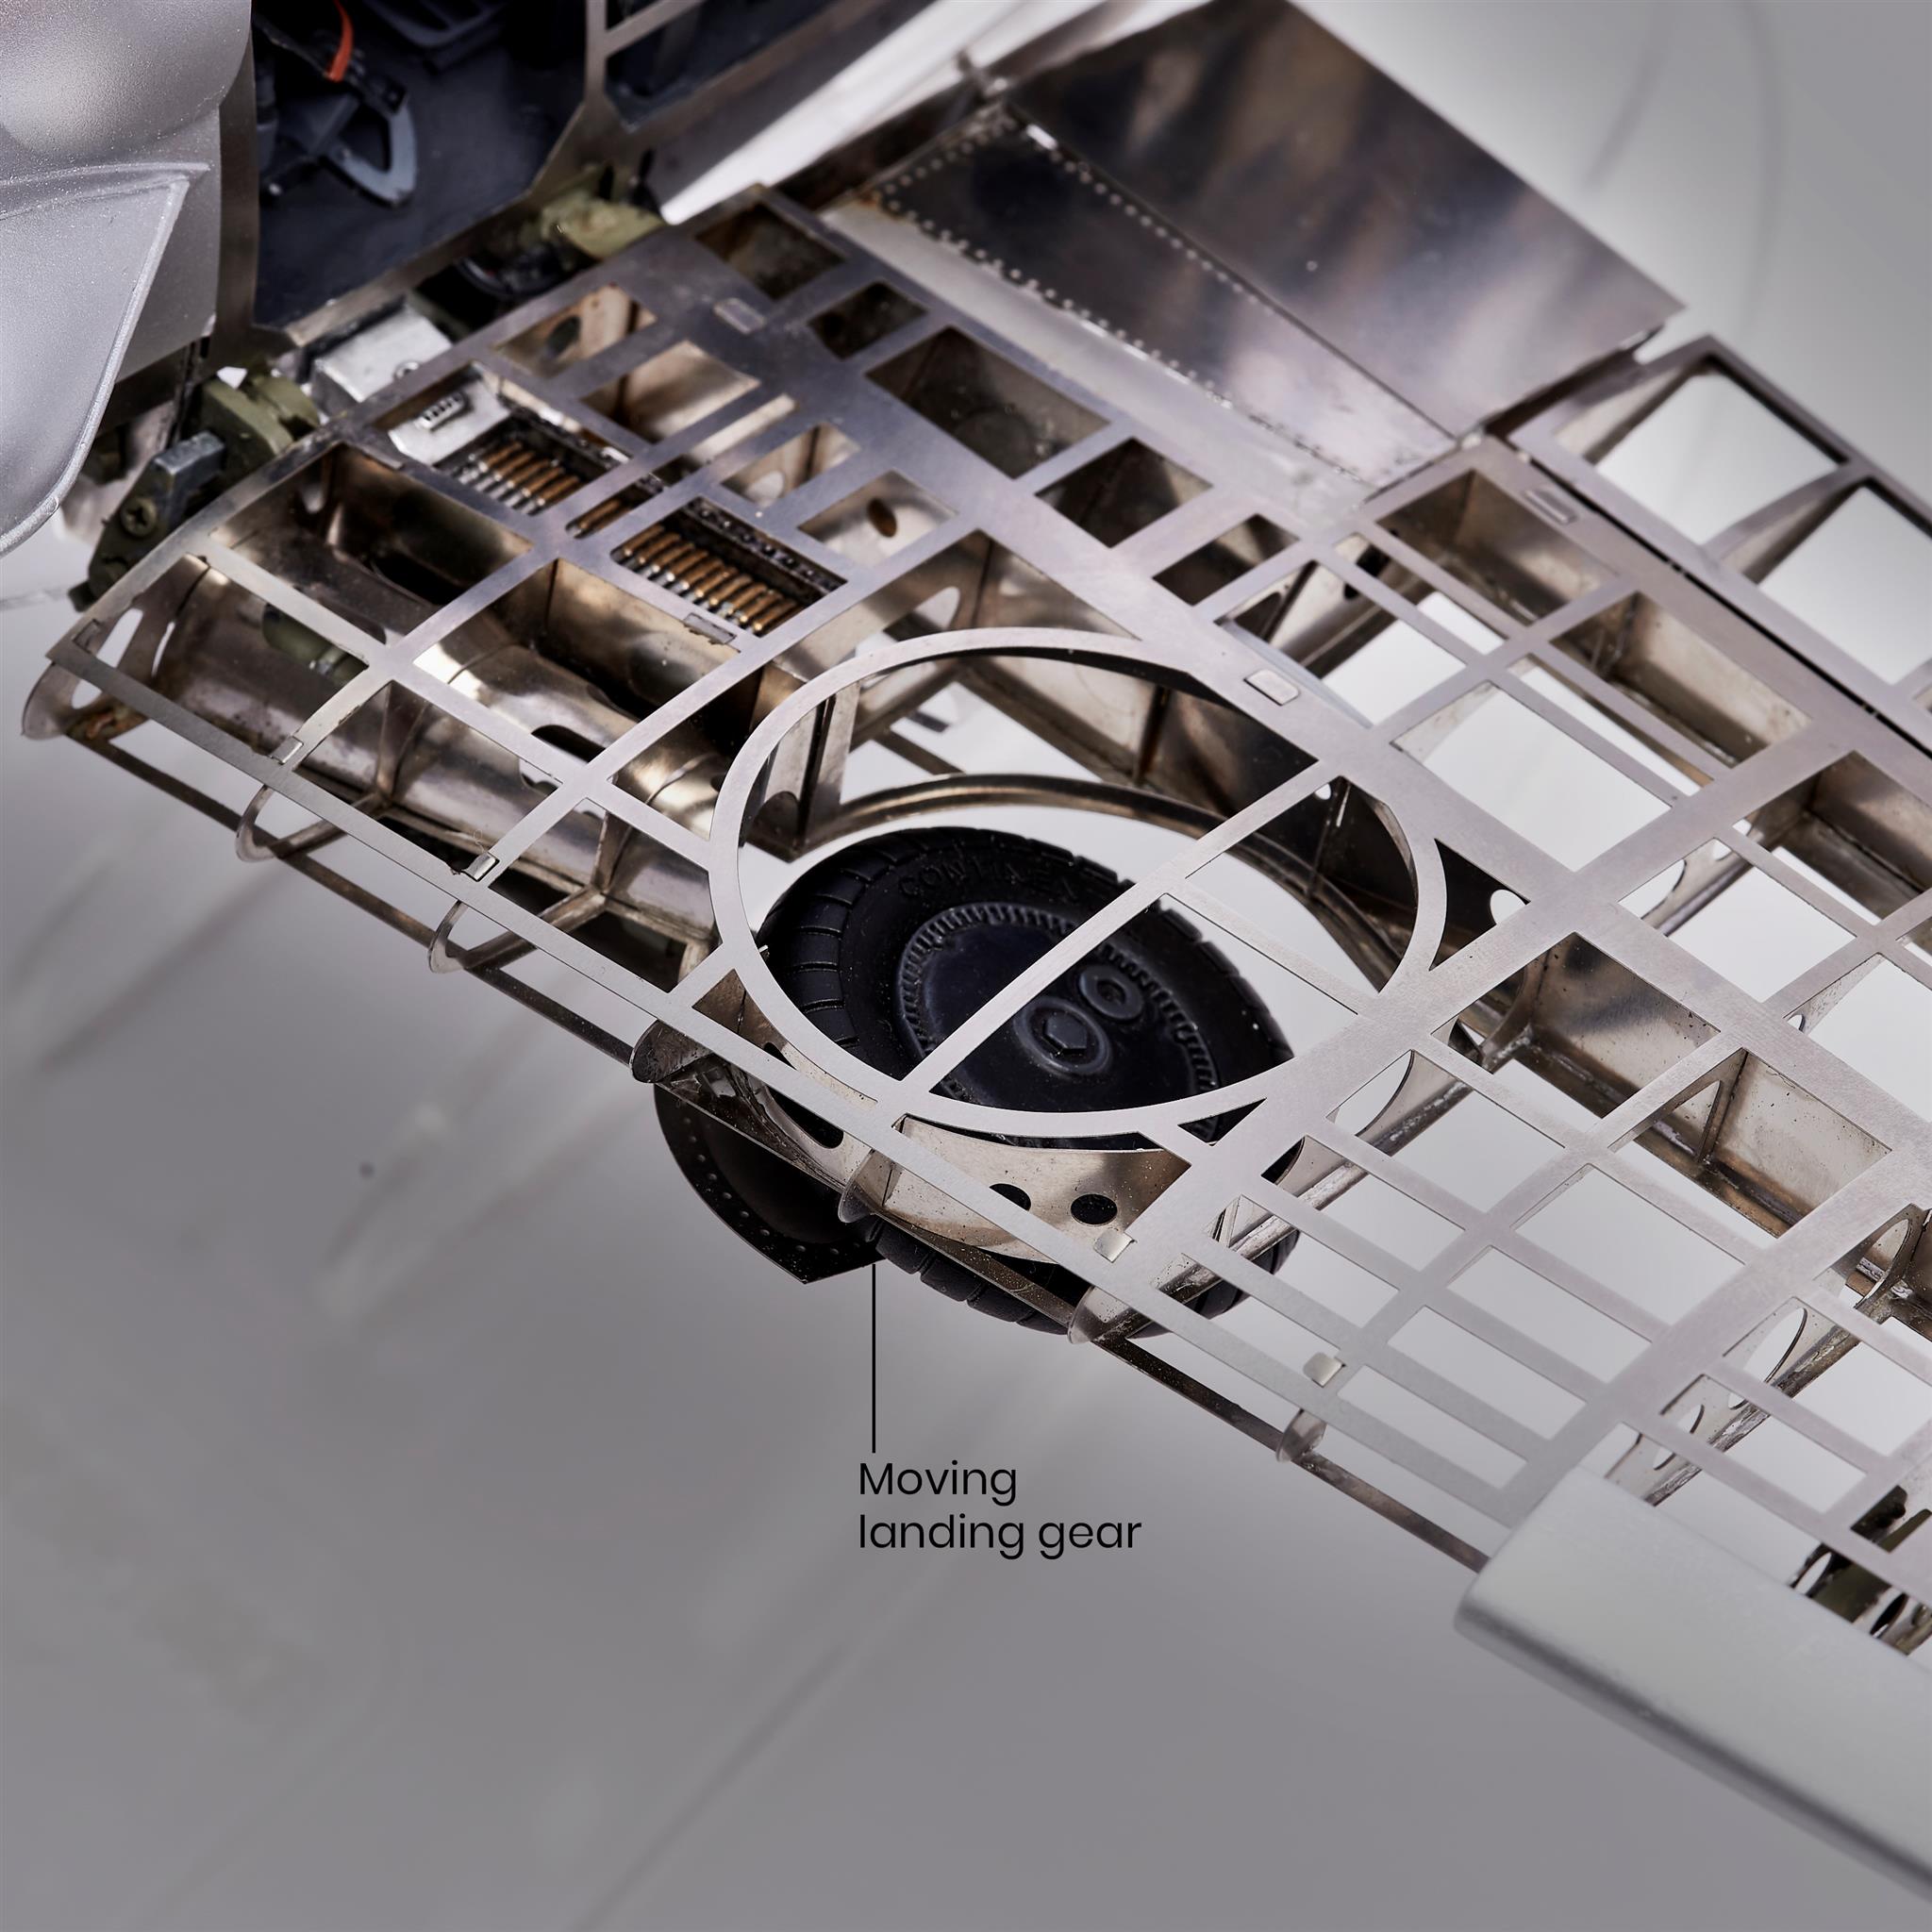
The great realism of the fighter plane model Messerschmitt BF109G (20356) is one of his big bets. To achieve this, for example, the replica has mobile parts such as the already explained cockpit and the manual retractable landing gear. In this sense, in Chapter 12 of the Assembly Diary, we now break down how to properly build the ‘Front Landing Gear’, Part One. Steps located between numbers 252 and 269. At this time, the modeler must incorporate a new tool to the previous ones:
– Set of Precision Tools: Screwdrivers (45 in 1) (27220).
BF109G MODEL SET UP: MOTOR
We deal with the ‘Engine’, First Part, in Chapter 13 of the videographic guide for assembling the metal and photo-etched model of the German legend Messerschmitt BF109G. Steps from 270 to 296.
Finally, take a look at the video to finish building the ‘Motor’ with the Second Part of the explanation about how to assemble it, in Chapter 14. Steps from 297 to 321.
BF109G MODEL SET UP: ELECTRONICS
From this moment, we reveal how to assemble some of the funniest parts: the ‘Machine Guns and Electronics’ of the model.
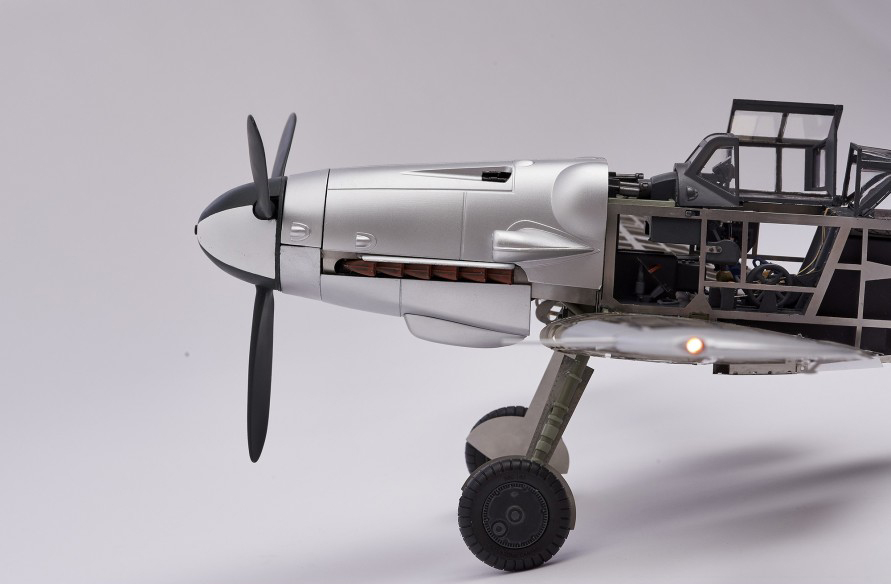
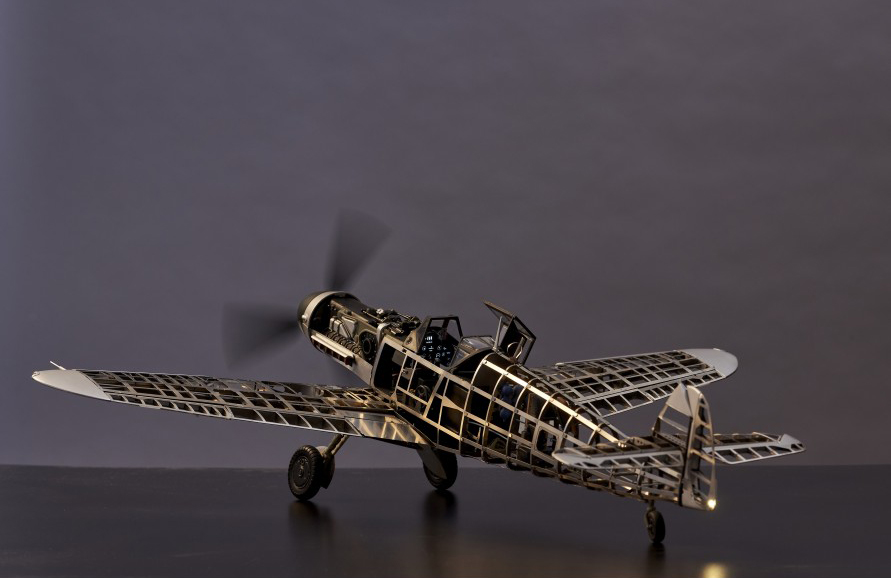
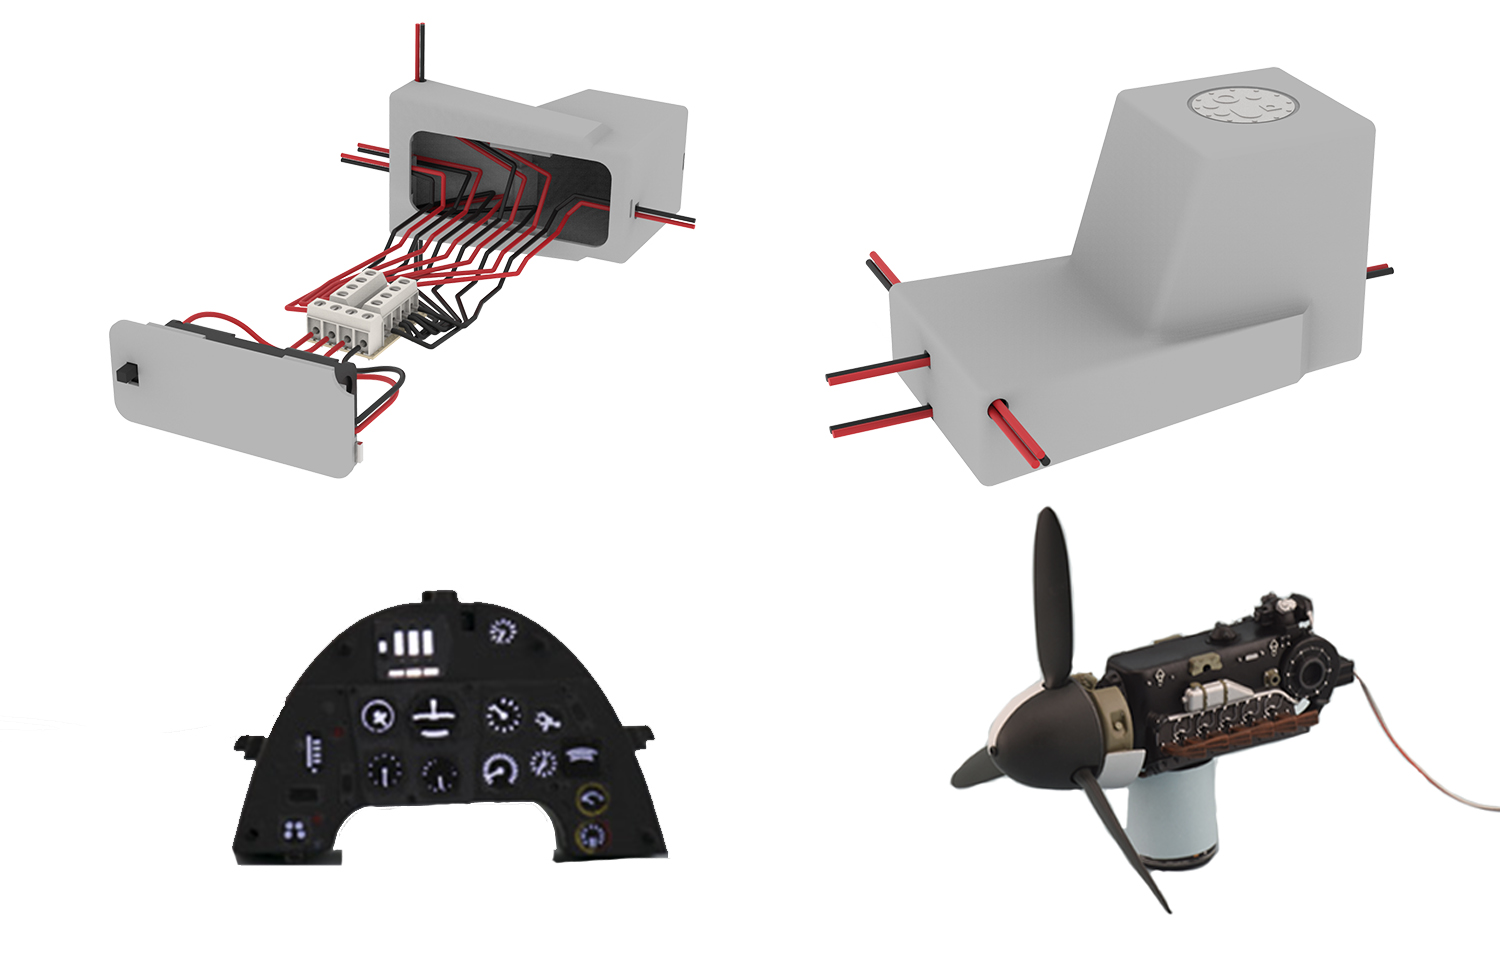
The Messerschmitt BF109G modeling kit includes another kit but with electronics with a low-rev motor that gives movement to the propeller. But, in addition, it comes with LED position lights on the wings, tail and… On the very detailed dashboard! To achieve this movement and lighting, three AAA batteries are required, not included in the kit.
So, we go to Chapter 15, steps 322-344. No more modeling tools are needed at this point, the same ones as until now -remember to consult the previous post-.
Steps 345-361 of Chapter 16 deal with the careful assembly of the ‘Gun Sight and Canopy’ of the 1/16 scale model Messerschmitt BF109G (20356).
To conclude, Chapter 17 and the last video for the precise Messerschmitt BF109G model set up makes reference to the existing steps since the 362: ‘Engine Cowling and Exhibition Base’.
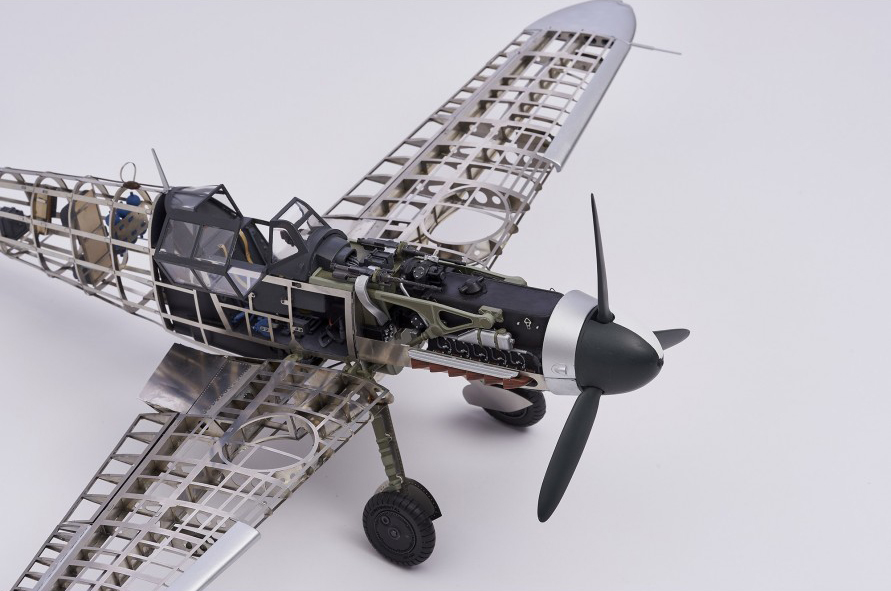
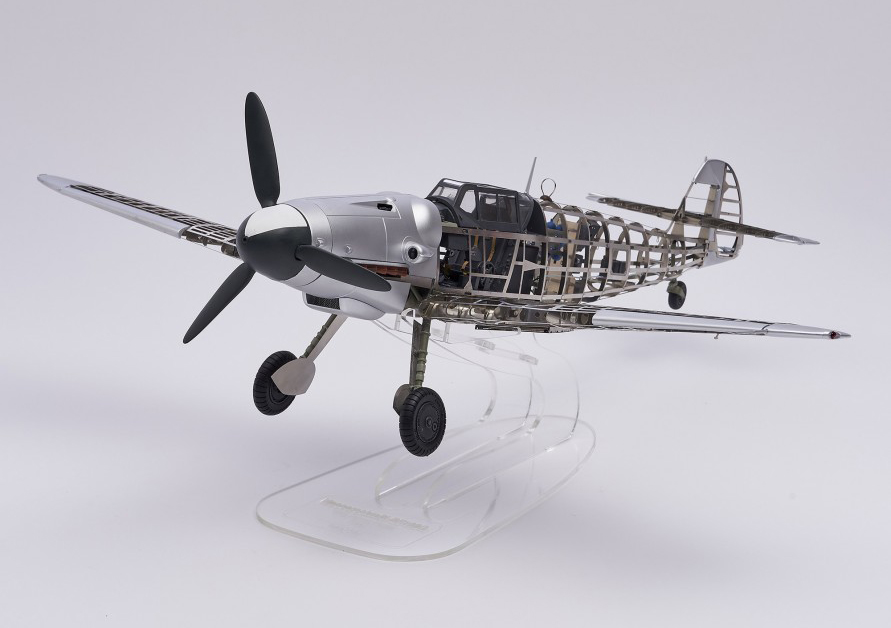
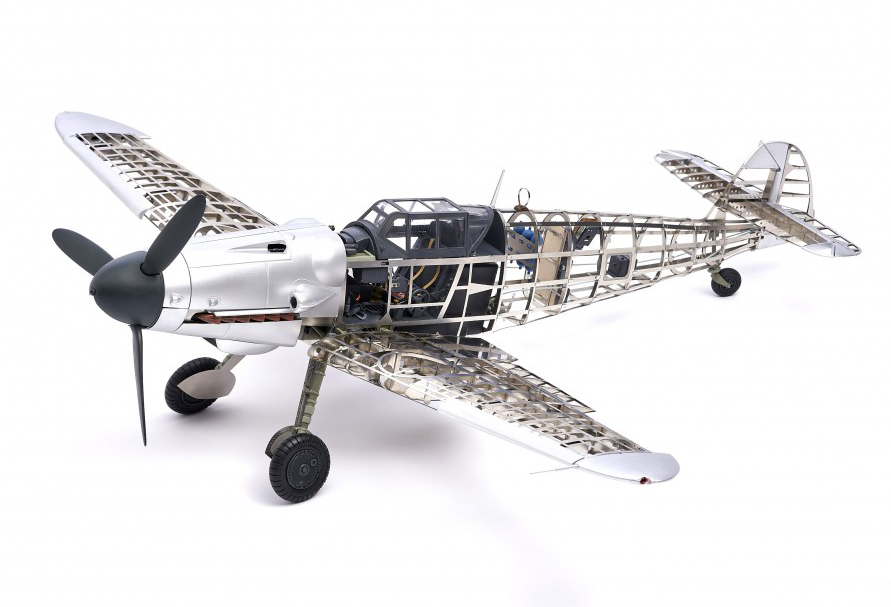
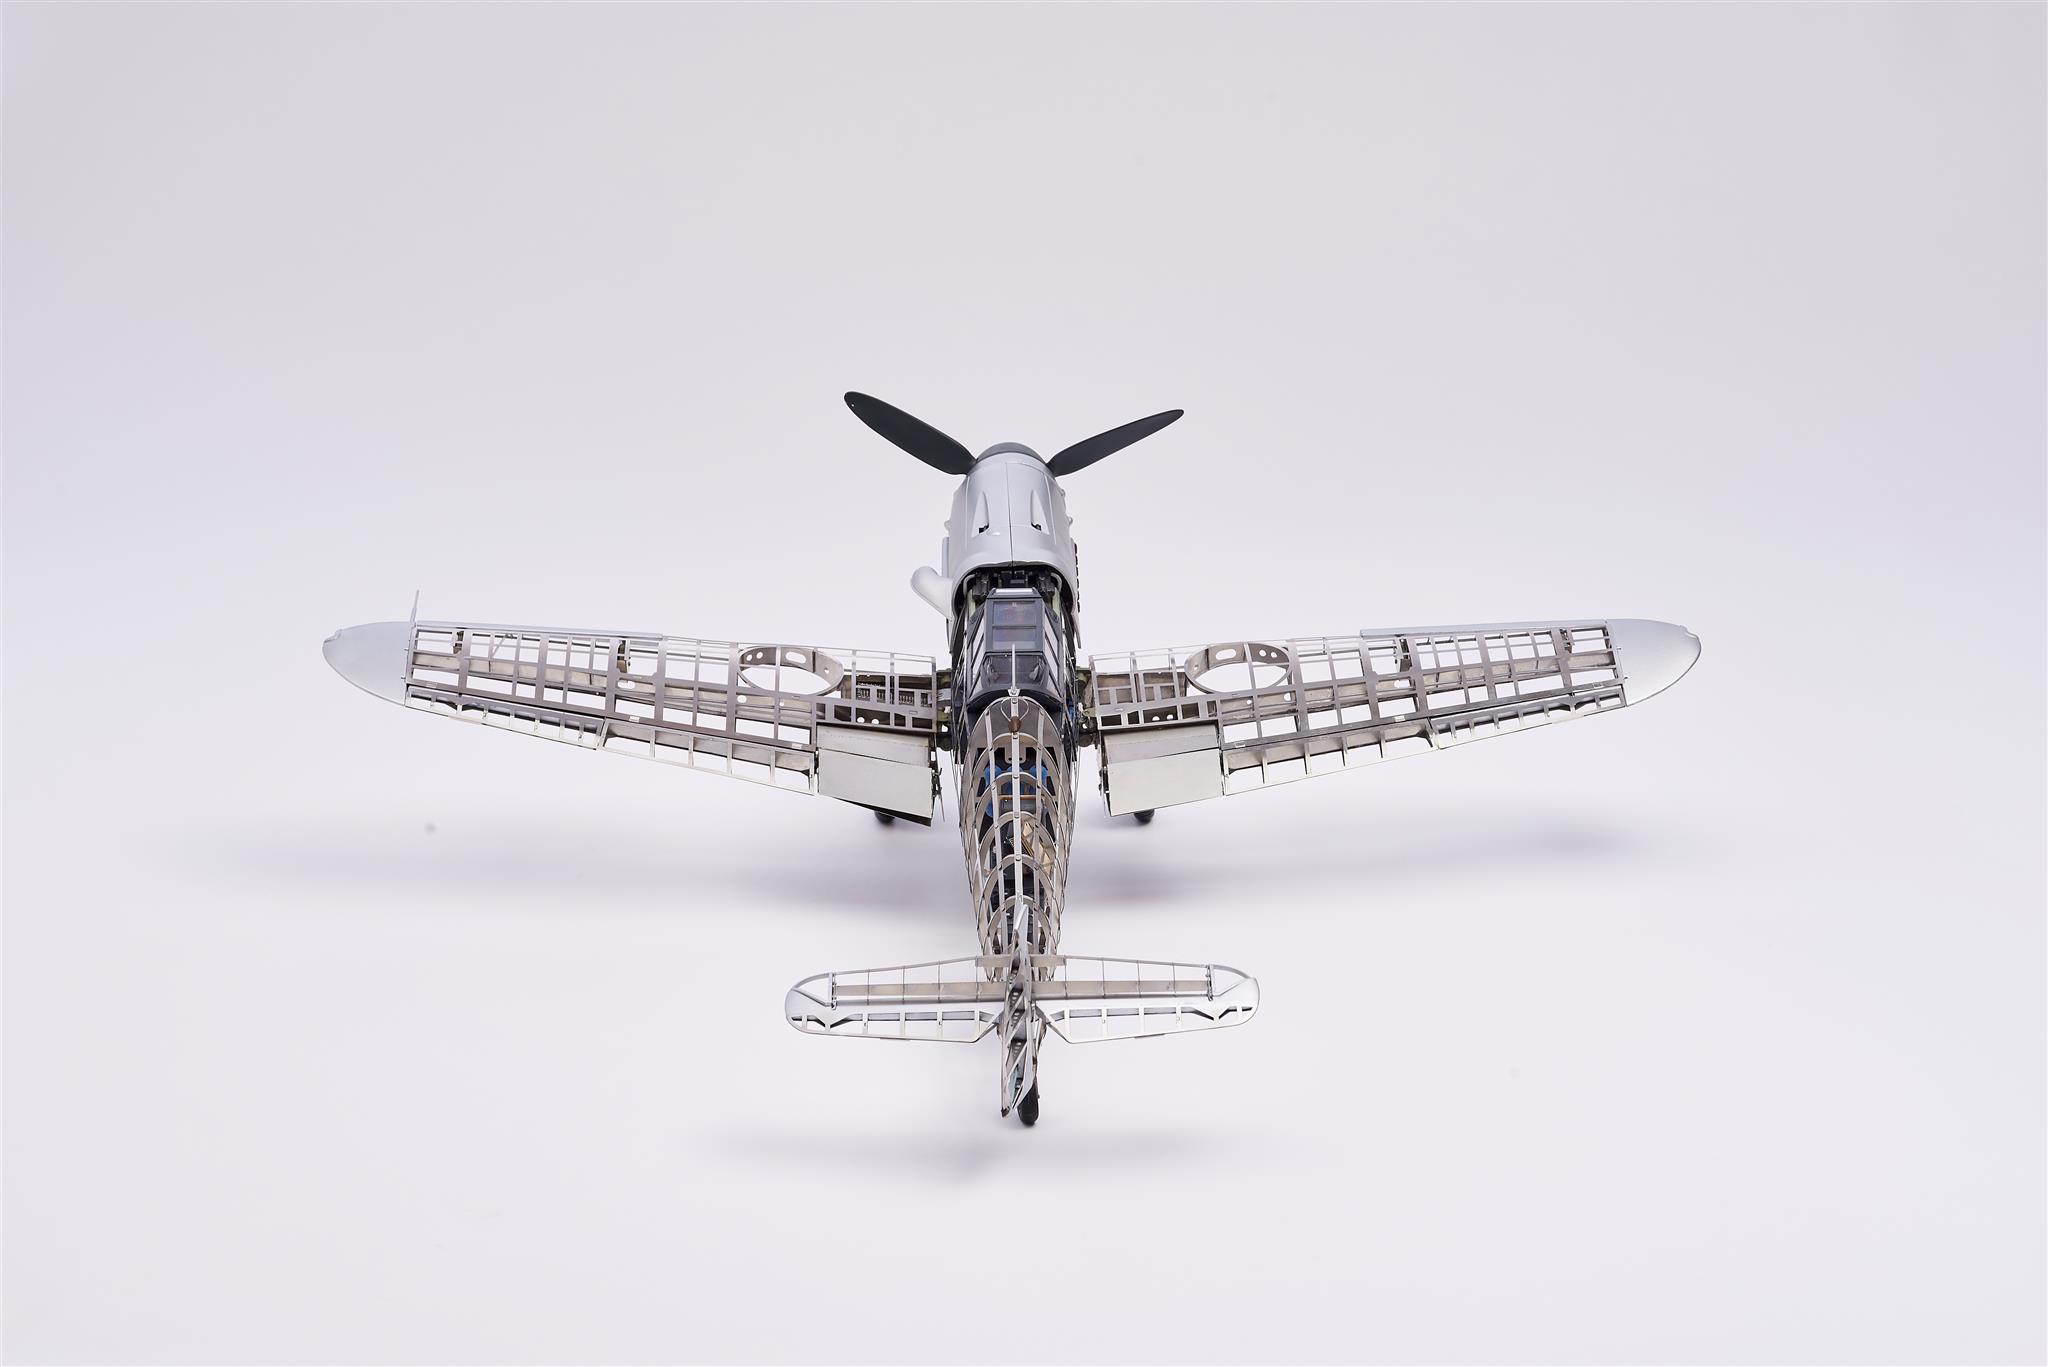
Thanks to the expertise of our modeler friends and these illustrative assembly instructions, after the Messerschmitt BF109G model set up it should look like this.
PAINTS FOR FINISHES AND GIFT PACK BF109G
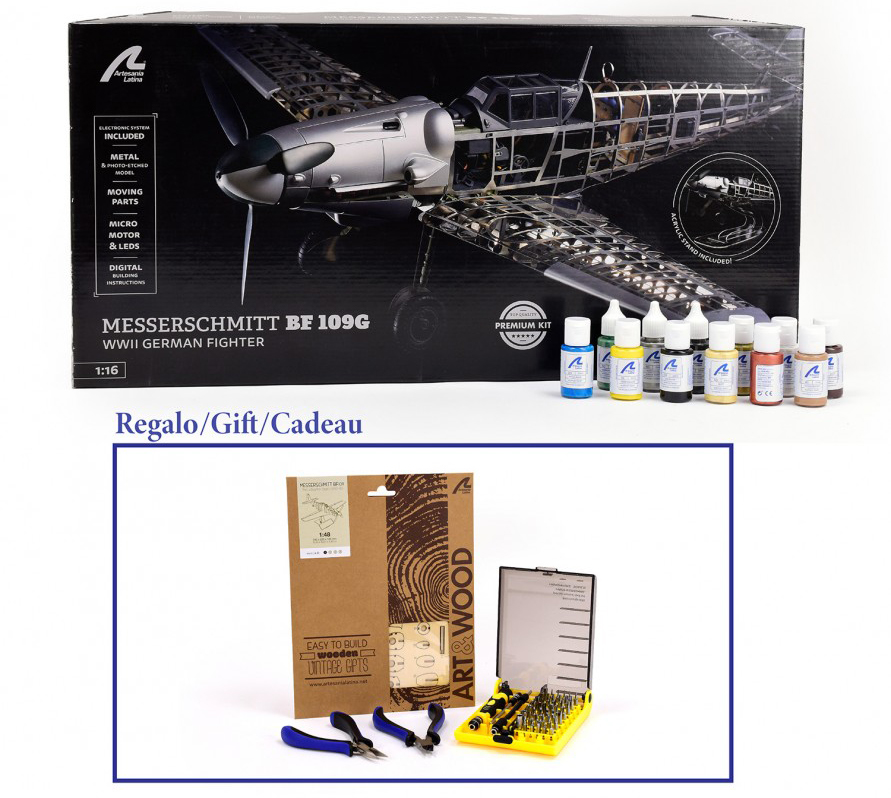
Obviously, the best finishes are achieved with the best paints. In this case, Artesania Latina has created a Specific Set of Acrylic Paints for Messerschmitt BF109G (277PACK5), for sale separately. 12 jars of quick-drying water-based paints in the following colors: off white, off black, royal blue, deep yellow, buff, cocoa brown, dark red leather, green FS34226, aluminum, gold, copper and grey RLM66. We remind you that in our catalog you can find a wide assortment of brushes and from airbrushes.
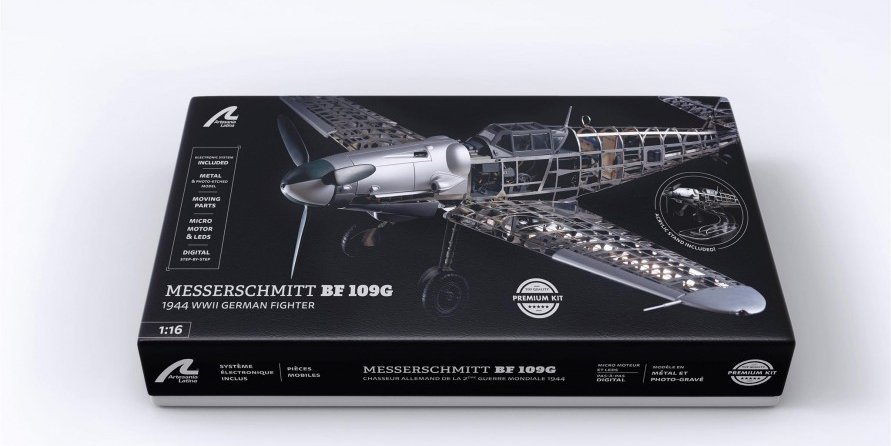
We show two different ways to acquire this jewel of aircraft modeling. The first, buying only the modeling kit here.
The second, a fantastic Gift Pack (20356L) with the metal and photoetched model of the Messerschmitt BF109 and its set of paints. As gifts, another smaller vintage wooden model of the same fighter, precision screwdrivers set (45 in 1), professional straight cutting pliers and professional needle nose pliers.
A thousand possibilities and teachings to build this extraordinary and unrepeatable scale model. Finally, if you want to read the first part of the post of the guide for Messersmichtt BF109G model set up, click here.

