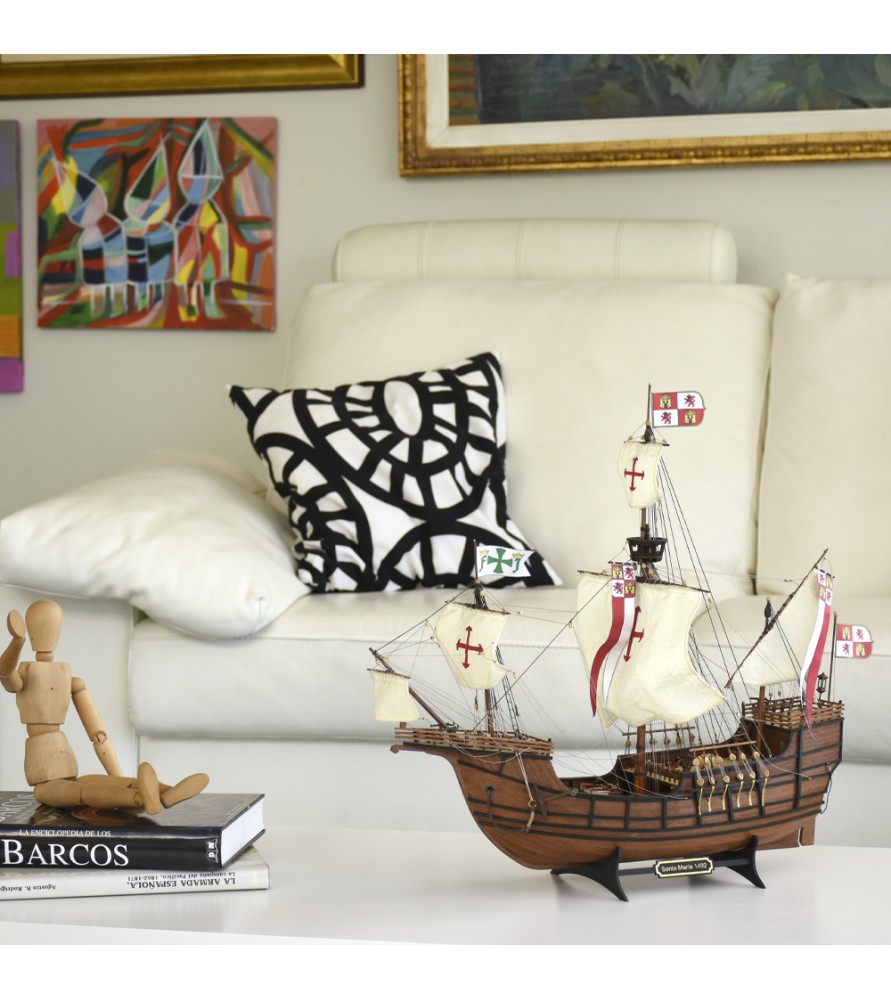
Our ‘Model Building Tips’ section of the blog helps our modeling friends know how to build many of our scale models and to manipulate the tools. In this case, we are going to show an audiovisual guide for the Santa Maria model assembly at 1/65 scale (22411-N). The wooden caravel with which Christopher Columbus discovered America. Surely, it is one of the best-selling faithful miniature replicas in the world every year.
.")
So the Artesania Latina‘s modelers team has created a series of video tutorials at our YouTube Playlists. Not only the assembly of the Santa Maria model, but also many others ships and airplanes. We are going to explain to you from now how to work with the most complicated parts to execute during the construction process of the famous caravel -it really is a nao-.
.")
SANTA MARIA MODEL ASSEMBLY: SIDE WALLS AND BOW PARTS
In this Chapter 1 of the fifteen included in this assembly guide of the Santa Maria model (22411-N) we are going to deal with the ‘Placement of the Side Walls’. For this step, the modeler needs quick drying dense cyanoacrylate (27650). The cyano applicator is included in this set (27302). Once applied, you must press the wooden part until it is fully adhered. Start with the central part to later glue the back and the front.
We go to the bow from Chapter 2 with the ‘Forecastle Bulkhead Planking’ of this guide for Santa Maria model assembly at 1/65 scale. The modeler must once again use cyanoacrylate, in addition to any universal cutter (27044) from our catalog of cutting tools for modeling. In this way, you will be able to cut the leftover wooden parts once they are glued.
We continue on the bow assembly of Santa Maria caravel scale model with Chapter 3 and the ‘Bow Deck Outline’. Prior to placing the three parts, modelers must first paint or varnish them with our brushes and airbrushes. After painting them, you must cut the corners diagonally with the cutter so that they fit perfectly when gluing them with cyanoacrylate.
Chapter 4 deals with ‘Bow Deck Assembly’. Before putting the part that you have made in the previous step, place without glue the two wooden cylinders that serve for its proper positioning. Apply cyanoacrylate to the entire frame or edge of the bow deck and insert the piece. Press it without excessive force until you notice that it has adhered. Carefully remove the two cylinders.
SANTA MARIA CARAVEL CONSTRUCTION GUIDE: RUDDER AND DEADEYES
The Santa Maria model assembly, a 1/65 scale model by Artesania Latina, now focuses on the rudder. Specifically, Chapter 5 shows the ‘Rudder Hinges Placement’. Mark with a pencil the places where you want to place the hinges. Take each of these and press it on the place you have marked previously until it takes the shape. Insert a punch through the hinge holes and make a small hole. By that same place and with the help of a professional needle nose pliers (27213) take one of the rivets or nails and insert it by pressing with the pliers. Once inserted, you can fix it better with gentle strokes using our modeler’s hammer (27017).
Continue by cutting three parts of wooden round dowels with a cutter. Use the glue applicator to put cyanoacrylate around these. Finally, insert them into the holes of the hinges with the help of some professional precision tweezers with ultra fine tip (27205).
It is time to watch the ‘Deadeyes Assembly in Chainwales’ in Chapter 6. Take a bolt with its metal part and apply cyanoacrylate on the metal. Place it and mark with a small drill where you want to place the nail. Then insert the nail with the pliers and press. Repeat the process with all the deadeyes.
SANTA MARIA MODEL ASSEMBLY: HANDRAILS AND BARRELS
The Chapter 7 teaches modelers how to set up the ‘Handrails’. Take one of these and mark with a pencil the leftovers that you want to cut so that the ends are diagonal for placement. Proceed to cut with the cutter. Sand these ends with the sanding block (27014) so there are no burrs. Apply cyan to the bases of the upright posts and glue the railing to the foredeck. Varnish it last.
The last video of Santa Maria model assembly that we watch in this post -we continue in the next one- is the one from Chapter 8: ‘Barrels Making’. Using a utility knife, split the barrel support part in two and remove any excess. Apply cyanoacrylate to the curved area of the bracket where the barrel sits. Peg the barrel into the bracket along one of the horizontal lines on the first. Do the same with the other barrel. Do the same process with the other piece of the bracket as well. With the help of precision pliers, take the thread and insert it through all the holes as a grip and decoration.
If you can’t wait for the next post of Santa Maria model assembly to start building it, we have a surprise for you. One of the news for 2022 on Artesania Latina catalog are the Gift Packs. In this sense, we present to all our modelers friends the Santa Maria Model Gift Pack (22411-L).
.")
In addition to the 1/65 scale model of the Santa Maria caravel (22411-N), the pack brings a set of metal figurines (22411-F) and its specific paints set (277PACK8). As gifts, a bottle of white glue, sanding block, brush, tweezers and cutter. An unmissable opportunity!