Posted in Model Building Tips

Santa Maria Model Construction (II): Video Tutorials for 1/65 Wooden Caravel Set Up

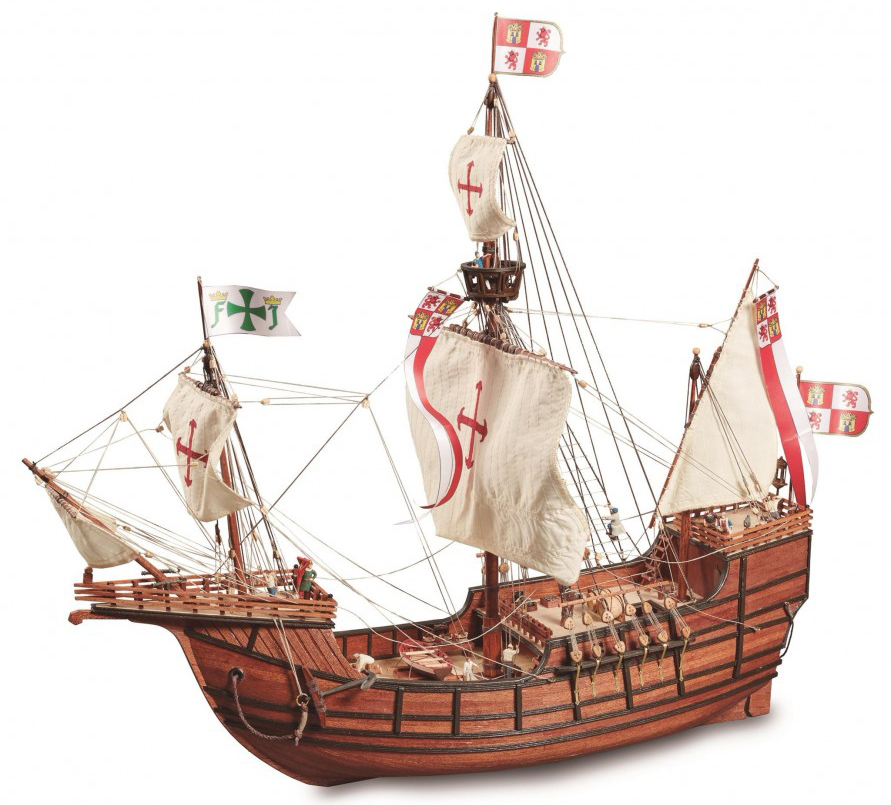
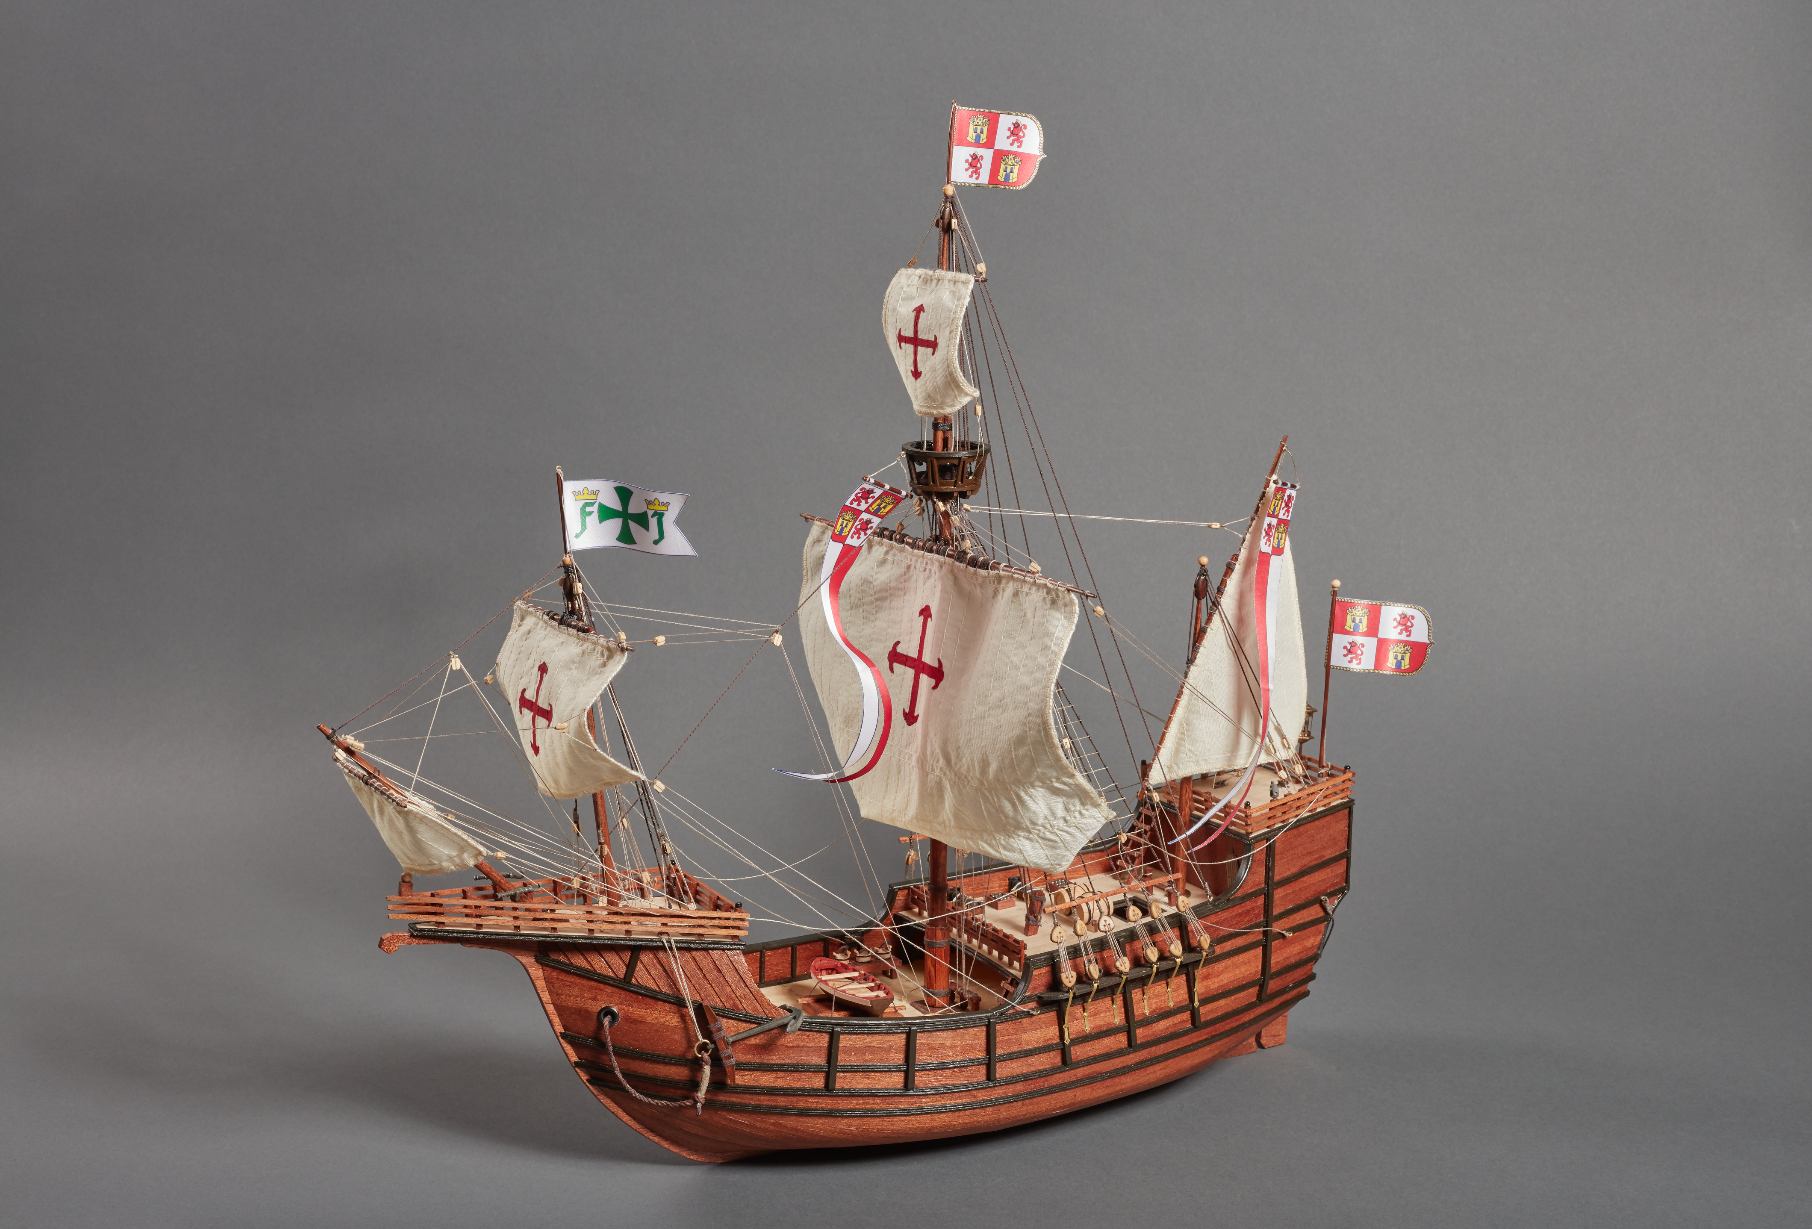
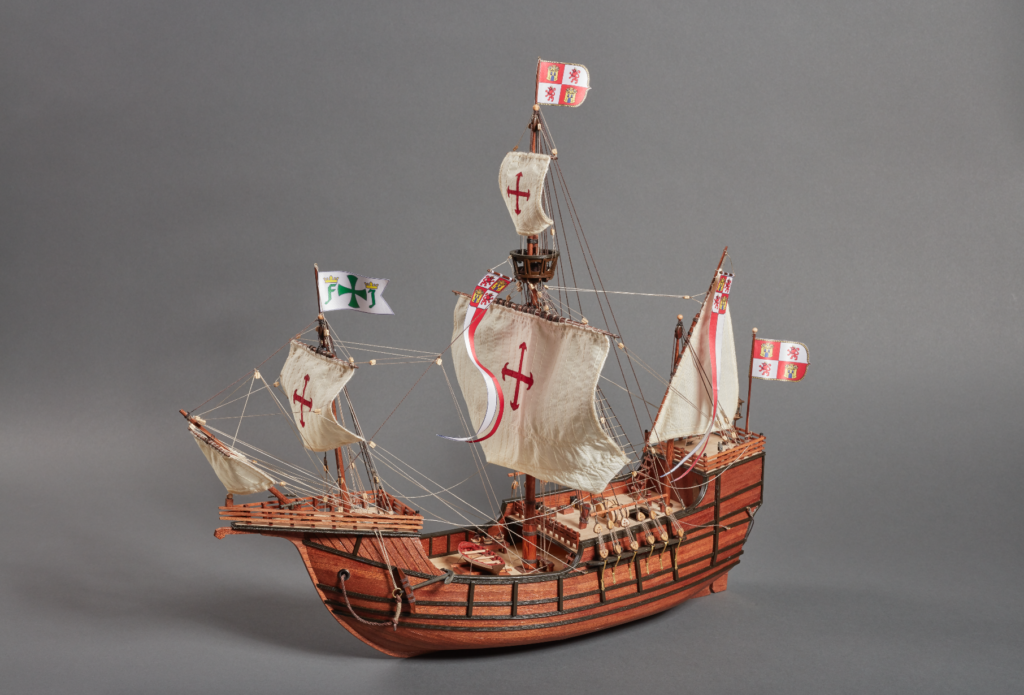
We continue this week with the second post to teach how you can develope the construction of the Santa Maria model (22411-N), the well-known caravel (nao) in wood at 1/65 scale. We specify on video the parts of the assembly that can be more complicated or remarkable due to the level of detail for our modelers friends. Last week we left it explaining the assembly of the rails and barrels. Now we return to this audiovisual guide with the capstans and the cannons.

Santa Maria Model Construction (22411-N). The wooden caravel of America Discovery.

HOW TO BUILD THE CARAVEL CAPSTANS AND CANNONS

On the audiovisual instructions for 1/65 scale Santa Maria wooden model construction, we now present Chapter 9: ‘Assembly of the Capstans’. First, varnish with your brush the outer parts to then apply cyanoacrylate (27650) and glue the three parts that make it up. Second, insert them and… Done!

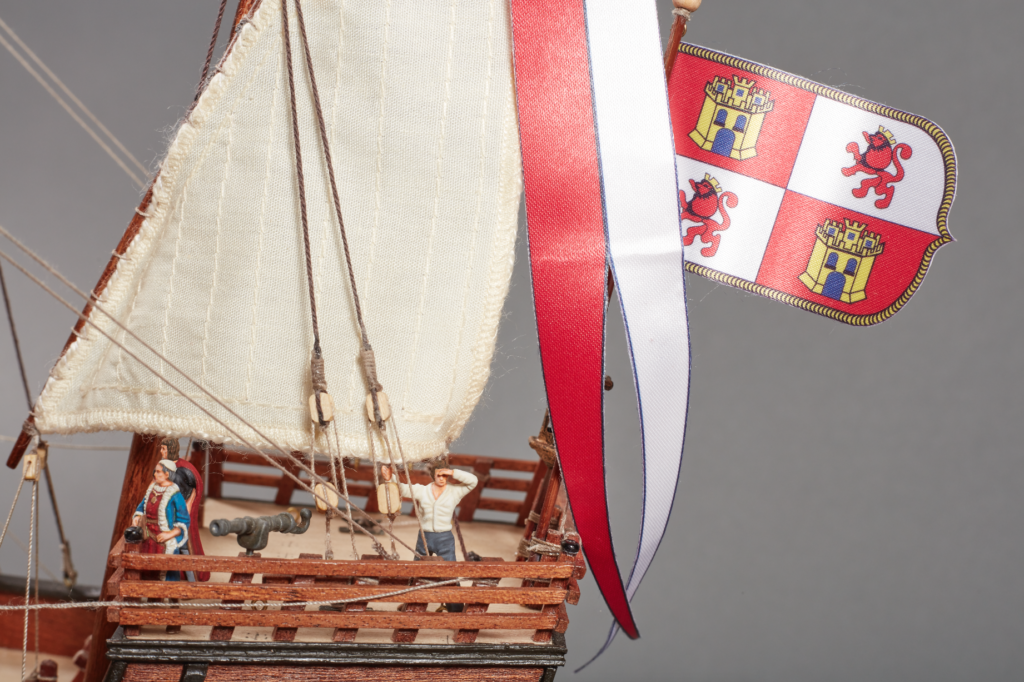
Chapter 10 deals with the ‘Assembly and Decoration of the Cannons’ on this video guide for the construction of the Santa Maria model. First, use one of our cutters to extract parts of the photo-etched plate and to remove the remains. Once removed, glue the four U-shaped details with cyanoacrylate on each of the four corners of the two sides of the gun carriage part. Second, insert some cyanoacrylate into the four existing holes in the large part, then insert the four eyebolts into these.

Now, place or glue the cannon on top of the gun carriage -your choice-. Take a thread and begin to carefully pass it through the eyebolts so that the barrel fastening is tight and beautiful. If you need it, help yourself in this task with a curved fastening tweezers. Finally, tie the end of the thread and cut off the excess.

SANTA MARÍA MODEL CONSTRUCTION: PAINTING LANTERN, NAMEPLATE AND DOORS

The following demonstrative videos deal with the finishes of the 1/65 scale model of the Santa María caravel, specifically, with the painting of various parts. In Chapter 11 we will see how to ‘Painting the Lantern’. To be able to work comfortably, embed the lantern in a stick or punch. With a flat brush, apply the paint carefully. We remind you that you can use the Set of Paints for Caravels and Galleons (277PACK8), for sale separately, with all the necessary colors to make your model perfect.

We move on to Chapter 12 with the ‘Painting of the Nameplate for Exhibition Base’ on the following video for Santa Maria model construction. Once the modeler has the plate out of the photo-etched plate, take some straight tip precision tweezers to hold it. Using a flat brush, start to apply the paint without excess paint on the brush or plate. Scrape a round wooden stick with a cutter until you get a point like any pencil. Proceed to remove the paint that is on the letters with that tool that has been created. Do the same with the license plate frame. The letters and the frame will be gold while the background will be colored.

In Chapter 13 we will watch the ‘Painting the Doors’. Tape the door to the end of a wood part so it doesn’t move while you paint. Have a small amount of the two paints you are going to use on a small plastic. Soak the flat brush and remove the excess on a paper towel. Apply brown and black with the flat brush to make it look like wood grain.

SANTA MARIA MODEL CONSTRUCTION: MASTS REINFORCEMENTS AND SAILS DECORATION

The last two videos of the audiovisual guide forconstruction details of Santa Maria model demonstrate how to carry out two tasks related to the propulsion of the caravel. The masts and the sails. Chapter 14 teaches the ‘Masts Reinforcements with Thread’. Take the thread and tie it to the mast as shown on the video. Using straight-nose pliers, tighten the thread wherever you see slack. Take the two ends of the thread with your hands and pull. Cut the excess thread with a cutter.

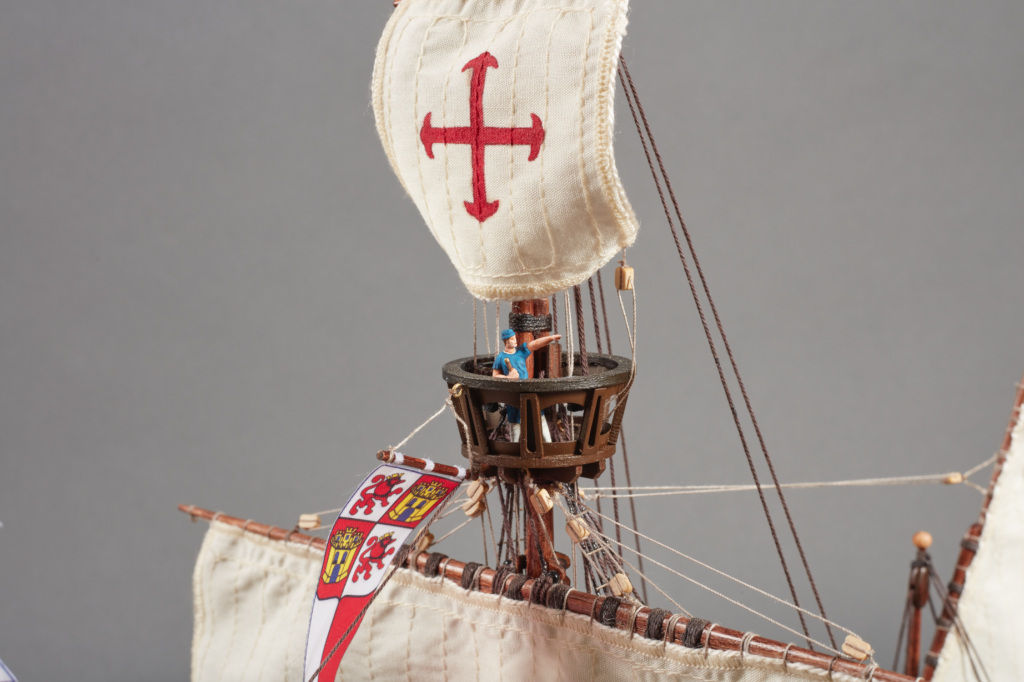
The last one is Chapter 15, here we show the ‘Sails Decoration’ process. Carefully remove the cross from its support. Take a parts of flat cardboard larger than the sail, place the sail on top and stick it to it with masking tape so it doesn’t move. Place the cross on top of the sail and use the new Micro Centering Ruler (27326) to check the measurements and that it is centered. With the cross already centered on the sail, take a pencil and draw the outline of the cross on the sail. Take a small round brush, and fill in the entire silhouette of the cross with the red paint.

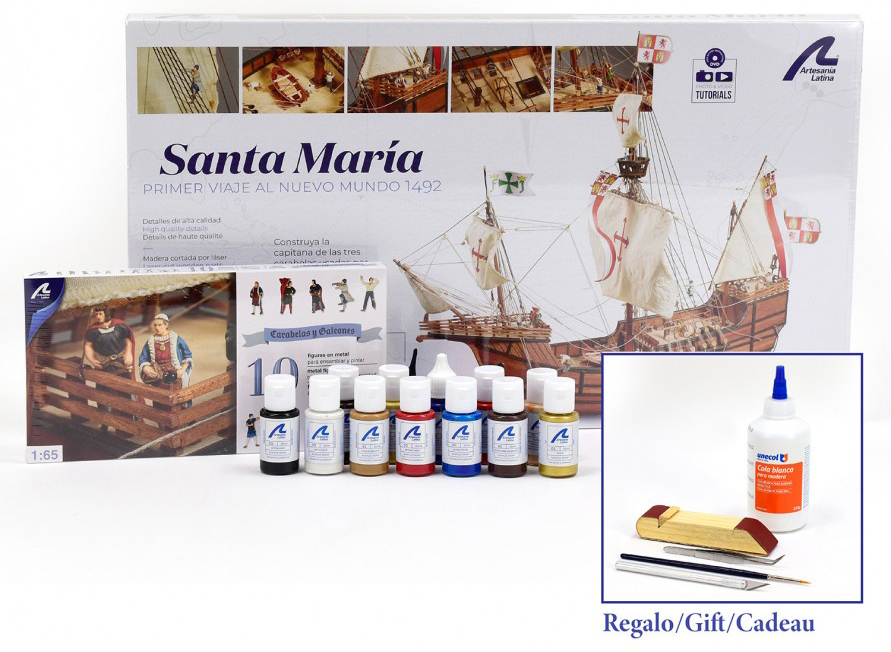
We are done with these video tutorials to help the modeler in the construction of the Santa Maria model kit at 1/65 scale (22411-N). This kit of naval modeling will make you enjoy many moments of joy and satisfaction. Do not forget that, in addition to selling the model alone, we also have the fabulous Santa Maria Model Gift Pack (22411-L). Find out!

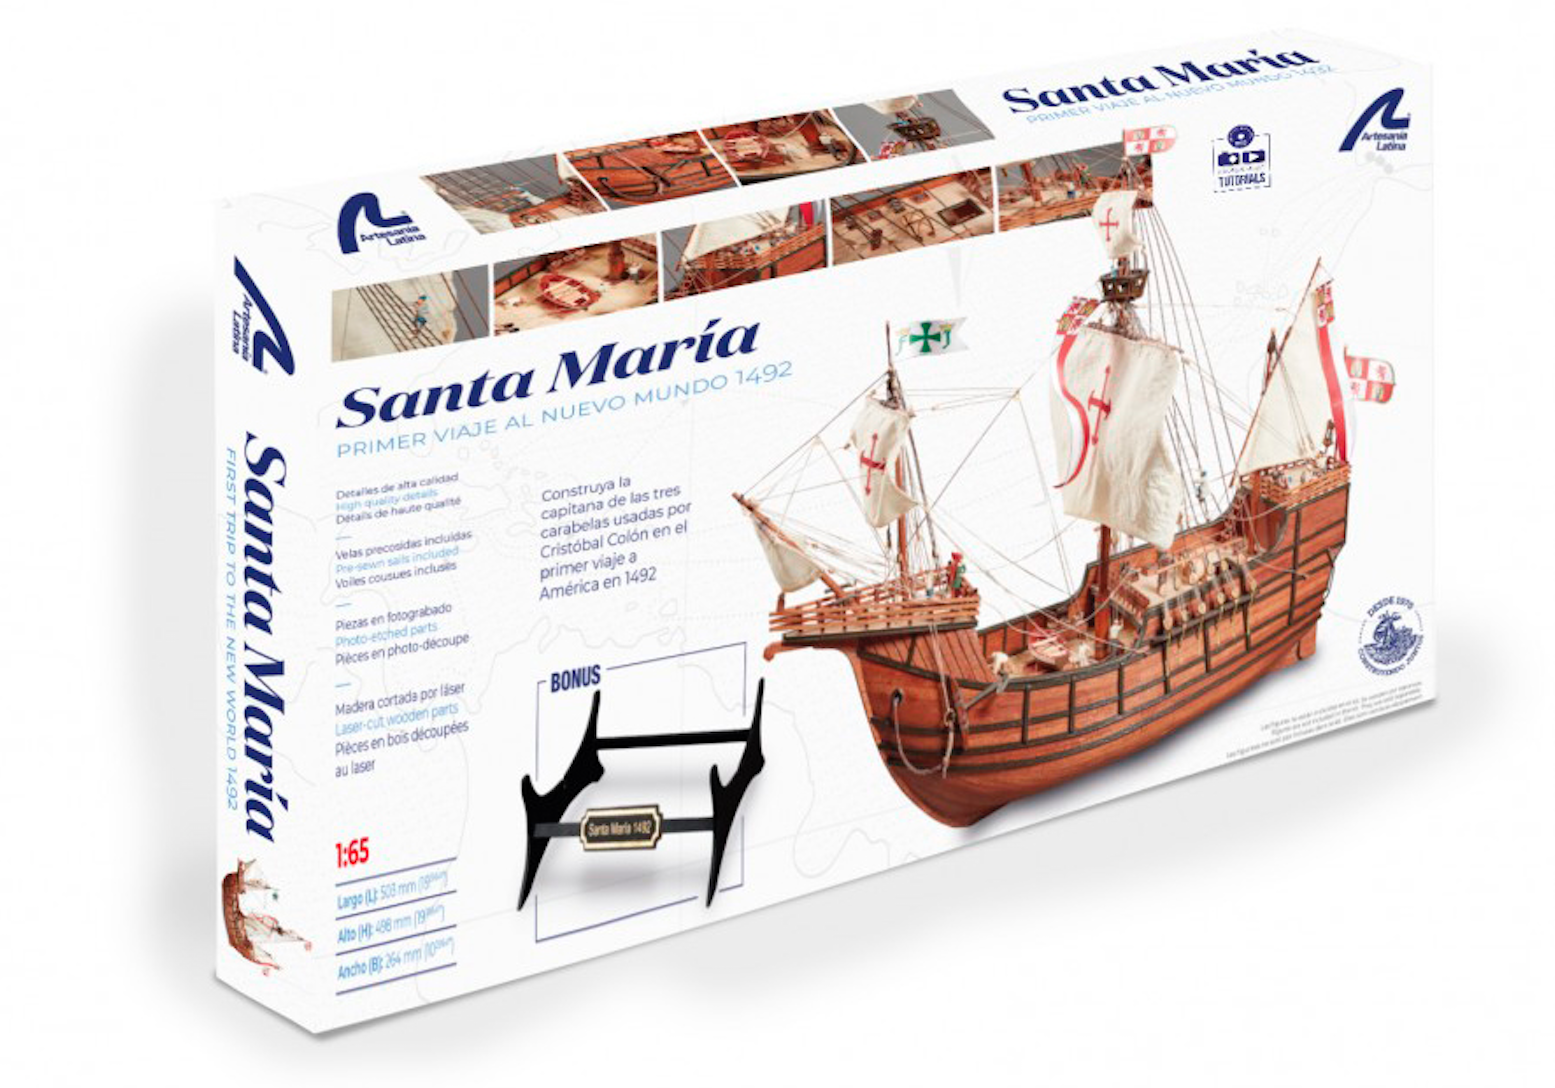
Gift Pack Santa Maria Caravel Model at 1/65 Scale (22411-L).

Read the First Part of the Post…

Posted in Model Building Tips

Santa Maria Model Assembly (I): Build the Caravel in Wood with Our Help

Our ‘Model Building Tips’ section of the blog helps our modeling friends know how to build many of our scale models and to manipulate the tools. In this case, we are going to show an audiovisual guide for the Santa Maria model assembly at 1/65 scale (22411-N). The wooden caravel with which Christopher Columbus discovered America. Surely, it is one of the best-selling faithful miniature replicas in the world every year.

Santa Maria Model Assembly at 1/65 scale. Artesania Latina's wooden caravel (22411-N).

So the Artesania Latina‘s modelers team has created a series of video tutorials at our YouTube Playlists. Not only the assembly of the Santa Maria model, but also many others ships and airplanes. We are going to explain to you from now how to work with the most complicated parts to execute during the construction process of the famous caravel -it really is a nao-.

Santa Maria Model Assembly at 1/65 scale. Artesania Latina's wooden caravel (22411-N).

SANTA MARIA MODEL ASSEMBLY: SIDE WALLS AND BOW PARTS

In this Chapter 1 of the fifteen included in this assembly guide of the Santa Maria model (22411-N) we are going to deal with the ‘Placement of the Side Walls’. For this step, the modeler needs quick drying dense cyanoacrylate (27650). The cyano applicator is included in this set (27302). Once applied, you must press the wooden part until it is fully adhered. Start with the central part to later glue the back and the front.

We go to the bow from Chapter 2 with the ‘Forecastle Bulkhead Planking’ of this guide for Santa Maria model assembly at 1/65 scale. The modeler must once again use cyanoacrylate, in addition to any universal cutter (27044) from our catalog of cutting tools for modeling. In this way, you will be able to cut the leftover wooden parts once they are glued.

We continue on the bow assembly of Santa Maria caravel scale model with Chapter 3 and the ‘Bow Deck Outline’. Prior to placing the three parts, modelers must first paint or varnish them with our brushes and airbrushes. After painting them, you must cut the corners diagonally with the cutter so that they fit perfectly when gluing them with cyanoacrylate.

Chapter 4 deals with ‘Bow Deck Assembly’. Before putting the part that you have made in the previous step, place without glue the two wooden cylinders that serve for its proper positioning. Apply cyanoacrylate to the entire frame or edge of the bow deck and insert the piece. Press it without excessive force until you notice that it has adhered. Carefully remove the two cylinders.

SANTA MARIA CARAVEL CONSTRUCTION GUIDE: RUDDER AND DEADEYES

The Santa Maria model assembly, a 1/65 scale model by Artesania Latina, now focuses on the rudder. Specifically, Chapter 5 shows the ‘Rudder Hinges Placement’. Mark with a pencil the places where you want to place the hinges. Take each of these and press it on the place you have marked previously until it takes the shape. Insert a punch through the hinge holes and make a small hole. By that same place and with the help of a professional needle nose pliers (27213) take one of the rivets or nails and insert it by pressing with the pliers. Once inserted, you can fix it better with gentle strokes using our modeler’s hammer (27017).

Continue by cutting three parts of wooden round dowels with a cutter. Use the glue applicator to put cyanoacrylate around these. Finally, insert them into the holes of the hinges with the help of some professional precision tweezers with ultra fine tip (27204).

It is time to watch the ‘Deadeyes Assembly in Chainwales’ in Chapter 6. Take a bolt with its metal part and apply cyanoacrylate on the metal. Place it and mark with a small drill where you want to place the nail. Then insert the nail with the pliers and press. Repeat the process with all the deadeyes.

SANTA MARIA MODEL ASSEMBLY: HANDRAILS AND BARRELS

The Chapter 7 teaches modelers how to set up the ‘Handrails’. Take one of these and mark with a pencil the leftovers that you want to cut so that the ends are diagonal for placement. Proceed to cut with the cutter. Sand these ends with the sanding block (27014) so ​​there are no burrs. Apply cyan to the bases of the upright posts and glue the railing to the foredeck. Varnish it last.

The last video of Santa Maria model assembly that we watch in this post -we continue in the next one- is the one from Chapter 8: ‘Barrels Making’. Using a utility knife, split the barrel support part in two and remove any excess. Apply cyanoacrylate to the curved area of ​​the bracket where the barrel sits. Peg the barrel into the bracket along one of the horizontal lines on the first. Do the same with the other barrel. Do the same process with the other piece of the bracket as well. With the help of precision pliers, take the thread and insert it through all the holes as a grip and decoration.

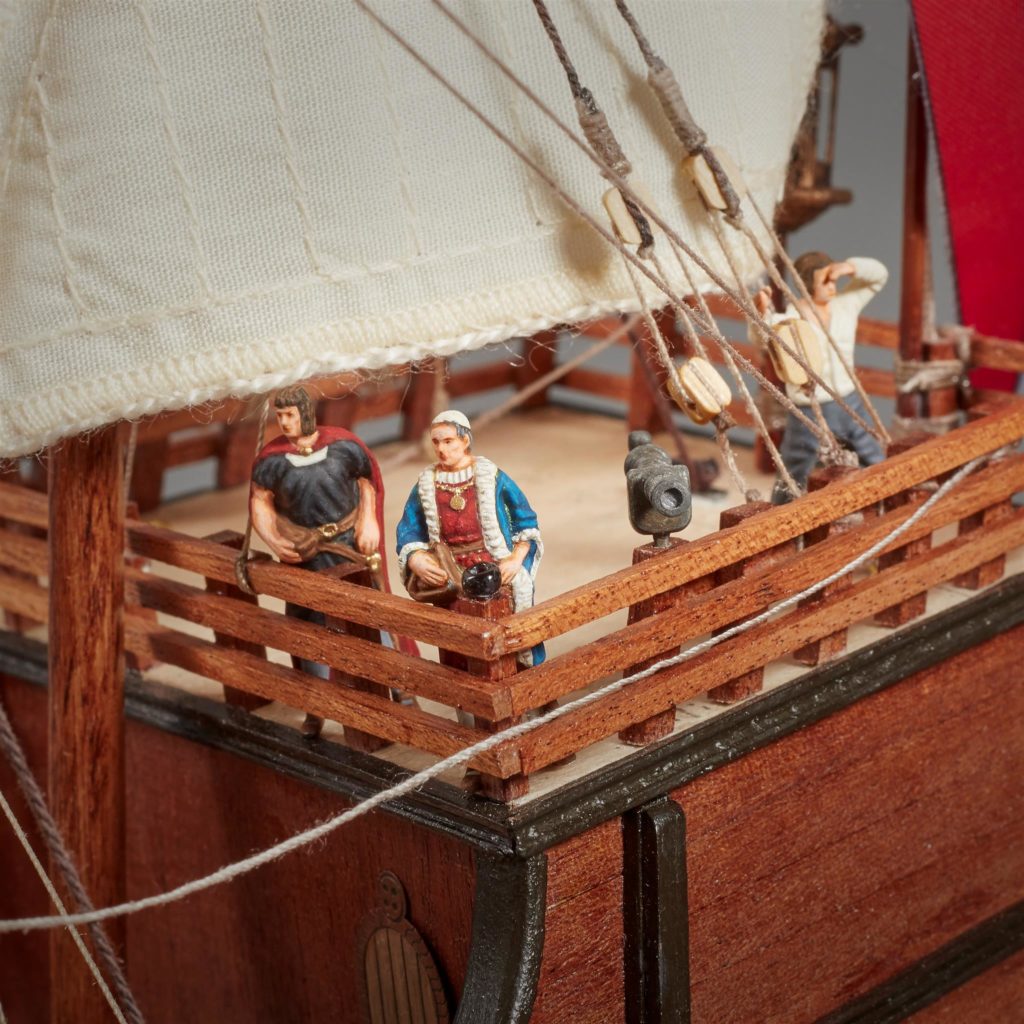
If you can’t wait for the next post of Santa Maria model assembly to start building it, we have a surprise for you. One of the news for 2022 on Artesania Latina catalog are the Gift Packs. In this sense, we present to all our modelers friends the Santa Maria Model Gift Pack (22411-L).

Santa Maria Model Assembly at 1/65 scale. Artesania Latina's Gift Pack of wooden caravel (22411-N).
In addition to the 1/65 scale model of the Santa Maria caravel (22411-N), the pack brings a set of metal figurines (22411-F) and its specific paints set (277PACK8). As gifts, a bottle of white glue, sanding block, brush, tweezers and cutter. An unmissable opportunity!

Read the Second Part of the Post…

Posted in Modeling Tools & Accessories

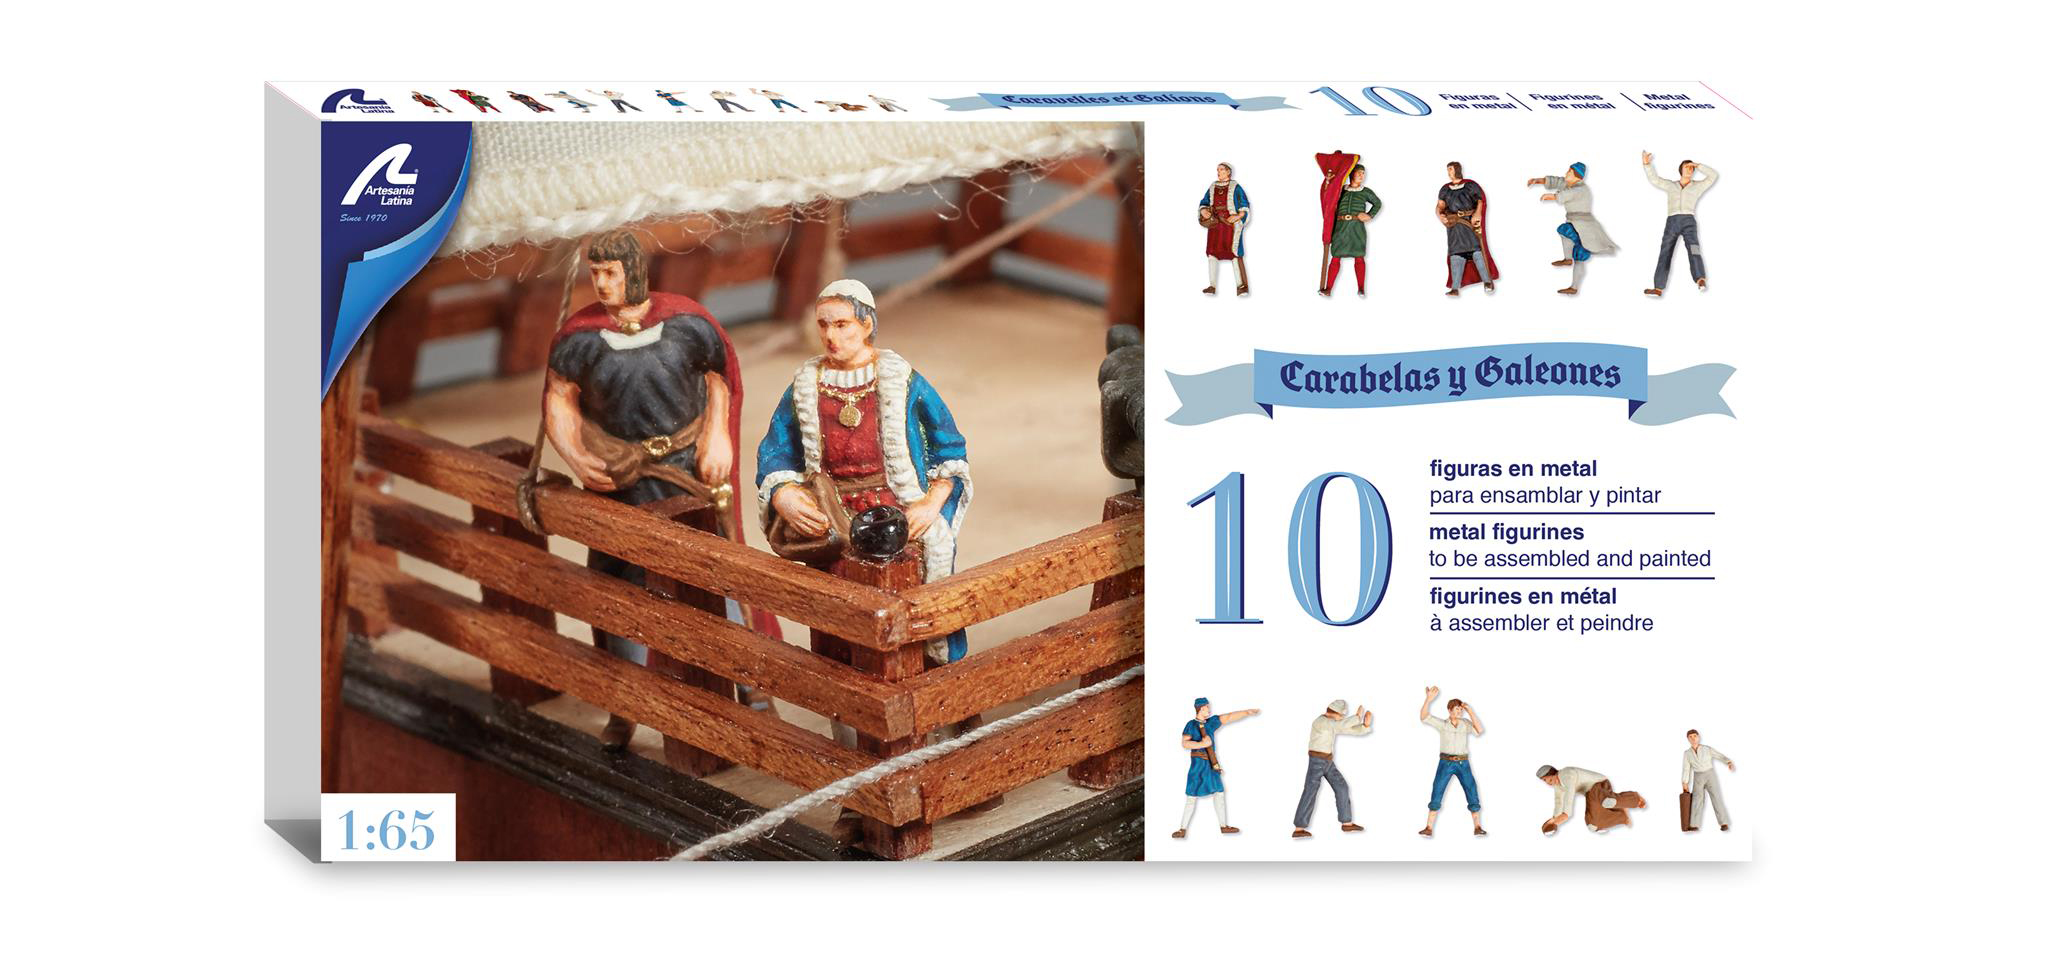
Realism for Ship Models thanks to the Set of 10 Metal Figures for Caravels and Galleons (II)

We continue to report on the set of 10 figures for ship models: caravels and galleons where we had left it. In this sense, we will finish explaining which are the characters that you can find in this Artesania Latina kit.

Ship Modeling Accessories. Set of 10 Metal Figures for Caravels and Galleons (22411F).

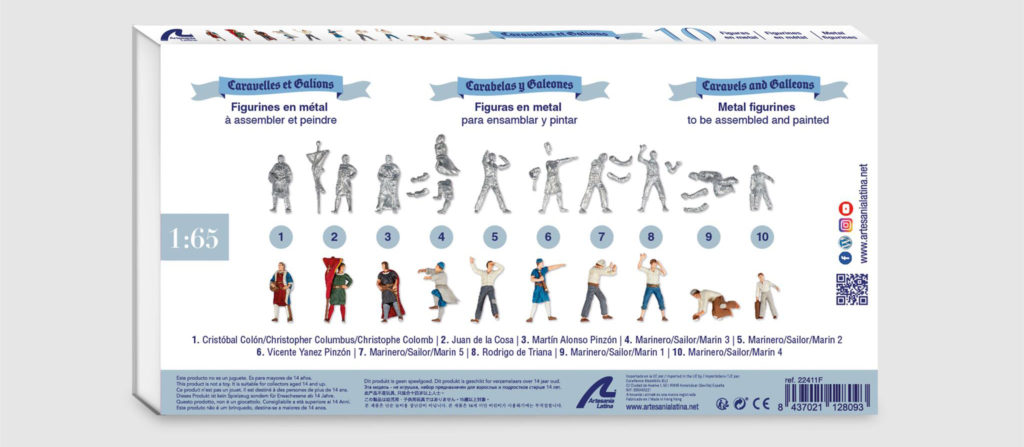
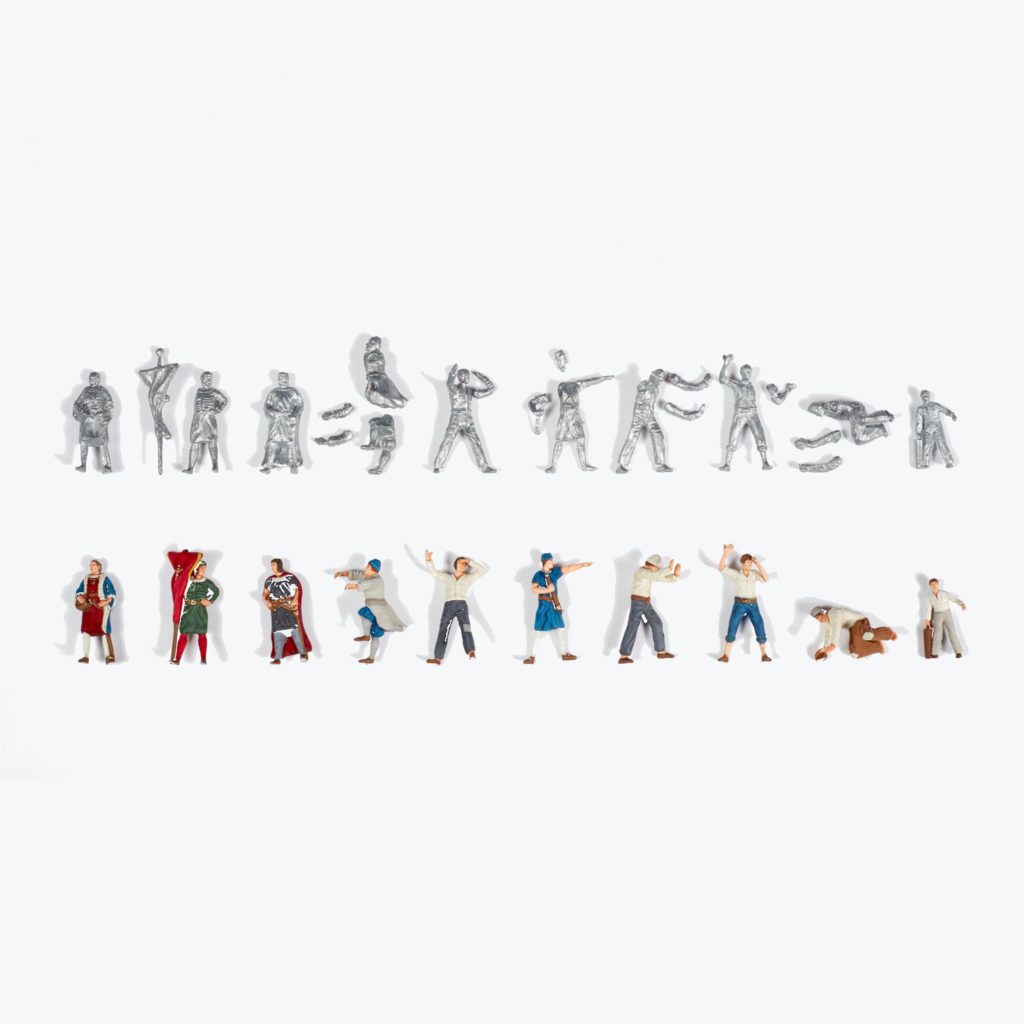
  • Martín Alonso Pinzón (1441-1493) and Vicente Yáñez Pinzón (1462-1515). These Spanish sailing brothers were also shipbuilders and explorers. They sailed with Christopher Columbus to the New World in 1492, Martín as captain of La Pinta and Vicente as captain of La Niña.
  • Rodrigo de Triana (1469-Unknown). He is believed to have been the first European to see America since Leif Ericson.
  • 5 Sailors. Columbus and his captains, obviously, could hardly have accomplished such a feat without the help of their sailors. It is estimated that in such a great endeavor to find new sea routes through the West to the East Indies, between 90 and 120 sailors were needed.

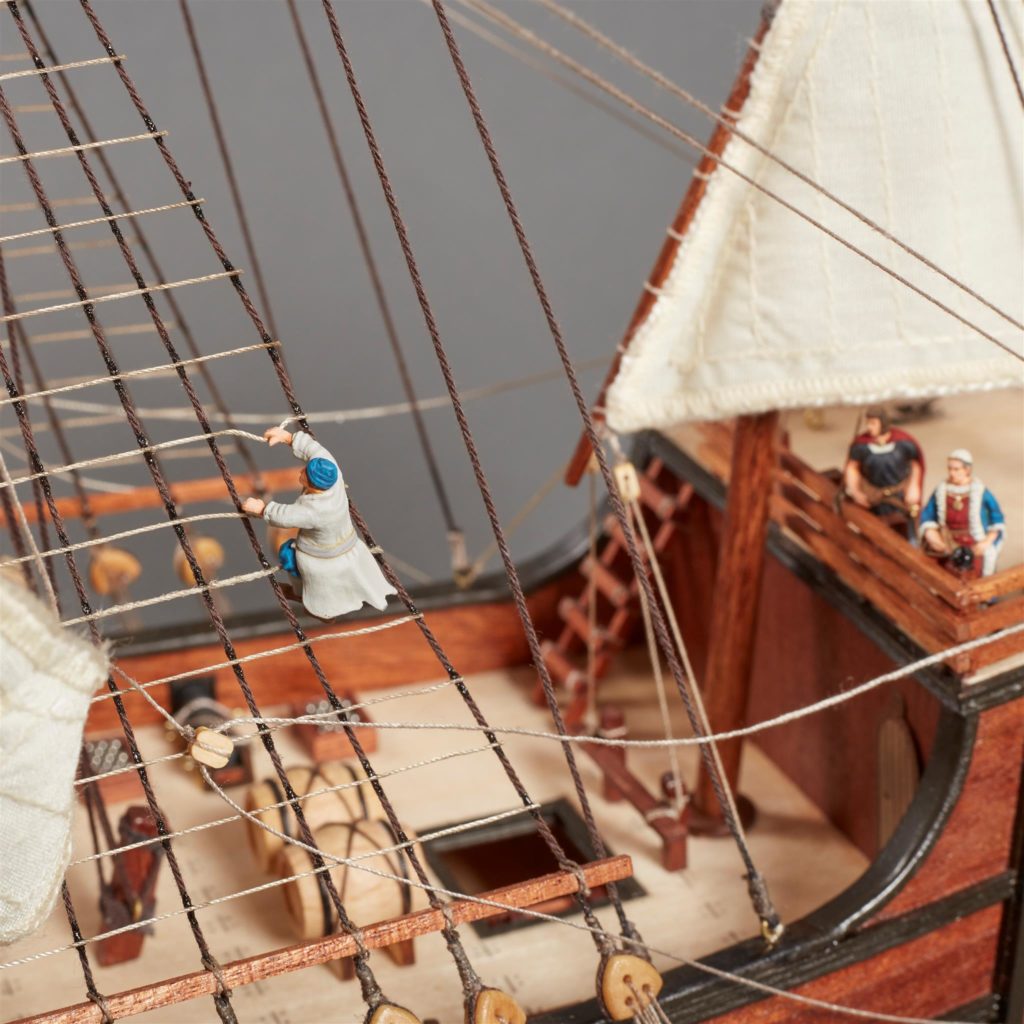
Ship Modeling Accessories. Set of 10 Metal Figures for Caravels and Galleons (22411F).

The Set of 10 Metal Figures for Caravels and Galleons 1/65 has been made with the die-cast technique and with the highest quality standards. This consists of using a die casting method.

Ship Modeling Accessories. Set of 10 Metal Figures for Caravels and Galleons (22411F).

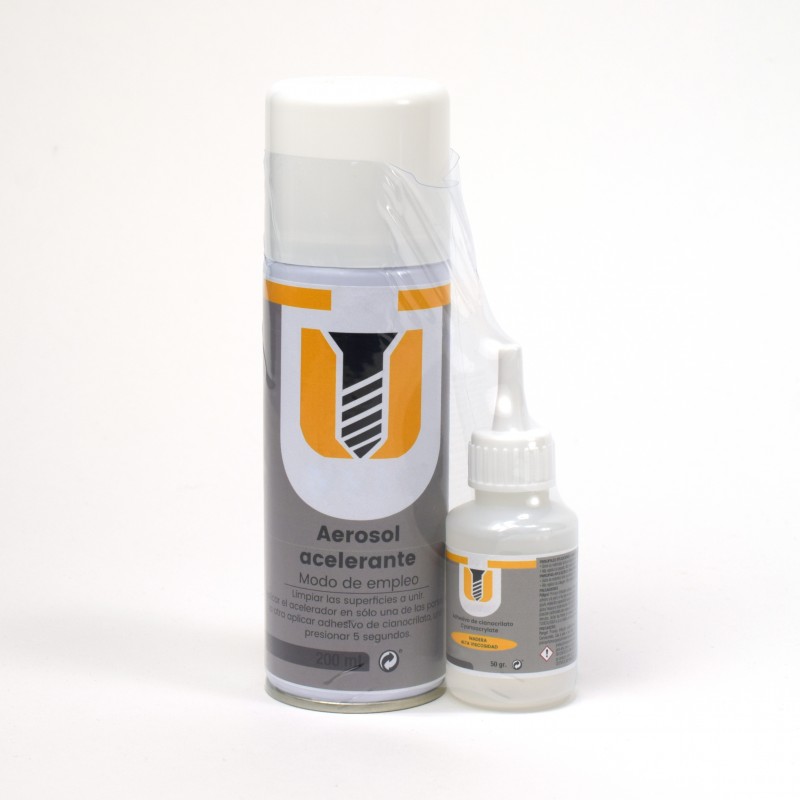
As an adhesive to stick the figures with fast drying, we recommend our Thick Instant Glue (Cyanoacrylate) Pack 50 gr. & Accelerator Spray 200 ml, which will facilitate assembly for the ship modeler.

Accessories for Modeling. Pack Thick Instant Glue 50 gr. and Spray Activator.

FIGURES FOR SHIP MODELS: CARAVELS, GALLEONS & SIMILAR 1/65 SCALE BOATS

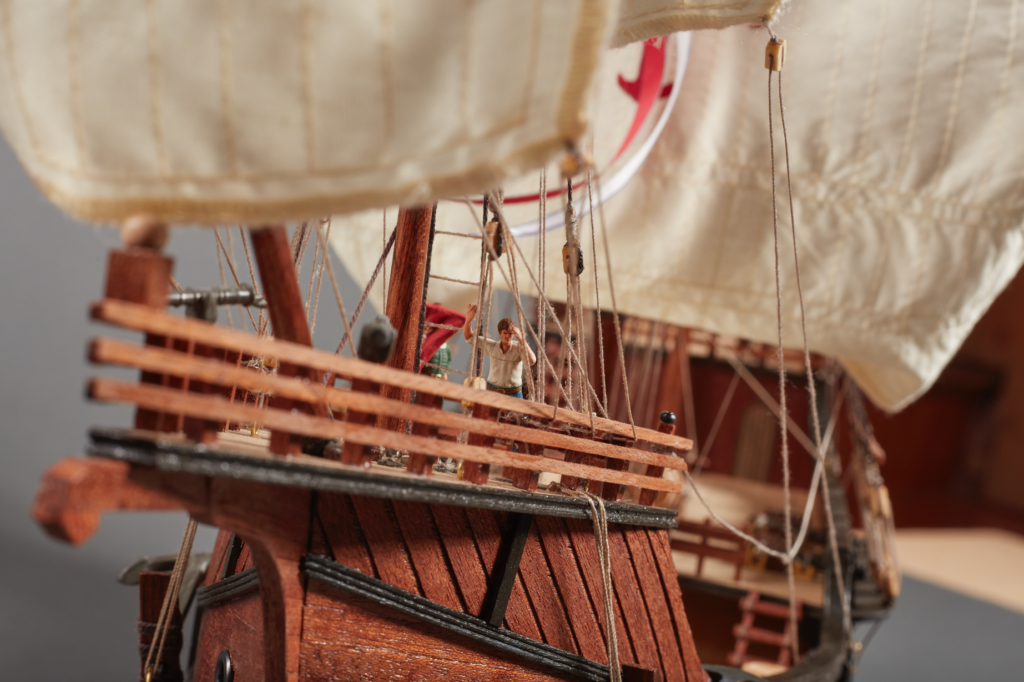
Artesania Latina ship modeling friends already have the highly requested set of figures for Spanish caravels and galleons, also useful for other ship models with a similar scale and from a similar era.

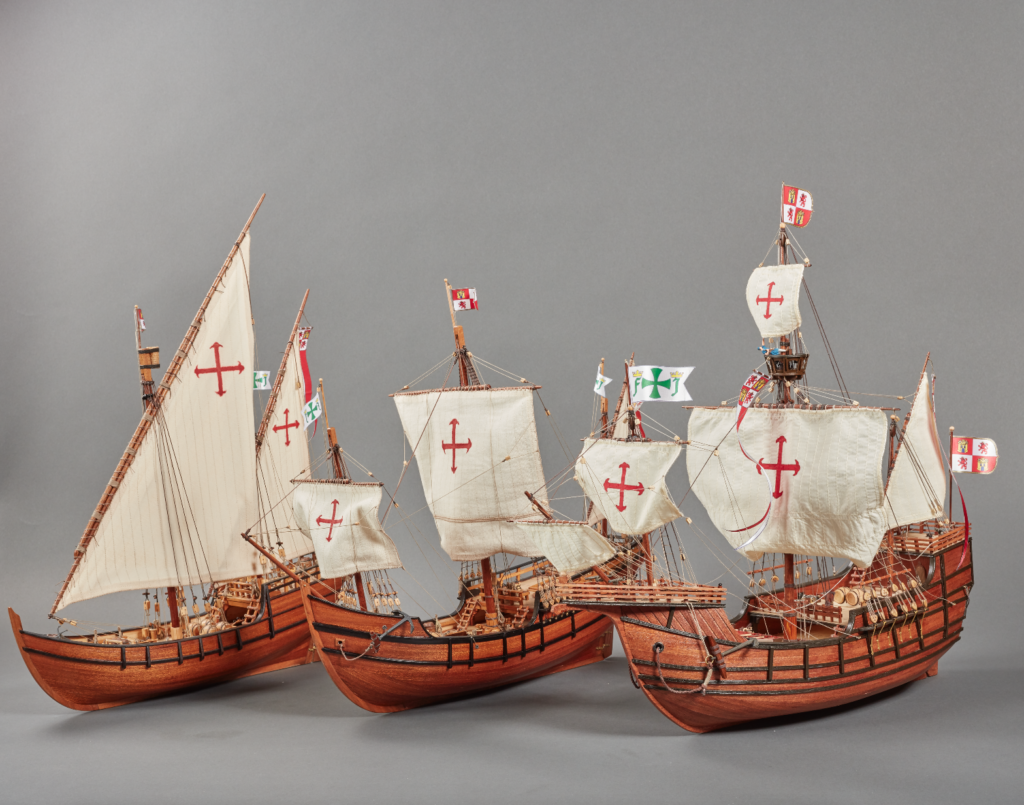
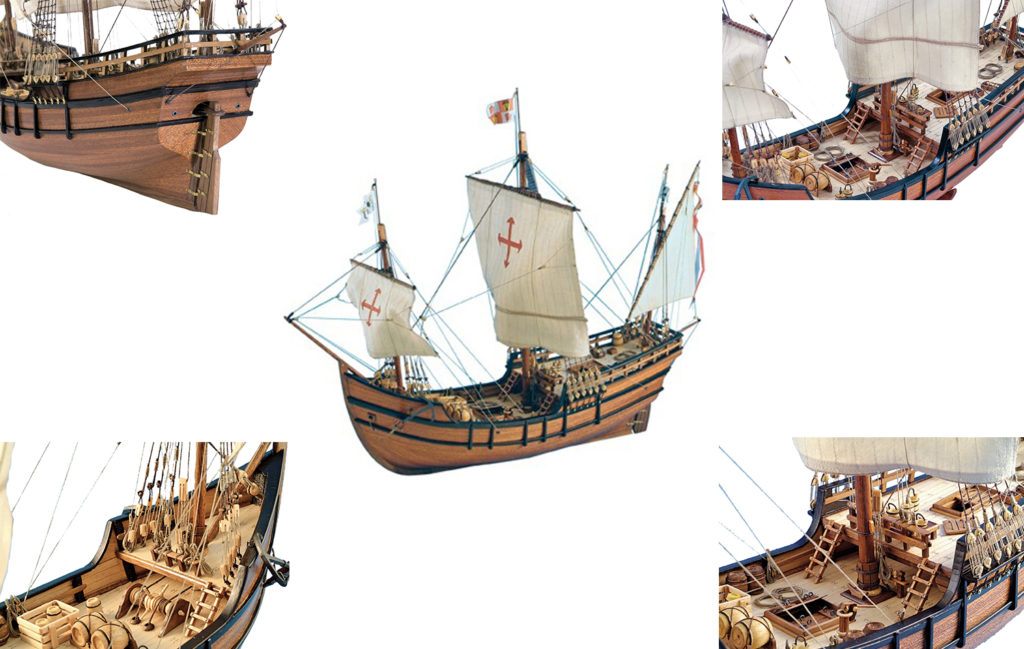
Ship Modeling. Spanish caravels and galleons models.

For more information and/or to order caravels and galleons, click here.

Ship Modeling Accessories. Set of 10 Metal Figures for Caravels and Galleons (22411F).

For more information and/or to order this necessary naval modeling accessory, the set of 10 metal figures for caravels and galleons, click here. Indispensable to give life to model ships.

Here below you can watch a video showing the contents of the set of figurines:

HOW TO PAINT METAL FIGURINES

Paint the figurines with one of the two sets of acrylic and water-based paints made by Artesania Latina, already on sale separately: Basic Paints Set for Figurines or Advanced Paints Set for Figurines. Use the Specific Set of 4 Synthetic Brushes for Figurines and small parts (17120), also sold separately.

Do you want to know how to paint the figurines that will decorate your model ship? Take a look at the two video tutorials made by our team of modelers.

Posted in Modeling Tools & Accessories

Realism for Ship Models thanks to the Set of 10 Metal Figures for Caravels and Galleons (I)

One of the greatest satisfactions for the ship modeler occurs when he sees his work finished. When he appreciates that the ship model has been finished after a great and continuous manual work of months to which he has incorporated a great passion. The same thing happens to Artesania Latina modeling team. To provide more realism to the finished scale model, how about adding a caravels and galleons figures, in this case.

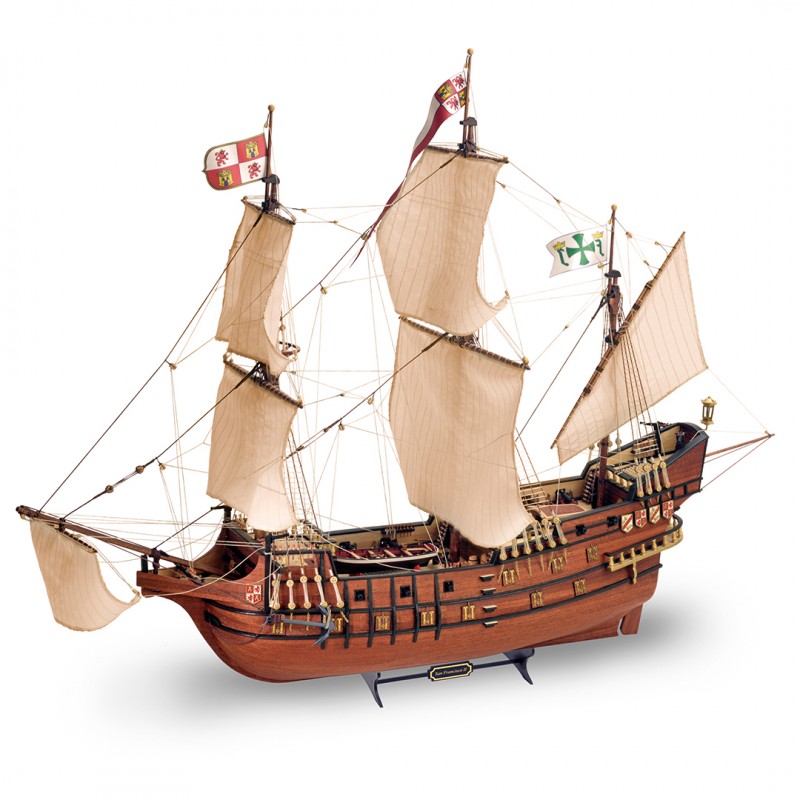
Ship Modeling. Wooden Ship Model Galleon San Francisco II 1/90 (22452N).

Then the ship modeling enthusiast decides the location where he is going to place the magnificent scale model of the ship he has assembled. The modeler chooses the room, places it and gets excited. But he/she also realizes that, even though it is a perfect and very reliable naval miniature replica, it could be given much more realism.

Ship Modeling. Wooden Ship Model Caravel La Pinta 1/65 (22412).

How to make your wooden ship models come to life even more? How to make, for example, the reduced naval models of Spanish caravels and galleons look like they can sail the seas and oceans? Many of our ship modeling friends have proposed it to us. They sent emails to us and commented on the posts of this blog and on social networks such as Facebook, Instagram and YouTube. As we anticipated previously, with marine figurines that give the boat that human touch.

Ship Modeling Accessories. Set of 10 Metal Figures for Caravels and Galleons (22411F).

We have made your request come true because Artesania Latina ensures the satisfaction of ship model makers who have trusted our high-quality products for fifty years. We have designed and manufactured a wonderful Set of Metal Figures for Caravels and Galleons (22411-F). In this case 1/65 scale, it serves in addition for other wooden ship models of the same period that have a similar scale.

Ship Modeling Accessories. Set of 10 Metal Figures for Caravels and Galleons (22411F).

WHAT CHARACTERS DOES THE SET OF 10 FIGURES FOR CARAVELS & GALLEONS BRING?

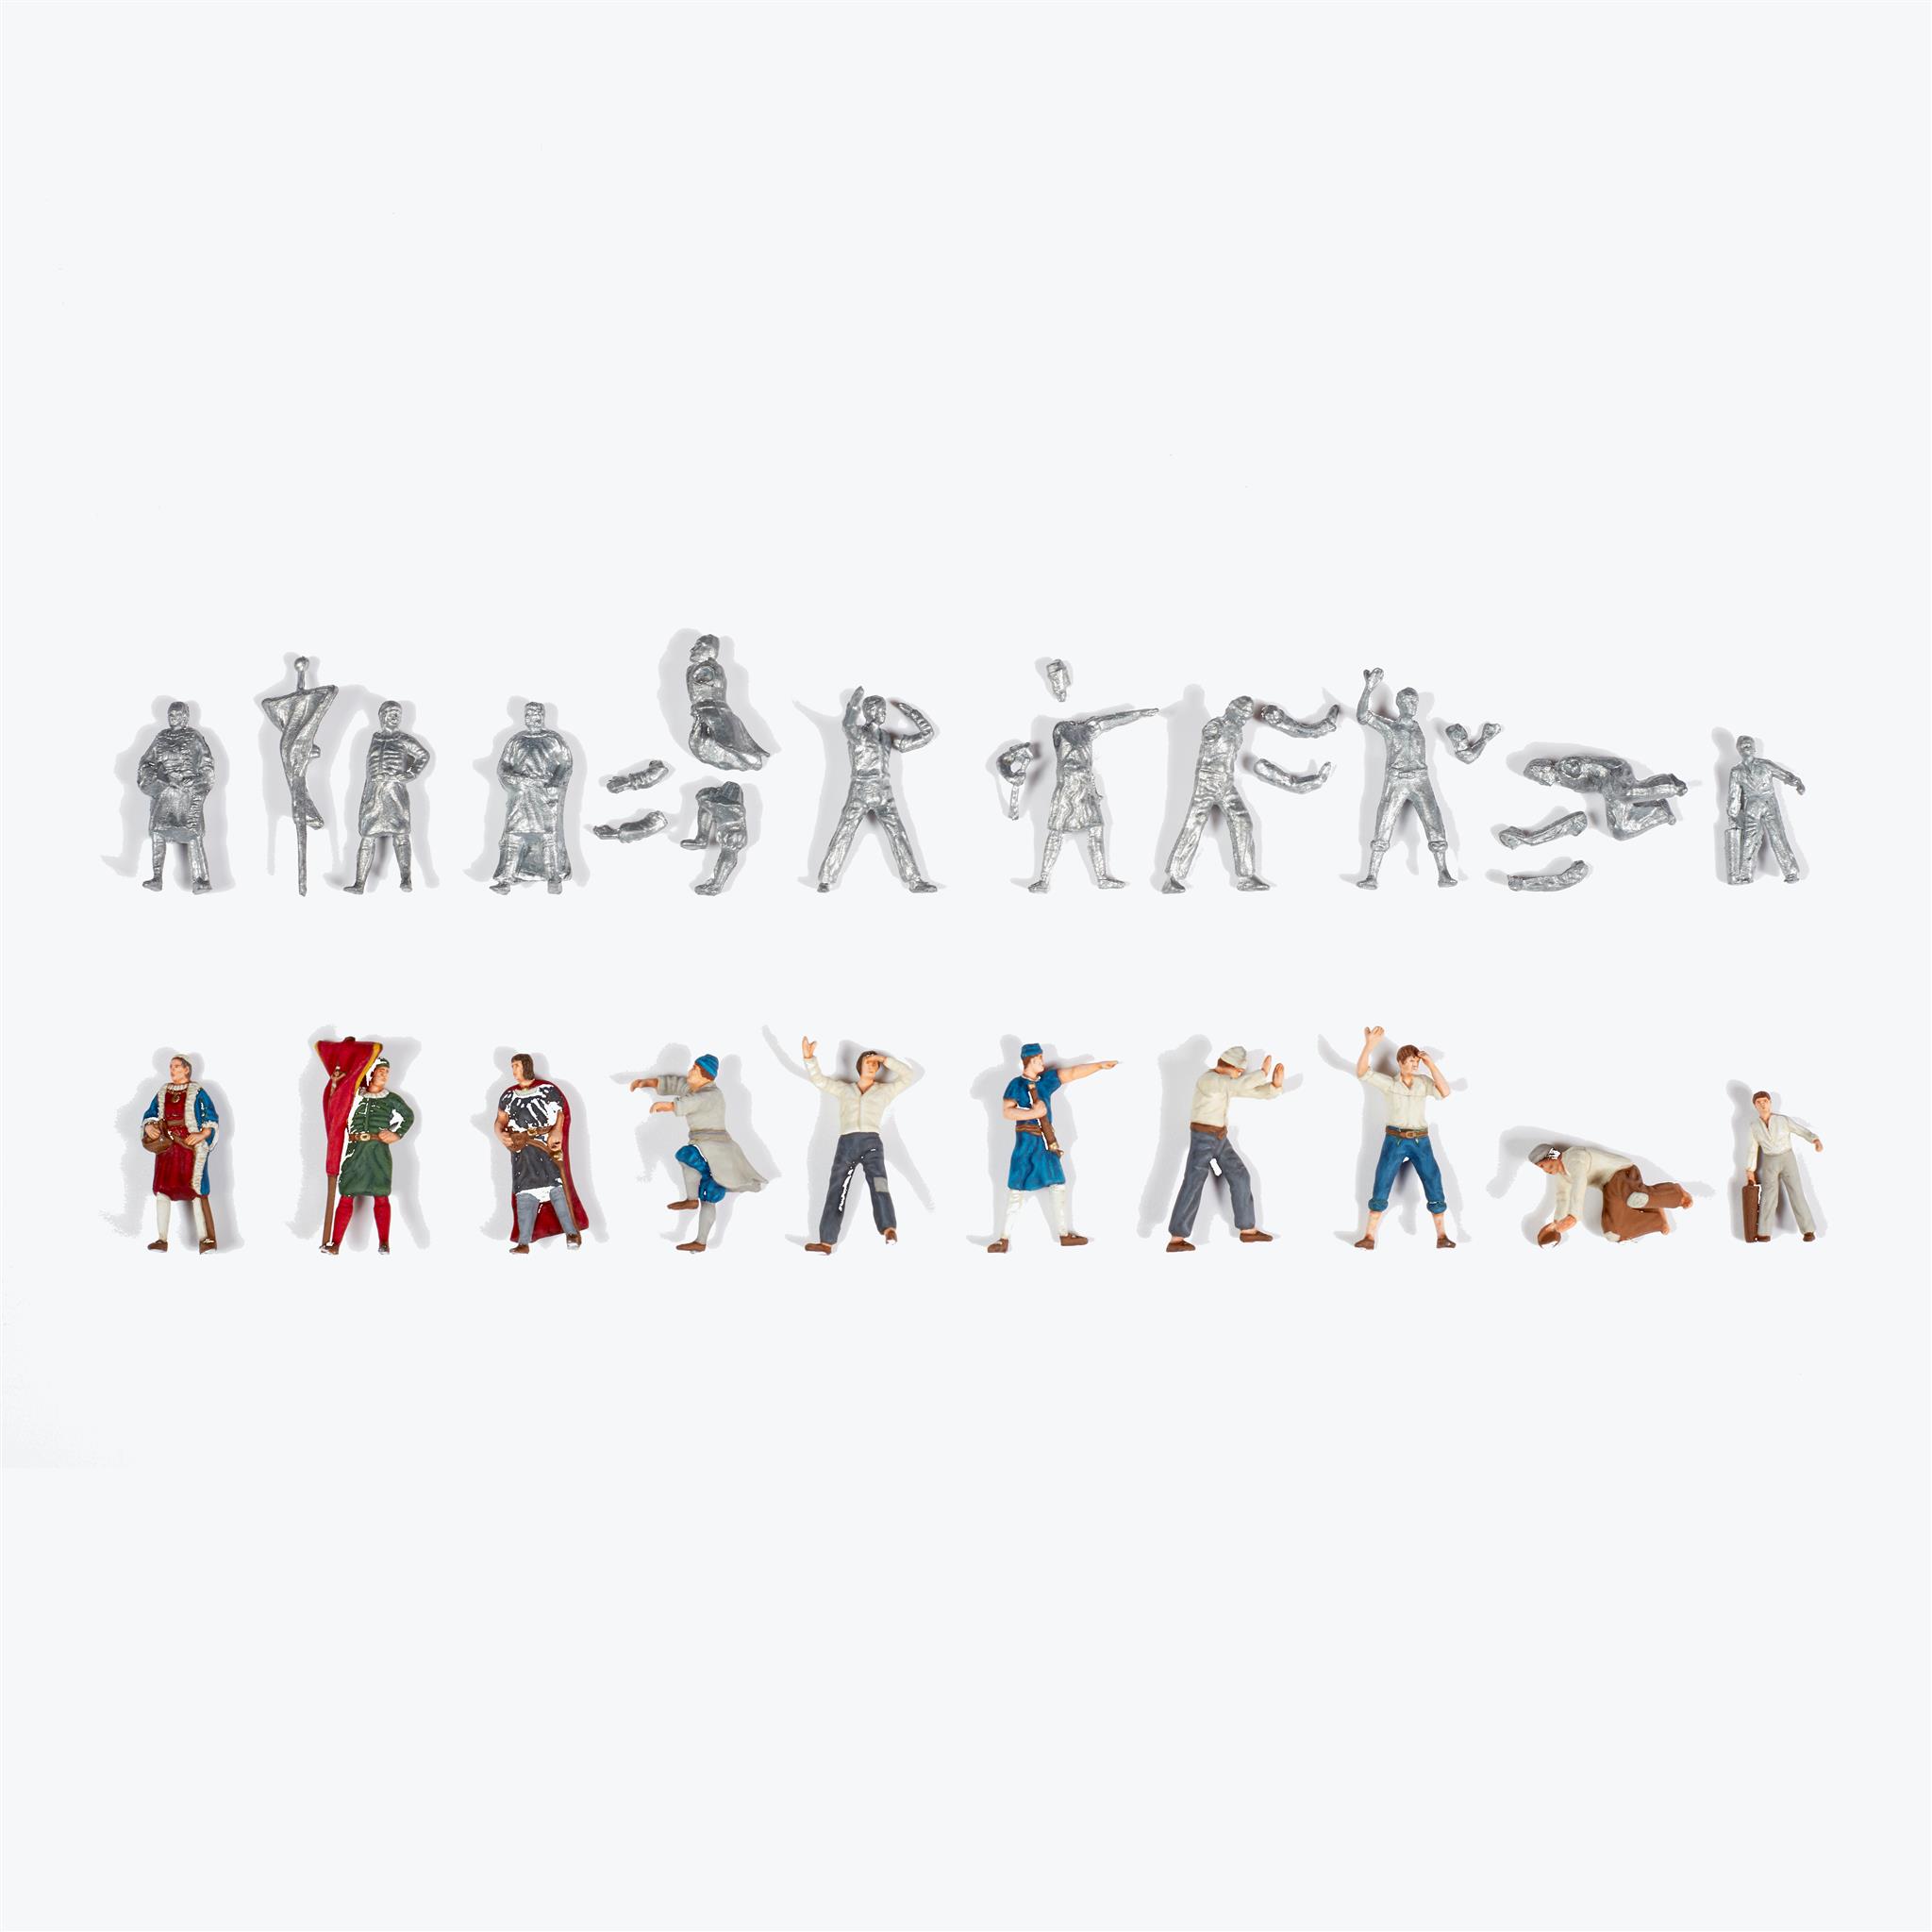
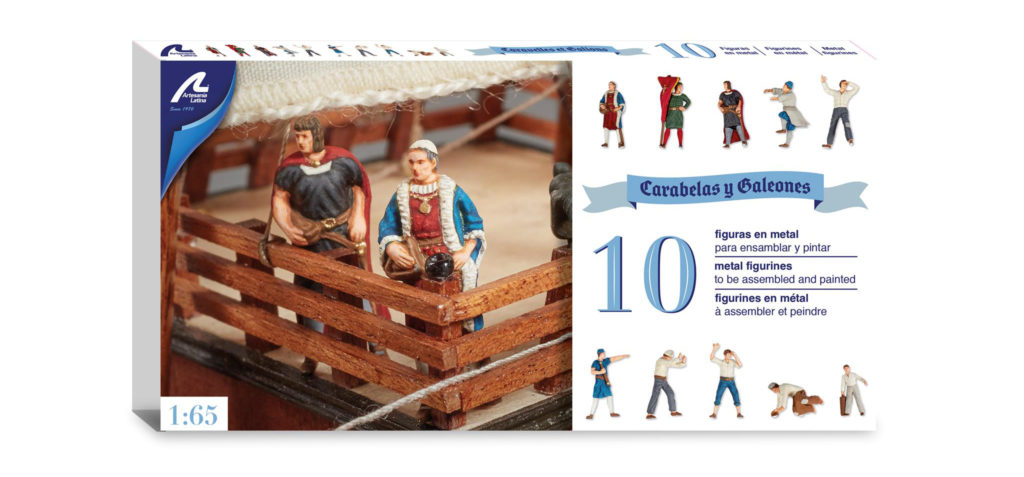
The Set of 10 Caravels and Galleons Figures 1/65 has a ten of the most important marine characters in the history of navigation and Humanity. They are designed to be assembled and painted – no glue or paints are included in this reference- .

Ship Modeling Accessories. Set of 10 Metal Figures for Caravels and Galleons (22411F).

Speaking about the identities of the figurines, below we highlight who makes up this wonderful set of caravels and galleons figures. Christopher Columbus, Juan de la Cosa, Martín Alonso Pinzón, Vicente Yáñez Pinzón, Rodrigo de Triana and five sailors. Let’s know a little more about these legendary men of the sea and their subordinates.

  • Christopher Columbus (1451-1506): He was an Italian explorer and colonizer who completed four voyages across the Atlantic Ocean thus opening the New World to conquest. Columbus left Castile in August 1492 with three small ships – La Niña, La Pinta, and La Santa Maria – in order to find a way west to the East Indies to profit from the spice trade. But instead, on October 12 of that same year, he came across the land of one of the islands of the Bahamas. Later, he came across different and numerous islands until he decided to establish a colony in what is now known as Haiti, the first European settlement in America after the arrival of the Vikings five hundred years earlier, according to the latest studies.
  • Juan de la Cosa (1450-1510): He was a Castilian navigator and cartographer, known for designing the oldest European map of the world by including the territories of the Americas. De la Cosa was the captain and owner of the Santa María, a vessel in which Christopher Columbus traveled in the Discovery of America, the West Indies.

Here below you can watch a video showing the contents of the set of figurines:

Read the second part of the post…

Posted in Ship Models

Renewed Santa Maria Caravel Model: More Details, Consistency and Lightness (I)

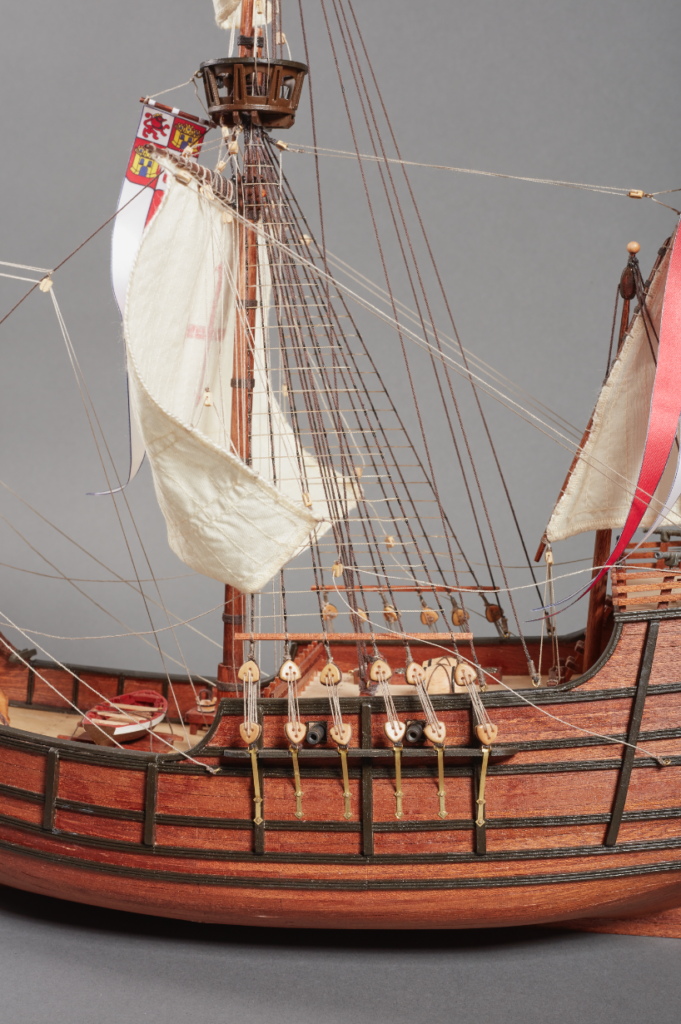
Extraordinary news! Artesania Latina’s 3D designers and modelers have already developed and finished the renovation project of the Santa Maria Caravel wooden model – it is called nao really – at 1/65 scale. One of the five most important ships in world history.

Renovated scale model in wood Santa Maria Caravel.

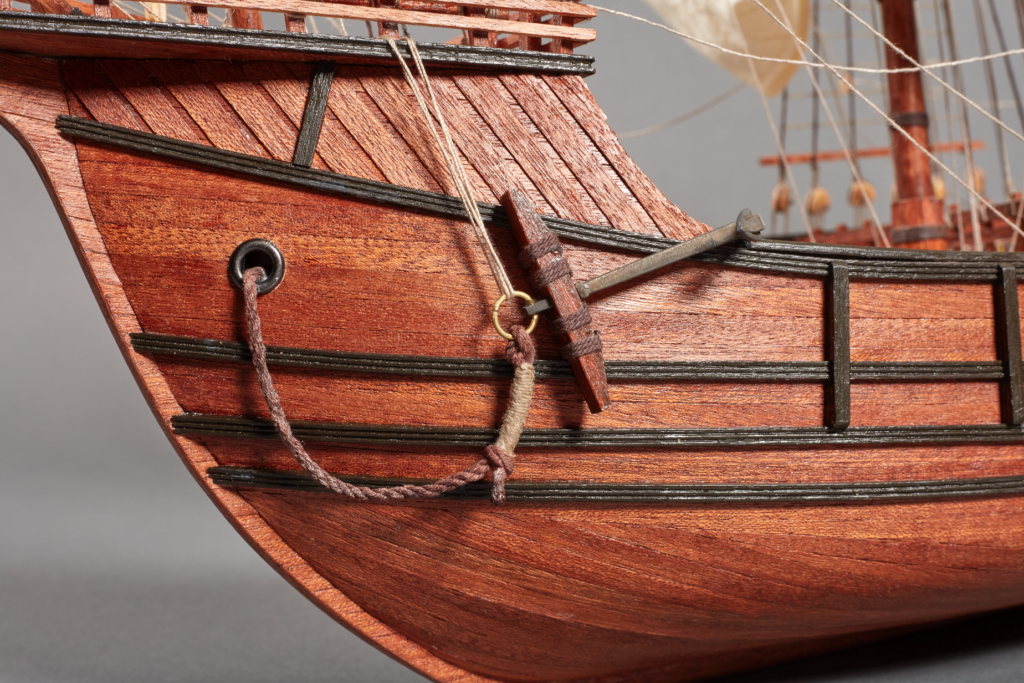
Ship modeling and fans of this beautiful hobby will be happy when they build this faithful replica. Santa Maria ship scale model has required the latest techniques in design and manufacturing, in addition to having the highest quality materials.

Renovated scale model in wood Santa Maria Caravel.

CONTENTS OF NEW MODELING SHIP KIT SANTA MARIA CARAVEL

The modeling kit of this classic ship commanded by Christopher Columbus during the voyage through which he discovered America at the end of the 15th century. Firstly, it contains precious parts of clear birch wood, cut with precision thanks to the laser and fabulous details made of metal and photo-etched. Secondly, it also has sails with reinforced cotton fabric of higher quality, ready to be placed – this model includes cardboard templates to paint the crosses-. Finally, as a gift that was not in the previous version of the caravel, a magnificent wooden base with a nominal metal plate for its exhibition.

Renewed scale model in wood Santa Maria Caravel.

Once the building process is finished, the measures of Santa Maria Caravel wooden model are the following: 19.80’’ length, 10.39’’ width and 19.60 height. To achieve that point easily, the instructions have been redesigned completely on DVD. Now the ship modeler can look at a simple step-by-step with a large number of detailed photos. So the assembly of each thread, each block and each rigging is perfectly explained without cumbersome texts full of technical words, not understandable by everyone. No more old instructions for this caravel model!

Renewed scale model in wood Santa Maria Caravel.

But … What steps have been taken to improve this wonderful ship model?

ESSENTIAL IMPROVEMENTS ON THIS GREAT SHIP MODEL

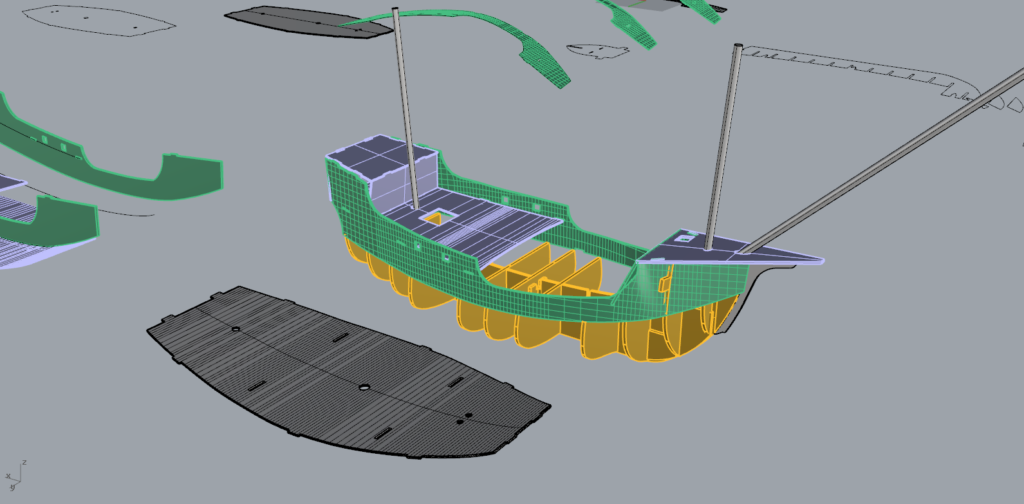
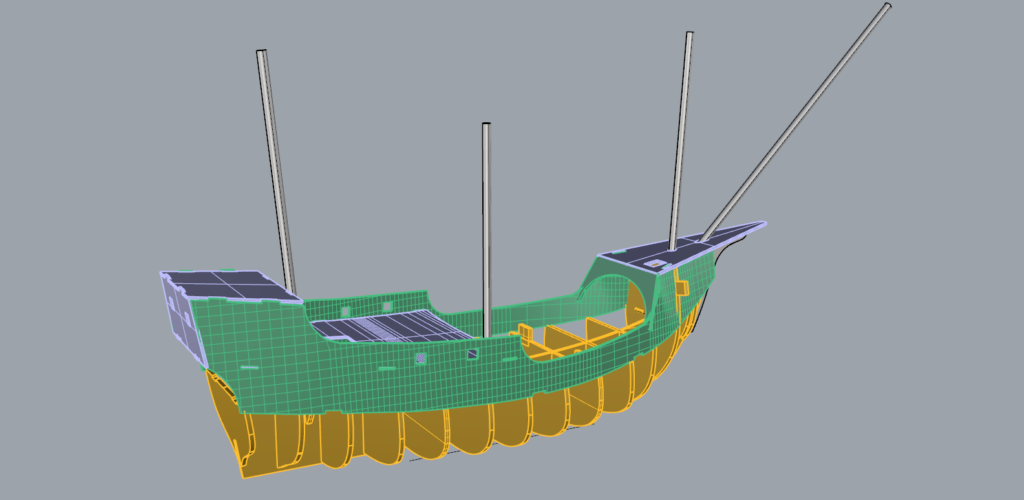
Artesania Latina’s 3D designers and modelers have made numerous improvements on the Santa Maria Caravel wooden model. Precisely, the most remarkable is the ship structure reform “to give it more consistency and lightness, we had to create many new parts”, says Artesania Latina team.

Renewed scale model in wood Santa Maria Caravel.

One of the modelers states that “we have redesigned the false keel, the frames and the decks of the ship. It is one of the biggest novelties not having to use nails to be able to build them, they are only used in some details”.

Precisely, speaking about the decks of the Santa Maria Caravel renewed wooden model, the 3D designer emphasizes that “the system of tabs of the frames has been improved, implanting a greater number of these to implement it, because it did not cover 100% all the parts in the previous version, it was necessary to facilitate, for example, the fitting of its ends and for a perfect alignment without leaving any more loose part”.

Read the second part of the post…