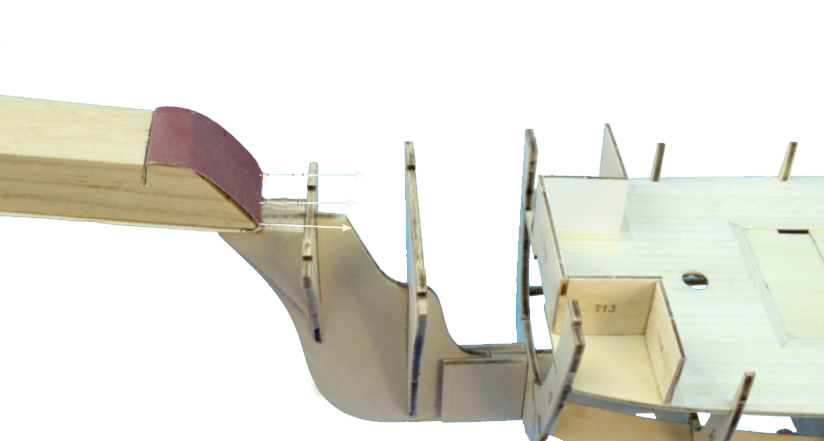
We have to cover the model ship hull during the assembly of a wooden naval model, but before we have to sand the frames. Specifically, its more square edges, in order to make them blunt so that, later, they fit better with the cover as they are a little curved. To do this, you can use our sanding block and sandpaper.
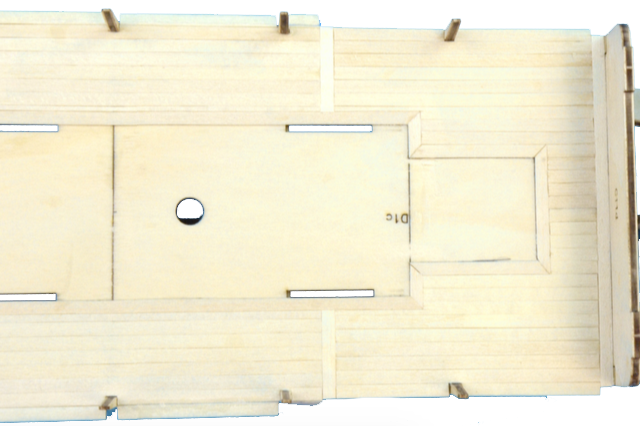
Later, proceed to cover the deck with wood veneer with glue. We recommend our dense cyanoacrylate and spray accelerator or the white glue. You can also make it with nails, a magnetic nailer and a modeler’s hammer. It all depends on the age and make of the naval scale model you have purchased, or the method you like best.
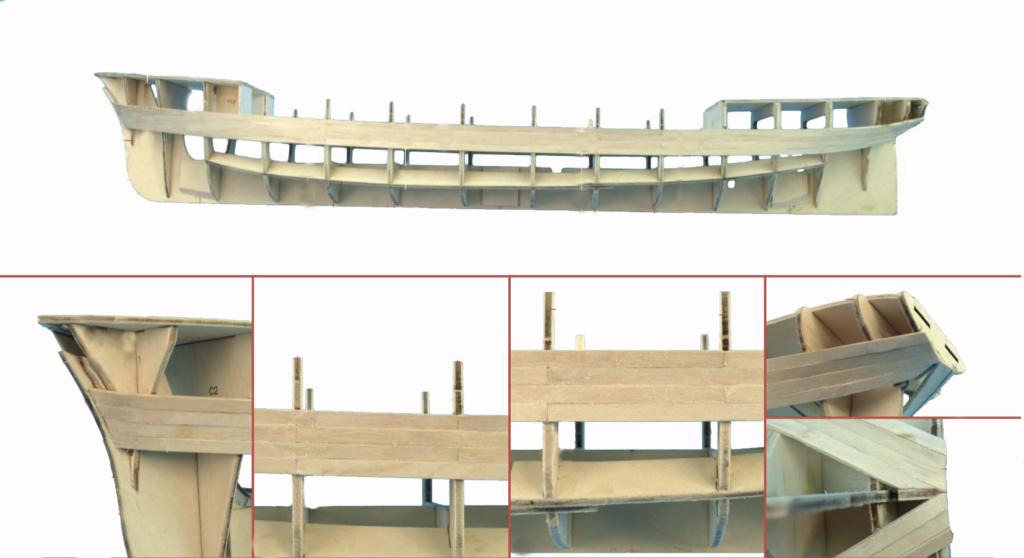
It is time to start covering the boat hull with, in this case, the first layer of wooden strips, as can be seen in the image below. Artesanía Latina electric plank bender tool will help you shape the strips. Wet the strips for at least half an hour and apply the heat of the aforementioned tool to shape them. You can also use the manual plank bender tool.
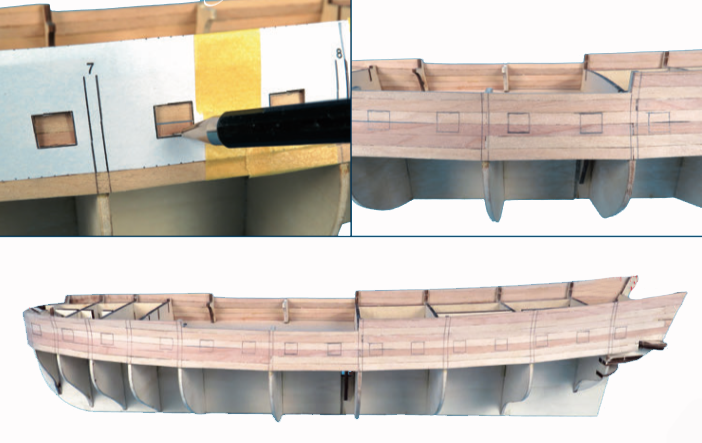
Then, make the holes where the cannons will come out, that is, the cannon ports, as we said, once you have built the first layer of the hull cover. We recommend the use of a template so that the distance between the loop-holes is the same and to facilitate this thorough work. We also recommend tools like drill, cutter and file.
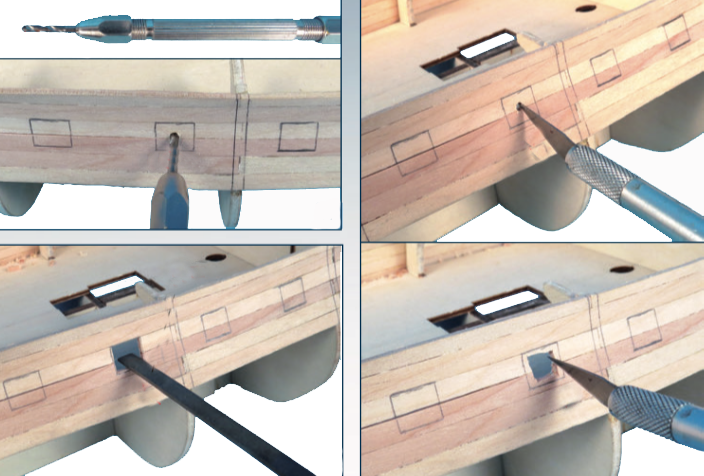
It is time to cover the model ship hull with the second layer, but this time with wooden veneer.

COVER MODEL SHIP HULL: SANDING AND VARNISHING
When the hull cover is finished, sand the entire hull gently and varnish it. Depending on the ship model being worked, some will require that your hull be painted with some color and some brush.
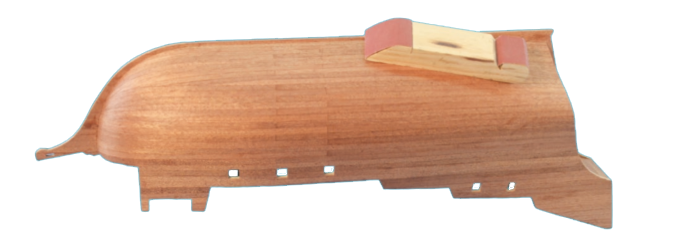
You already have the ship model ready for the rigging installation. This process will be seen in the next post dedicated to any wooden model ship building process. In this sense, Artesania Latina‘s ship modeling kits are the best in value for money.
