
We update this post aimed at showing the naval modeling kits for experts from Artesanía Latina with our latest and spectacular novelty: the Santísima Trinidad (22901). We are continually expanding the catalog of this level of difficulty to offer the greatest and most beautiful challenges. Small works of art designed for our modeler friends with the highest level of skills and abilities in this passionate hobby. For those who build most difficult wooden ship models.
If they are capable of assembling a naval scale model of this article, there is no doubt, they are master model makers. They have already surpassed levels of knowledge and skills in naval modeling such as initiation, intermediate and advanced. Below, all our naval miniatures so that the elite of this hobby can know them. We start, of course, with the recent incorporation of the Spanish ship of the line Santísima Trinidad.
NAVAL MODELING FOR EXPERTS: WOODEN SHIP MODEL SANTÍSIMA TRINIDAD (22901)
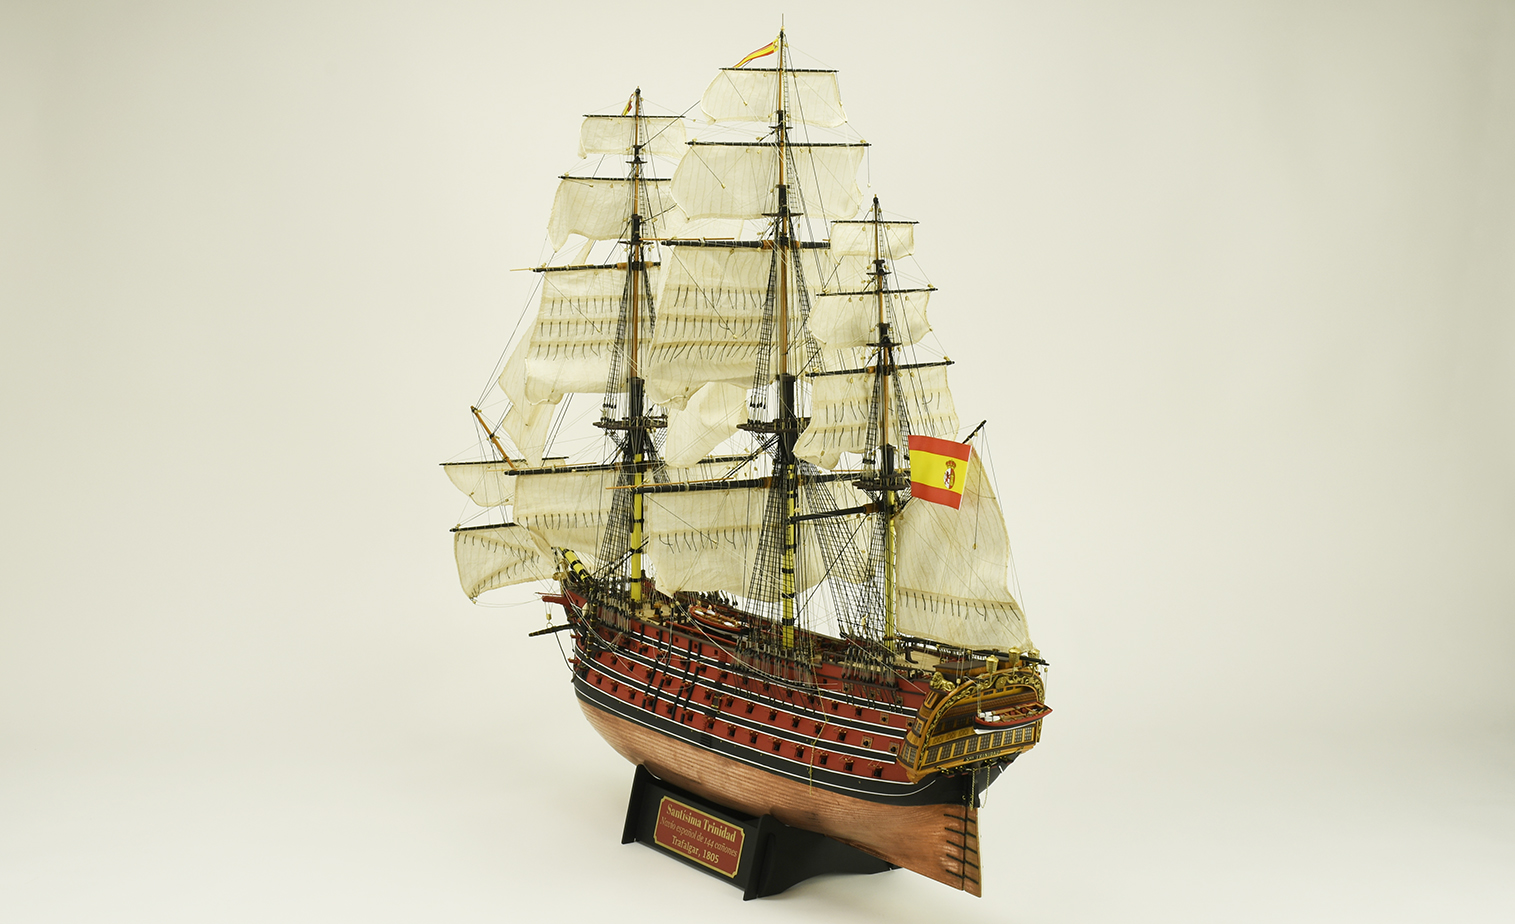
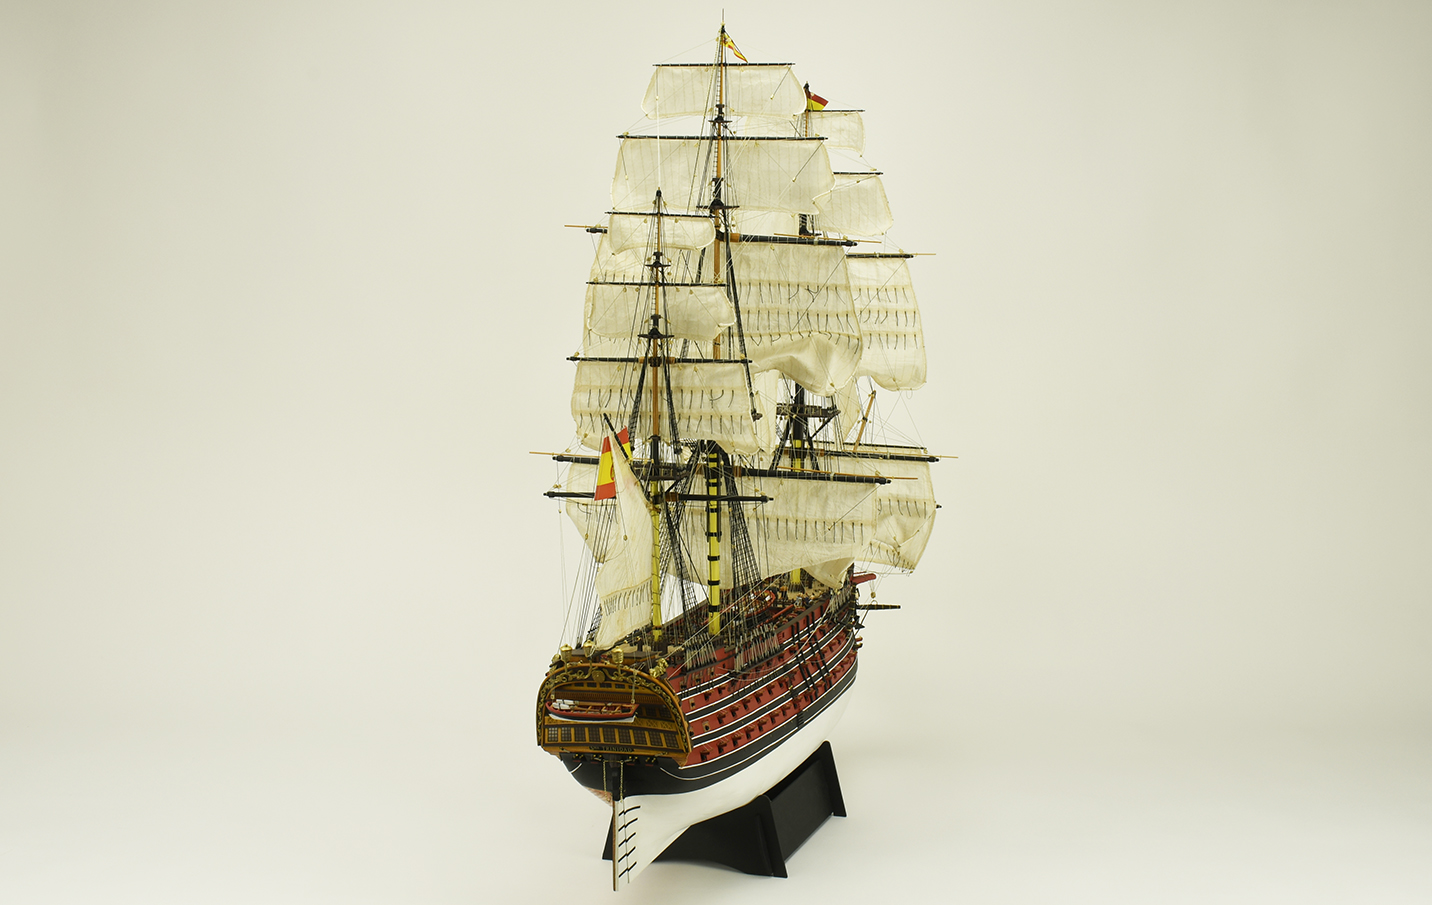
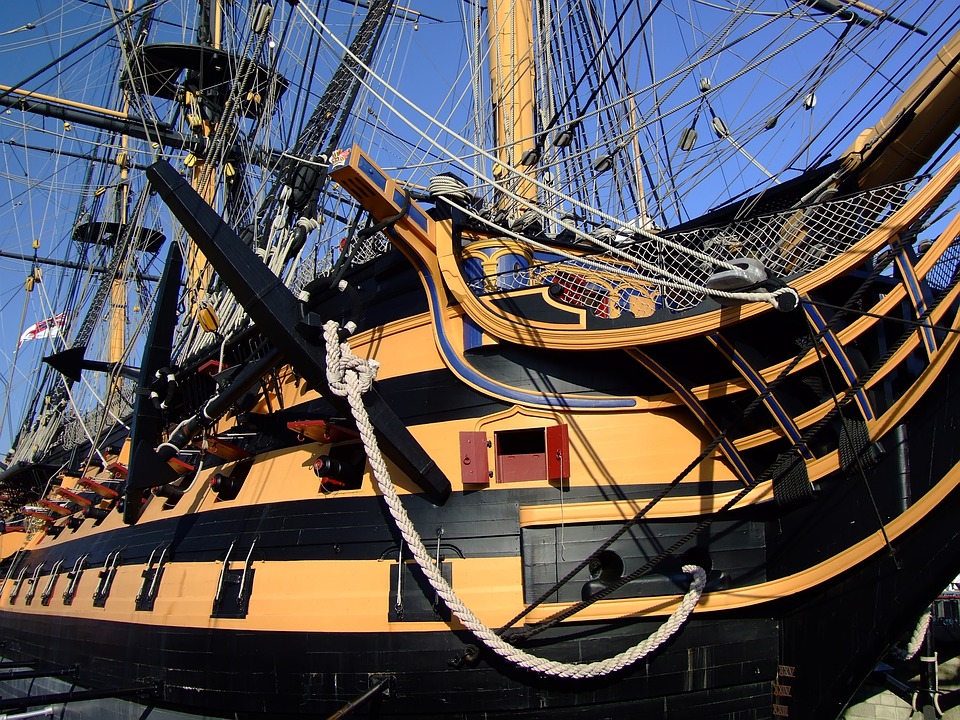
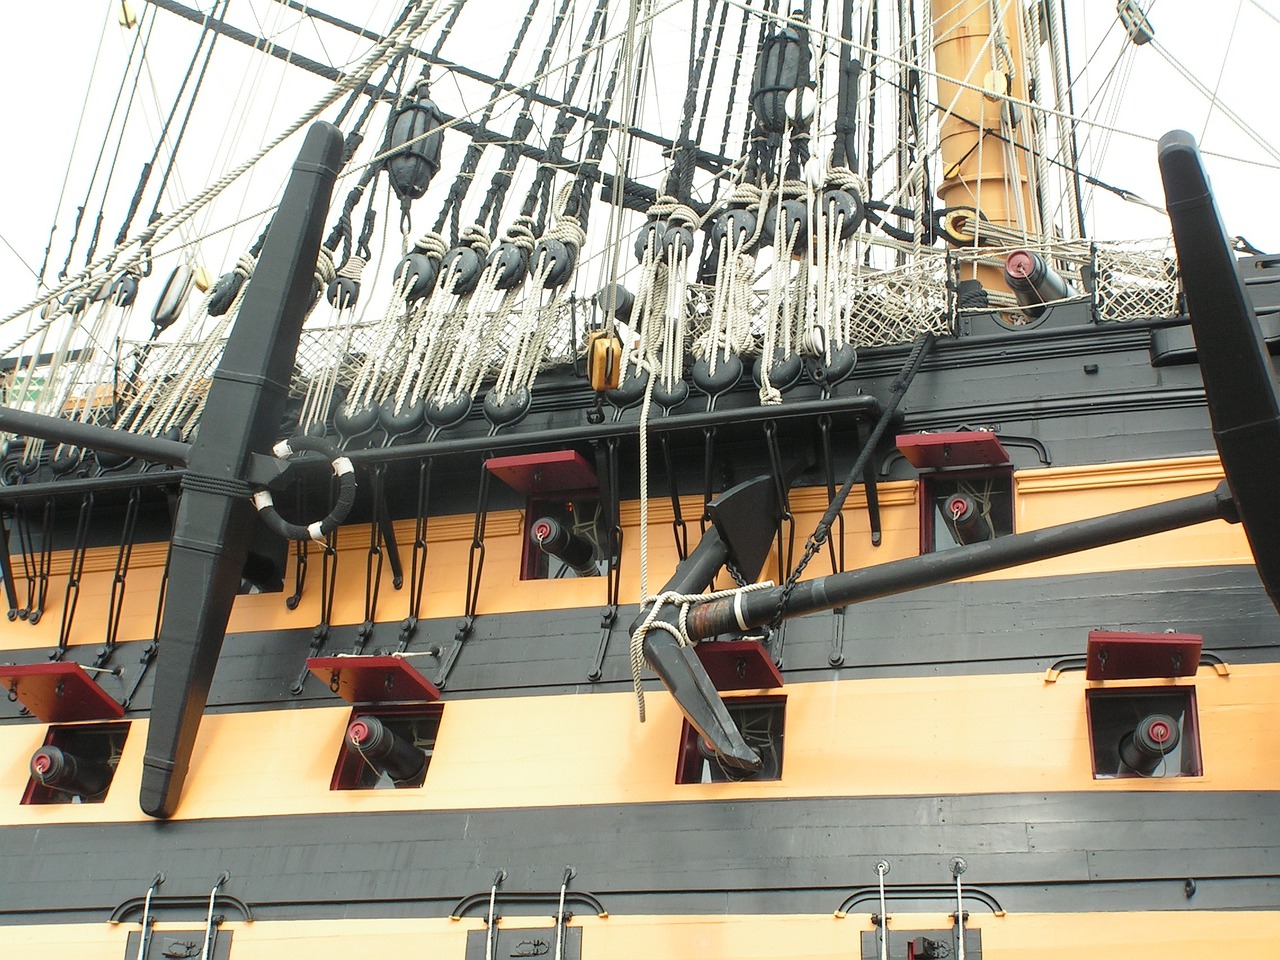
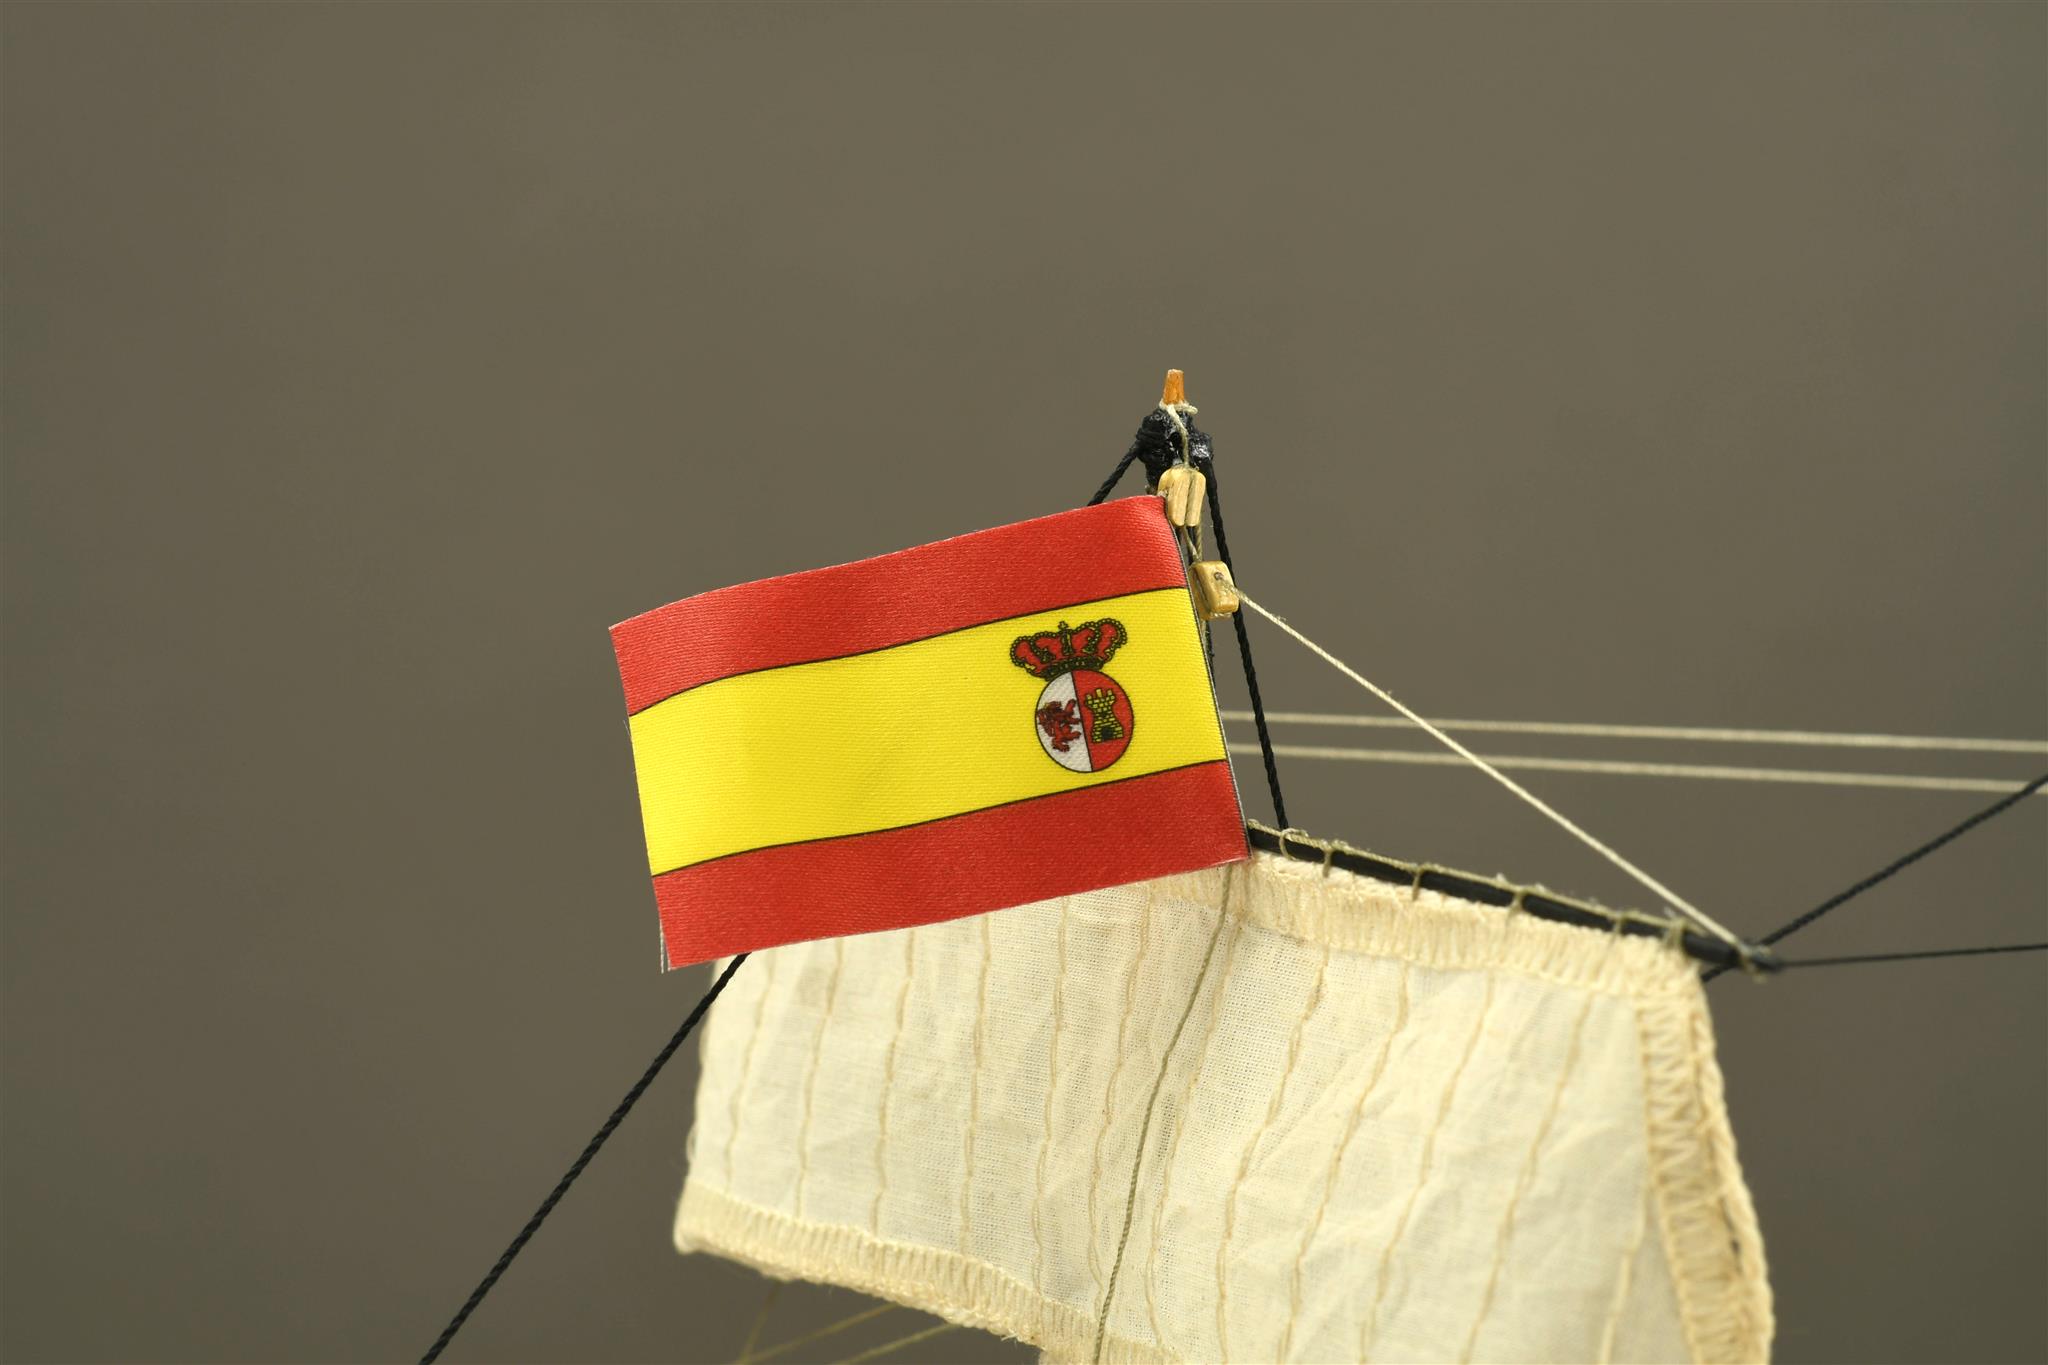
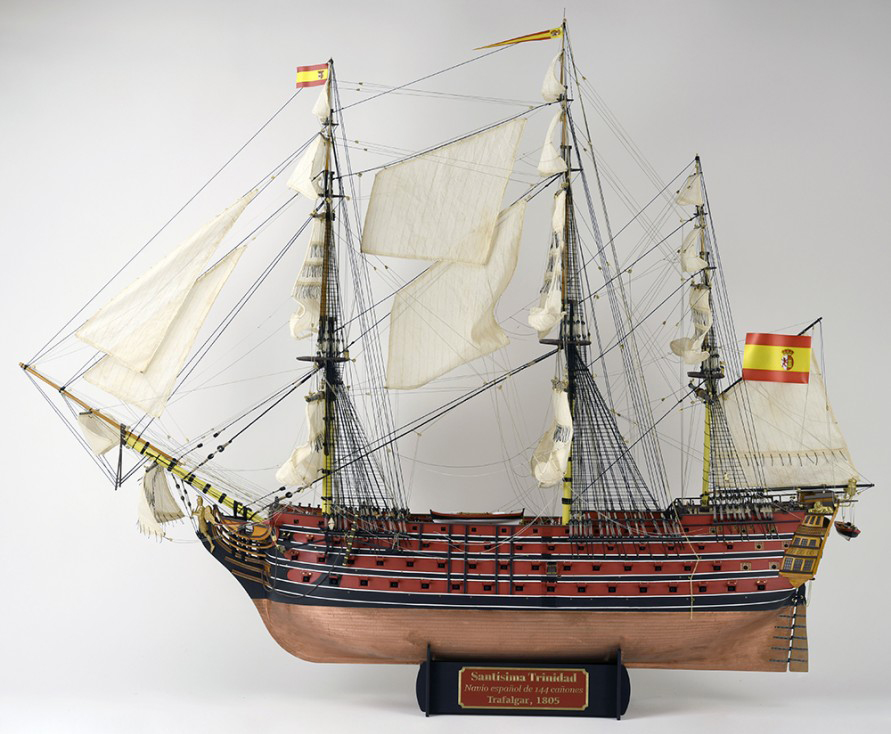
It is our newest addition to our fleet of expert naval modeling kits. It has been with you since September 2023. And it is a… Absolute and gigantic beauty! We are talking about the wooden model of the Spanish Ship of the Line Santísima Trinidad Trafalgar 1805 Edition at 1:84 scale. It is the flagship of the Spanish Navy, the largest of its time, the largest weapon of war with 144 cannons of the 17th and 18th centuries. It is known as the ‘Escorial of the Seas’. She was one of the few four-decker ships of the line that existed. Unfortunately, her fate was fatal in the Battle of Trafalgar, so she sank.
 by Artesanía Latina.")
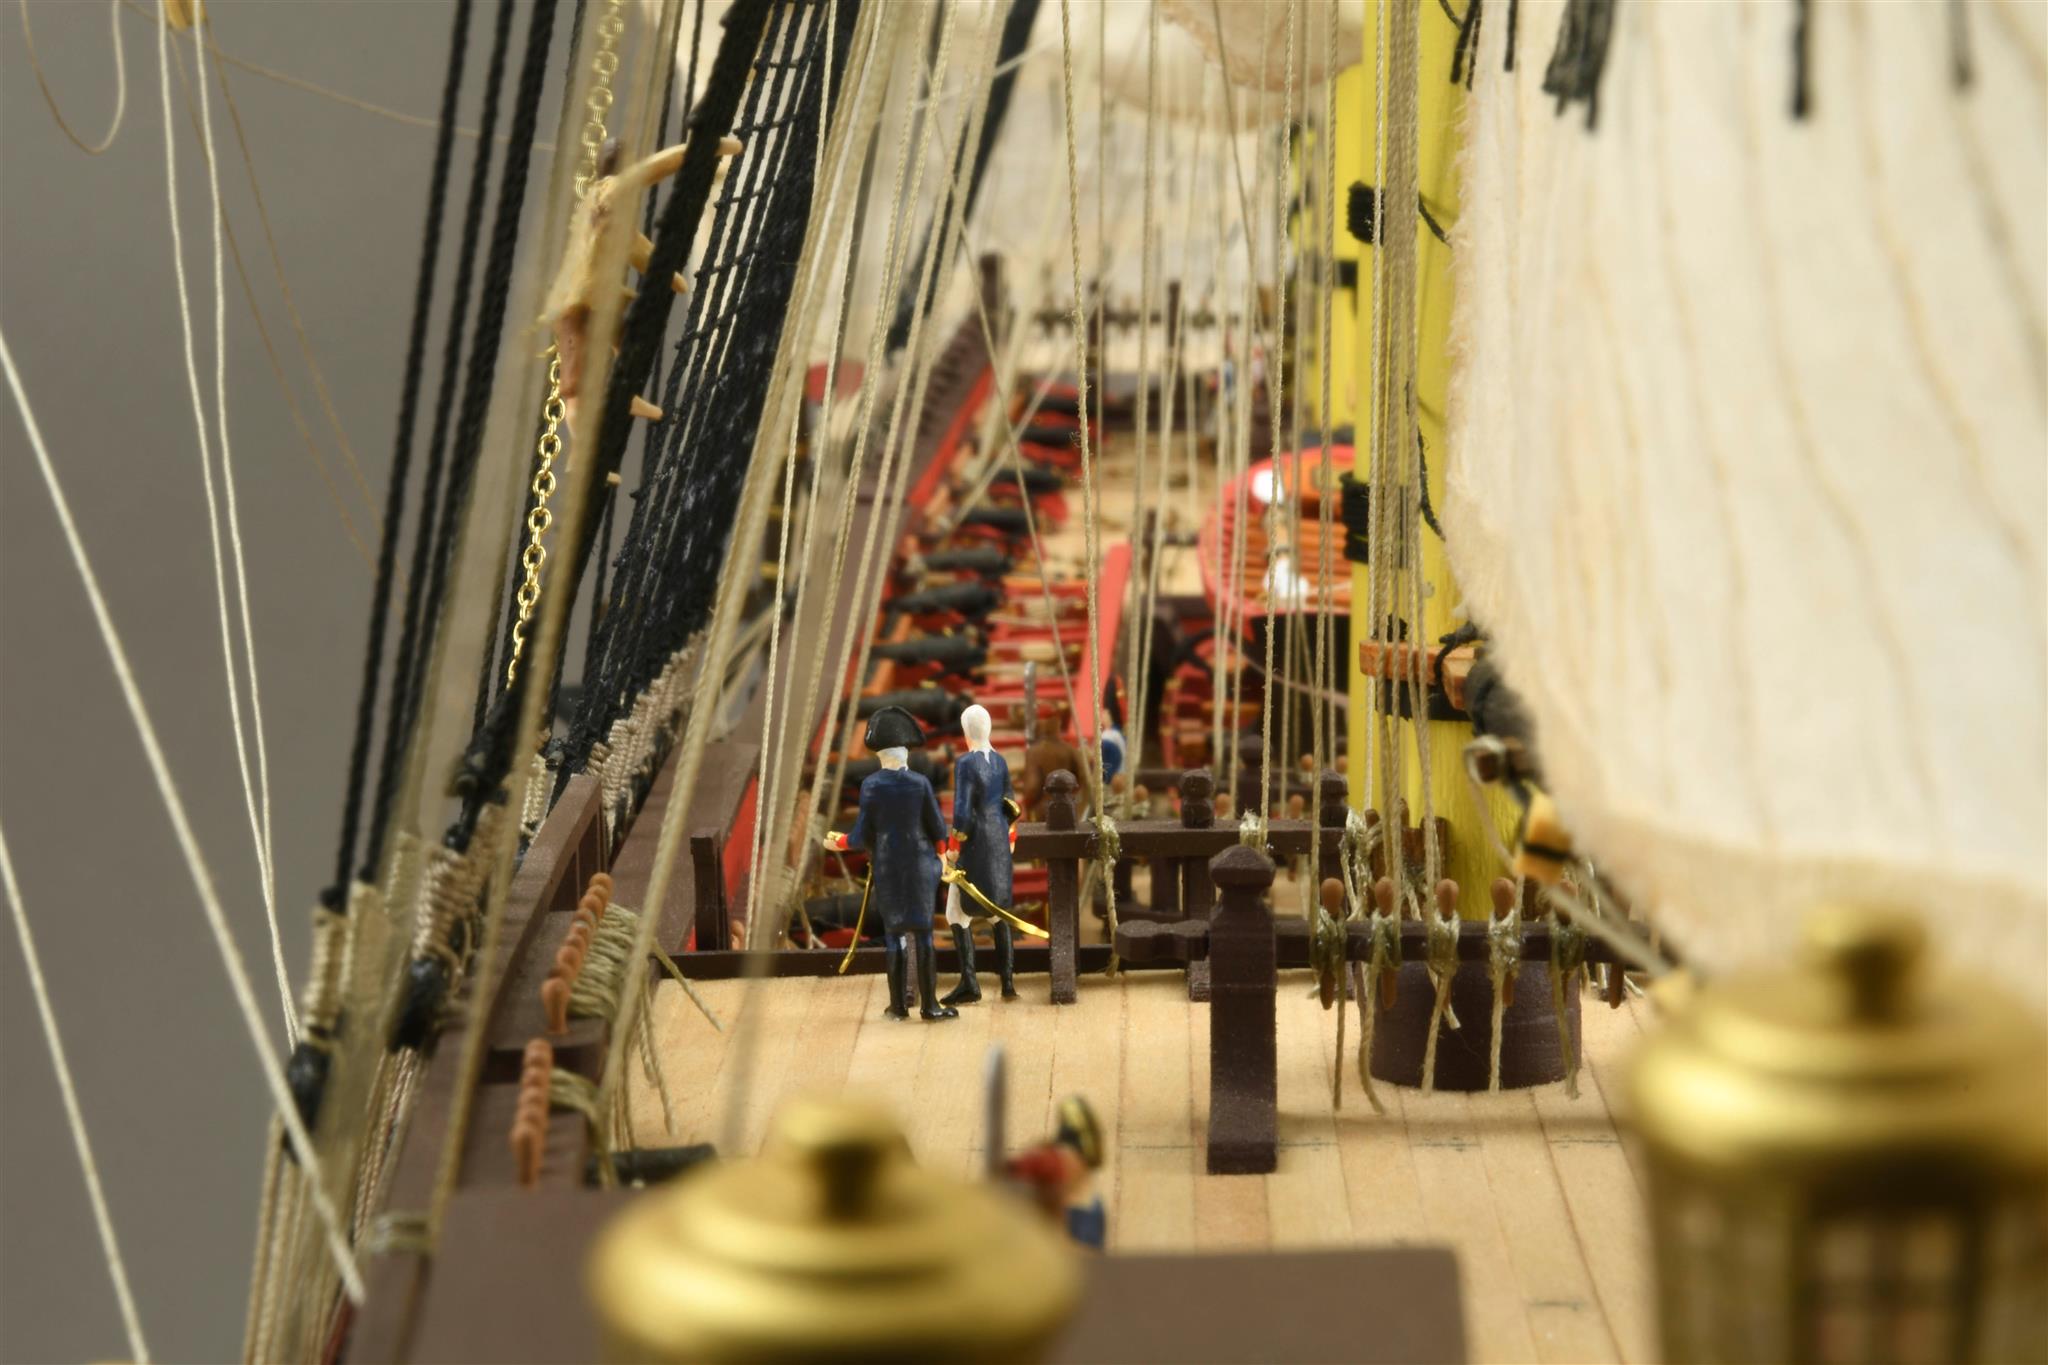
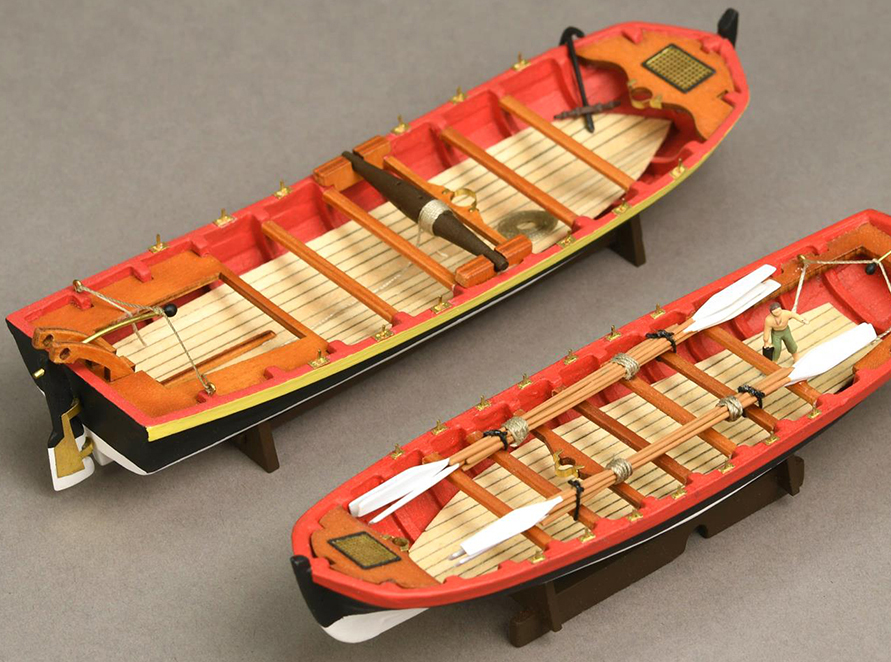
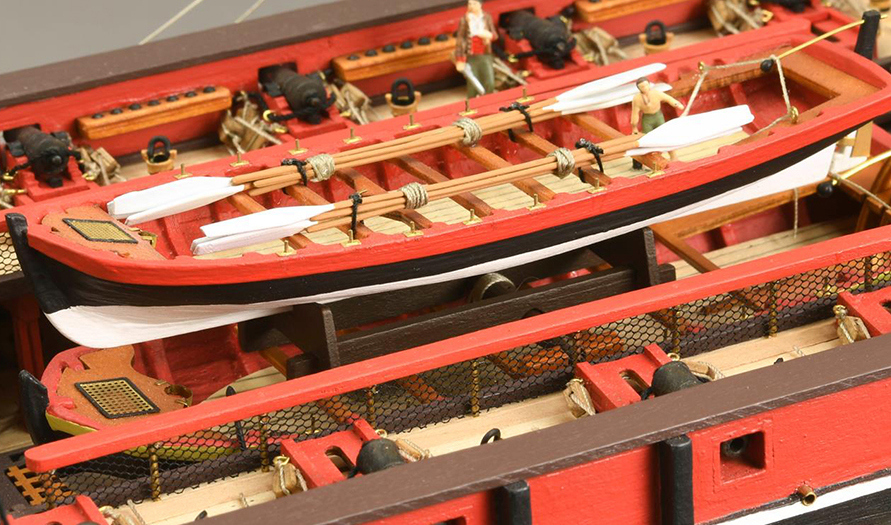
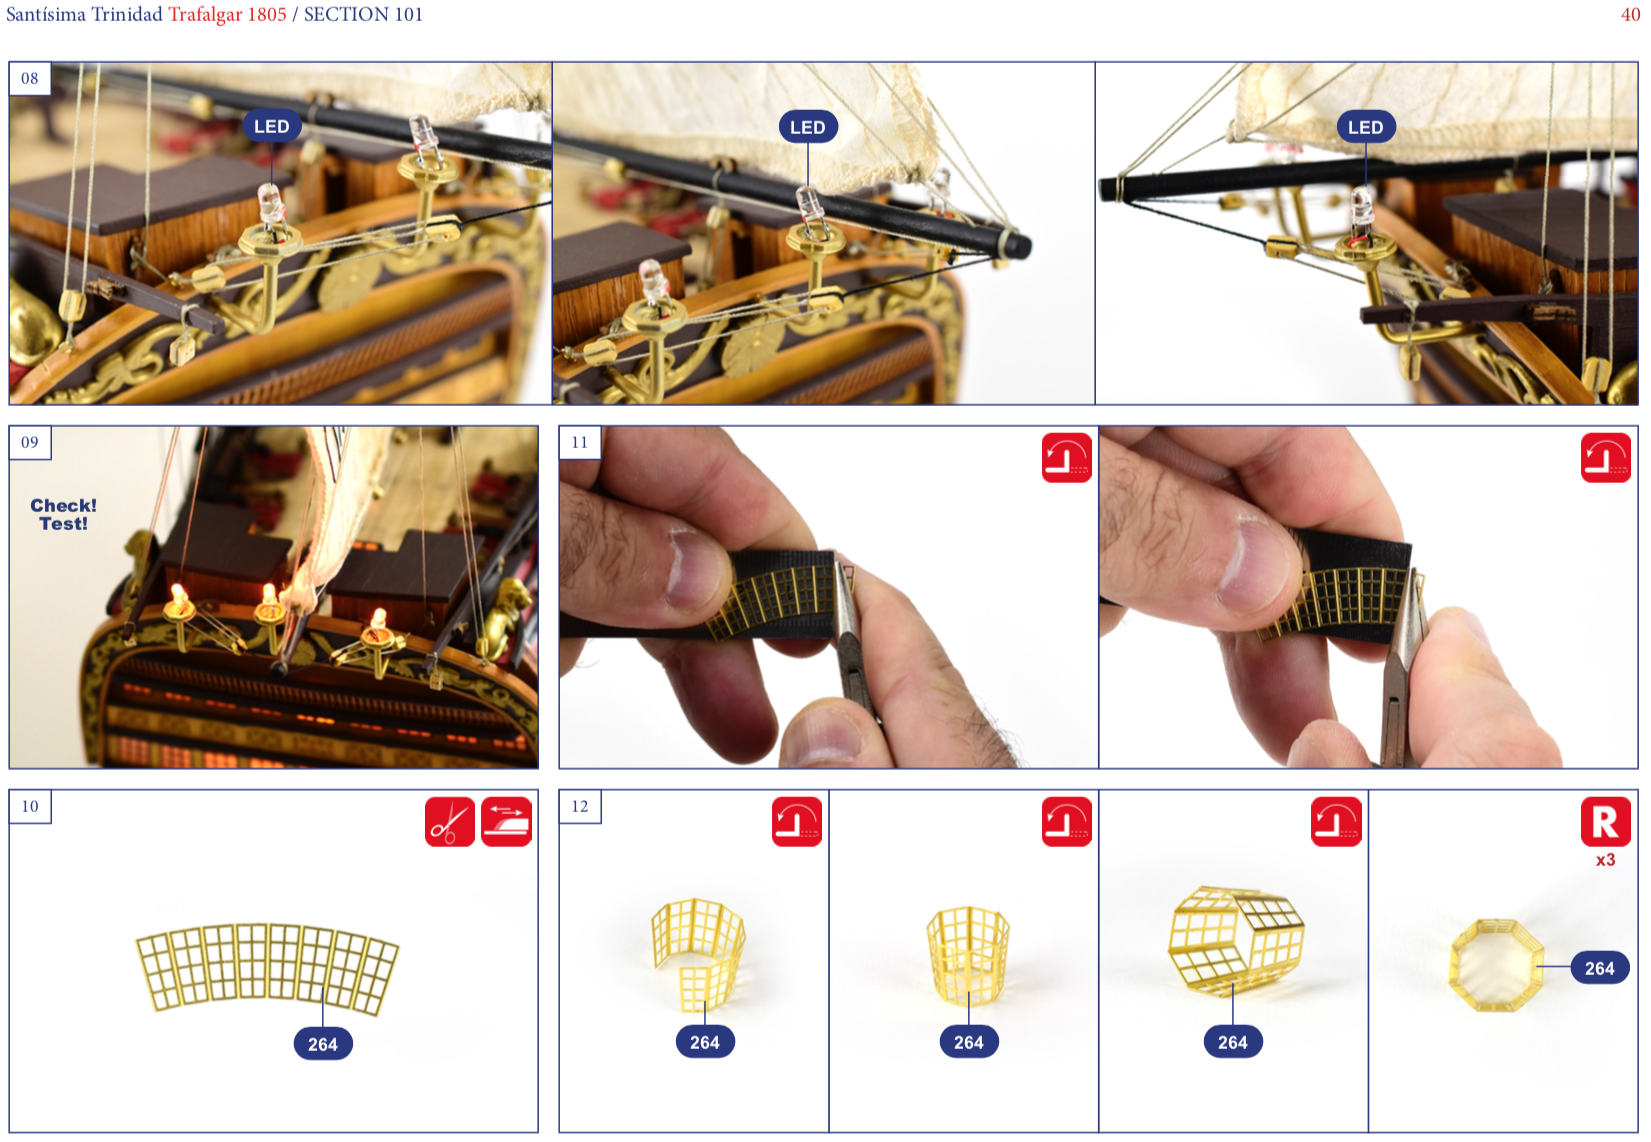
The naval modeling kit of the Spanish ship of the line Santísima Trinidad -read the model post here- it is incredible in terms of decoration details. Hundreds of high quality parts: 14 sheets of basswood plywood and 6 spectacular photo-etched sheets in brass with parts such as lanterns, railings or details of the cannons. Also, 10 packs of strips and rods, and American oak veneer. With the huge amount of 18 cotton sewn sails ready to be placed. As gifts, exhibition base for display and a set of 5 figurines.
For its assembly, you have a QR code that, when you scan it with your mobile, takes you to the product sheet, where you can download for free the instructions, which are completely redesigned: clarifying step-by-step photographs – more than 800 pages in digital format, not on paper -, in addition to 10 demonstration videos -click here to watch them- with some of the most important steps. Printed instructions not available. Once assembled, it measures 46.88” (1191 mm) length, 35.63” (905 mm) height and 18.26” (464 mm) width.
 by Artesanía Latina.")
 by Artesanía Latina.")
 by Artesanía Latina.")
 by Artesanía Latina.")
NAVAL MODELING FOR EXPERTS: WOODEN SHIP MODEL SOLEIL ROYAL FRENCH WARSHIP (22904)
The second wooden ship model that we propose that expert modelers build… It is another fantastic novelty for this year 2021! The 1/72 scale model of one of the pink diamonds of naval modeling, built and launched in the 17th century by order of the French King Louis XIV. The majestic Gallic warship Soleil Royal is your new challenge. This famous ship of the line with 104 guns was born between 1668 and 1670 in Brest thanks to the engineer Laurent Hubac.
Interestingly, it remained unused in the port of that town for a long time. It sailed the seas again during the Nine Years’ War in 1688, already with 112 guns and 1,200 crewmen. Its role was essential as the flagship of the Escadre du Pont (Squadron of the West) and Admiral Tourville. Its baroque decoration is simply one of the most beautiful and spectacular of the time.
.")
The naval modeling kit for expert modelers with the Soleil Royal warship -read the model post here- is one of the most detailed ever. Hundreds of high precision laser cut plywood and solid wood parts are available. Also many castings in die-cast and photo-etched, not forgetting the magnificent cotton sails sewn by hand ready to be placed. It is a Premium model that also brings as a gift the stand for display and a set of 12 figurines. It contains our comprehensive step-by-step digital instructions. All on PDF format for computer and tablet. No printed instructions are included. Once assembled, the scale model measures 36.81” (935mm) length x 11.22” (285mm) width x 34.44” (875mm) height.
NAVAL MODELING FOR EXPERTS: WOODEN MODEL OF SPANISH SHIP OF THE LINE SANTA ANA (22905-N)
The third wooden ship model that we show you is a novelty arriving in autumn 2022. The 1:84 scale model of the Spanish ship of the line Santa Ana is one of the most demanded ships for years by our client friends. It’s here! It is a true jewel of naval modeling for expert modelers, now presented on the limited edition Trafalgar 1805. It was fundamental, precisely, in the battle that bears the same name against the English, although it was launched at the end of the 18th century.
This marvelous vessel with three decks was part of a series of ships called Meregildos, the Santa Ana was the pioneer. It had 112 guns, although more were added later along with other weapons. It was one of the banners of the Spanish Armada, but it sank in Havana when trying to hide the French.
 by Artesania Latina.")
The Santa Ana -read the model post here- modeling kit box contains high-quality parts such as solid wood and precision laser-cut lime plywood, brass photo-etched sheet with parts such as the lanterns, railings or details of the cannons, sails with cotton fabric -ready to be placed-, cotton threads and, as a gift so that the model is perfectly exposed, as a work of art that it is, a base in wood with name metal plate. To assemble it, you need our step-by-step digital instructions on PDF format. No printed instructions are included. Once it is built, Santa Ana measures 46.45” (1180 mm) length, 34.25” (870 mm) height and 18.11” (460 mm) width.
NAVAL MODELING FOR EXPERTS: WOODEN SHIP MODEL SWEDISH WARSHIP VASA (22902)
The fourth wooden model ship that we urge expert modelers to build… It’s new in 2021! The 1/65 scale model of a jewel of naval modeling created in the 17th century: the Swedish bronze warship with 64 guns called Vasa, which is part of the naval history of your country, Europe and the planet: it sank within a kilometer of being launched in 1628 after an economic outlay and use of enormous natural resources by King Gustav II, who wanted the ship to participate in the Thirty Years’ War. It was the most powerful of its time until the US Constitution frigate appeared.
.")
The Vasa Swedish warship modeling kit -read the model post here- is one of the most detailed in history on the market, it has a large number of sculptures on its stern and bow. The expert modeler will find a large set of decorative parts in die-cast and photo-etched and Premium quality wood pieces. Of course, hand-sewn sails ready to be placed, multimedia instructions in nine languages and… Two gifts included! A wooden base with a metal name plate and six figures that will give this naval jewel even more realism than it would have without them. Very detailed step-by-step digital instructions for computer and tablet, all on PDF format. Once it is built, the Vasa wooden ship model has these dimensions: Long 42.12” (1070 mm) x Wide 15.74” (400 mm) x High 34.25” (870 mm).
WOODEN SHIP MODEL: CUTTY SARK TEA CLIPPER (22800)
The fifth proposal that we make of a naval modeling for experts kit is the wooden model ship of the well-known British tea clipper Cutty Sark, at 1/84 scale. It was one of the fastest vessels during the 19th century on its many voyages to the East. The Cutty Sark was dedicated in the early days after its launch in 1869 to the tea race. He tried to unite China and London in the shortest time possible for eight ‘tea seasons’. Later, he took on another role, in this case on the wool trade from Australia. Later he assumed the transport of goods between Porto, Rio de Janeiro, New Orleans, Lisbon and the Portuguese colonies. It was operational until 1954, the year in which it was decided to exhibit as a museum ship.
.")
The British Cutty Sark Tea Clipper naval modeling kit for experts features high precision laser cut board parts, hardwoods, brass, cast iron and fabric. For the assembly you can follow our complete step-by-step digital guide in 7 languages and in full color, accompanied by the full-scale plans of the finished ship. All on PDF format for computer and tablet. Once built, the model measures 40.62” (1032mm) length x 13.77” (350mm) width x 24.56” (624mm) height.
NAVAL MODELING FOR EXPERTS: WOODEN MODEL HMS BOUNTY MERCHANT VESSEL (22810)
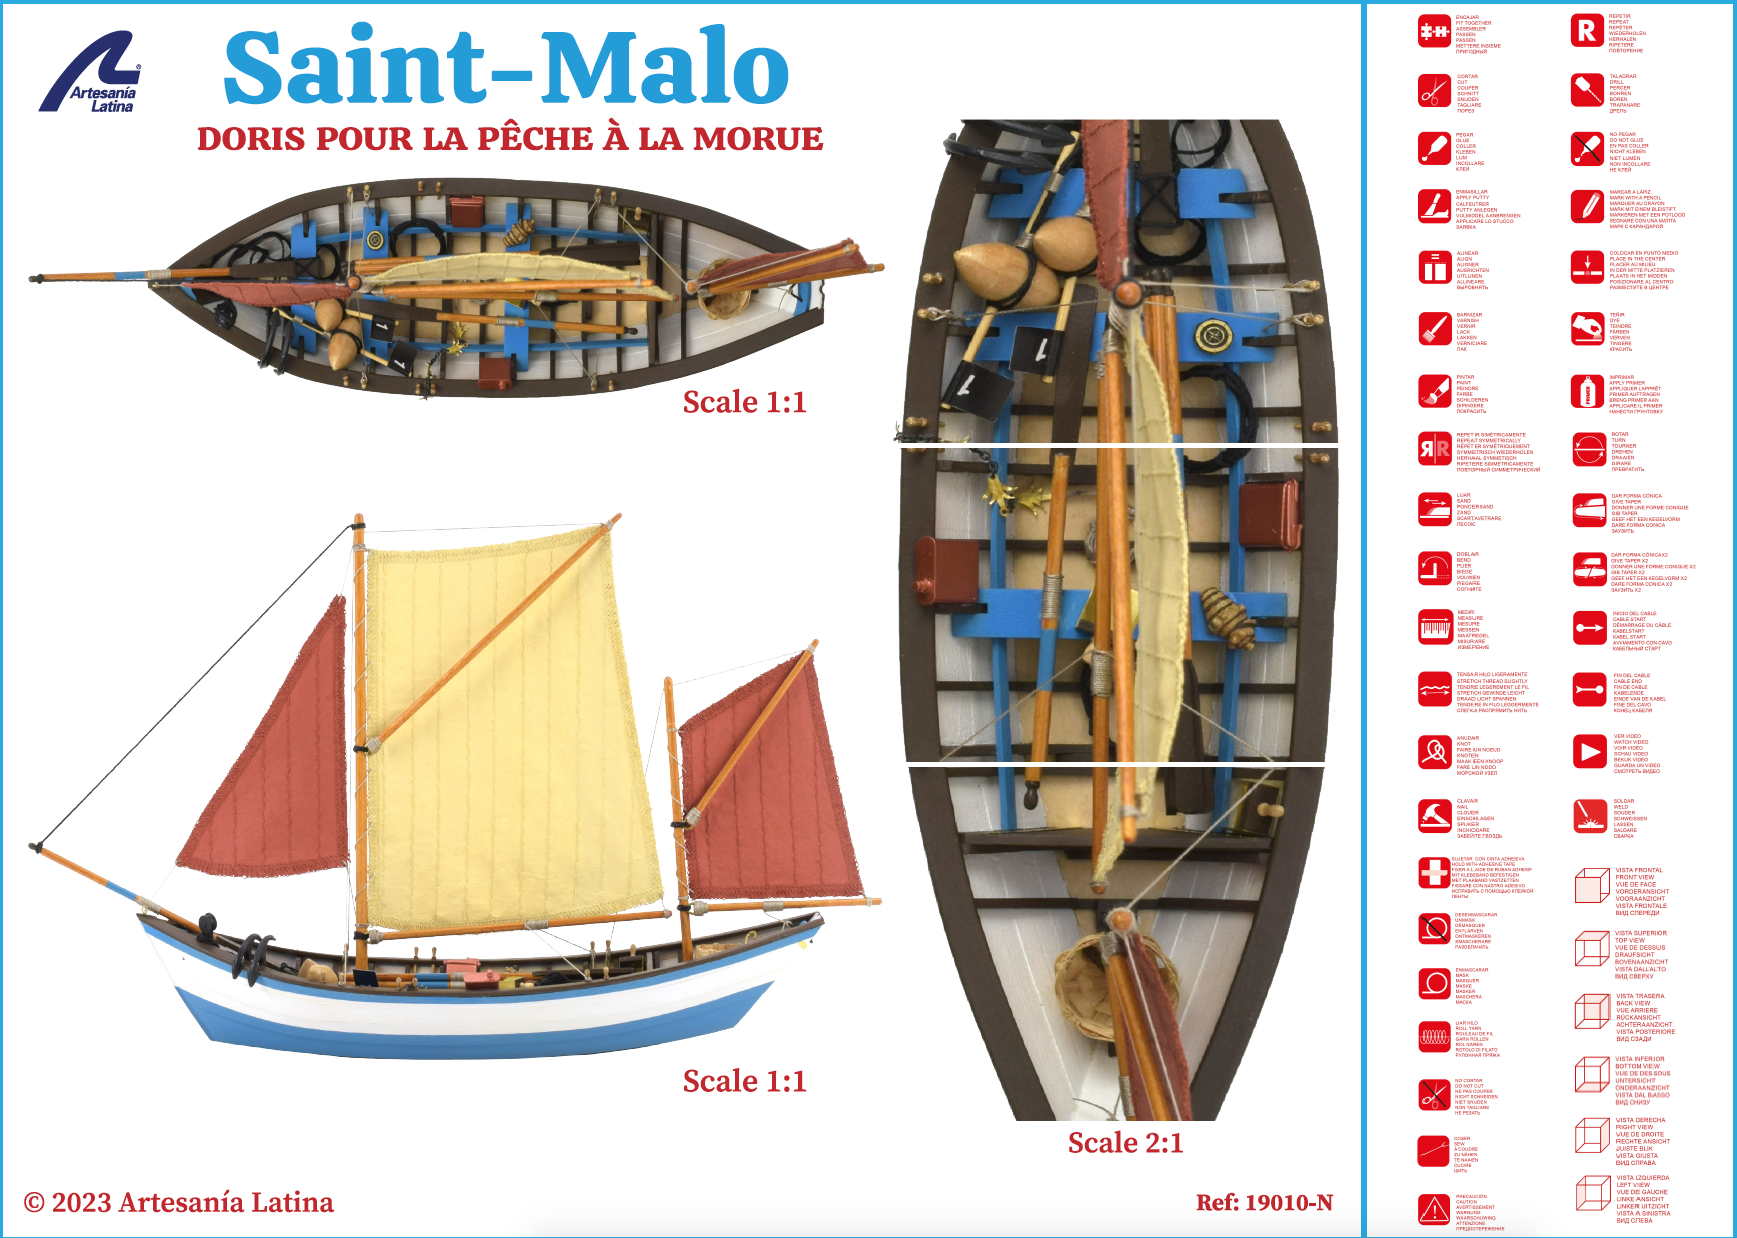
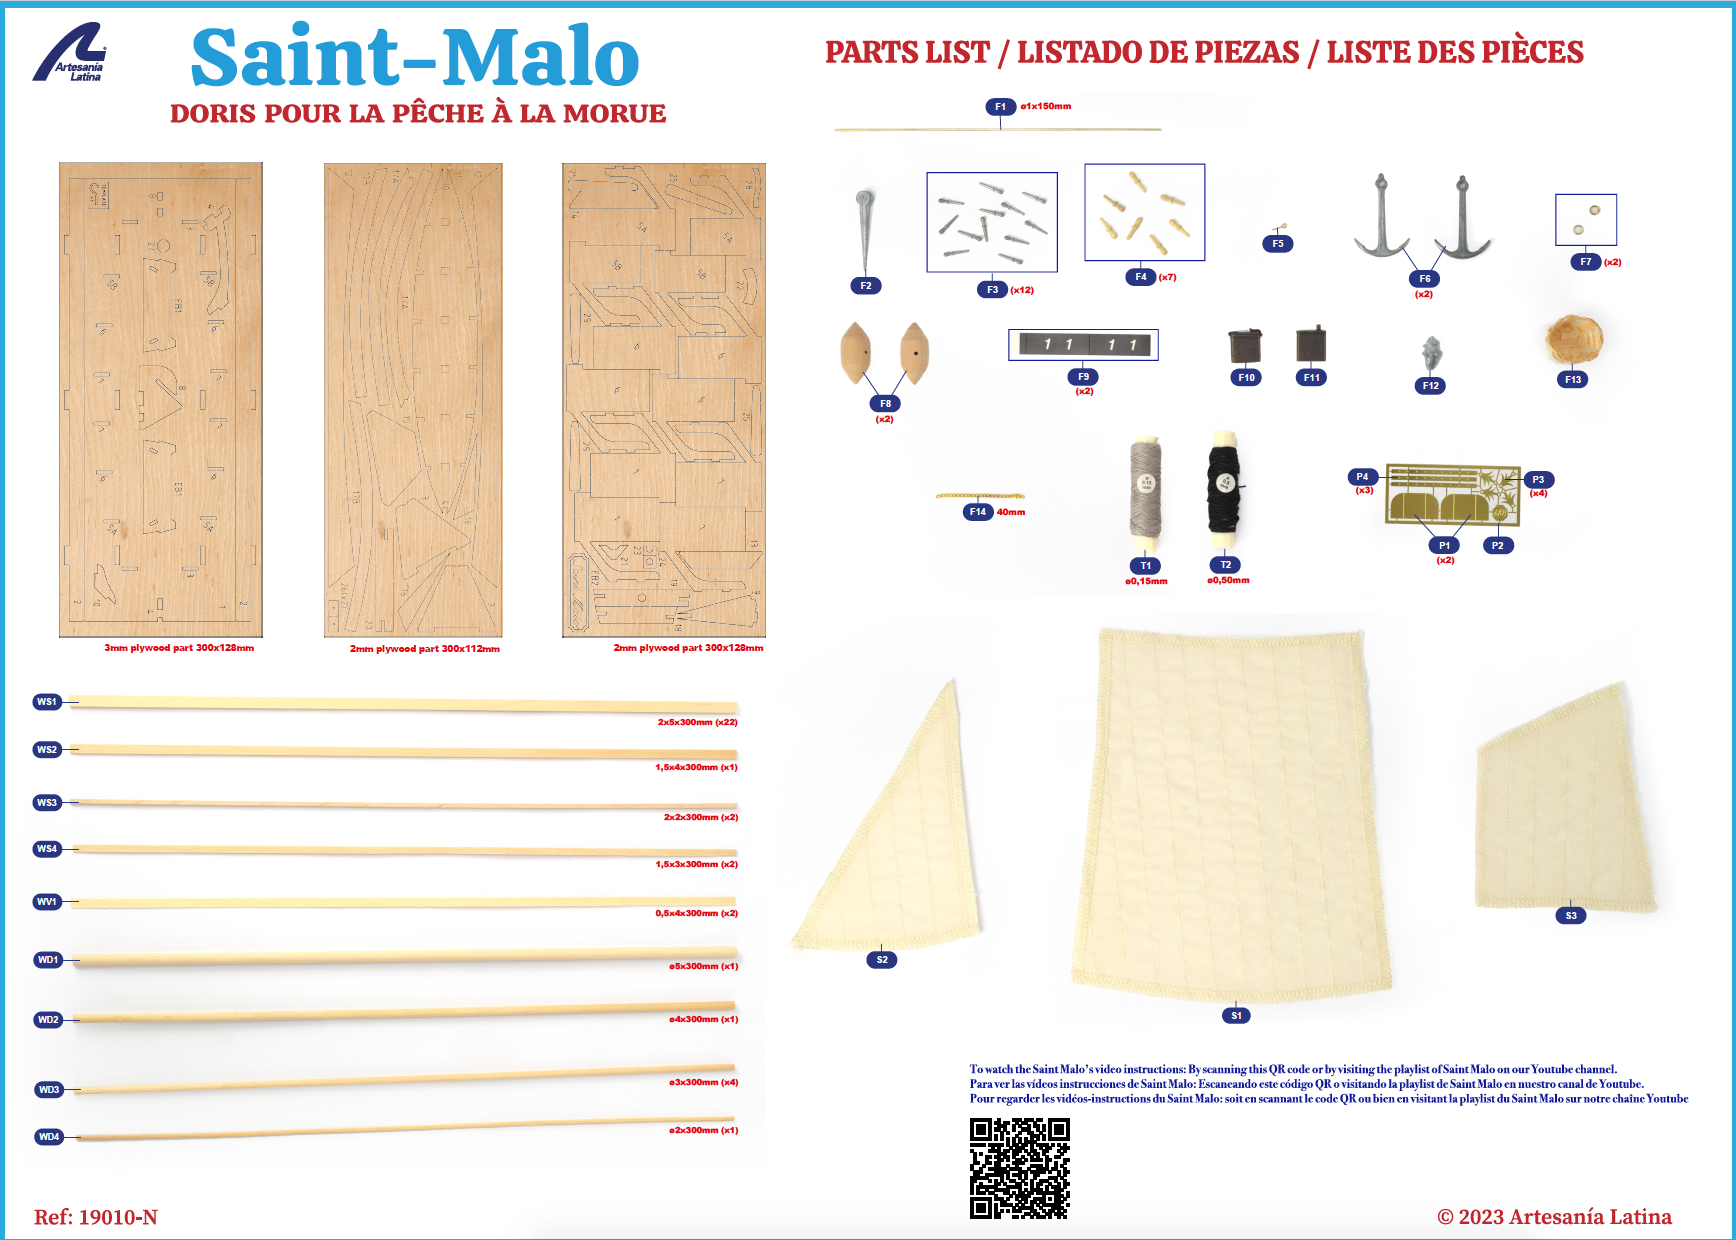
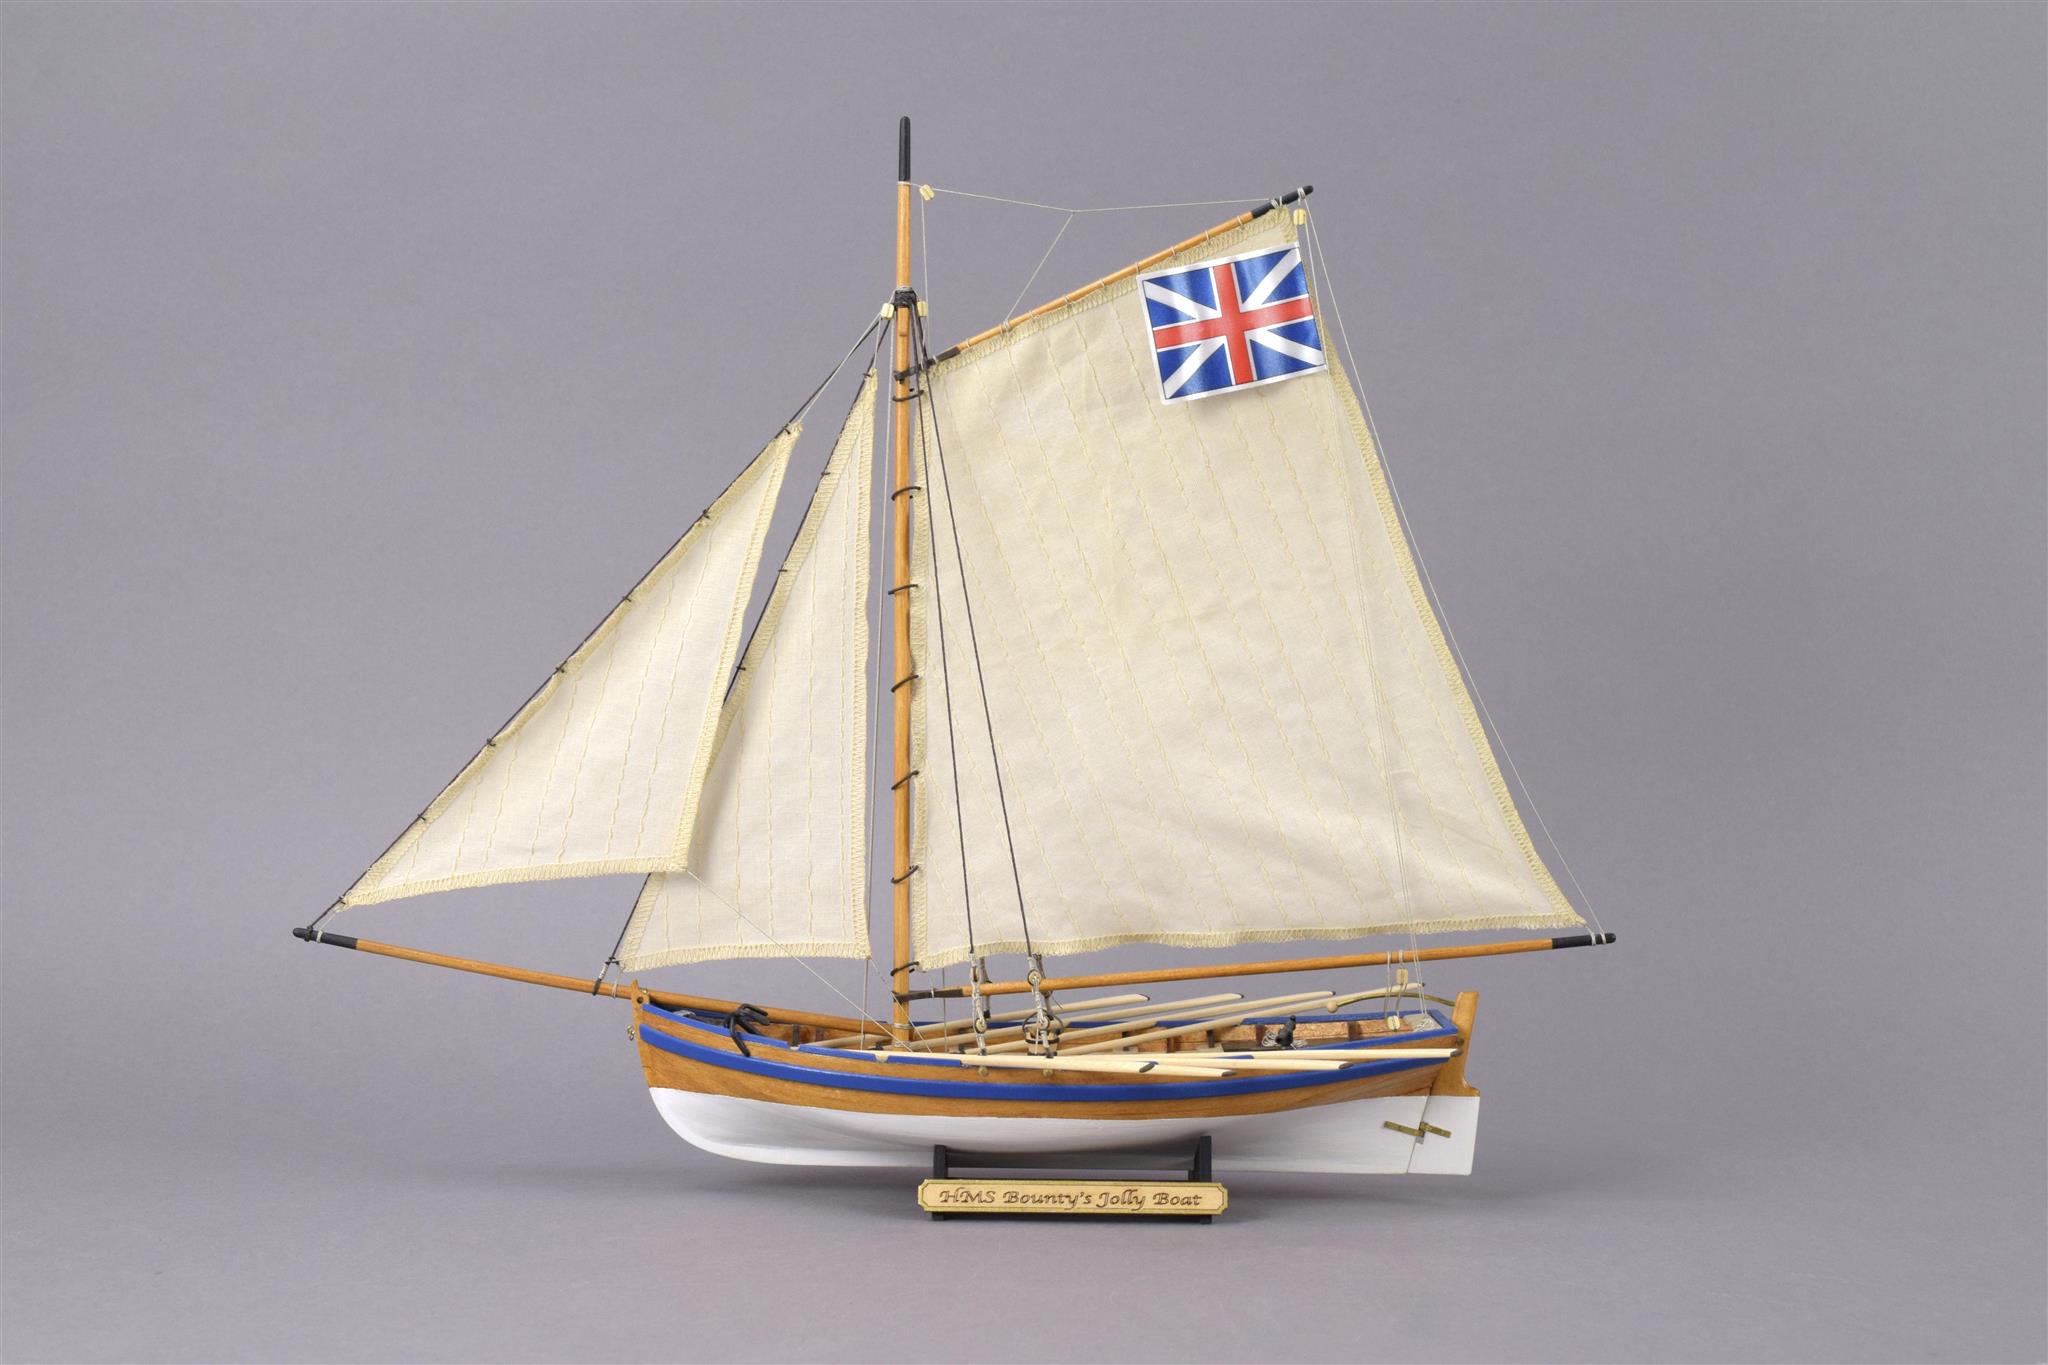
The sixth alternative of naval modeling for experts is the wooden ship model of the 18th century British merchant vessel HMS Bounty, 1/48 scale model. This boat was the scene of one of the most famous riots in history. In 1787, the HMS Bounty left England for Tahiti to transport breadfruit trees to the Caribbean, encountering a great storm that forced them to change course, and to land and stay in Tahiti for several months. The crew got used to life with the natives and mingled with their women, until in 1789 they sailed again, but 24 days later they mutinied.
.")
Naval modeling kit for experts of the HMS Bounty merchant vessel composed of parts of high precision laser cut board. In addition, it has noble woods such as birch, brass, cast iron, fabric, cotton threads, hand-sewn candles ready to be placed … And most importantly! For the assembly of the scale model you will have our complete step-by-step digital instructions in four languages in full color, accompanied by the real-scale drawings of the completed ship. All on PDF format. As a differential fact of this scale model, the HMS Bounty boat allows one of the hull bands to be left open to see its interior precisely. When the scale model is finished, it measures 35.58” (980mm) long x 13.97” (355mm) wide x 30.03” (763mm) high.
WOODEN SHIP MODEL: USS CONSTELLATION FRIGATE (22850)
The seventh option for the expert modeler with a high level of knowledge and skills in building wooden model ships is the American frigate USS Constellation, a 1/85 scale model of the US Navy. He had to develop numerous and different activities during all the years in which he was on duty. The frigate was built at the end of the 18th century, specifically, in 1797 in Baltimore. It served to seize many ships, prevent the British from annexing the Hawaiian Islands in 1843, and for the United States to arrive in China for the first time a year earlier. From 1845 to 1849, he was in charge of transporting food to Ireland to fight the potato famine. In 1871 it would become a naval training ship. Today it is a beautiful museum ship that can be visited.
.")
The ship model of the USS Constellation frigate features high precision laser cut board parts, hardwoods, brass, cast iron and sewn cotton sails ready to be laid. Contains our comprehensive step-by-step digital instructions in five languages, accompanied by full-scale plans of the completed ship. All on PDF format. After building, the model measures 40.74” (1035mm) length x 12.99” (330mm) width x 27.95” (710mm) height.
WOODEN BOAT MODEL: SAN JUAN DE NEPOMUCENO ONLINE WARSHIP (22860)
What is the eighth expert naval modeling kit we showcased? A legend in Spanish naval history, the 1/90 scale wooden model of the Spanish online ship with 74 cannons San Juan de Nepomuceno, from the 18th century. He was part of the Spanish Armada between 1766 and 1805. He was captured in Trafalgar by the British and transferred to Gibraltar, although he represents a beautiful demonstration of the heroism and bravery of the Iberians in the battle that took place on the coasts of the province of Cádiz.
.")
The model boat kit of the San Juan de Nepomuceno warship has parts of high precision laser cut board, noble woods, brass, cast iron and fabric. Contains our comprehensive step-by-step digital instructions in four languages, accompanied by full-scale plans of the completed ship. All on PDF format. Once assembled, the scale model measures 37.79” (960mm) length x 15.74” (400mm) width x 29.52” (750mm) height.
 by Artesanía Latina.")
 by Artesanía Latina.")
 by Artesanía Latina.")
 by Artesanía Latina.")
 by Artesanía Latina.")
 by Artesanía Latina.")
 by Artesanía Latina.")
 by Artesanía Latina.")
 by Artesanía Latina.")
 by Artesanía Latina.")
 by Artesanía Latina.")
 by Artesanía Latina.")
 by Artesanía Latina.")
 by Artesanía Latina.")
 by Artesanía Latina.")
 by Artesanía Latina.")
 by Artesanía Latina.")
 by Artesanía Latina.")
 by Artesanía Latina.")
 by Artesanía Latina.")
 by Artesanía Latina.")
 by Artesanía Latina.")
 by Artesanía Latina.")
 by Artesanía Latina.")
 by Artesanía Latina.")
 by Artesanía Latina.")
 by Artesanía Latina.")
 by Artesanía Latina.")
 by Artesanía Latina.")
 by Artesanía Latina.")
 by Artesanía Latina.")
 by Artesanía Latina.")
 by Artesanía Latina.")
 by Artesanía Latina.")
 by Artesanía Latina.")
 by Artesanía Latina.")
 by Artesanía Latina.")
 by Artesanía Latina.")
 by Artesanía Latina.")
 by Artesanía Latina.")
 by Artesanía Latina.")
 by Artesanía Latina.")
 by Artesanía Latina.")
 by Artesanía Latina.")
 by Artesanía Latina.")

.")
.")
.")
.")
.")
.")
.")
.")
.")
.")
.")

 and Advanced (22517-N) levels.")
 and Advanced (22519) levels.")
 made by Artesanía Latina.")
 made by Artesanía Latina.")
 made by Artesanía Latina.")
 made by Artesanía Latina.")
 made by Artesanía Latina.")
 made by Artesanía Latina.")
 made by Artesanía Latina.")
 made by Artesanía Latina.")
 de Artesanía Latina.")
 made by Artesanía Latina.")
 made by Artesanía Latina.")
 made by Artesanía Latina.")
. Navigable and Lightable Model at 1:50 Scale by Artesanía Latina.")
. Navigable and Lightable Model at 1:50 Scale by Artesanía Latina.")
. Navigable and Lightable Model at 1:50 Scale by Artesanía Latina.")
. Navigable and Lightable Model at 1:50 Scale by Artesanía Latina.")
. Navigable and Lightable Model at 1:50 Scale by Artesanía Latina.")
. Navigable and Lightable Model at 1:50 Scale by Artesanía Latina.")
. Navigable and Lightable Model at 1:50 Scale by Artesanía Latina.")
 by Artesanía Latina.")
 by Artesanía Latina.")
 by Artesanía Latina.")
 by Artesanía Latina.")
 by Artesanía Latina.")
 by Artesanía Latina.")
. Navigable and Lightable Model at 1:50 Scale by Artesanía Latina.")
. Navigable and Lightable Model at 1:50 Scale by Artesanía Latina.")
 by Artesanía Latina.")
. Navigable and Lightable Model at 1:50 Scale by Artesanía Latina.")
. Navigable and Lightable Model at 1:50 Scale by Artesanía Latina.")
 par Artesanía Latina.")
 by Artesanía Latina.")
 by Artesanía Latina.")
 by Artesanía Latina.")
 for Modeling and Crafts by Artesanía Latina.")
 for Modeling and Crafts by Artesanía Latina.")
 by Artesanía Latina.")
 by Artesanía Latina.")
 by Artesanía Latina.")

 made by Artesanía Latina.")
 made by Artesanía Latina.")
 made by Artesanía Latina.")
 made by Artesanía Latina.")
 made by Artesanía Latina.")
 made by Artesanía Latina.")
 by Artesanía Latina.")
 made by Artesanía Latina.")
 made by Artesanía Latina.")
 made by Artesanía Latina.")
 made by Artesanía Latina.")
 made by Artesanía Latina.")
. 1:25 Scale Modeling Ship Kit in Wood by Artesanía Latina.")
. 1:25 Scale Modeling Ship Kit in Wood by Artesanía Latina.")
. 1:25 Scale Modeling Ship Kit in Wood by Artesanía Latina.")
. 1:25 Scale Modeling Ship Kit in Wood by Artesanía Latina.")
. 1:25 Scale Modeling Ship Kit in Wood by Artesanía Latina.")
. 1:25 Scale Modeling Ship Kit in Wood by Artesanía Latina.")
. 1:25 Scale Modeling Ship Kit in Wood by Artesanía Latina.")


. Renewed Kit 1:25 in Wood by Artesanía Latina.")
 by Artesanía Latina.")
. 1:25 Scale Modeling Ship Kit in Wood by Artesanía Latina.")
. 1:25 Scale Modeling Ship Kit in Wood by Artesanía Latina.")


 by Artesanía Latina.")
 by Artesanía Latina.")


