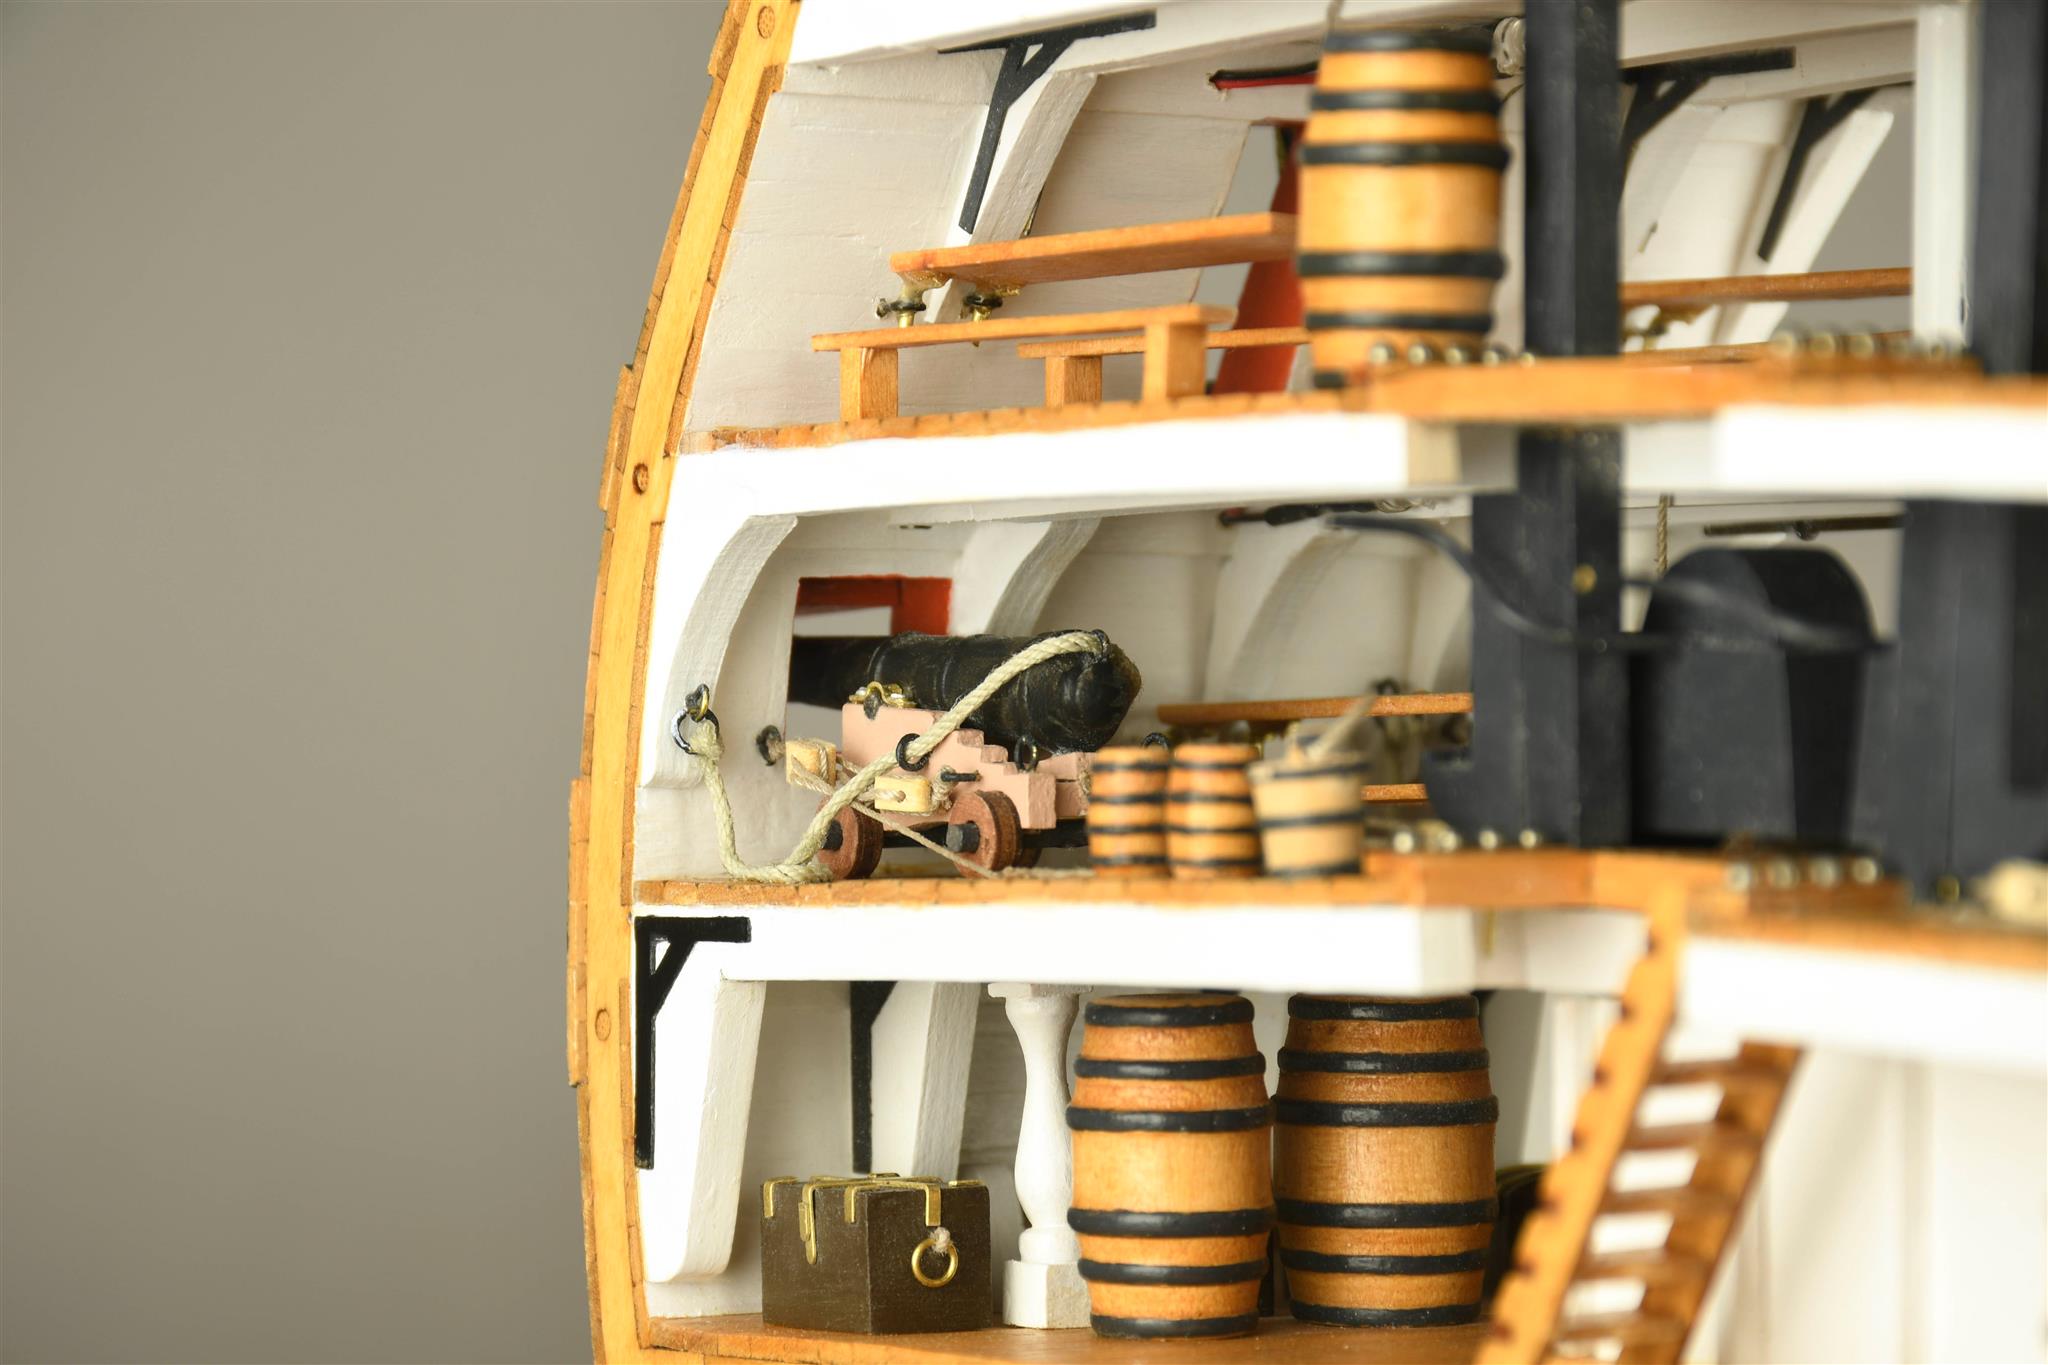
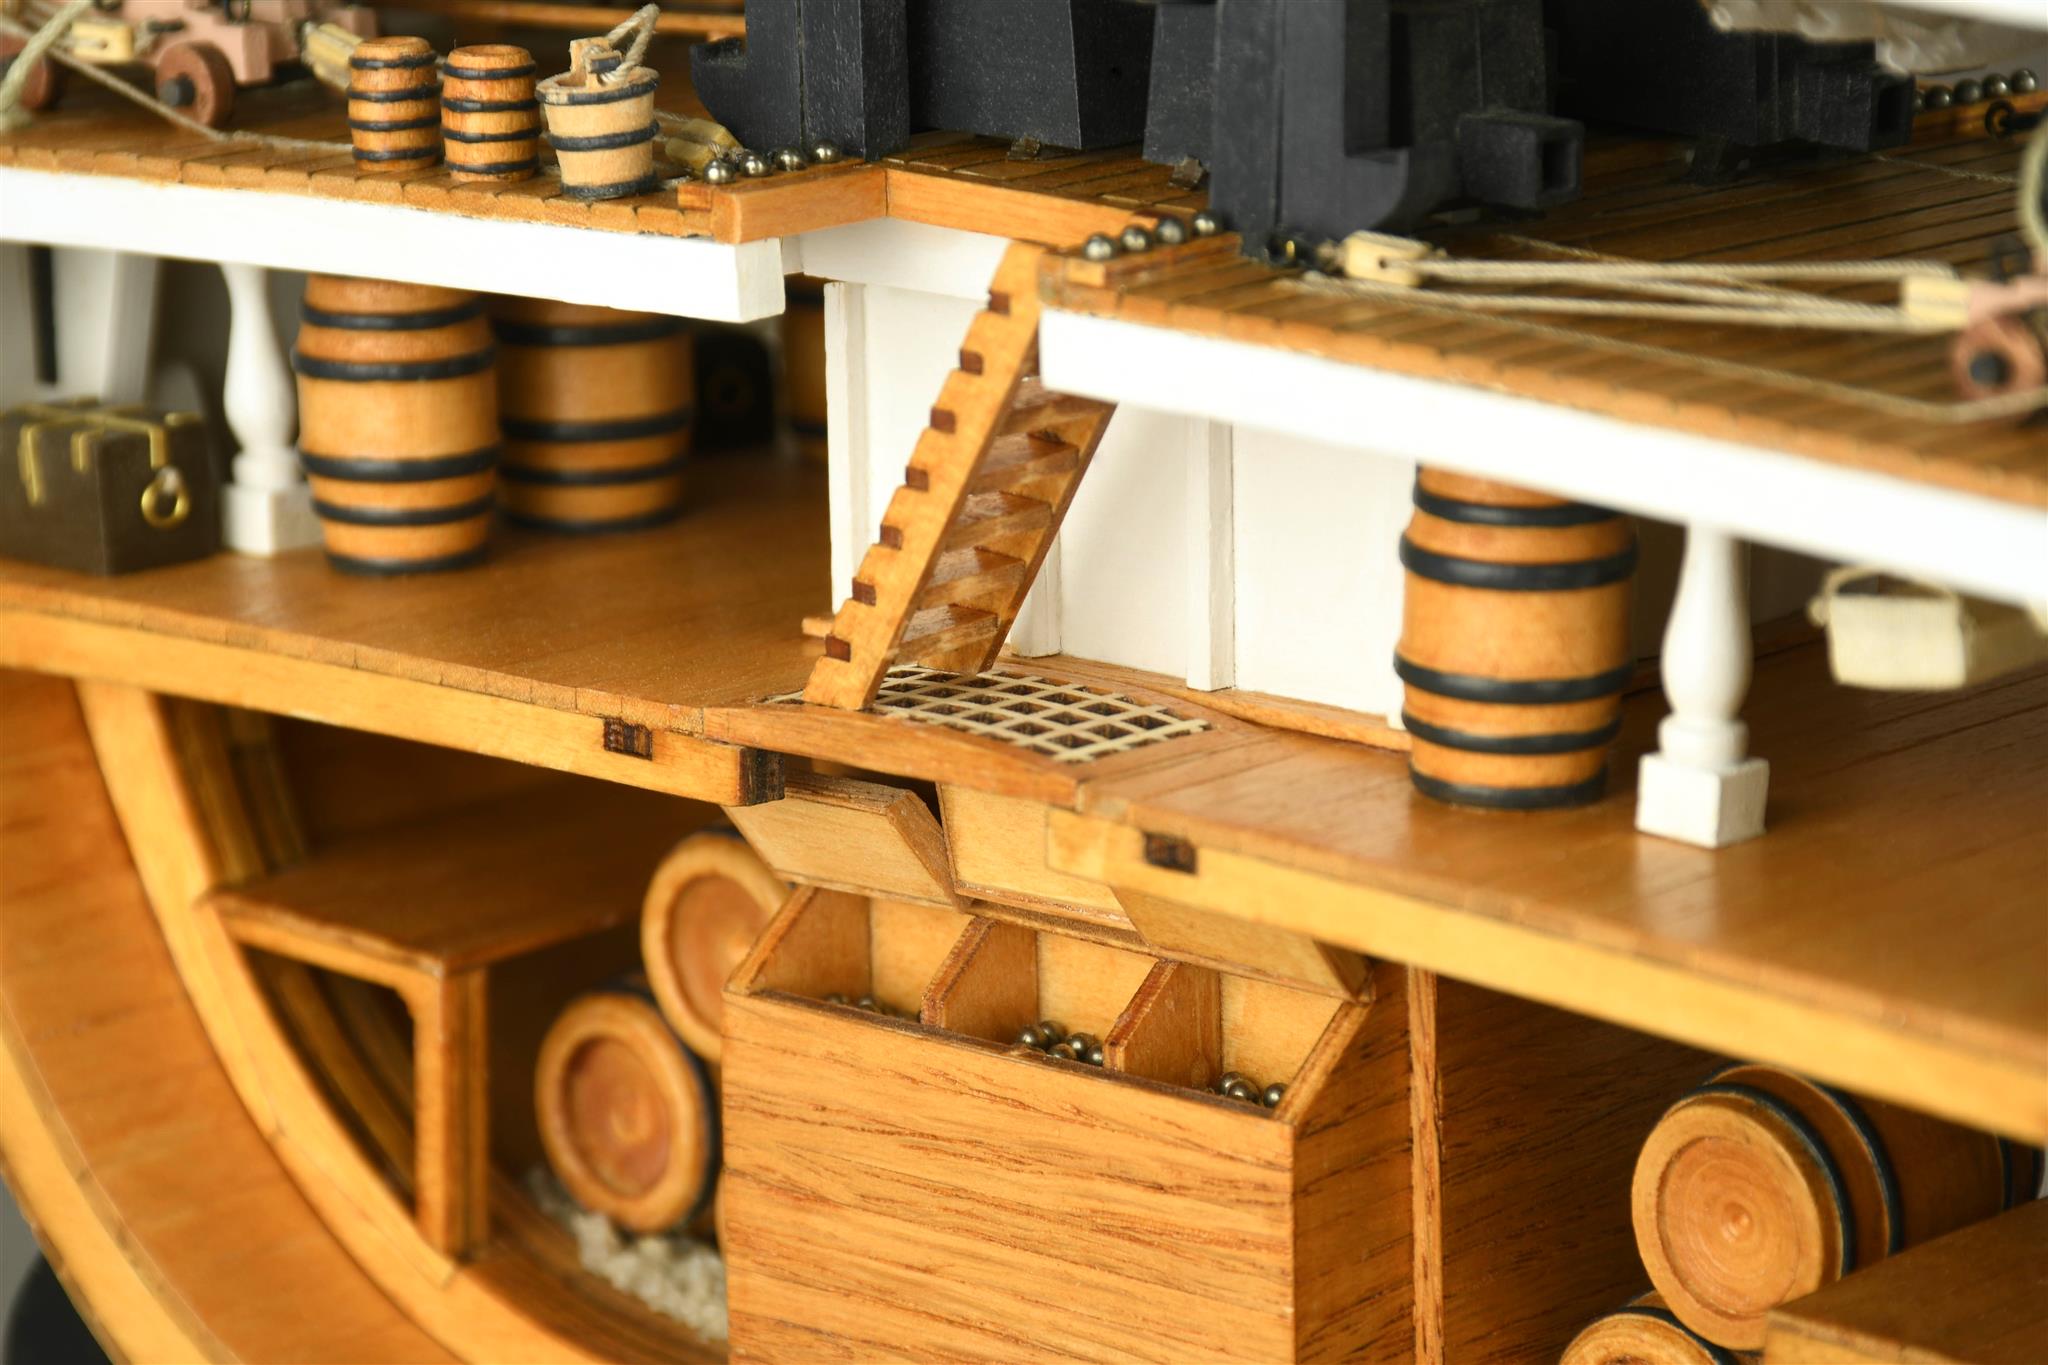
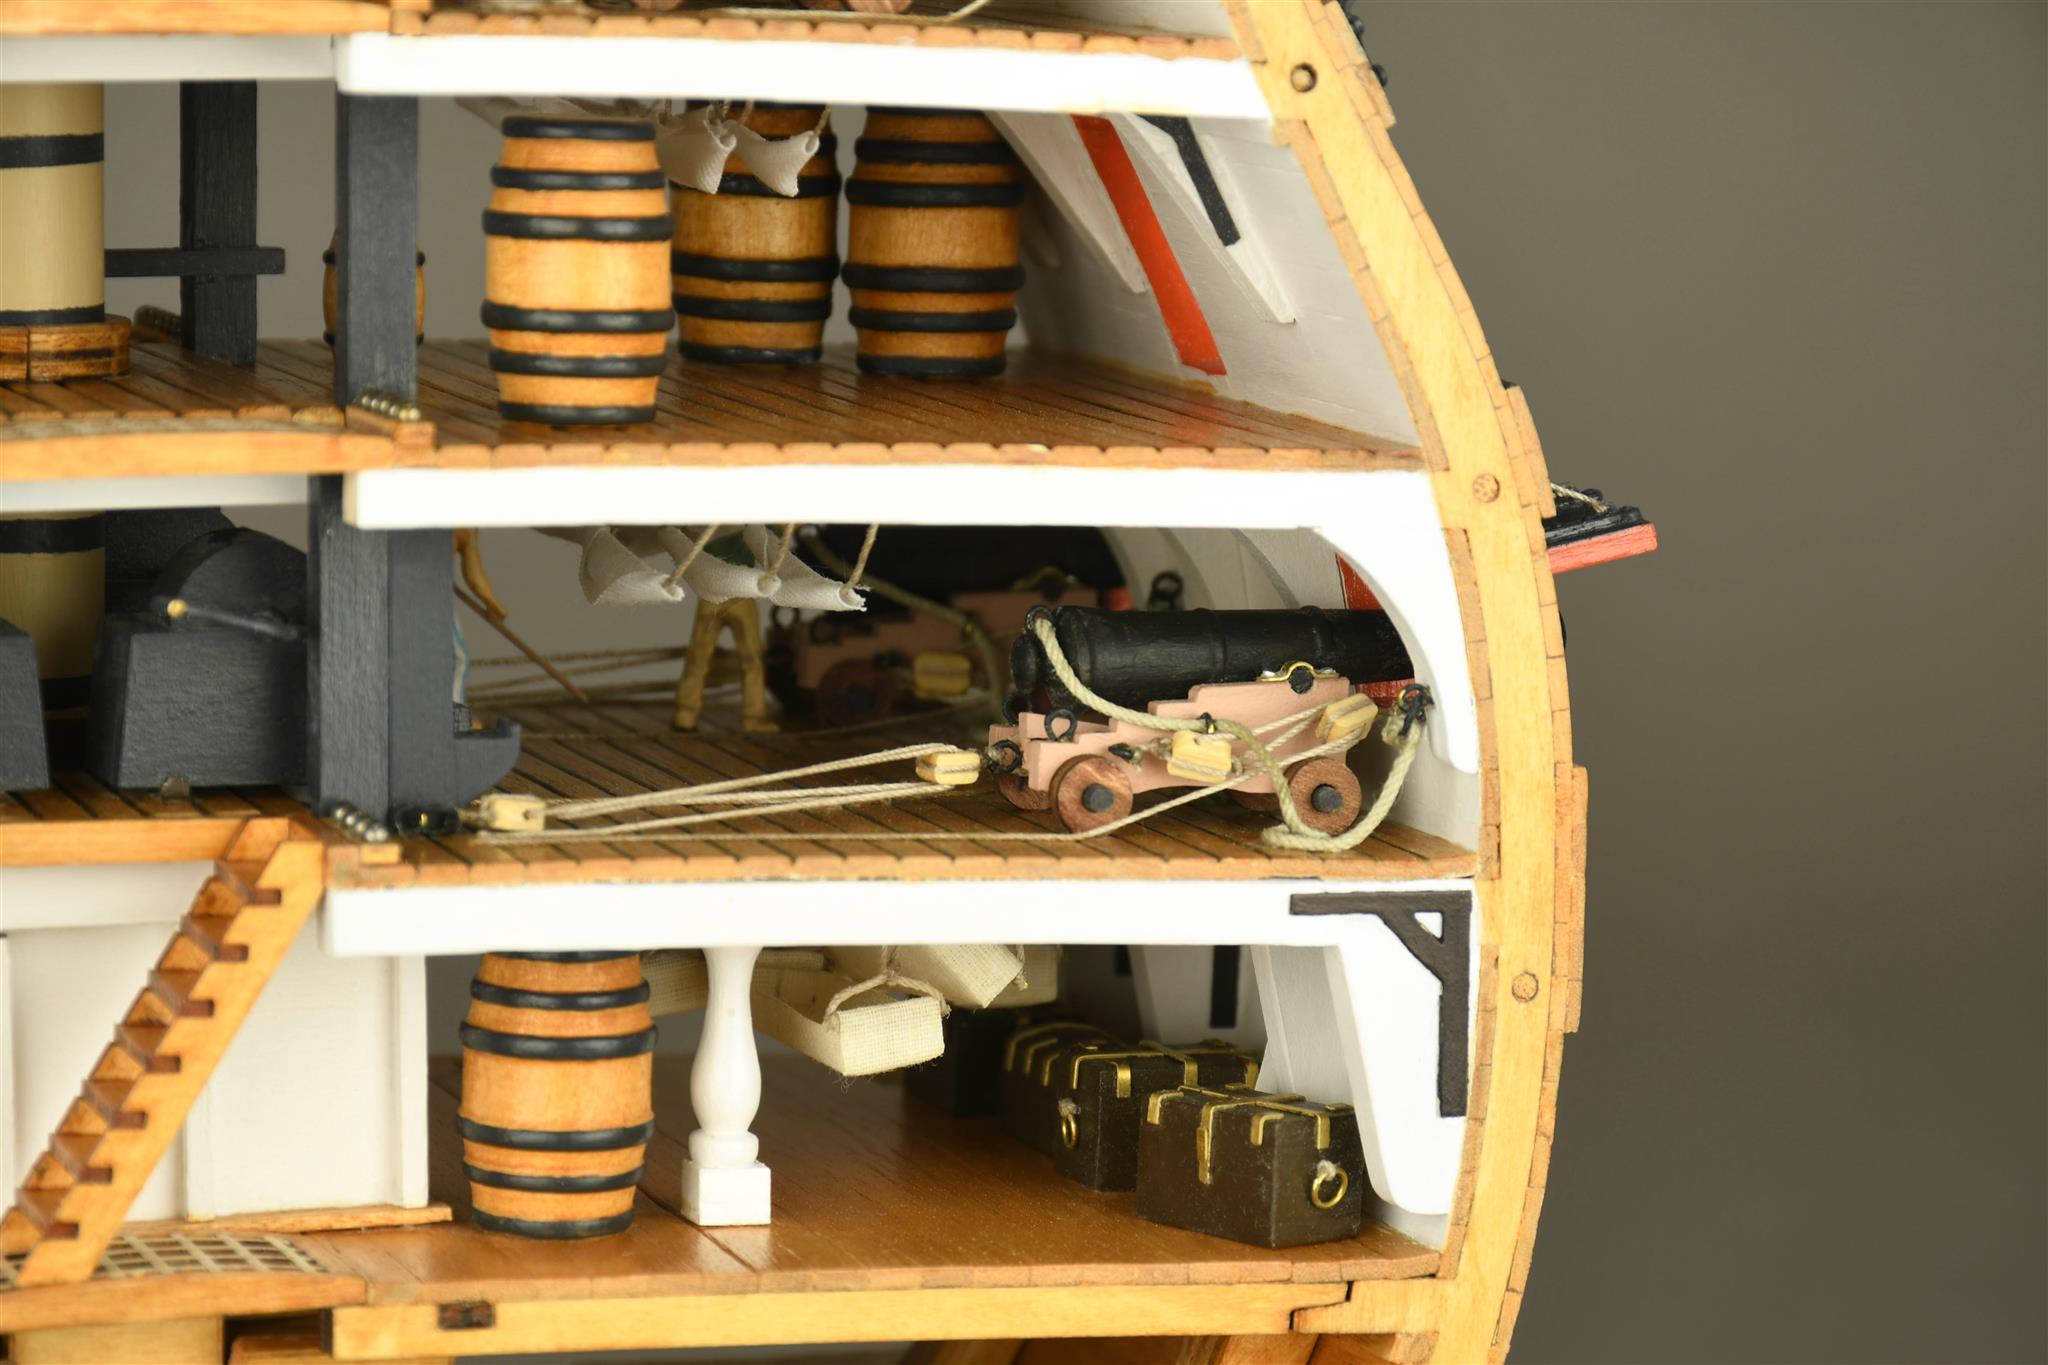
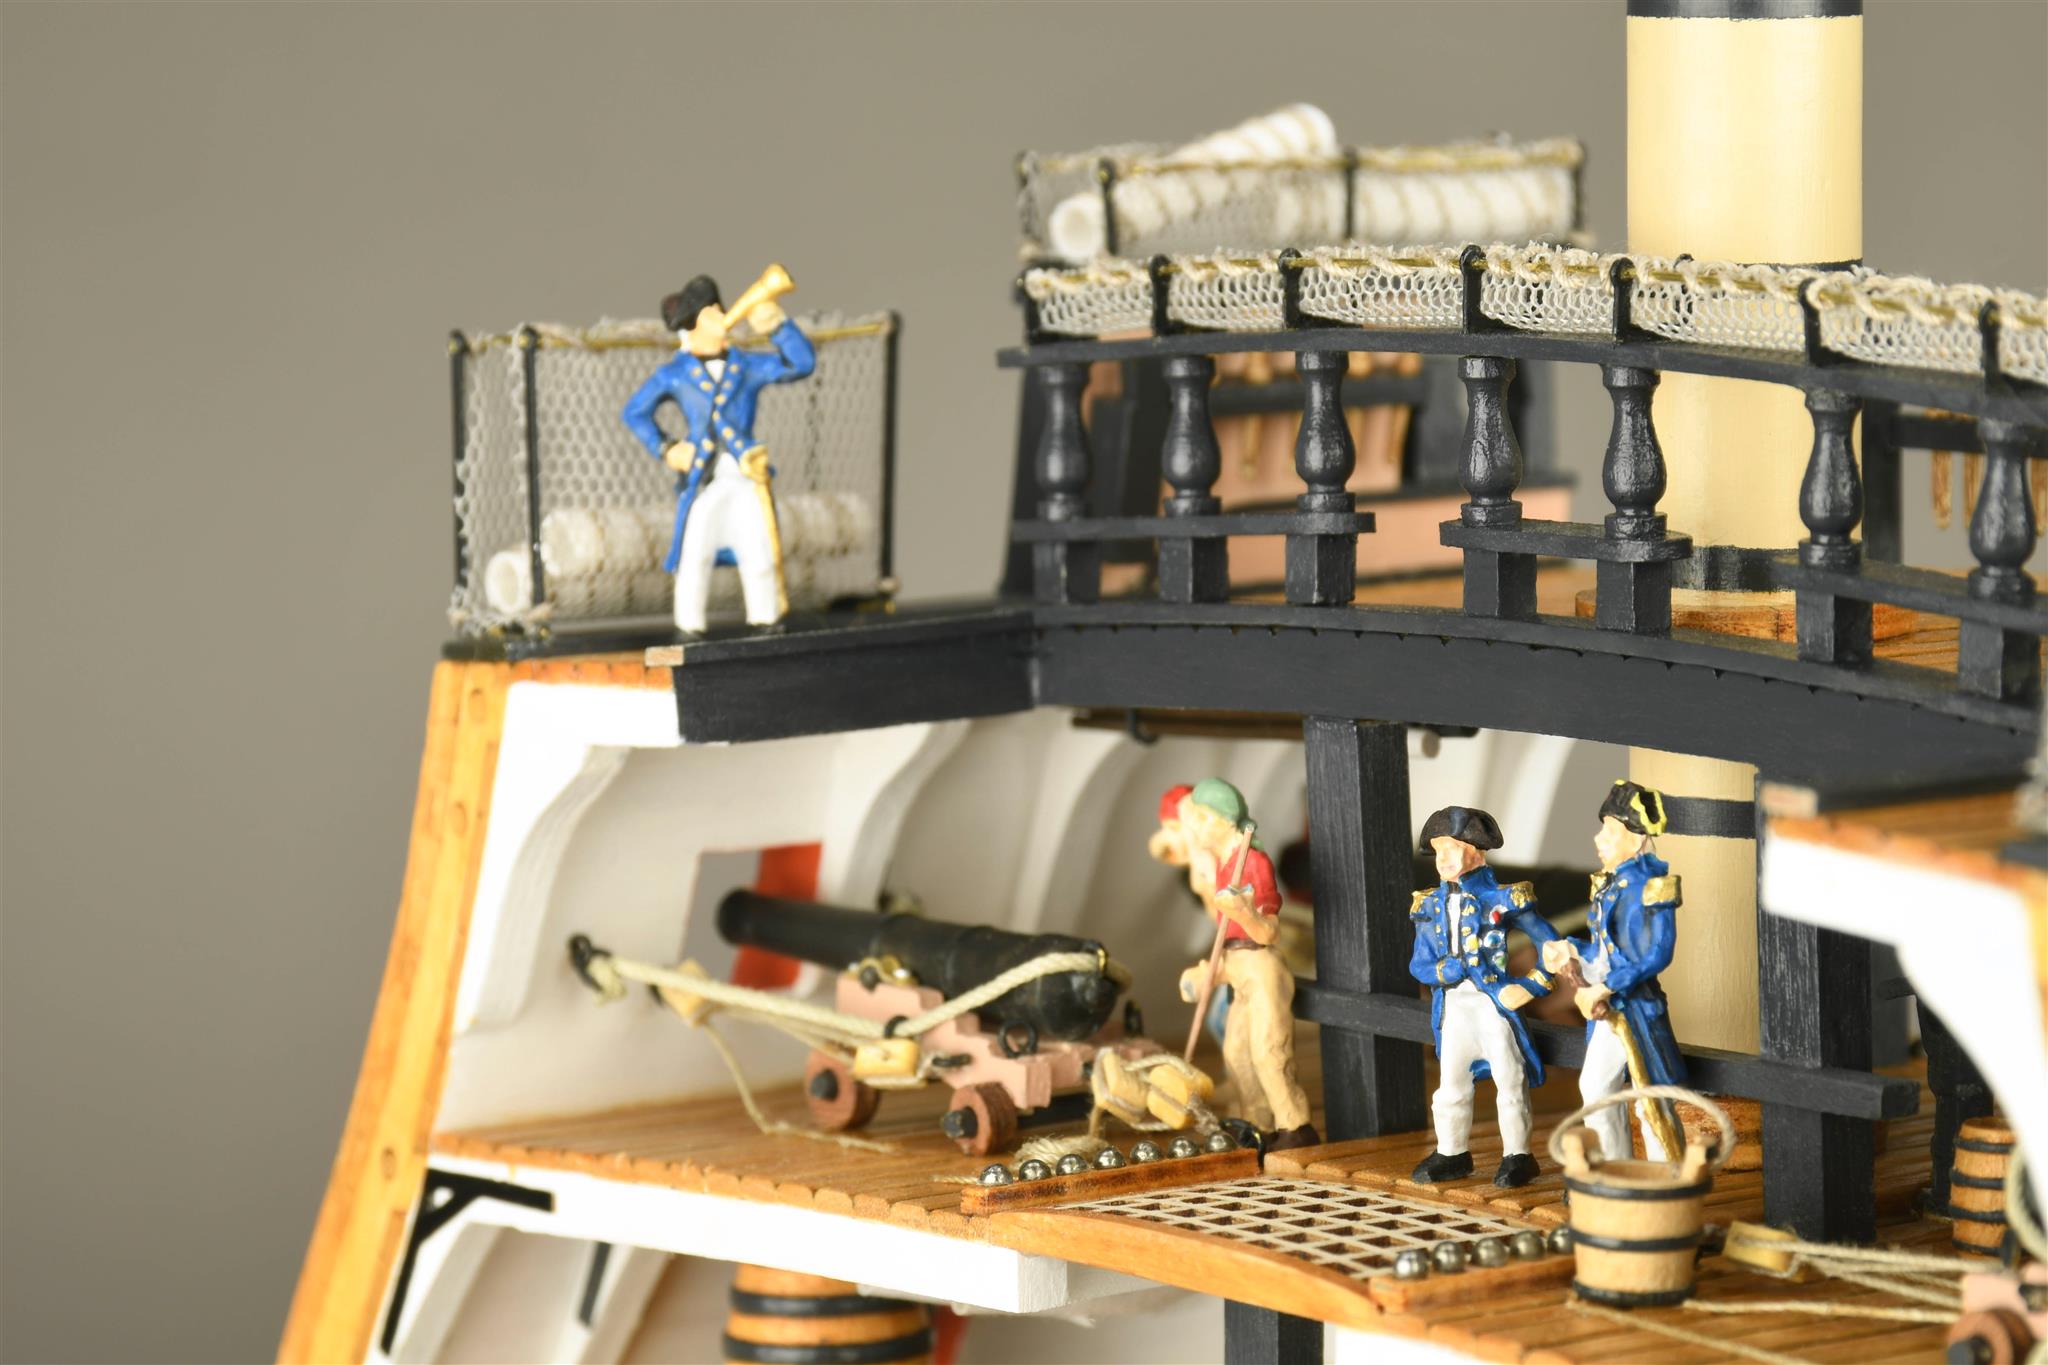
Surprise for all our modelers friends! Artesanía Latina has created a new collection of simply-to-assemble models: boat modelEasy Kits. With paints, brush and glue as well as many accessories! It is aimed both at those who want to start in the world of naval modeling as those who want to build a miniature naval replica because their level of skill is still not enough for it due to it has more difficulty. Also, to those who need to accompany the large miniature of our catalog with its smaller sister. You can assemble a model in a couple of weekends. Of course, at least 14 years are required to be able to make these models for beginners. So let’s get to know the two new references that are currently in stock: French frigate Hermione La Fayette (17000) and Galic school ship Belem (17001).
BOAT MODEL EASY KITS: WOODEN MODEL SHIP OF FRENCH FRIGATE HERMIONE LA FAYETTE
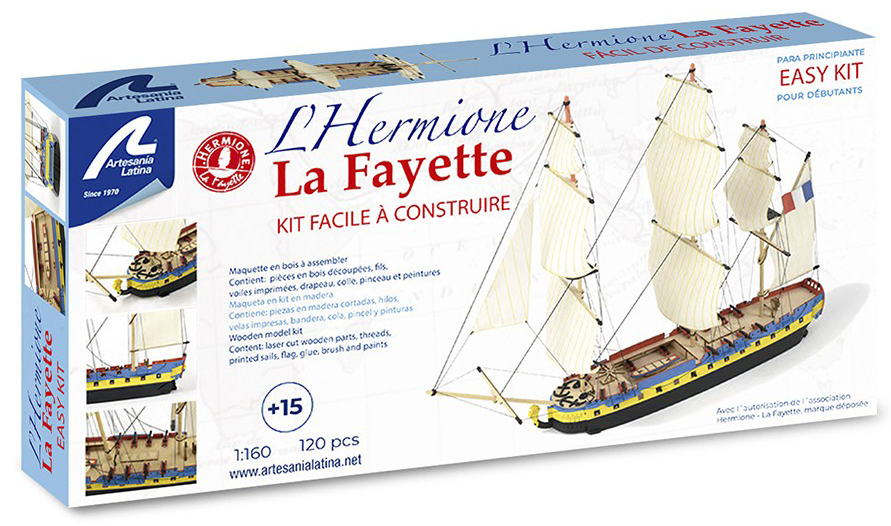
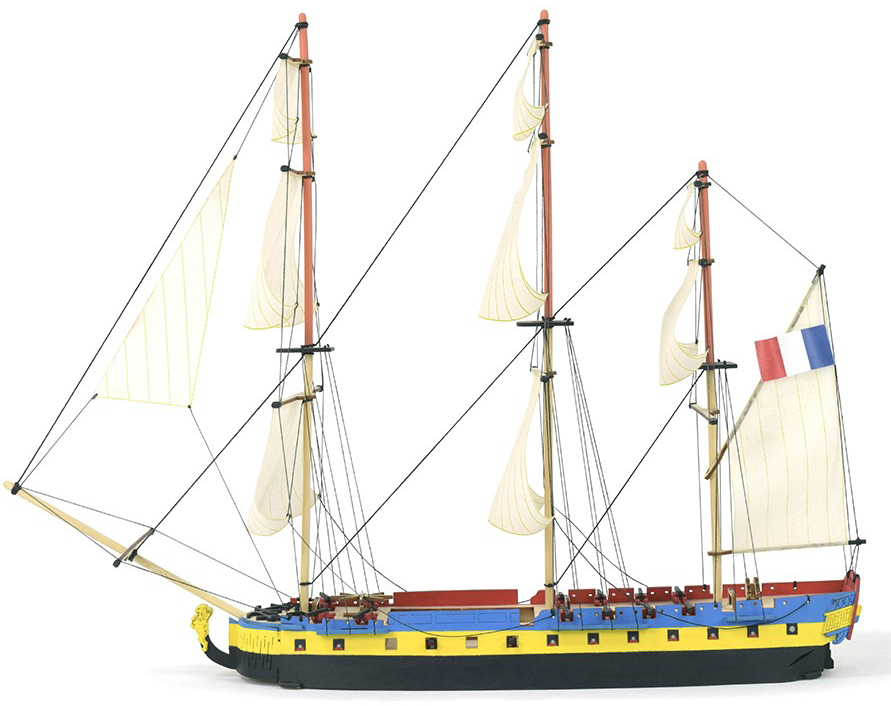
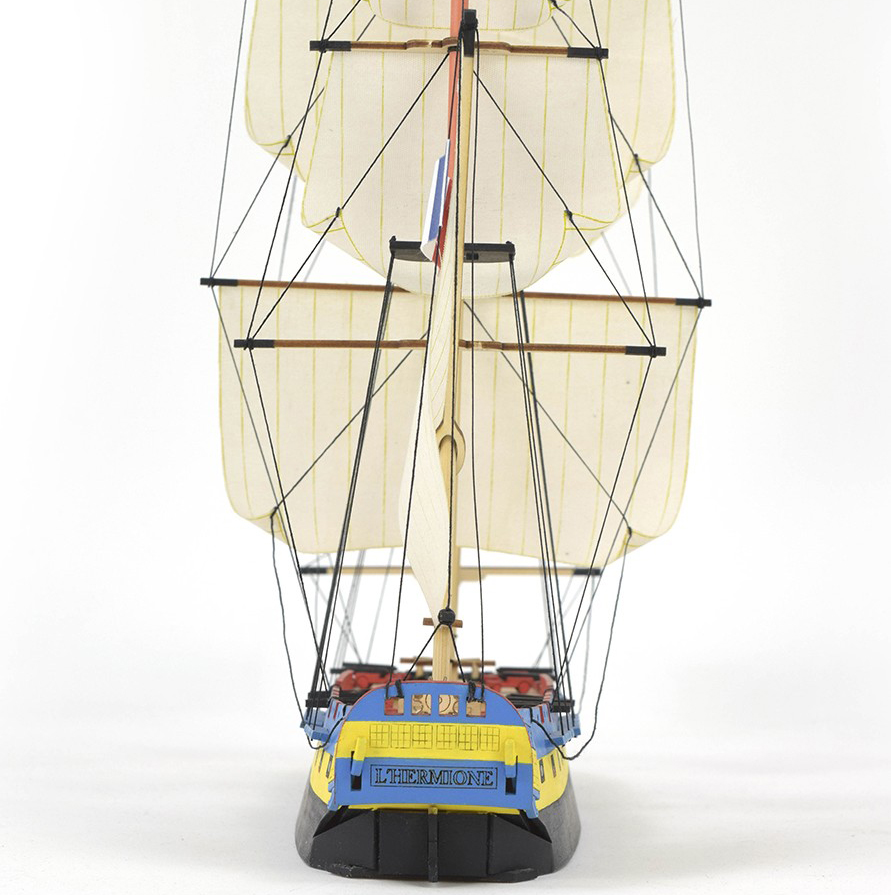
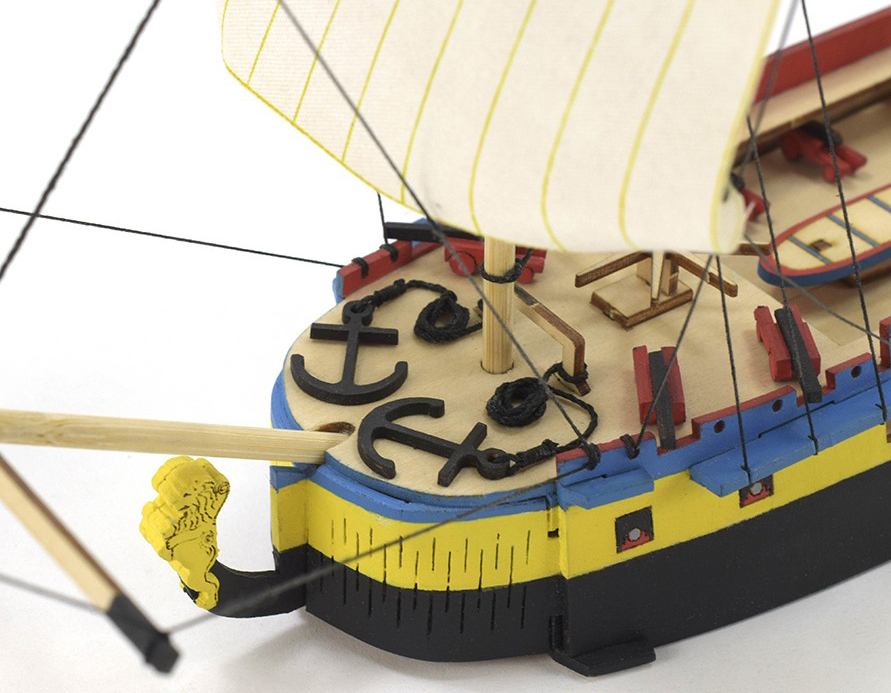
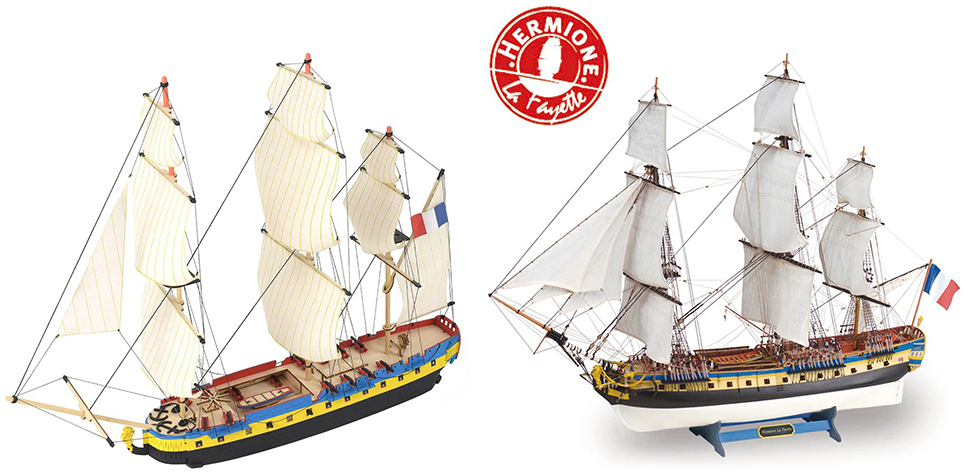
We offer you the opportunity to assemble the so-called ‘Frigate of Freedom’, which helped the North American insurgents in their process of independence from the United Kingdom… Being a novice modeler since you are not qualified to assemble the advanced model(22517N). It is the first of the boat model easy kits that we show you on this post: Hermione La Fayette. The ship modeling kit is at 1:160 scale, has 120 parts and offers an extremely easy and fun assembly experience. Of course, it is officially accredited by the Association Hermione La Fayette.
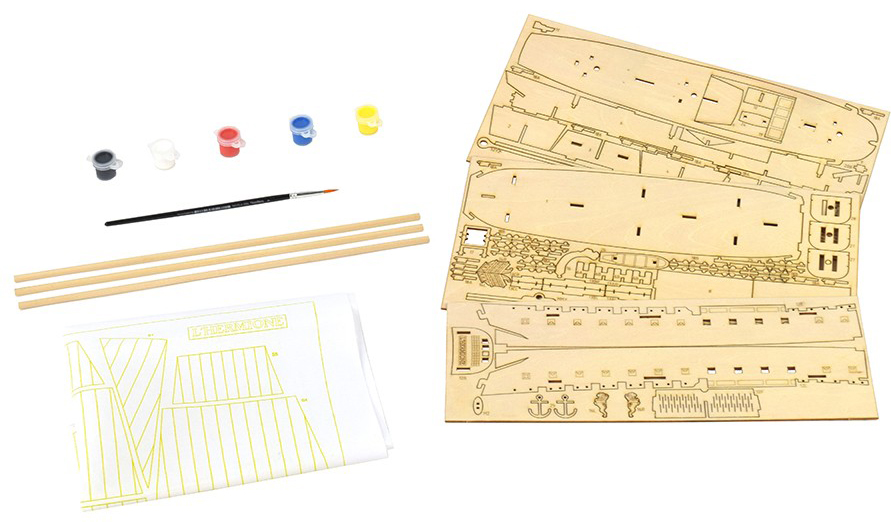
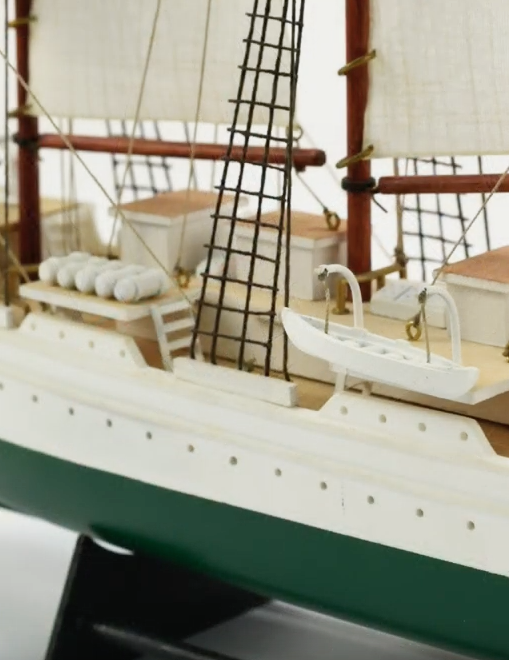
The Easy Kit Hermione La Fayette box contains all the necessary parts to build the model. They are new parts of wood cut by high precision laser that allow an extraordinary fit, so the assembly process is very pleasant. In addition, it contains printed sails, cotton threads, a lifeboat, cannons, stickers, flags, glue, paints and a brush.
For its assembly, it has very simple and intuitive step-by-step instructionson video made by our modelers. The kit does not include printed instructions or plans. In order to see the instructions, just Just scan the QR code that comes in the box, which will take you directly to ourYoutube channel. As if it were an exclusive masterclass for you.
Once it is finished, the Hermione La Fayette Easy Model Kit measures 16.14” (410 mm) length, 12.59” (320 mm) height and 5.51” (140 mm) width.
FRENCH TRAINING SHIP MODEL BELEM: PRETTY EASY ASSEMBLY
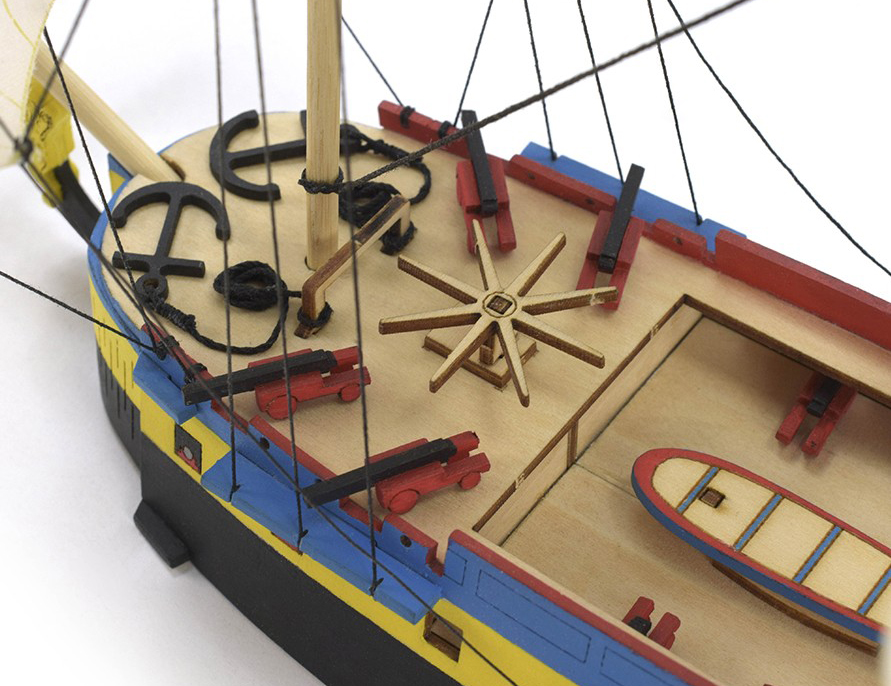
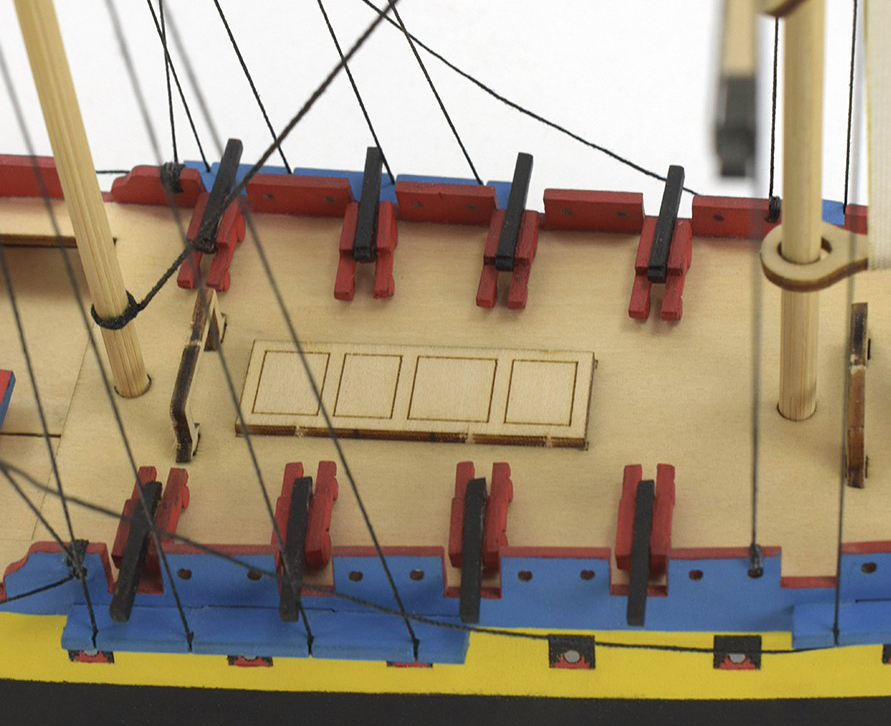
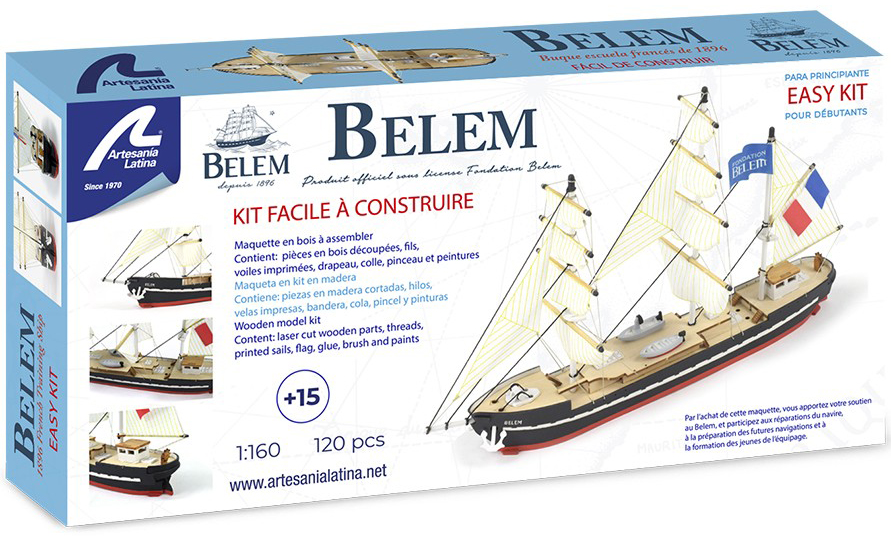
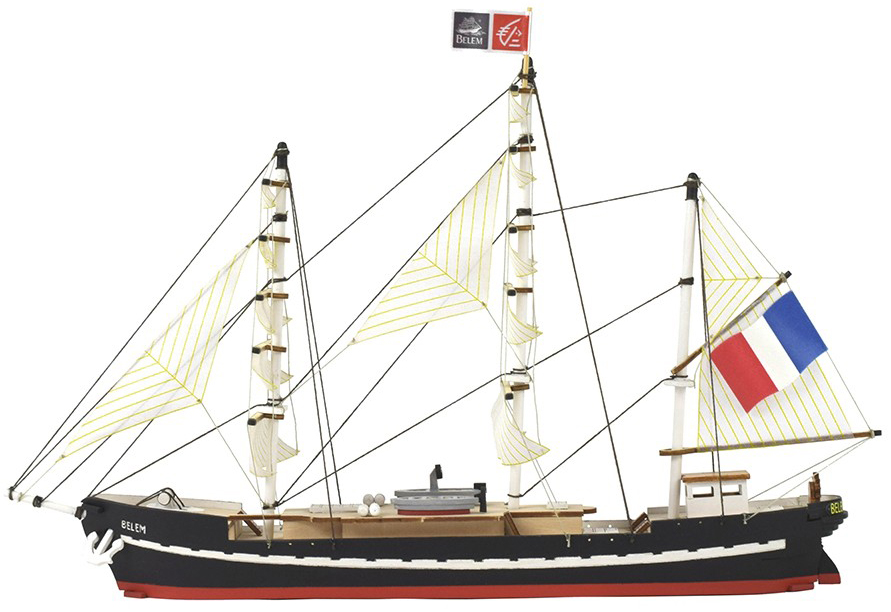
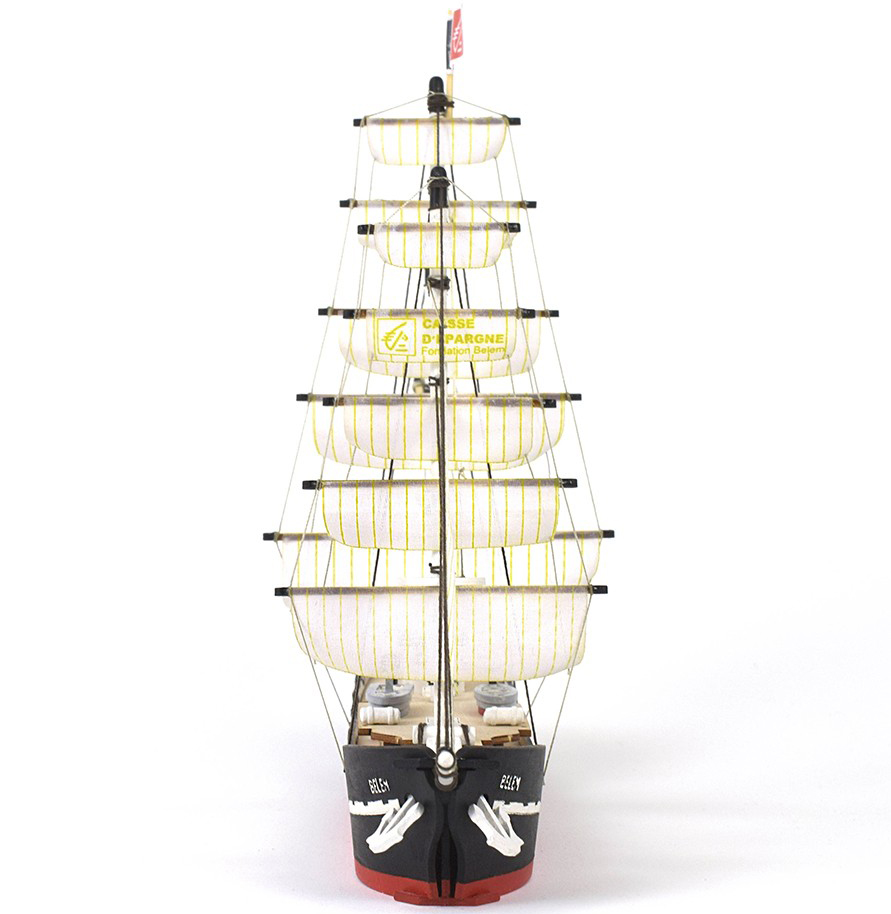
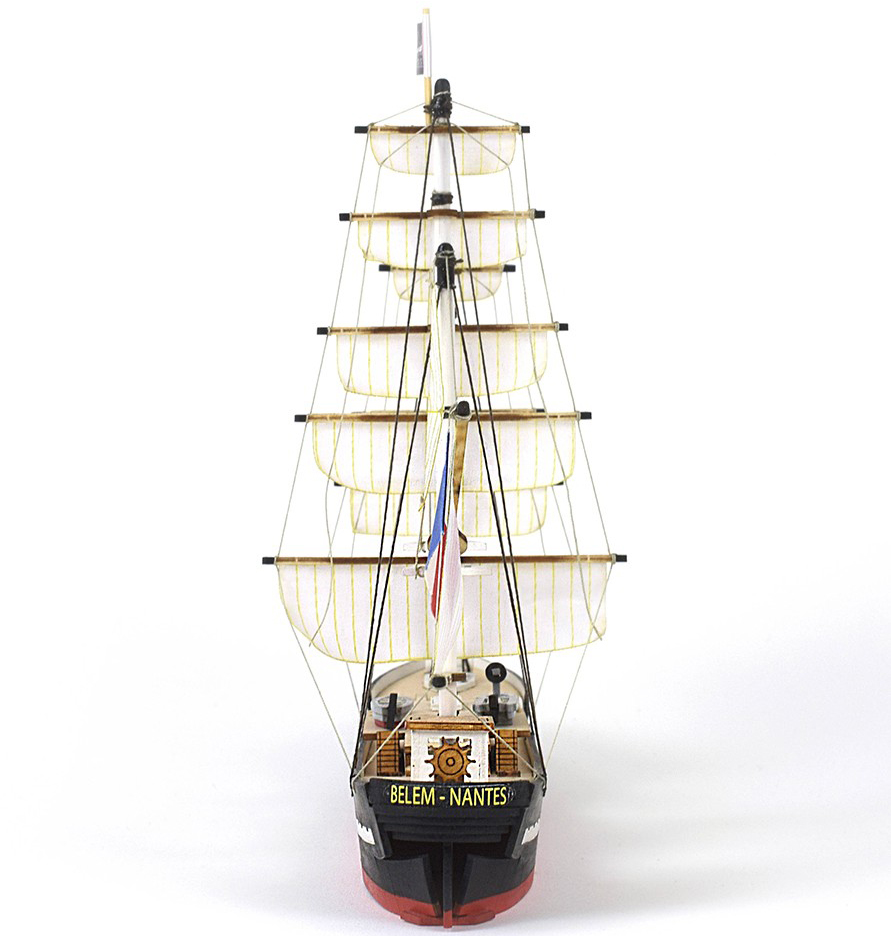
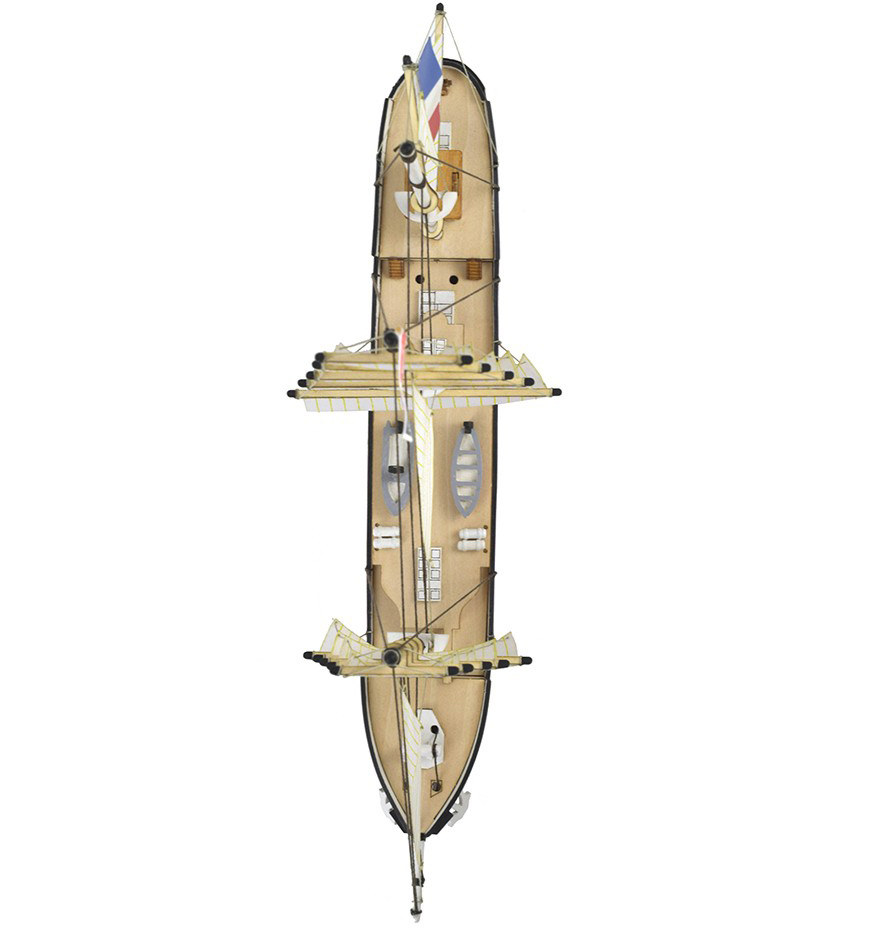
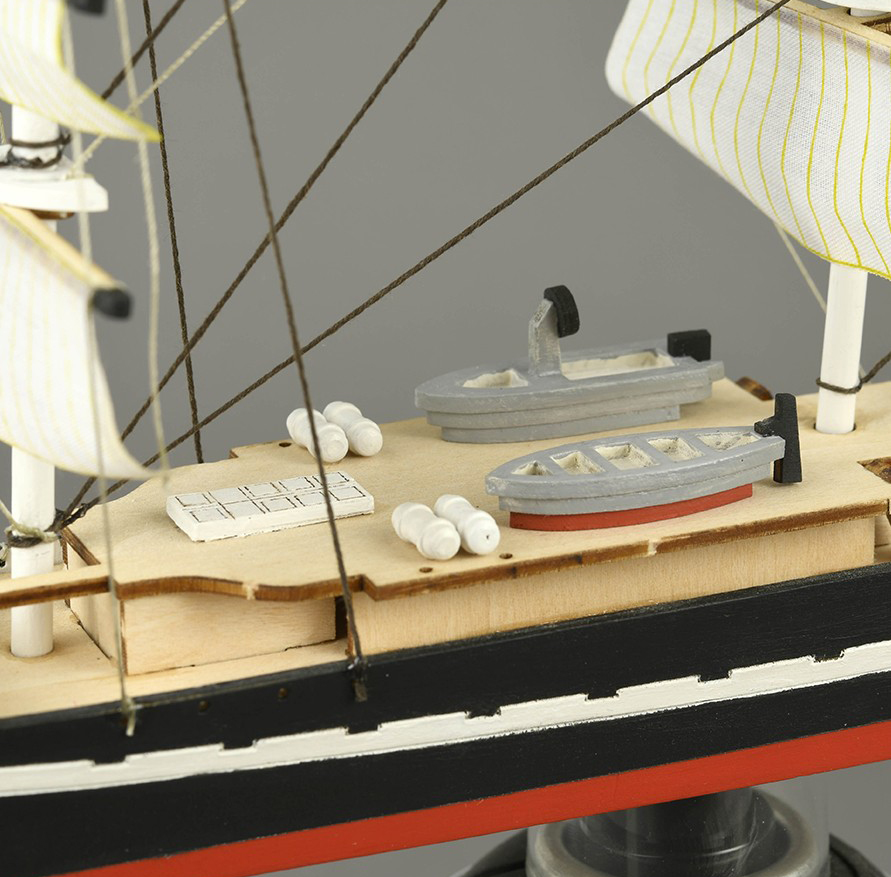
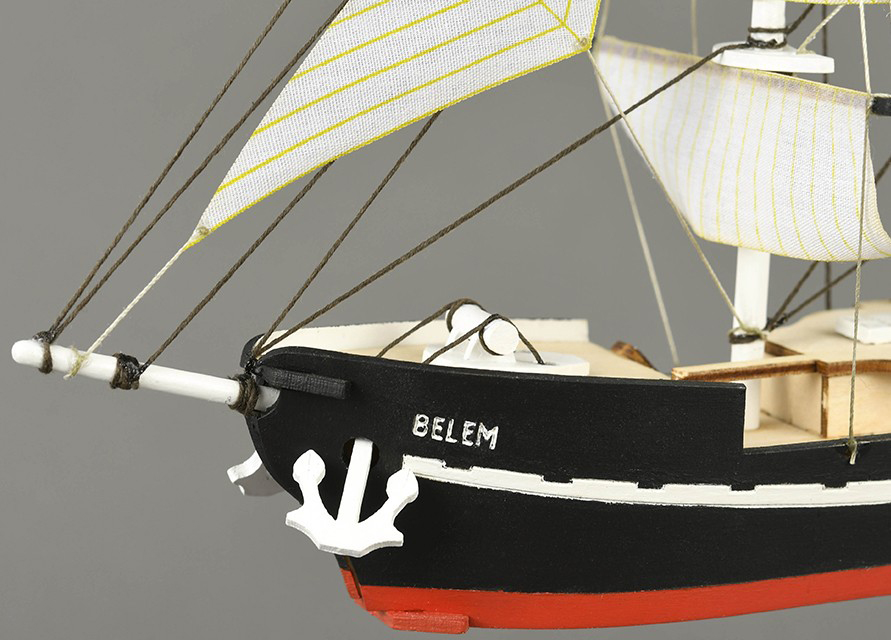
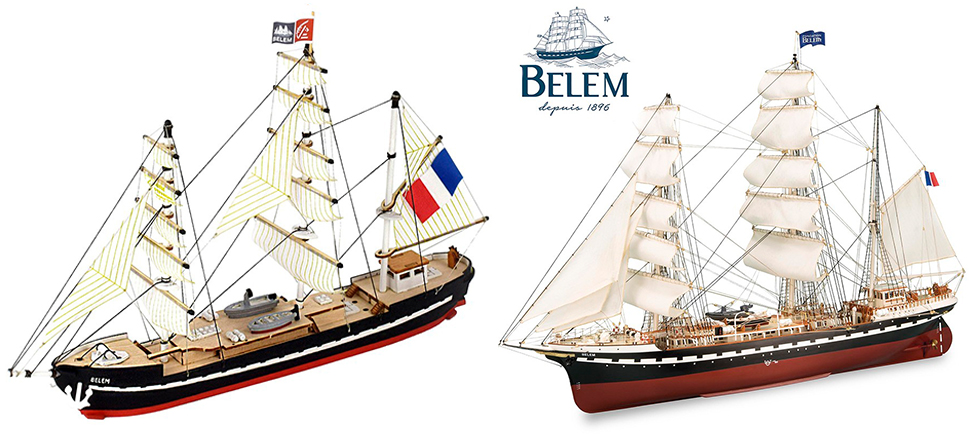
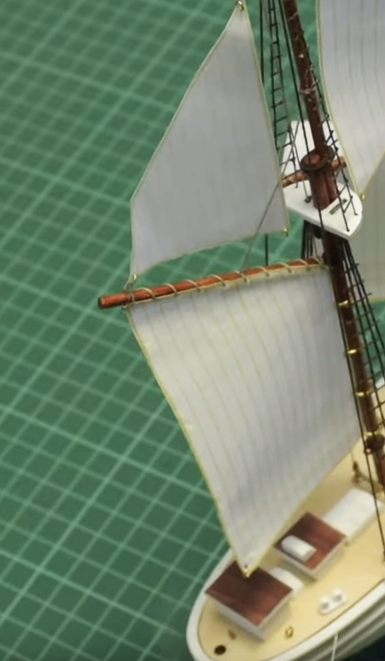
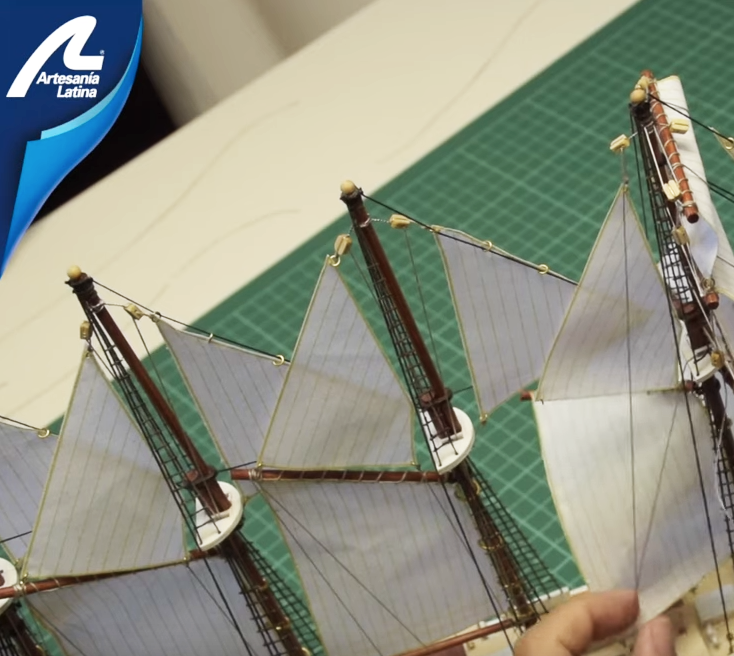
The second of the boat model Easy Kits that the modeler friend of Artesanía Latina can assemble is the beautiful Frenchtraining ship Belem, the last French three-masted ship, the oldest three-masted sailing ship in Europe and the second largest sailing ship remaining in France. Are you still not ready to assemble our advanced model (22519)? This is the wooden ship modeling kit that you must have in your modeling workshop. At 1:160 scale, with 120 parts and assembly experience you’ll love. Like the previous model, it has the official accreditation of theFoundation Belem.
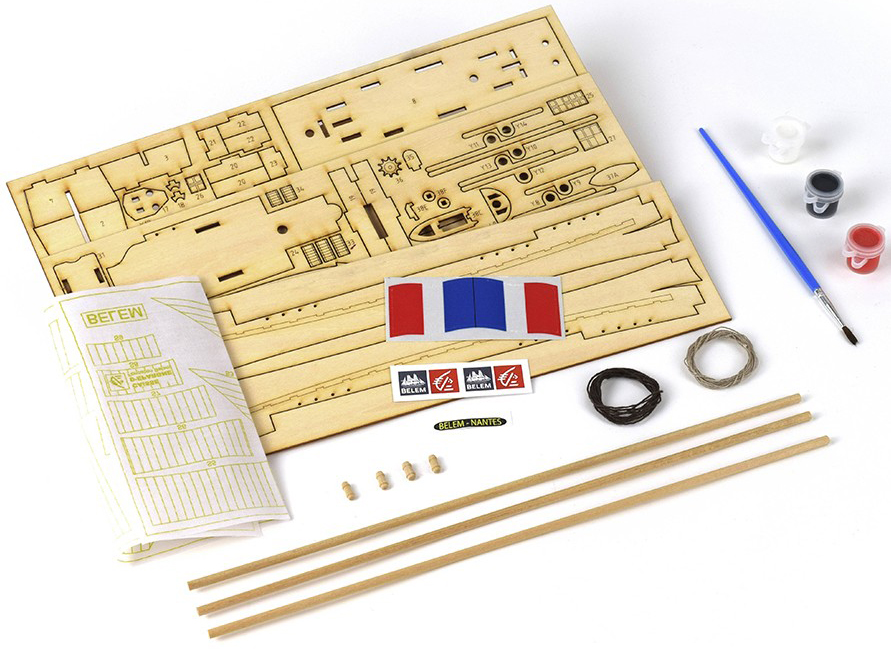
As for the contents of the box, it has all the necessary parts to build the model, 120 too as in the previous kit. They are parts of original and new design cut by high precision laser, thus making it easier for everything to fit together perfectly during the construction process. In addition, it contains printed sails, threads, lifeboats, stickers, flags, glue, paints and a brush.
The assembly process? As it is one of the boat model easy kits, it has very simple and intuitive step-by-step instructionson video made by our modelers. The kit does not include printed instructions or plans. If you want to watch the instructions, scan the QR code of the box, which will direct you to our Youtube channel.
When the building is finished, the model of the Easy Kit Belem measures 12.99” (330 mm) length, 7.95” (202 mm) height and 3.97” (101 mm) width.
Without any doubt, it is a way to get started in naval modeling. Much more entertaining: the boat model Easy Kits. Now, you can assemble the two miniature replicas: the little sister… And the older one!
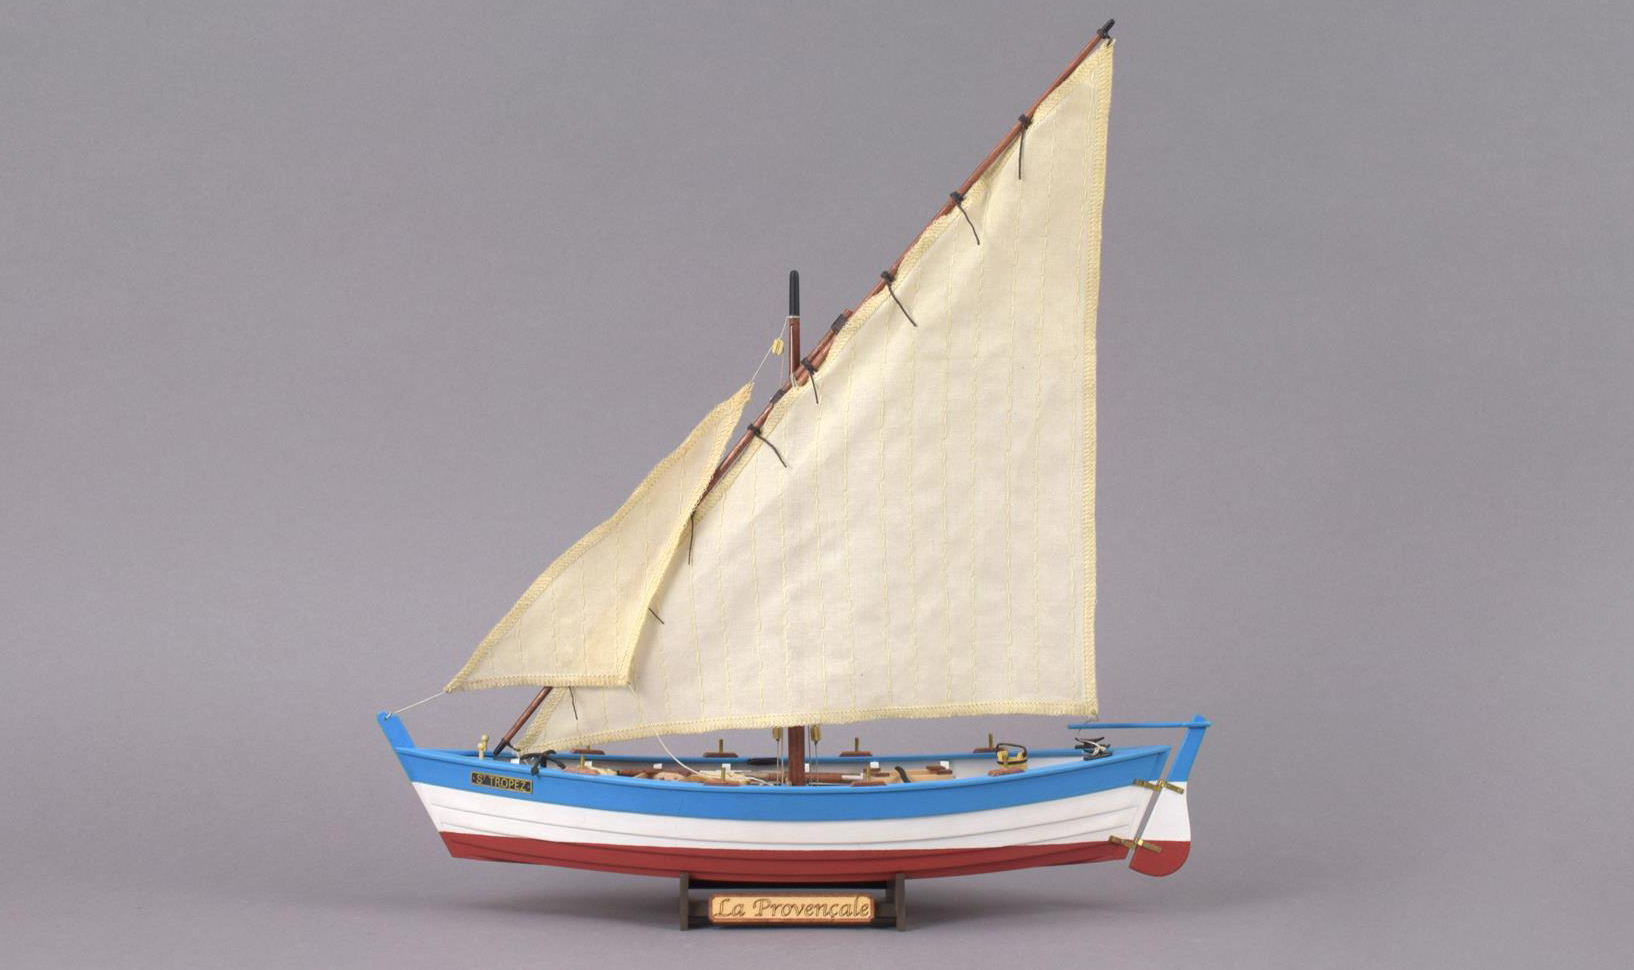
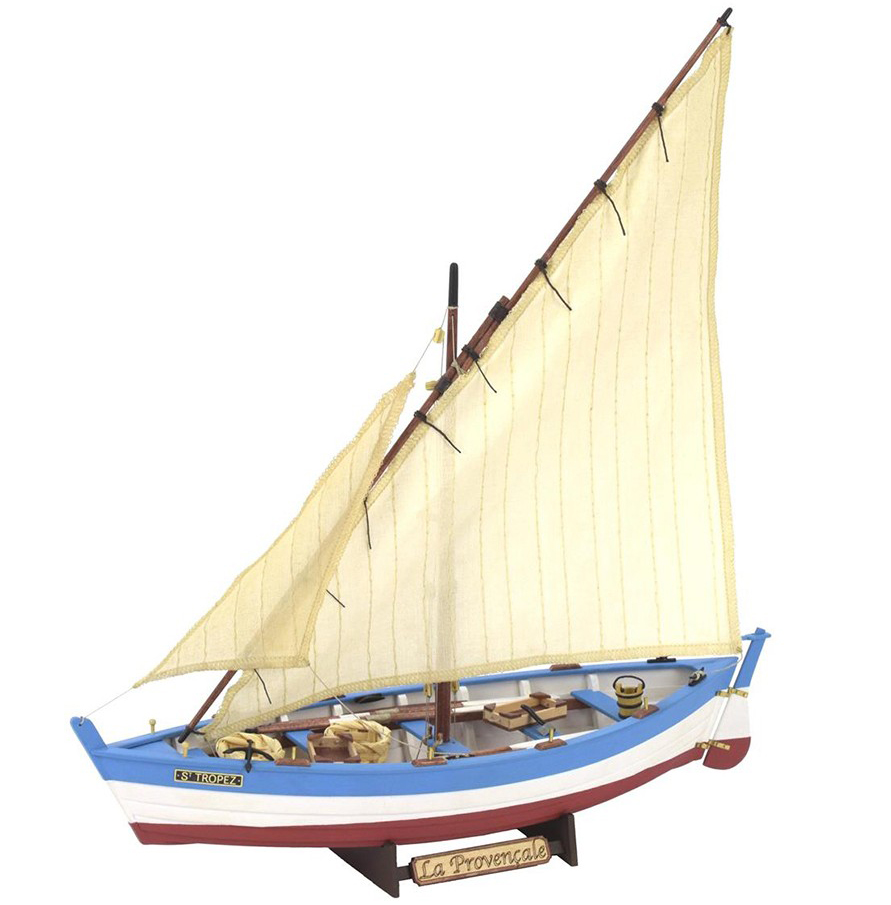
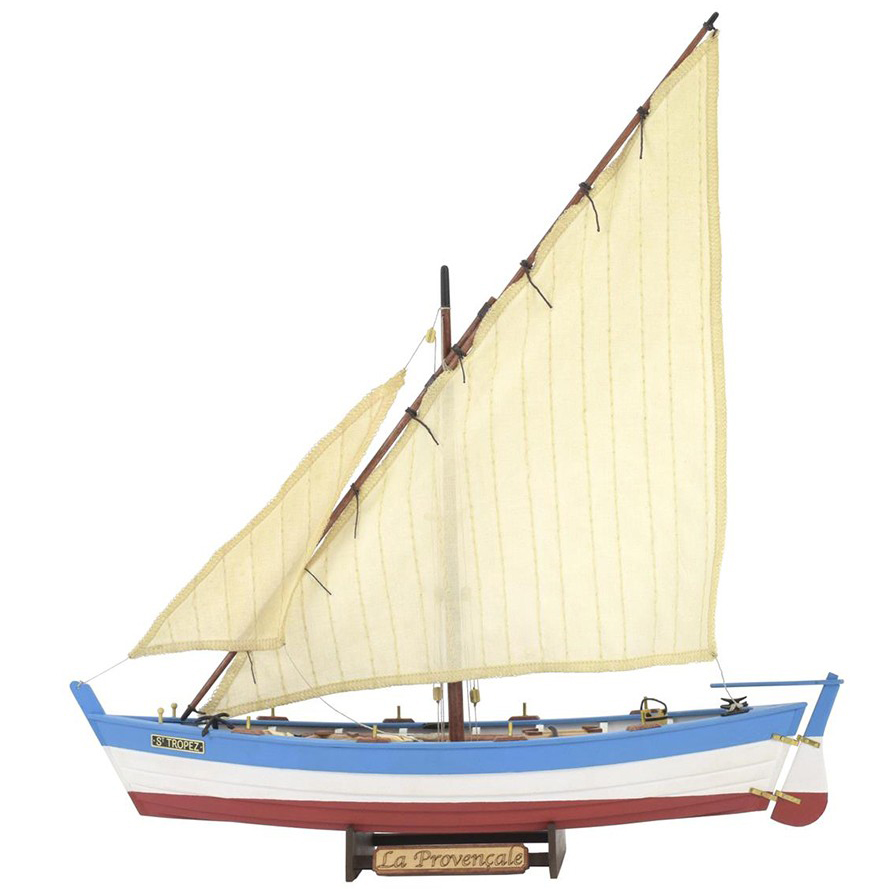
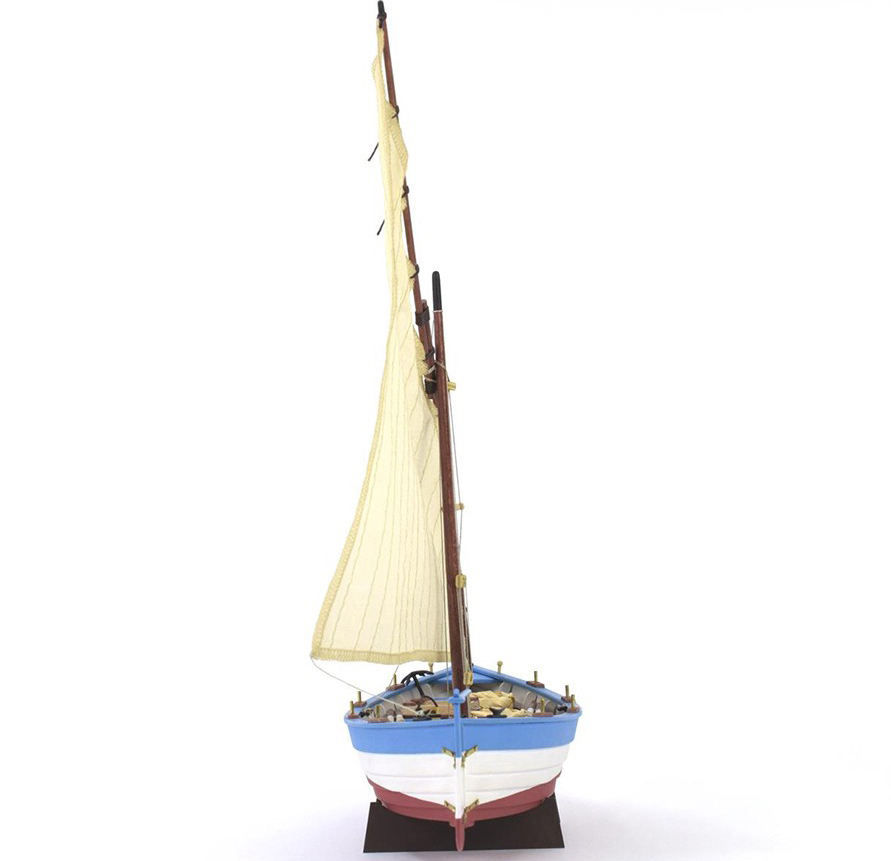
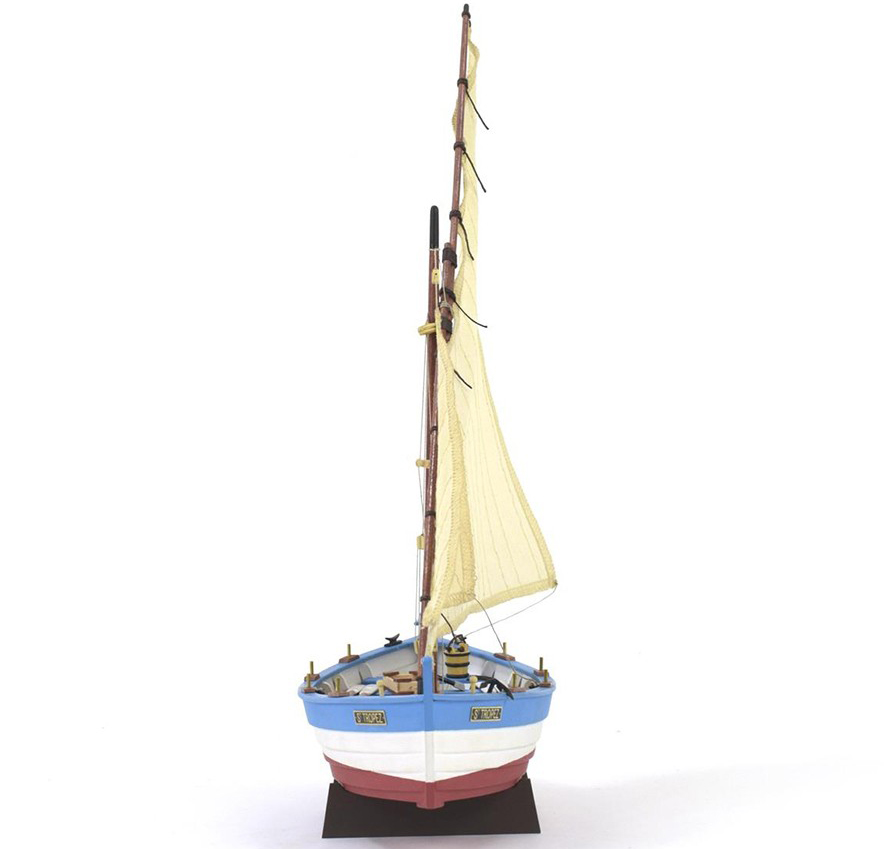
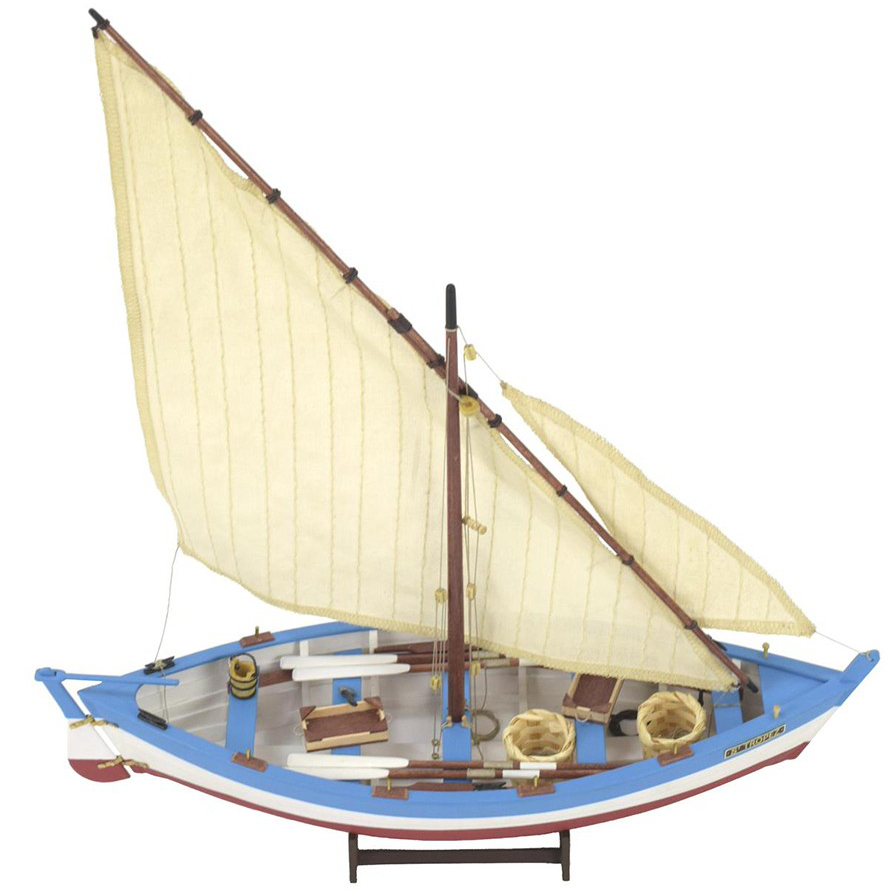
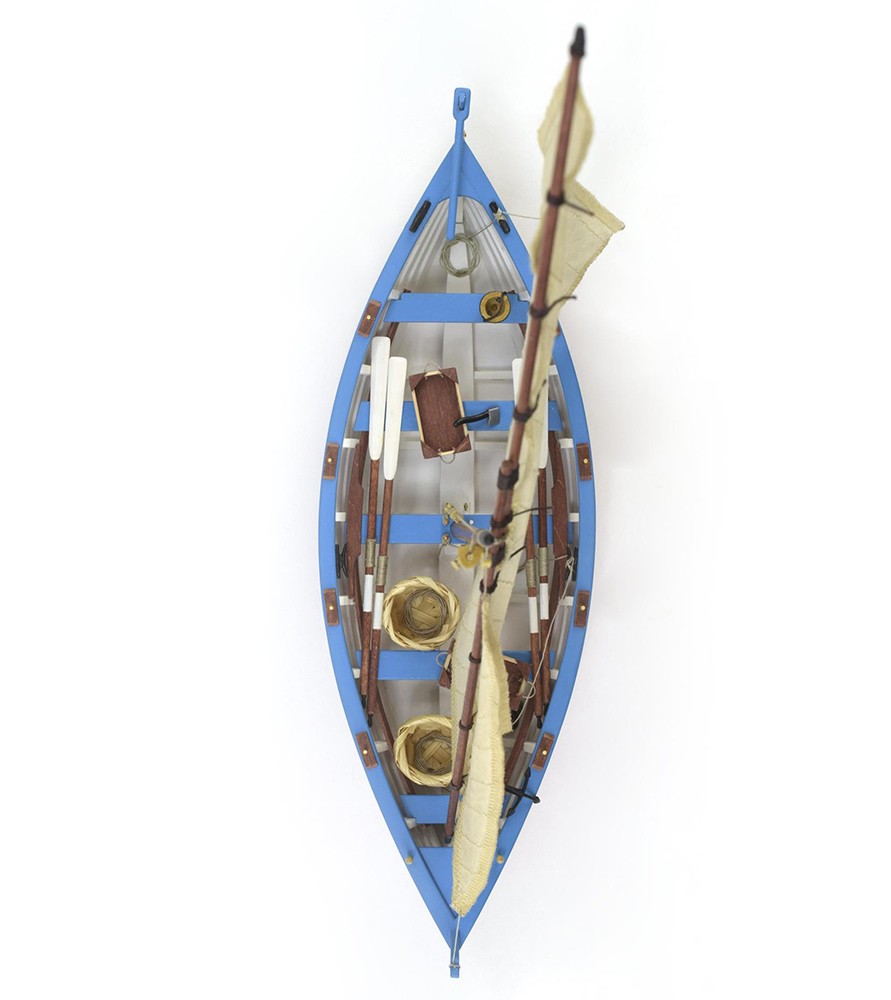
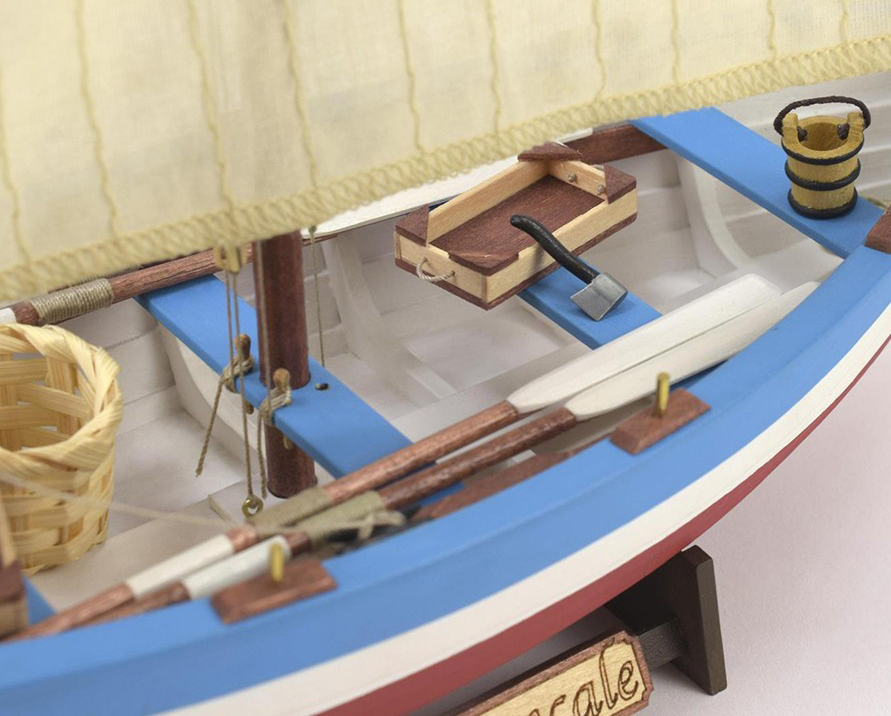
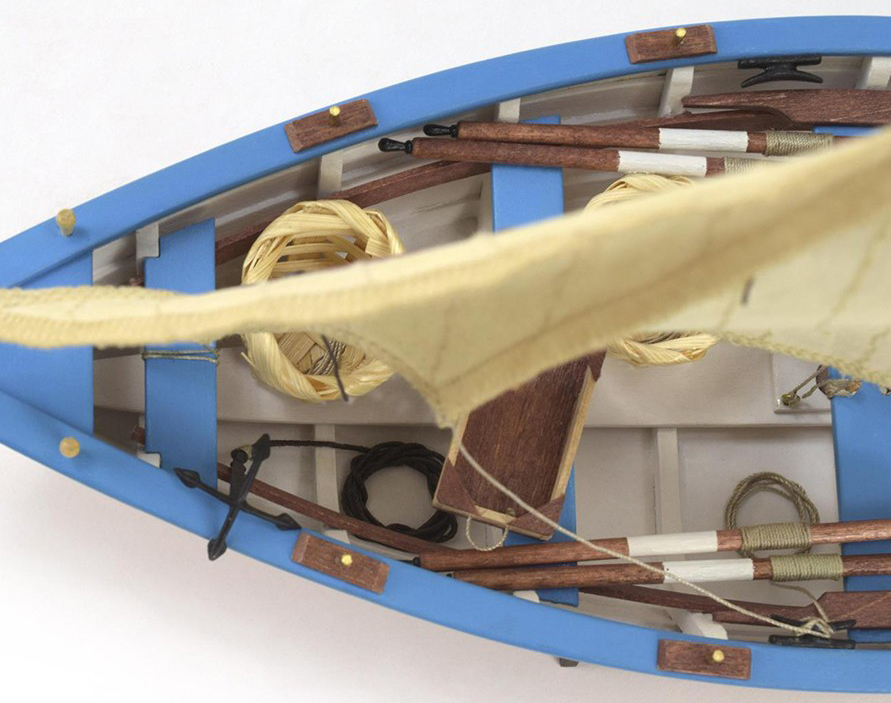
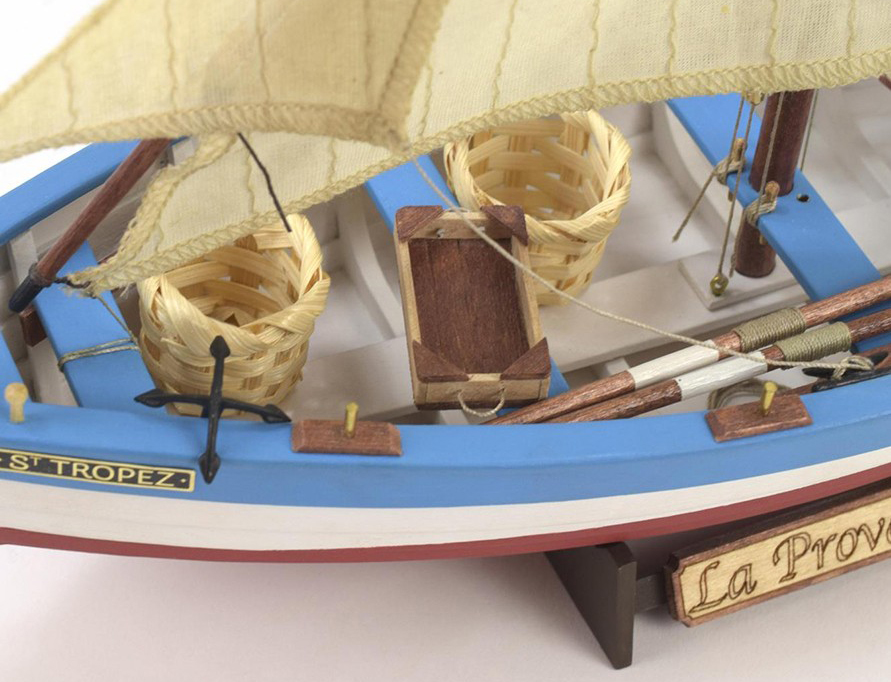
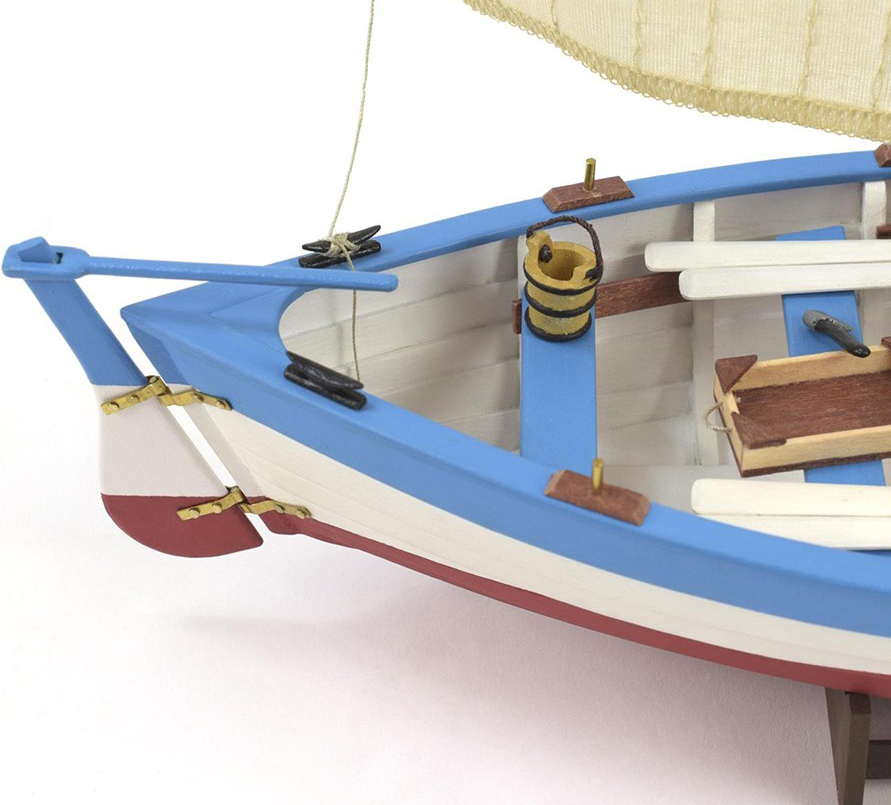
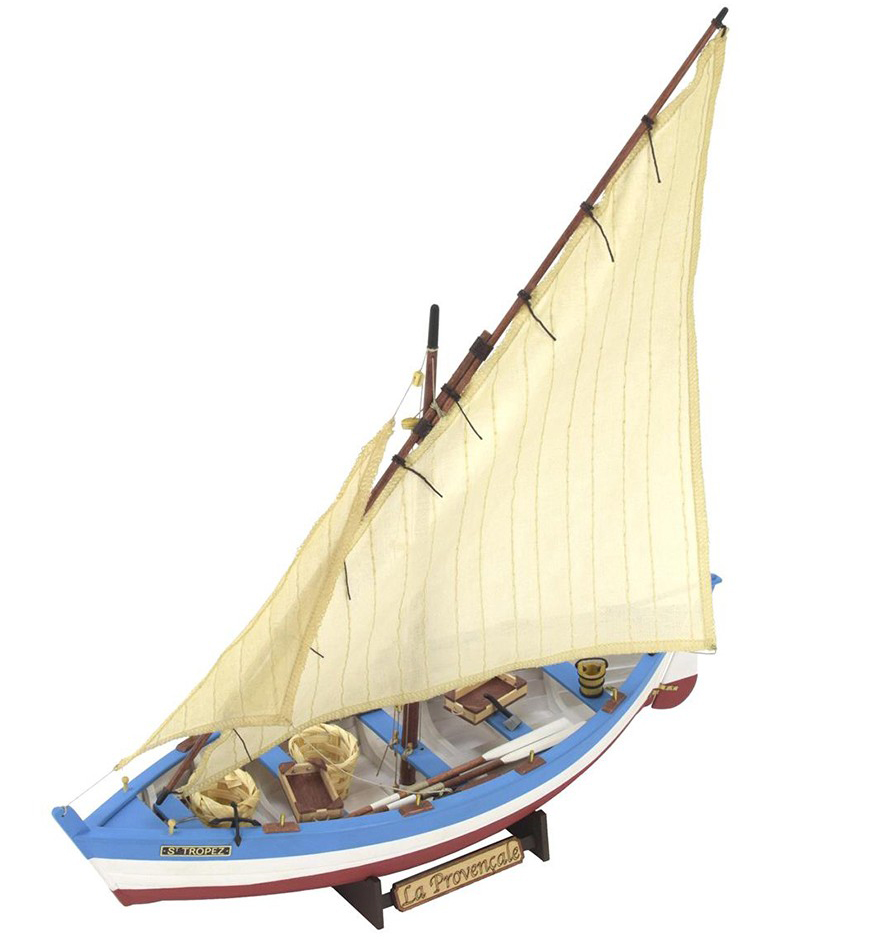
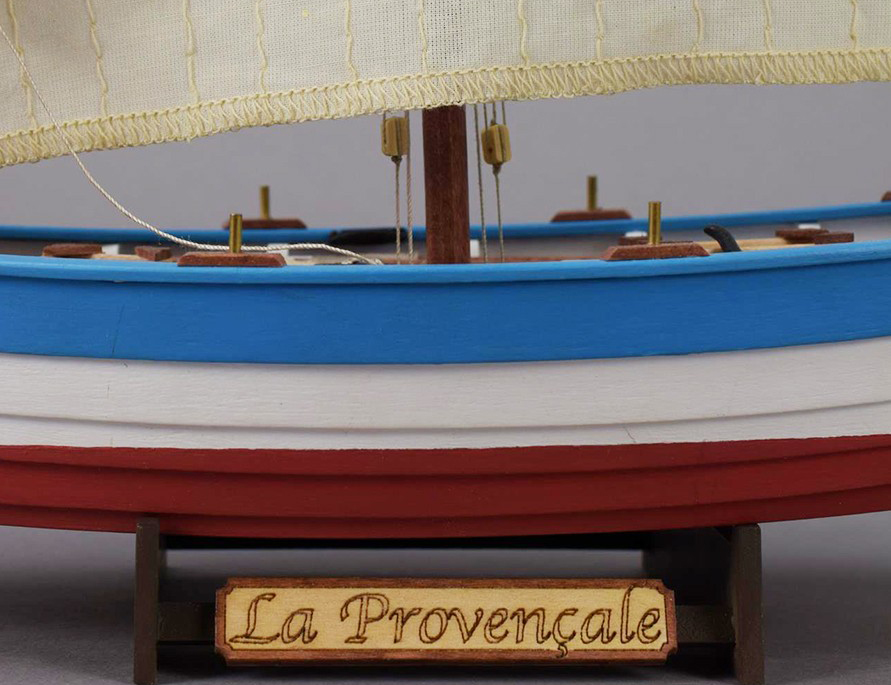
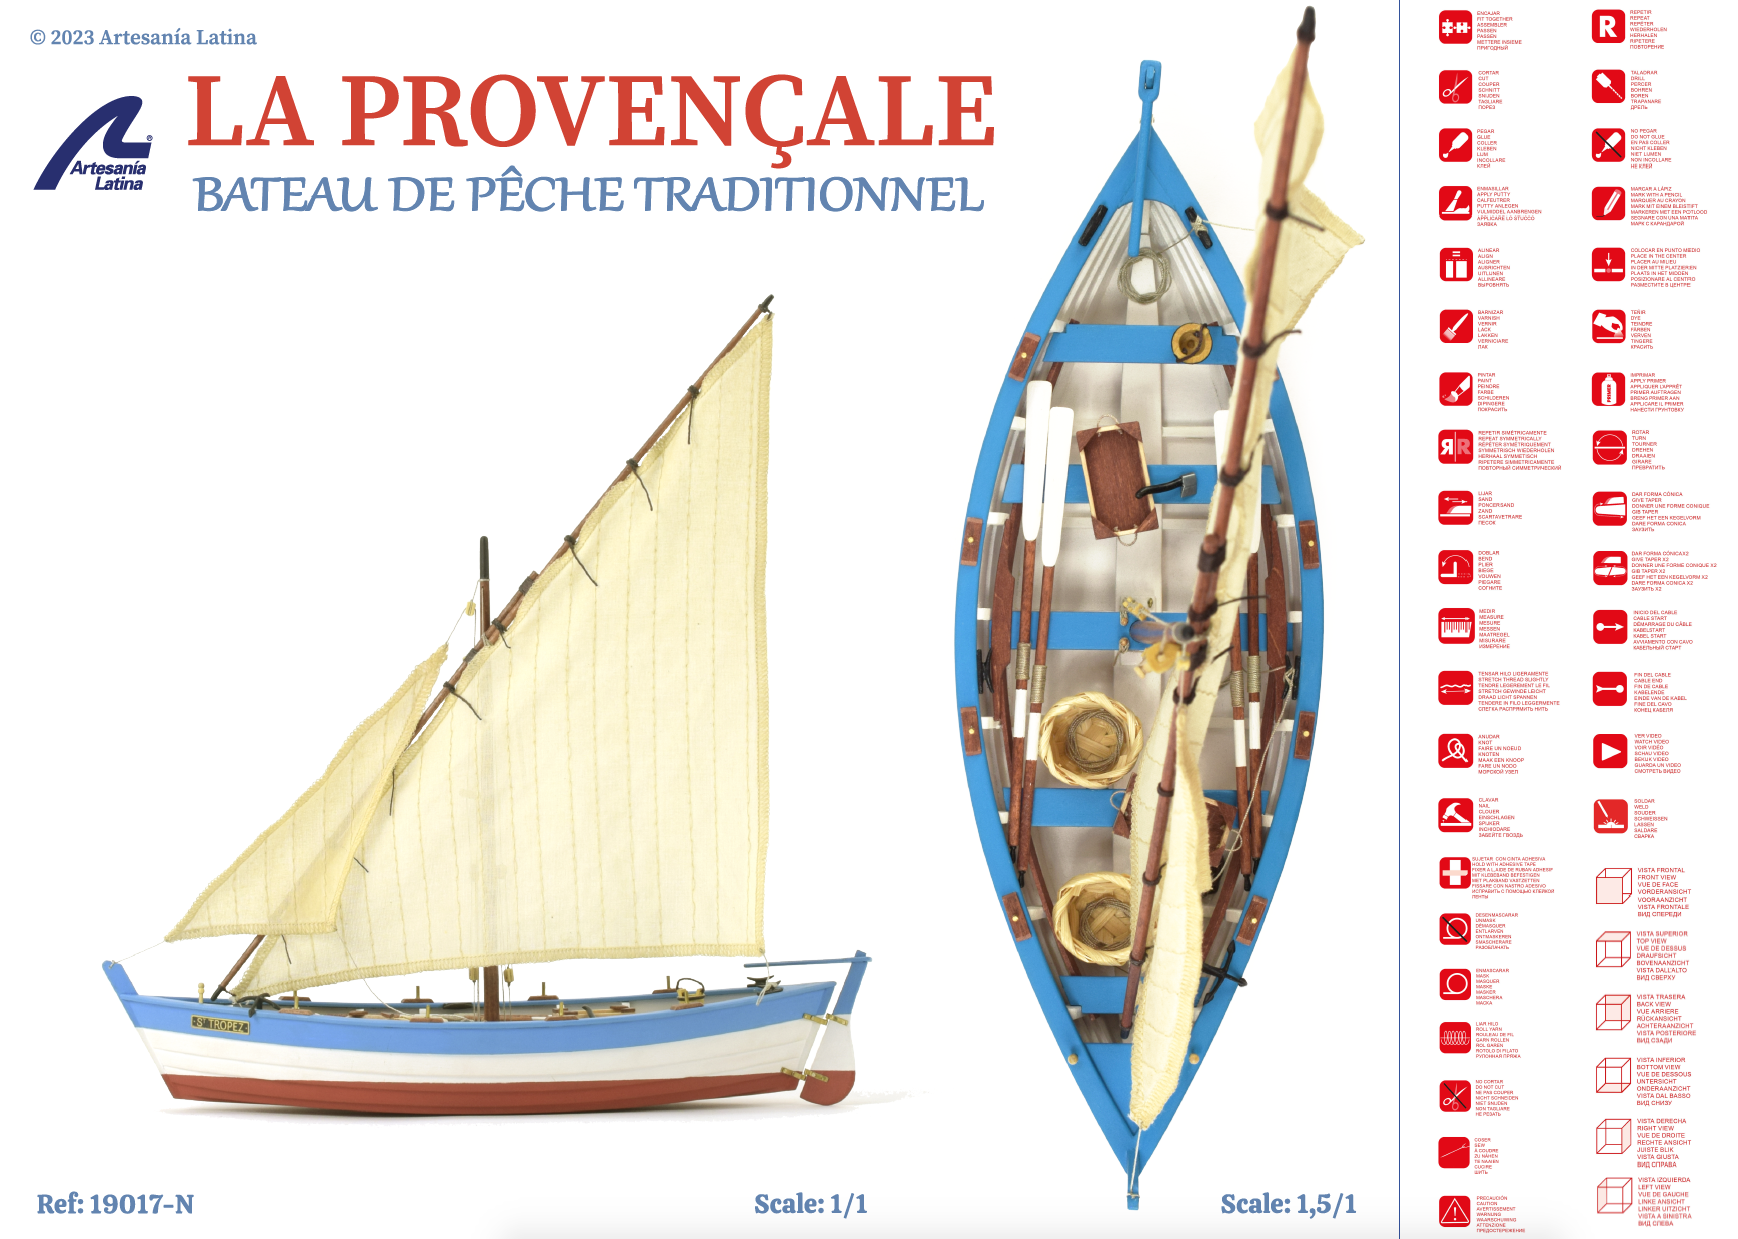
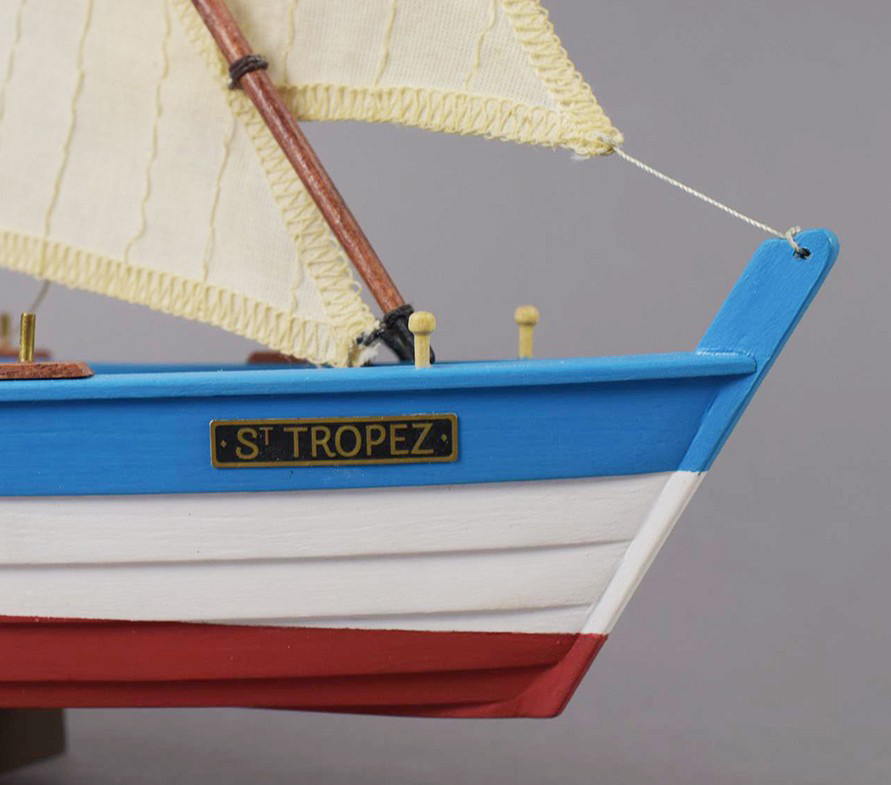
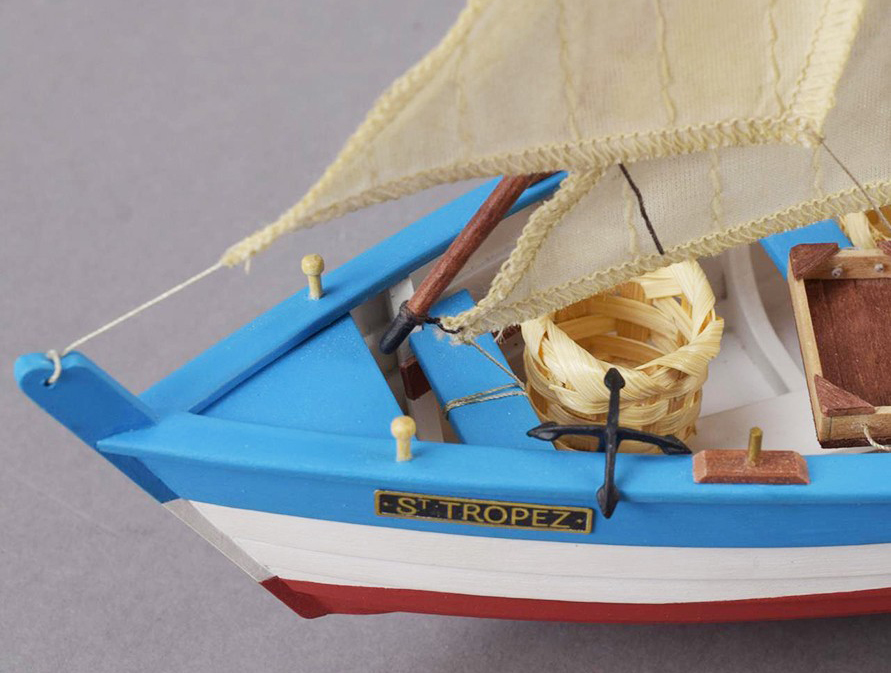
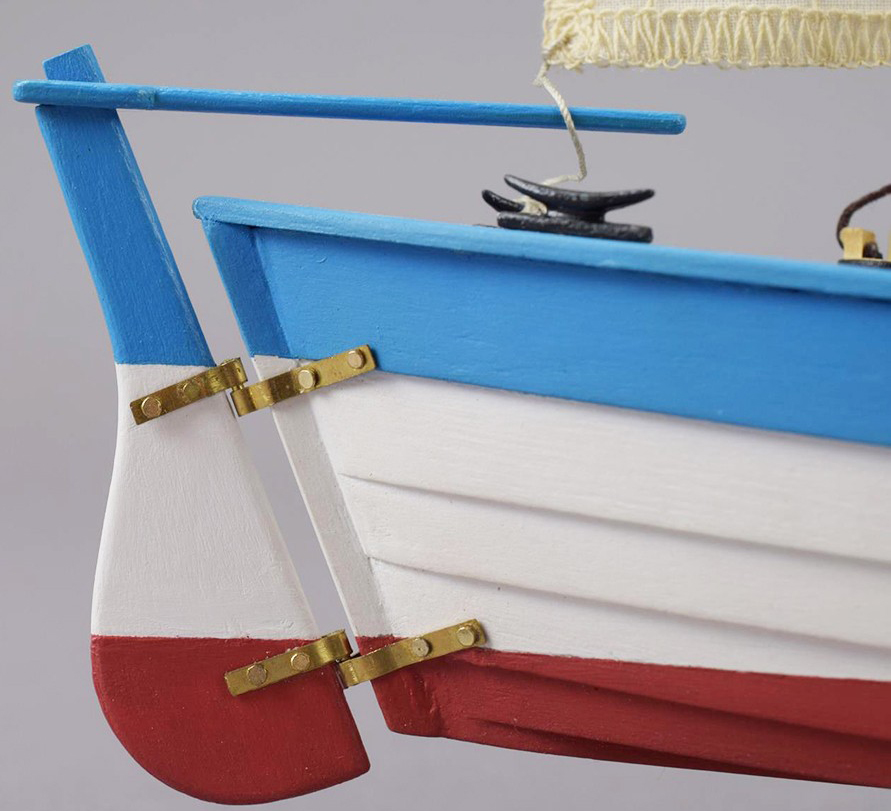
Undoubtedly, one of the historical top sellers of Artesanía Latina, one of the models that most excites our modelers friends. The fishing boat model La Provençale (19017-N), the French voilier of the Côte d’Azur. It has been out of stock in recent months for a simple reason. We have redesigned and further developed the 1:20 scale model so that, in addition to having an optimal aesthetic appearance, your assembly experience is better, easier and more entertaining. It is a great pleasure for us to present you this renewed faithful miniature replica of the French fishing boat. The naval modeling kit in wood is aimed at beginner modelers and also those who want to complete their private collection of fishing boats.
On the video below, we show you the appearance of La Provençale as well as some of the modeling tools that you will need during the assembly process of the faithful replica miniature of the Gallic sailing ship.
FISHING BOAT MODEL PROVENÇALE: WOODEN MODEL SHIP KIT CONTENTS
A naval jewel that will delight those who want to start in the wonderful world of naval modeling building your own new 1:20 scale model in wood of the fishing boat La Provencale. With a typically Mediterranean line thanks to its two latin sails, this boat used to be made with the remains of wood used for the construction of larger fishing boats.
Renewedmodel shipLa Provençale… With an improved, much easier and more enjoyable assembly experience! In addition, its assembly system using a false keel and frames brings its design closer to that of a real ship and will delight novice modelers who build this faithful miniature replica.
The 2023 naval modeling kit with the model of the French fishing boat La Provençale contains all the necessary parts for assembling this naval model. So, the box brings parts of wooden board plates cut by high precision laser. It also comes with a set of strips, round dowels and veneer, and with accessories in die-cast, brass and wood.
It also brings a magnificent set of hand-sewn cotton sails ready to be placed and cotton thread.
As a bonus, beautiful wooden exhibition base to assemble with name plate of the boat.
STEP-BY-STEP VIDEO GUIDE FOR THE ASSEMBLY OF LA PROVENÇALE
For the assembly of the model of the French fishing boat La Provençale, you have our renewed and complete step-by-step instructions made on video by our modelers. As if it were an exclusive master class, we teach you how to build your model. In this way, you will enjoy the hobby of naval modeling even more and you will learn professional techniques. To do this, simply visit our YouTube Channel where you can find all the video tutorials. It does not come with printed instructions.
It includes printed boat plan and parts list. Once built, the model measures 12” (305 mm) length, 13.98” (335 mm) height and 3.93” (100 mm) width.
FISHING BOAT MODEL PROVENÇALE: SET OF SPECIFIC ACRYLIC PAINTS
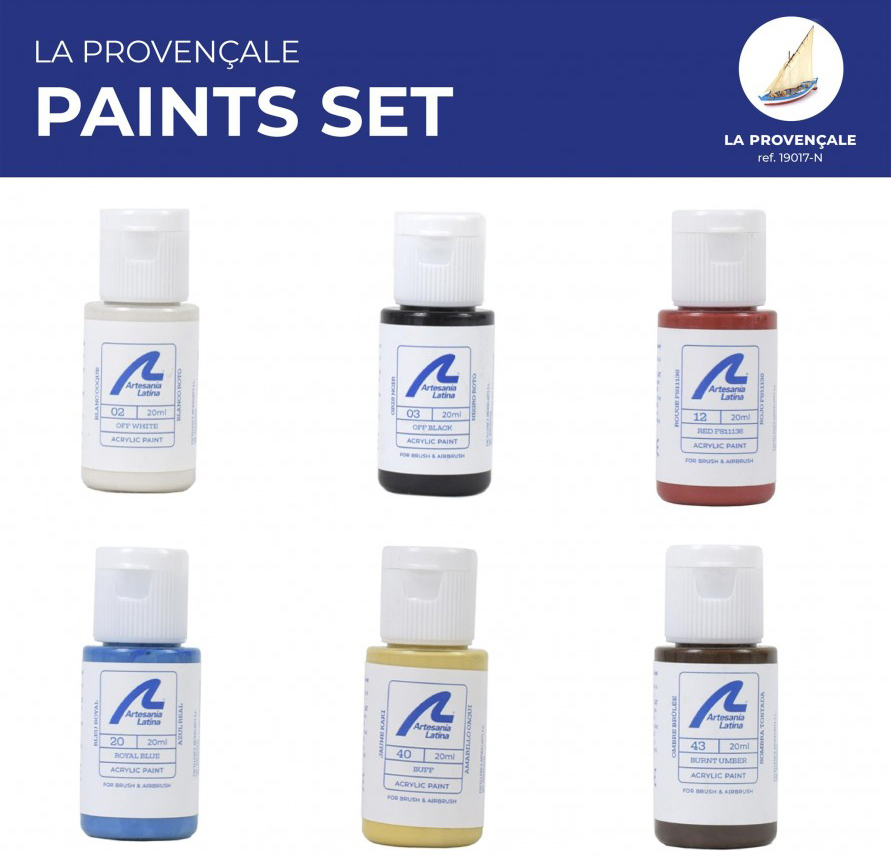
If you want to achieve perfect and faithful finishes, we recommend that you paint your La Provençale fishing boat model with your Specific Set of Acrylic Paints (277PACK25), for sale separately. This has 6 jars of different paints, each with 20 ml of product. In this sense, it includes the following colors in paints: Off-White, Off-Black, Buff, Burnt Umber, Royal Blue and Red FS11136.
The drying time of the set of water-based paints for the La Provençale fishing boat model is very fast. Paints dry to the touch in about 20 minutes and fully dry in an hour. If you need to give a second layer, you will only have to wait approximately 6 hours. It is advisable to give it a white primer filler before applying our paints. The final result will be what your eyes see under these lines… Spectacular!
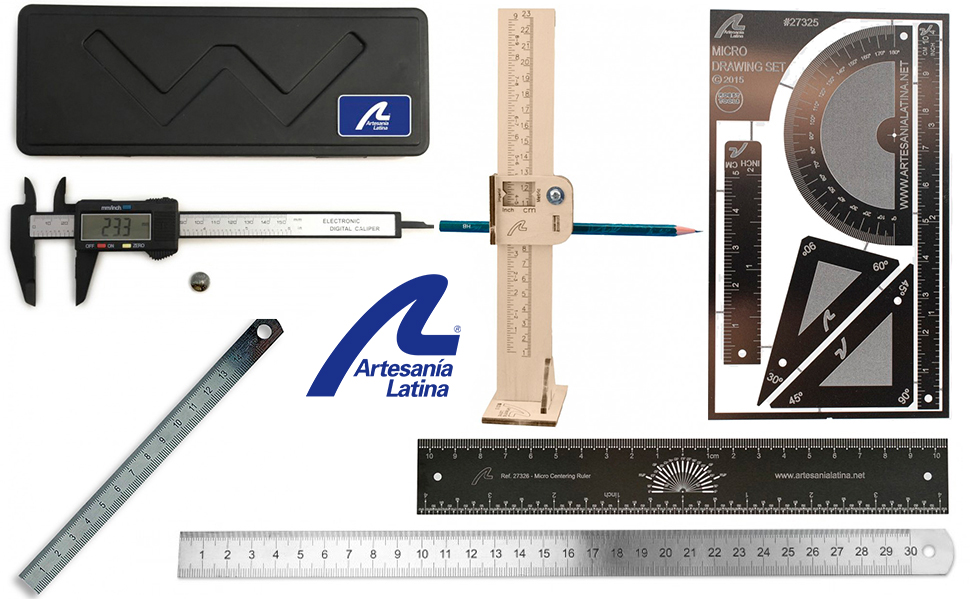
How necessary are the crafts and modelingtools to measure! If the modeler or lover of other hobbies wants the assembly process and creation to be precise and everything fits perfectly, they require them definitely. Artesanía Latina has a catalog of these tools with the largest quality for our customer friends. Let’s get to know them, because they are essential if we do not want to reposition parts, to avoid errors in measurements.
MODELING TOOLS TO MEASURE: 150 & 300 MM STAINLESS STEEL RULERS
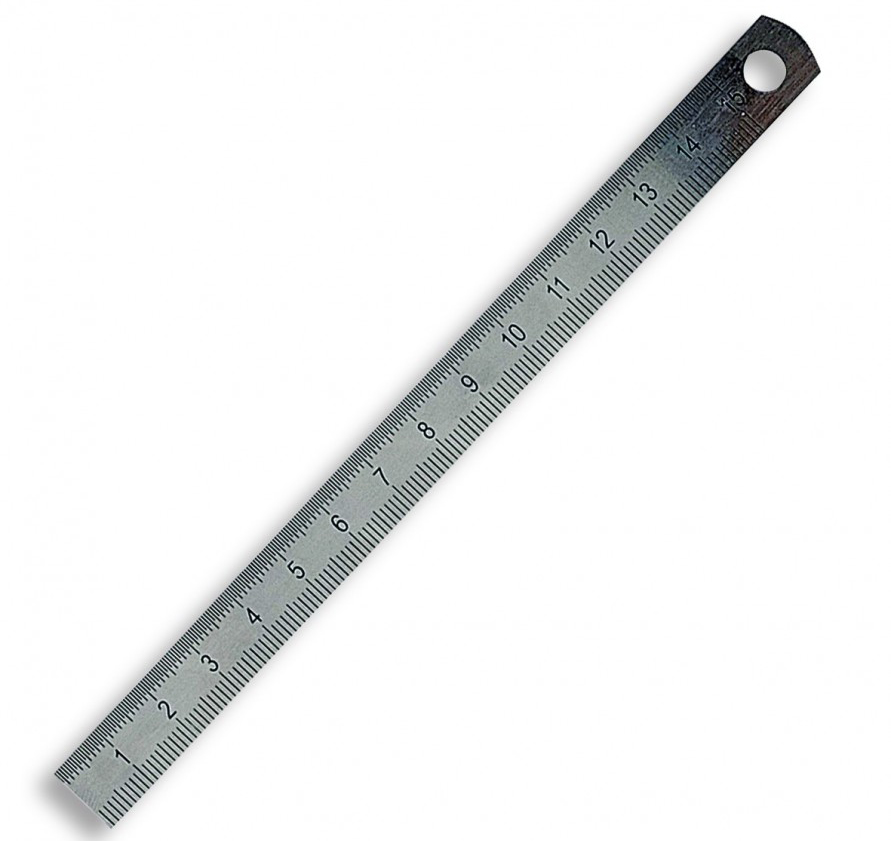
The basics at any modeling or craft workshop: the rulers. We start with the two normal stainless steel rulers, they will last a lifetime. The first of them is 15 cm or 150 mm length (27069), 13 mm width and 0.5 mm thickness. It is used more in tasks of smaller measurements such as parts of round dowels, masts, strips, wings, chains and an endless number of elements.
The secondof the normal rulers is larger thanks to its length of 30 cm or 300 mm (27070), width of 19 mm and thickness of 1 mm. Both rulers have a hole at one end so they can be hanged when they are not in use. In this way, you can keep organized your modeler’s workshop (27648).
MODELING TOOLS TO MEASURE: MICRO CENTERING RULER
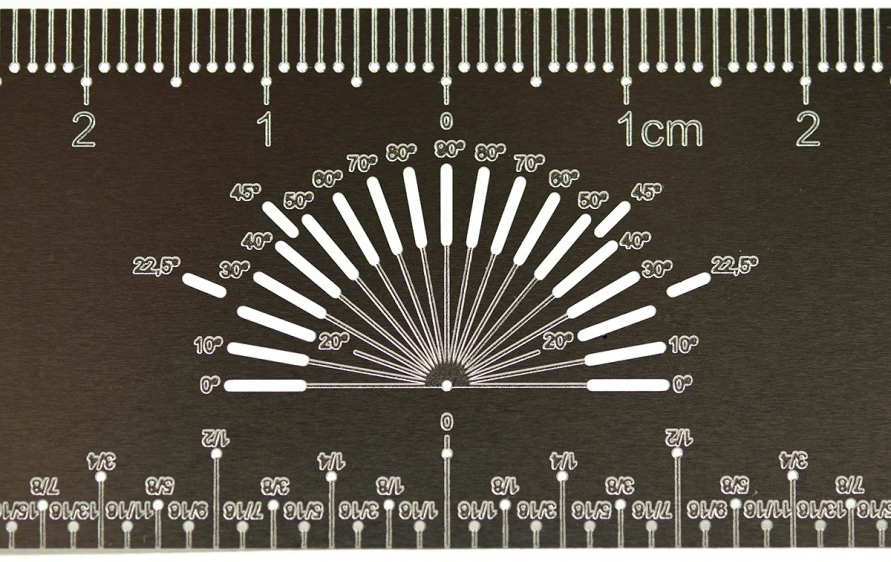
One of the recent novelties of our firm in terms of measurement for modeling and handicrafts is the wonderful and super useful micro centering ruler (27326). Its length is 20 cm or 200 mm -10 cm or 100 mm on each side-. Also made of stainless steel, it makes it easier to find the center of the partsexactly to achieve a more effective assembly of these ones. With metric and imperial measurement system, according to the needs of the modeler. As can be seen on the images, this centering rule places 0 in the center and the numbering grows towards both sides.
How to use it? Place it so that the measurements coincide at the edges, and the 0 on the ruler marks the center of the part. The small existing points on the ruler allow the modeler to mark measurements with total accuracy, pointing through these with a mechanical pencil or pencil. Includes a protractor inside the ruler itself. More information about this measurement tool for modeling and crafts on the video below.
MODELING TOOLS TO MEASURE: MICRO RULERS SET
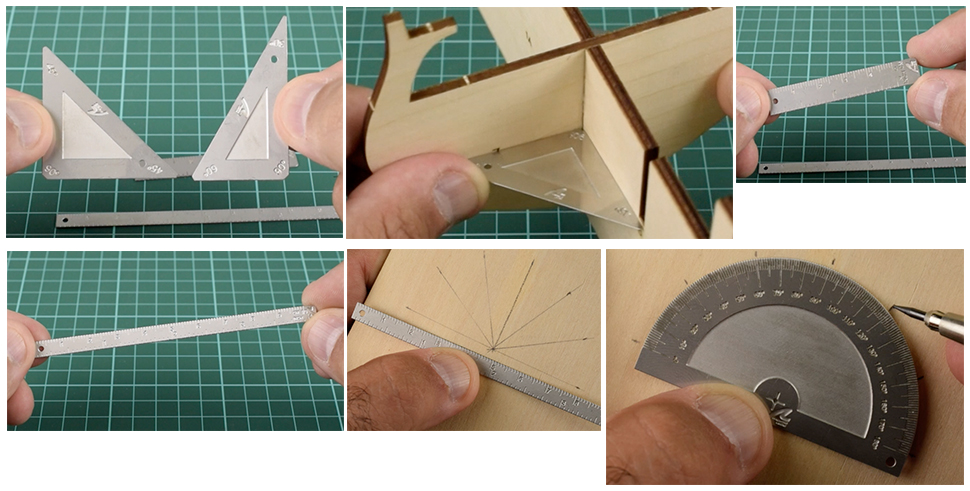
One of the top sellers of crafts and modeling tools to measure: the micro rulers set (27325). It contains two rulers (50 mm and 100 mm / 2 and 4”), two squares and a protractor, all of these made of high-quality stainless steel. Like the previous rulers, they also have holes to be hung.
On the one hand, the two rulers are flexible, ideal for working comfortably and easily with curved objects and scale models. They include measurements in metric and imperial systems. On the other hand, the squares, both with chamfered corners to avoid glue, are very useful when used as assembling brackets.
Do you want to know more about these magnificent small size crafts and modeling tools to measure? Pay attention to the video below.
PRECISE MEASUREMENTS WITH 6” / 150 MM DIGITAL CALIPER WITH CASE
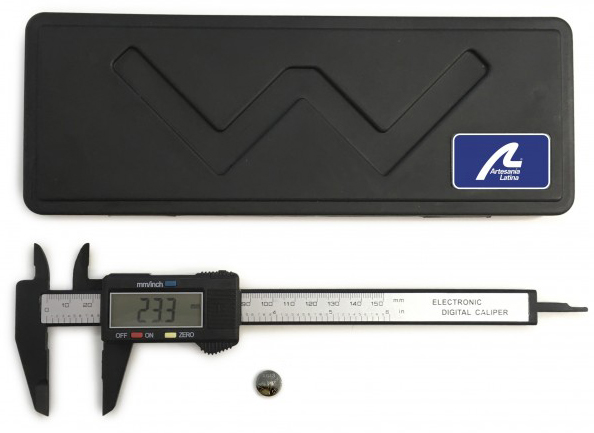
The penultimate of our recommendations for modeling tools to measure by Artesanía Latina is the 6” /150 mm long digital caliper (27057-1). Highly precise and easy to read thanks to its LCD screen, it is accompanied by a magnificent case for easy storage.
It allows you to take internal and external measurements of any part with a precision of +/- 0.1 mm, both in metric system as imperial. This digital and calibrated caliper makes it easy for the modeler to zero the tool on any position of the range, and it includes a 1.5v SR44/LR44 battery.
WATERLINE MARKER FOR MODEL SHIPS
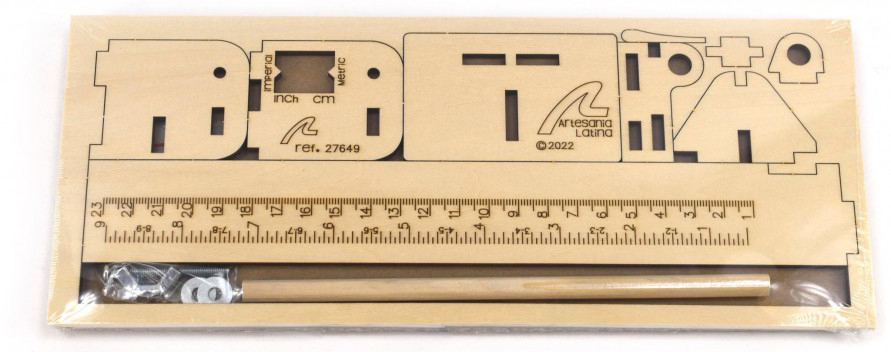
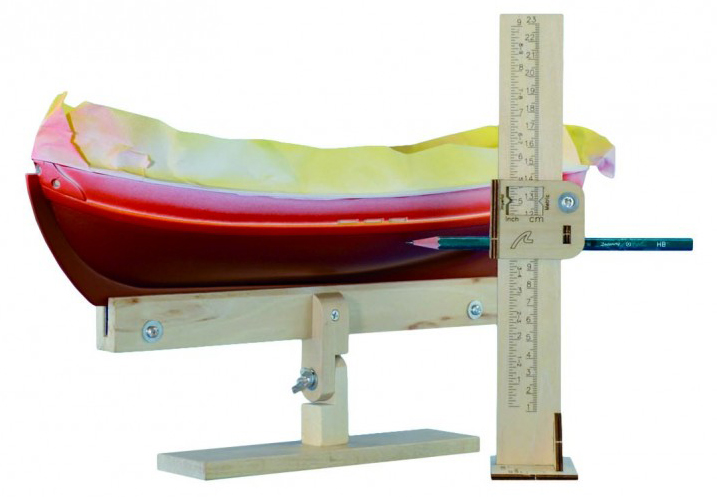
Fundamental for naval modeling! The waterline marker for ship models (27649) is used to with the help of a pencil, mark that line around the ship, including measurements in both metric and imperial systems. To do this, hold the ship on its base or on thehull support(27011), sold separately. Roughly speaking, In general, it can be used as a scribe to mark lines parallel to the work surface. Assembly required.
Do you want to assemble your models or create other crafts on the first try without having to disassemble later due to measurement problems? Artesanía Latina offers you all the possibilities so that the construction and creation processes are impeccable, exact and concrete. Choose the measurement tools you need!
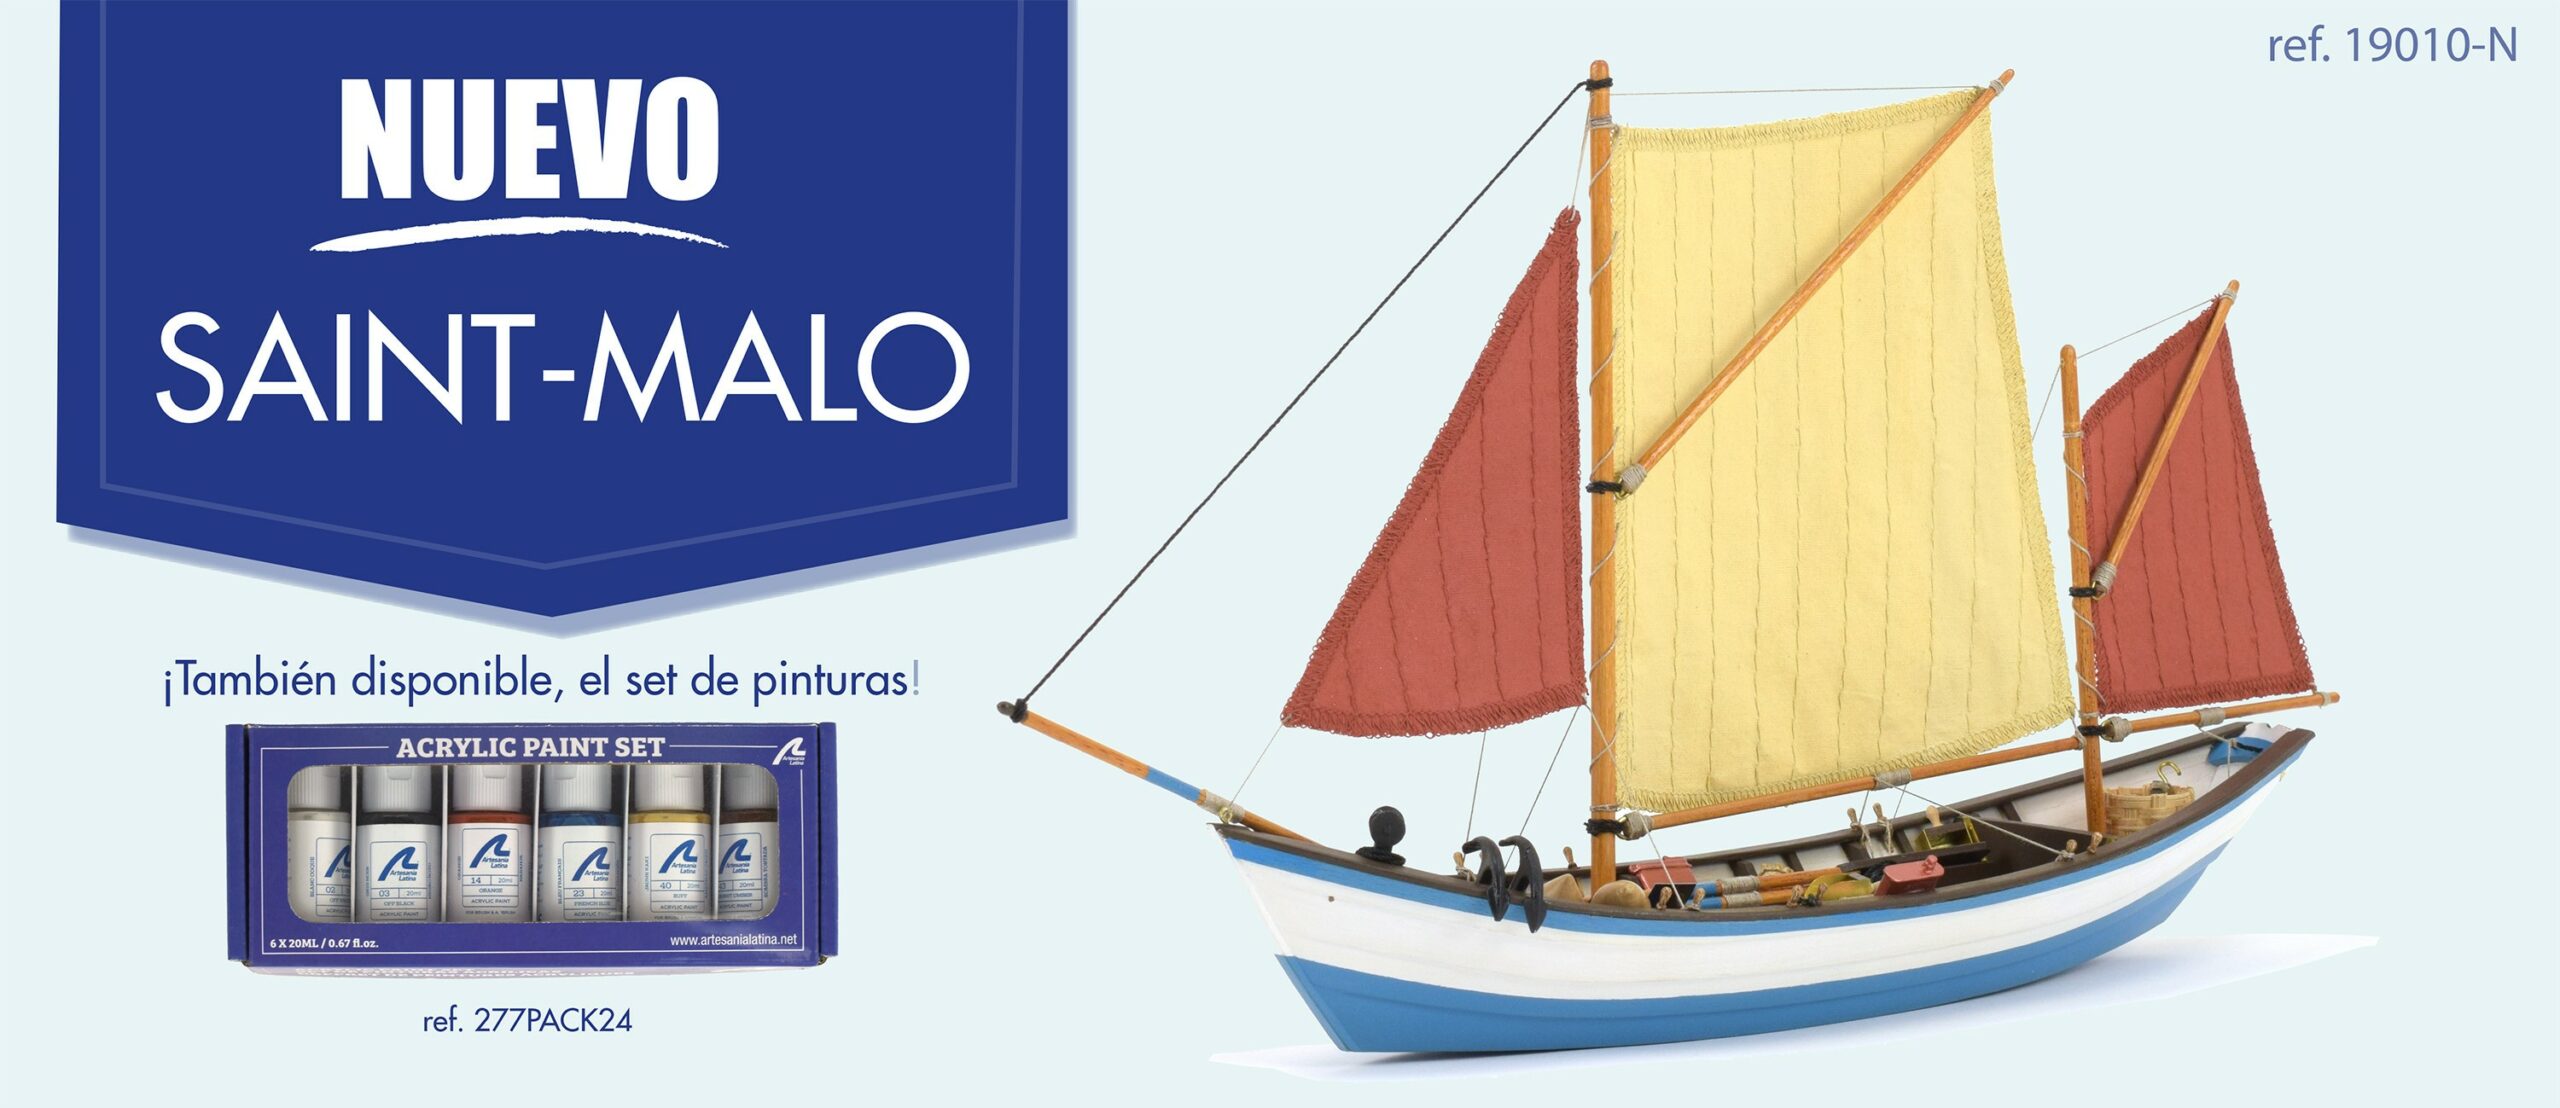
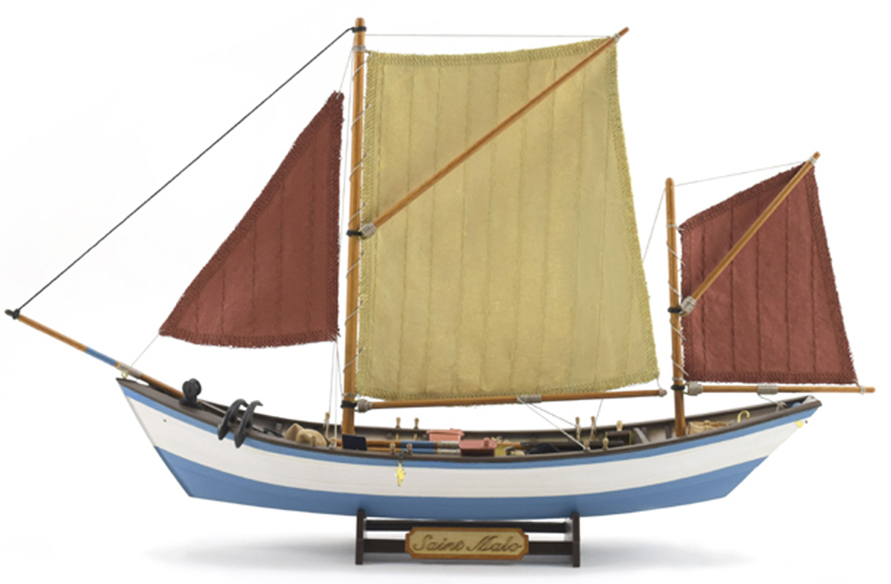
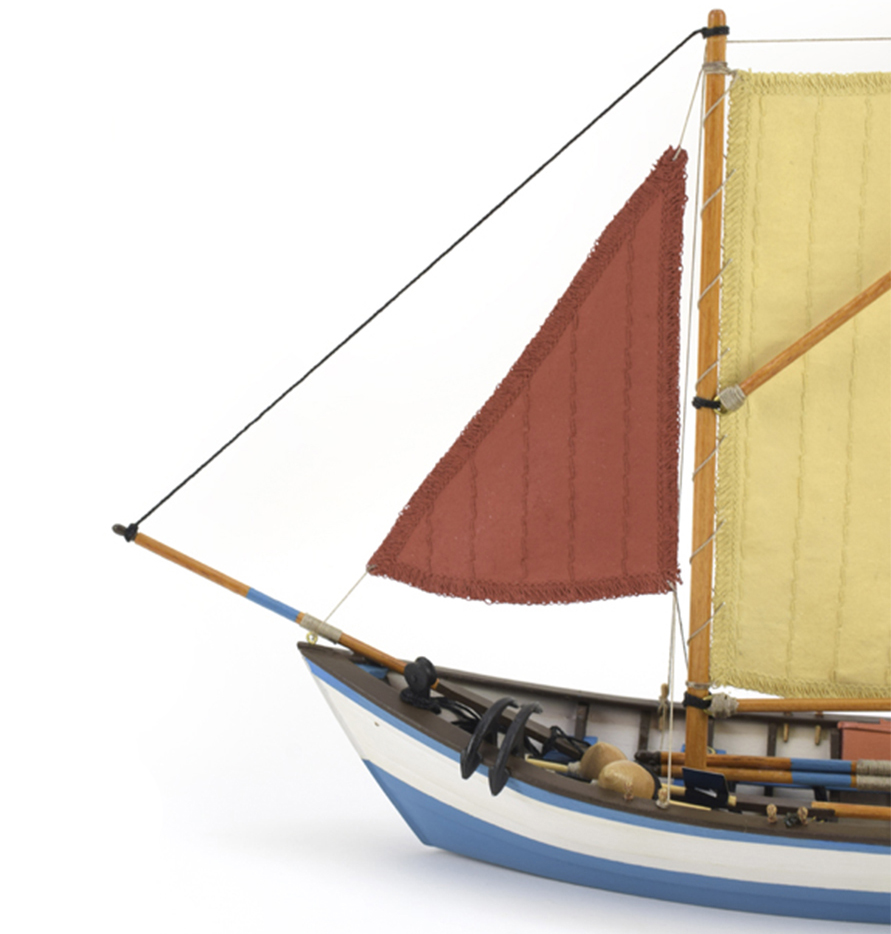
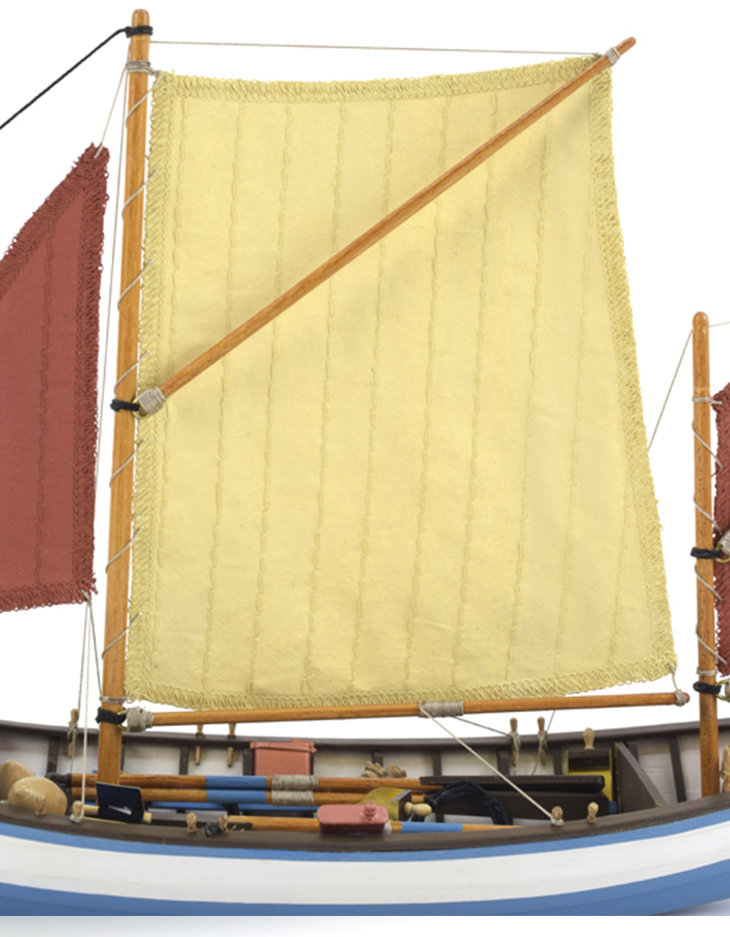
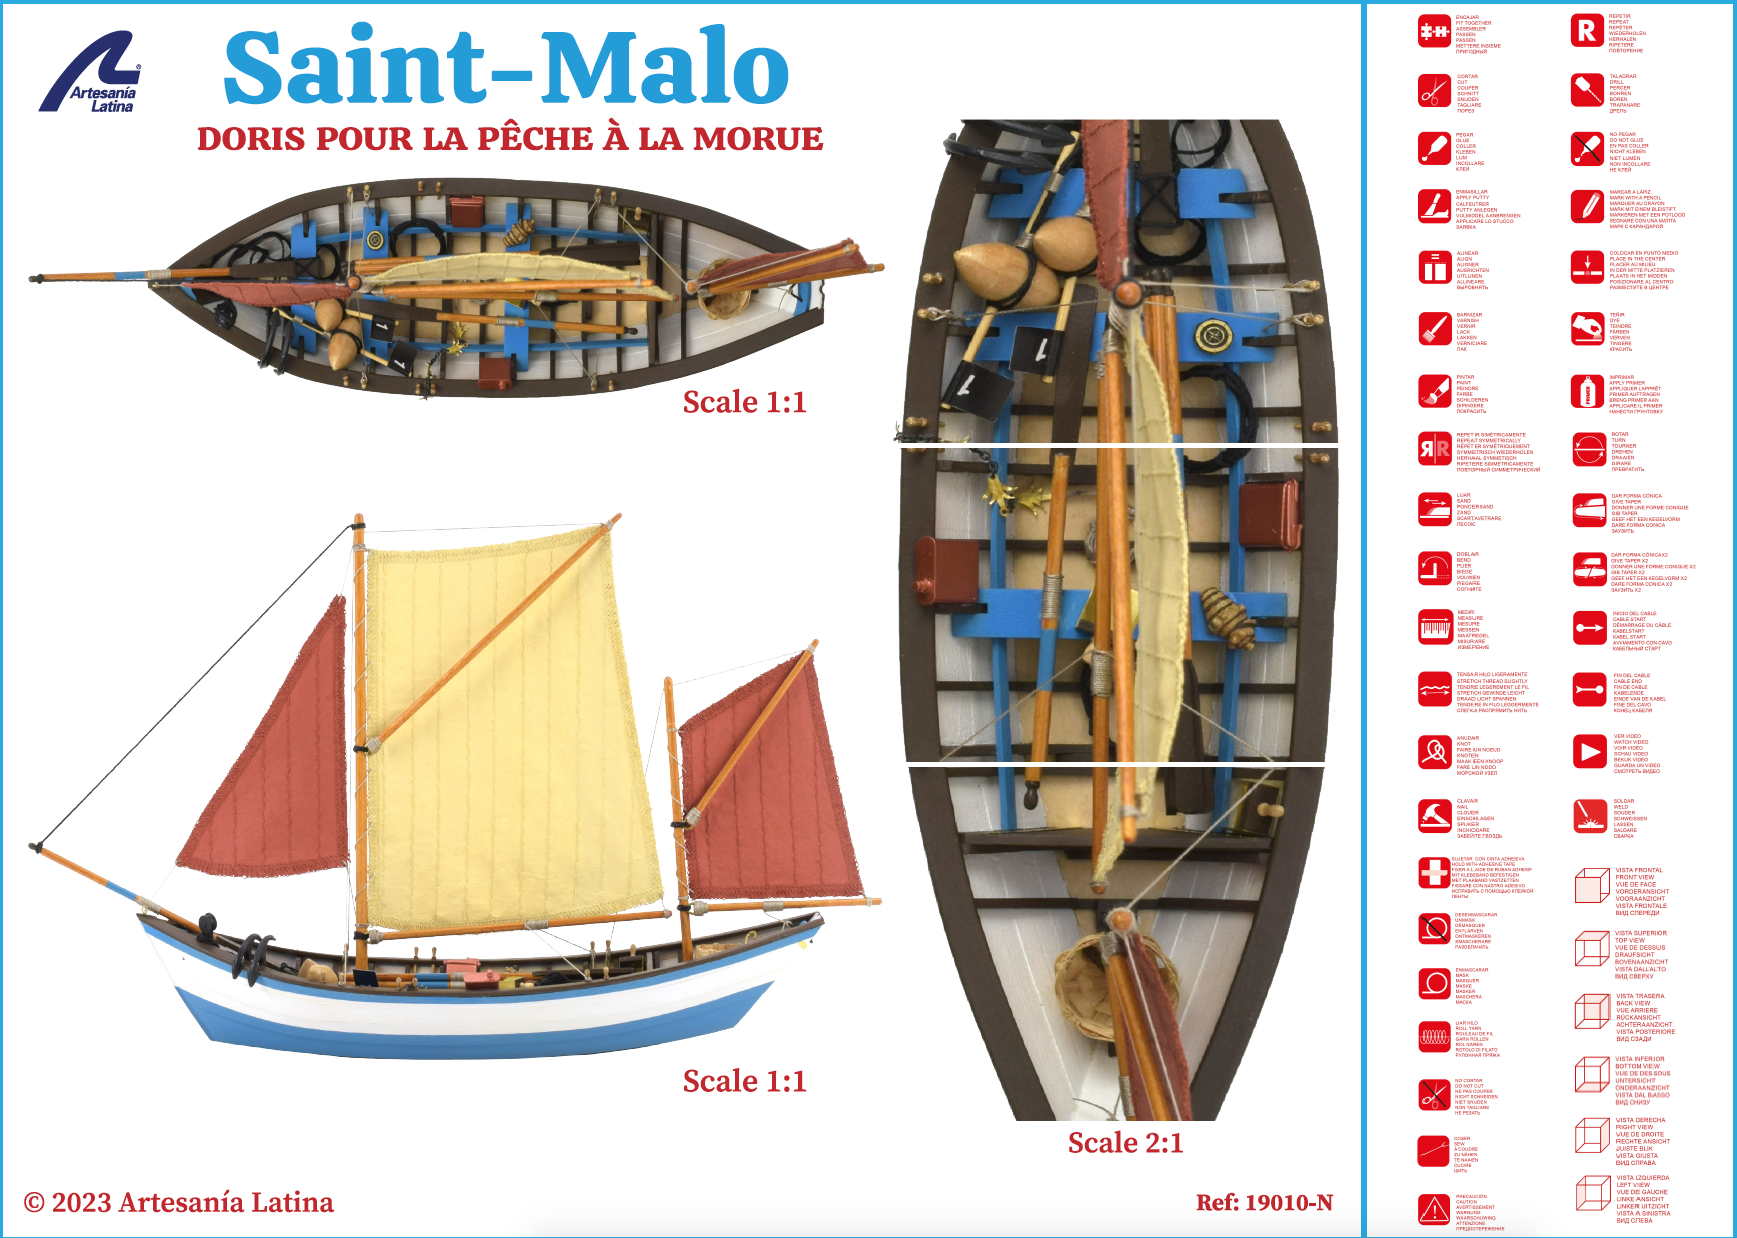
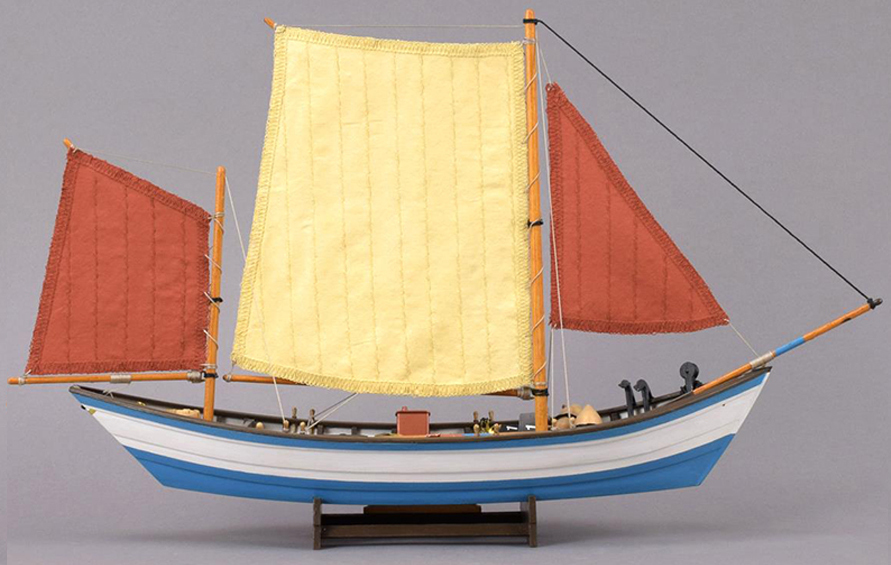
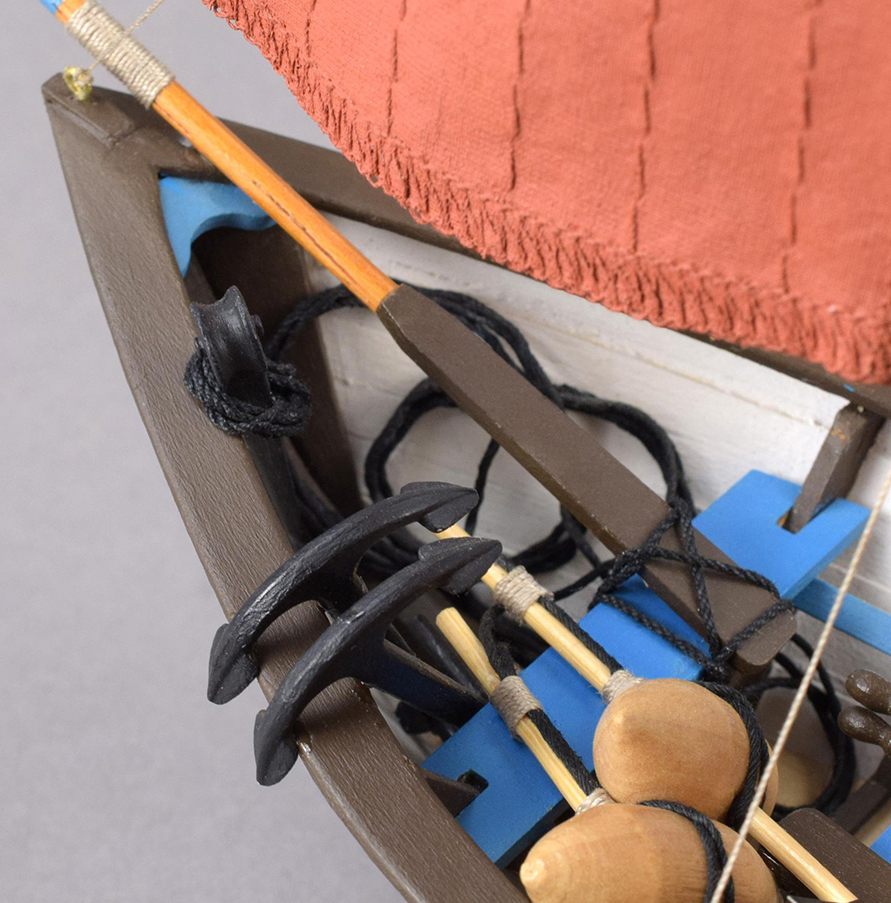
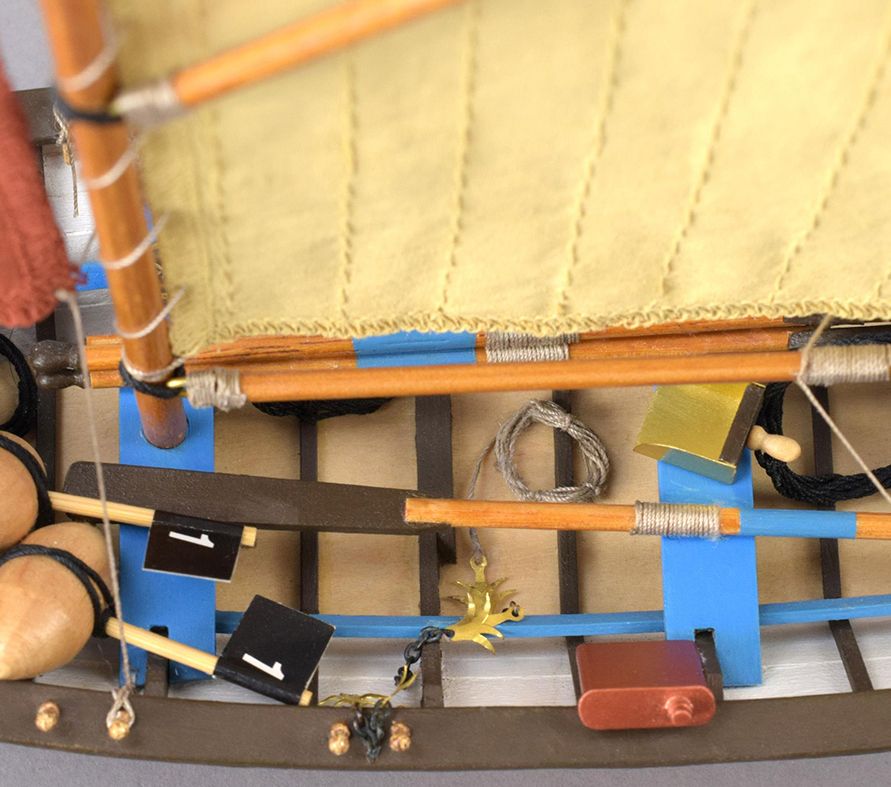
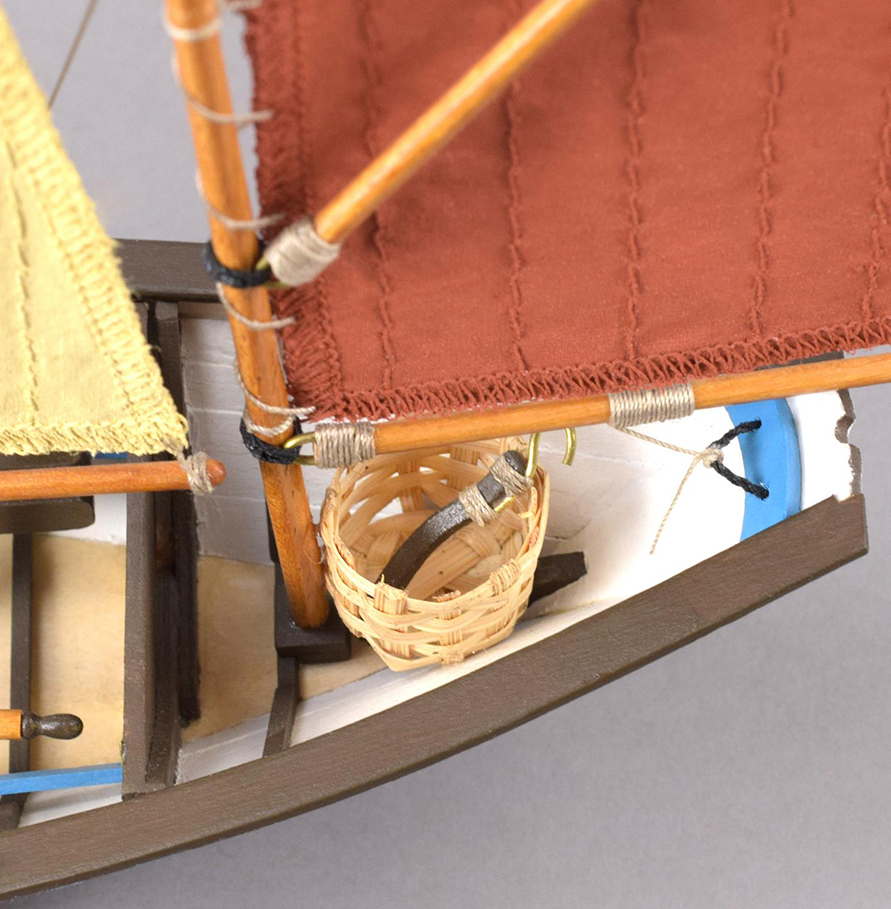
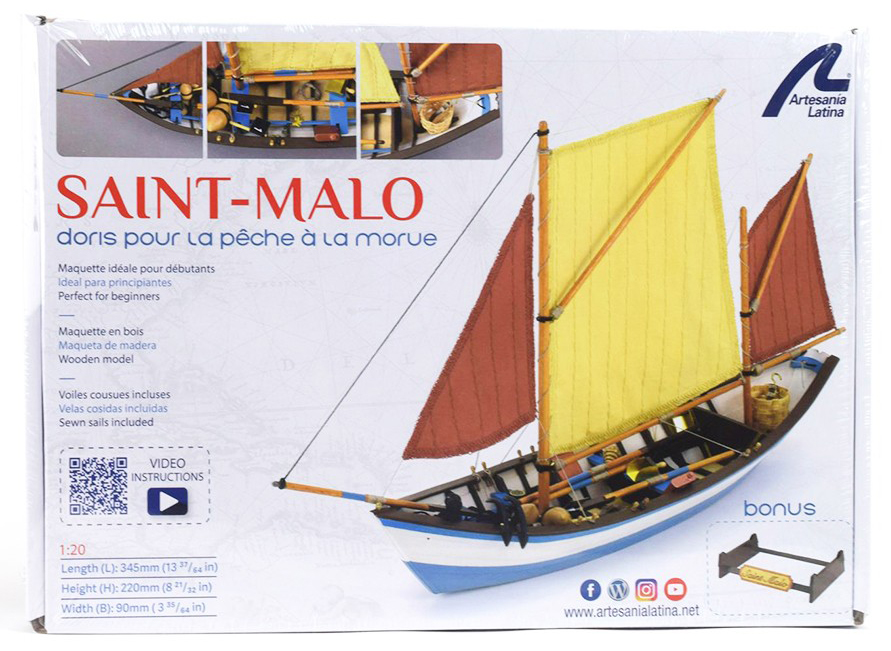
One of the most beautiful traditional fishing boats on the market… Now with a lifting! The team of modelers from Artesanía Latina has designed and developed a new concept for the model of this French ship. Everything to make the assembly experiencefriendly, simple and fun. It is a great satisfaction to introduce to our modeling friends the new Saint Malo model ship (19010-N), the Gallic doris from the end of the 19th century. Your 1:20 scale fishing boatmodeling kit is aimed at beginner modelers and, also, to those who want to complete their private collection of fishing boats.
SAINT MALO MODEL SHIP: WOODEN MODELING KIT CONTENTS
A naval jewel that will delight those who want to start in the wonderful world of naval modeling building your own new 1:20 scale model in wood of the fishing boat –doris class– Saint Malo. Some fishermen still use this type of boat today in the bay of Mont Saint-Michel on the Normandy coast, as well as in Saint Pierre and Miquelon to set trammel lines or lobster and shrimp traps. However, the vast majority of the doris used are intended for leisure. Artisan doris builders still exist today.
The renewedmodel shipSaint Malo… With an improved assembly experience that is much easier and more enjoyable! In addition, its assembly system using a false keel and frames brings its design closer to that of a real ship and will delight novice modelers who build this faithful miniature replica.
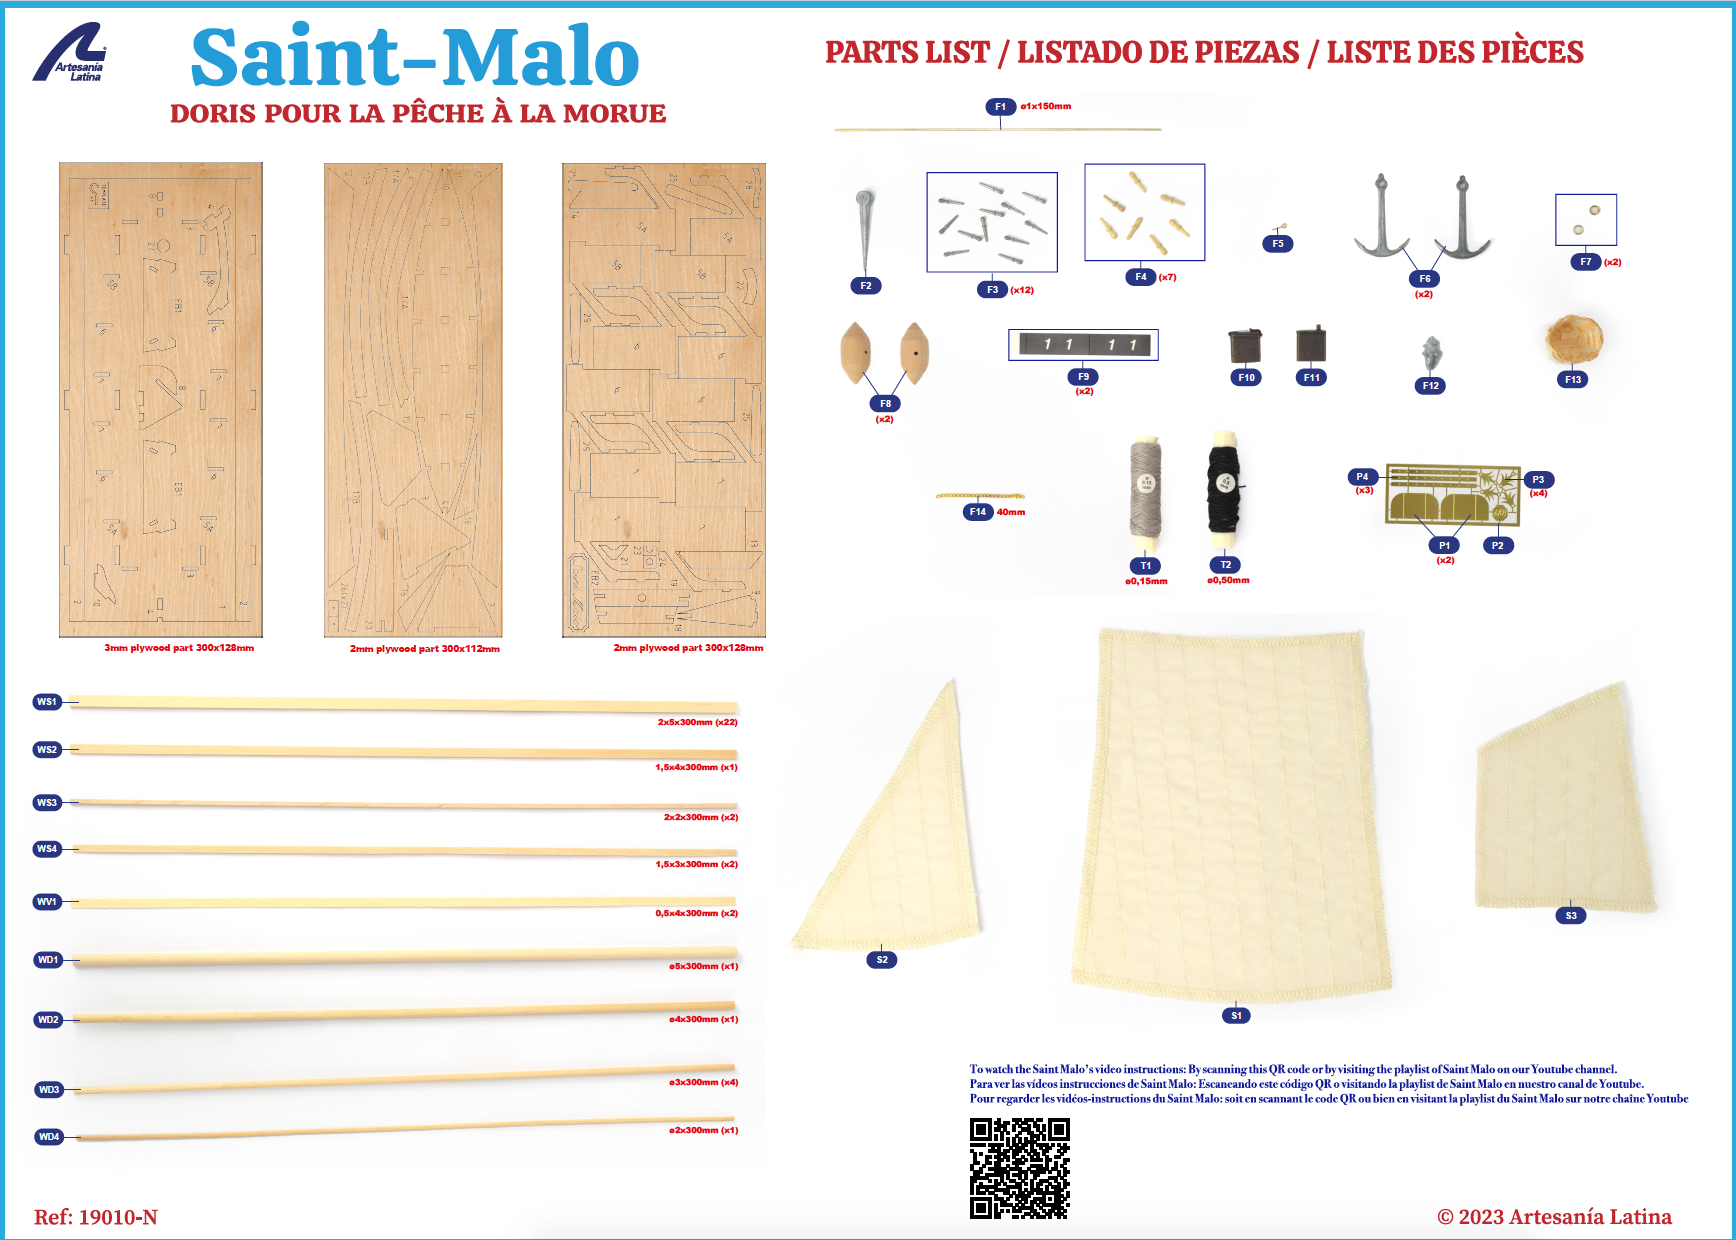
The renewed 2023 naval modeling kit with the model of the French fishing boat Saint Malo contains all the necessary parts for assembling this naval model. The box brings parts of board plates cut by high precision laser. It also comes with a set of strips, sheets and round wooden rods, accessories in die-cast, brass and wood, and a sticker.
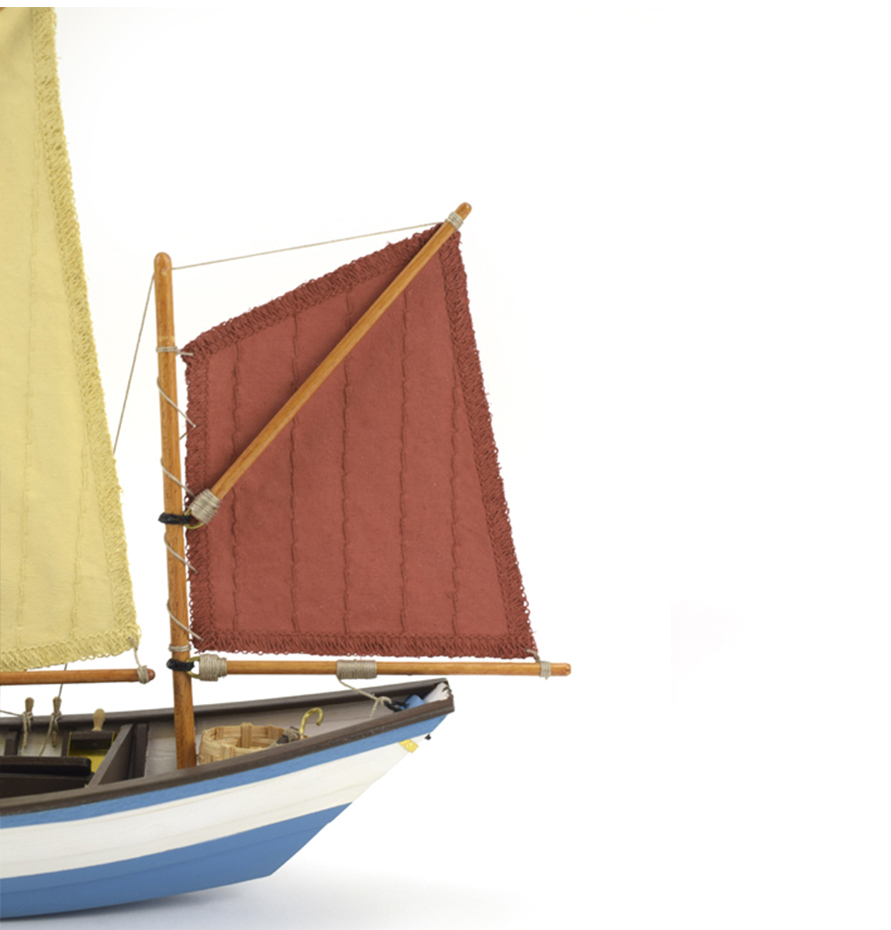
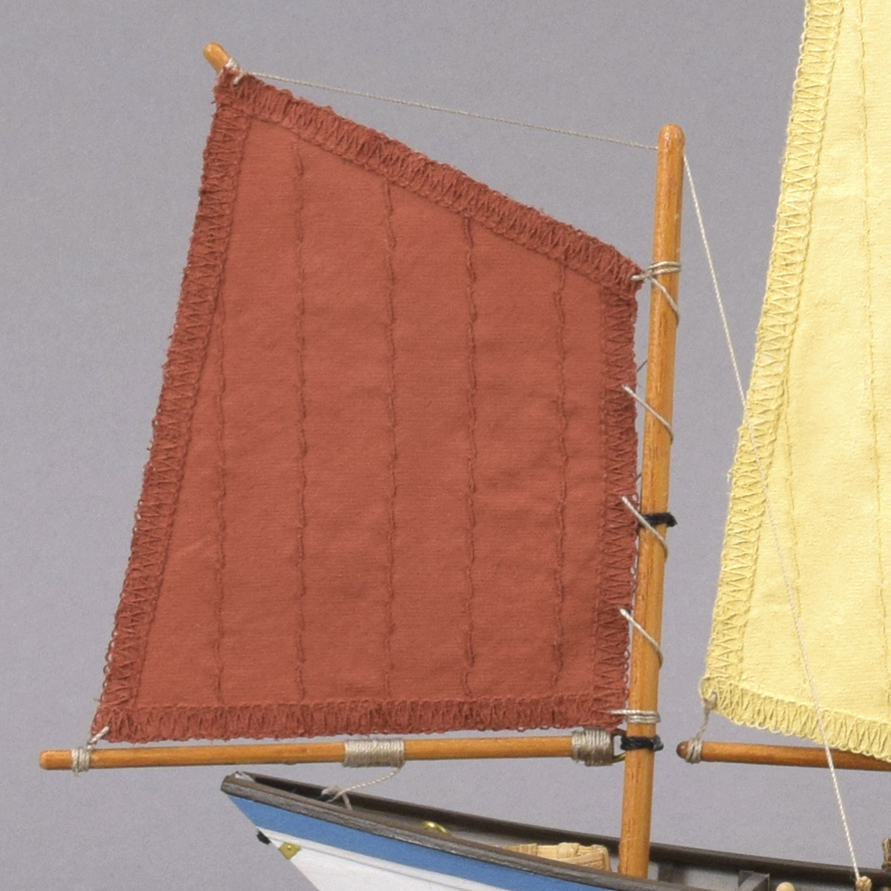
It also brings a magnificent set of hand-sewn cotton sails ready to be placed and cotton thread.
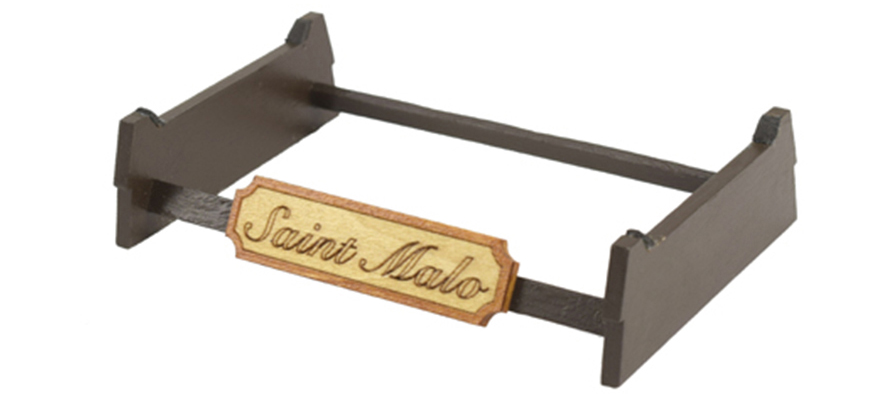
As a gift bonus, beautiful wooden exhibition base to assemble with name plate of the boat.
STEP-BY-STEP GUIDE ON VIDEO FOR SAINT MALO’S ASSEMBLY
For the assembly of the model of the French fishing boat Saint Malo, you have our renewed and complete step-by-step instructions made by our modelers on video. As if it were an exclusive masterclass, we teach you how to build your model. You will enjoy the hobby of naval modeling even more and you will learn professional techniques. To do this, simply visit our YouTube Channel where you can find all the video tutorials. It does not come with printed instructions.
It includes printed boat plan and parts list. Once it is built, the model measures 13.58” (345mm) length, 3.54” (90mm) width and 8.66” (220mm) height.
Thanks to the video below, you can learn about some of the modeling tools that you will need during the assembly process of the faithful miniature replica of doris Saint Malo.
SAINT MALO MODEL SHIP: ACRYLIC PAINTS SET
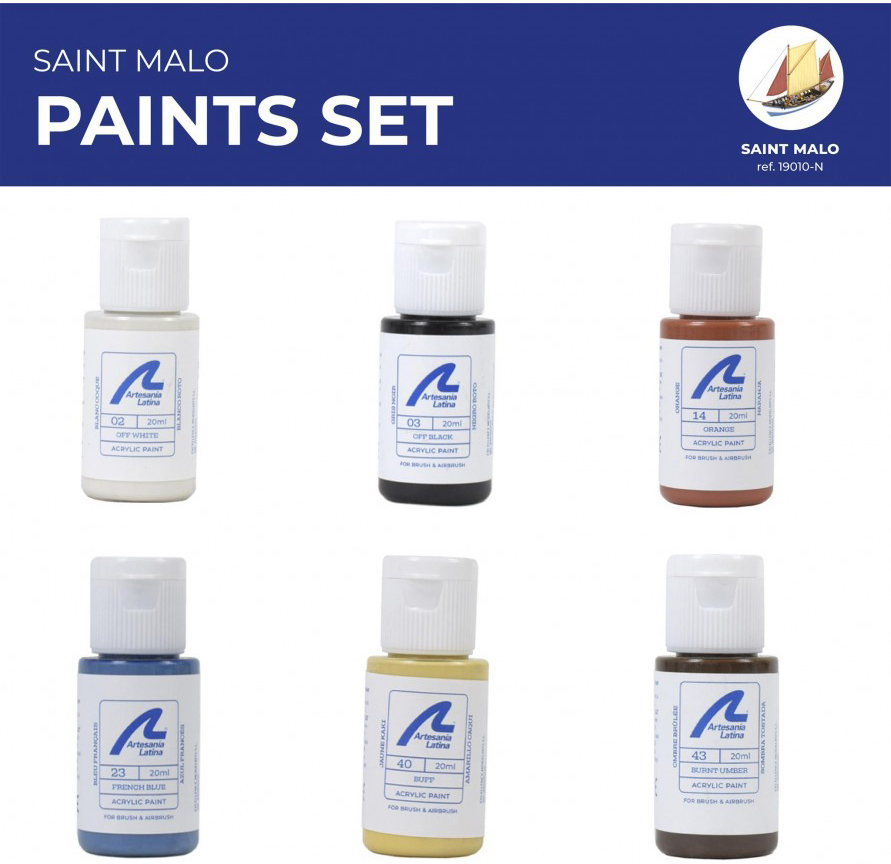
If you want to achieve a perfect and faithful finish, we recommend that you paint your Saint Malo fishing boat model with its Specific Acrylic Paints Set (277PACK24), for sale separately. This has 6 pots of different paints, each one with 20 ml of product. It includes the following colors in paints: Off-White, Off-Black, Buff, Burnt Umber, French Blue and Orange.
The drying time of the pack of water-based paints for the model ship Saint Malo is very fast. Paints dry to the touch in about 20 minutes and fully dry in an hour. If you need to give a second layer, you will only have to wait approximately 6 hours. It is advisable to apply a primer coat before to paint. The final result will be what your eyes see under these lines… Beautiful model!
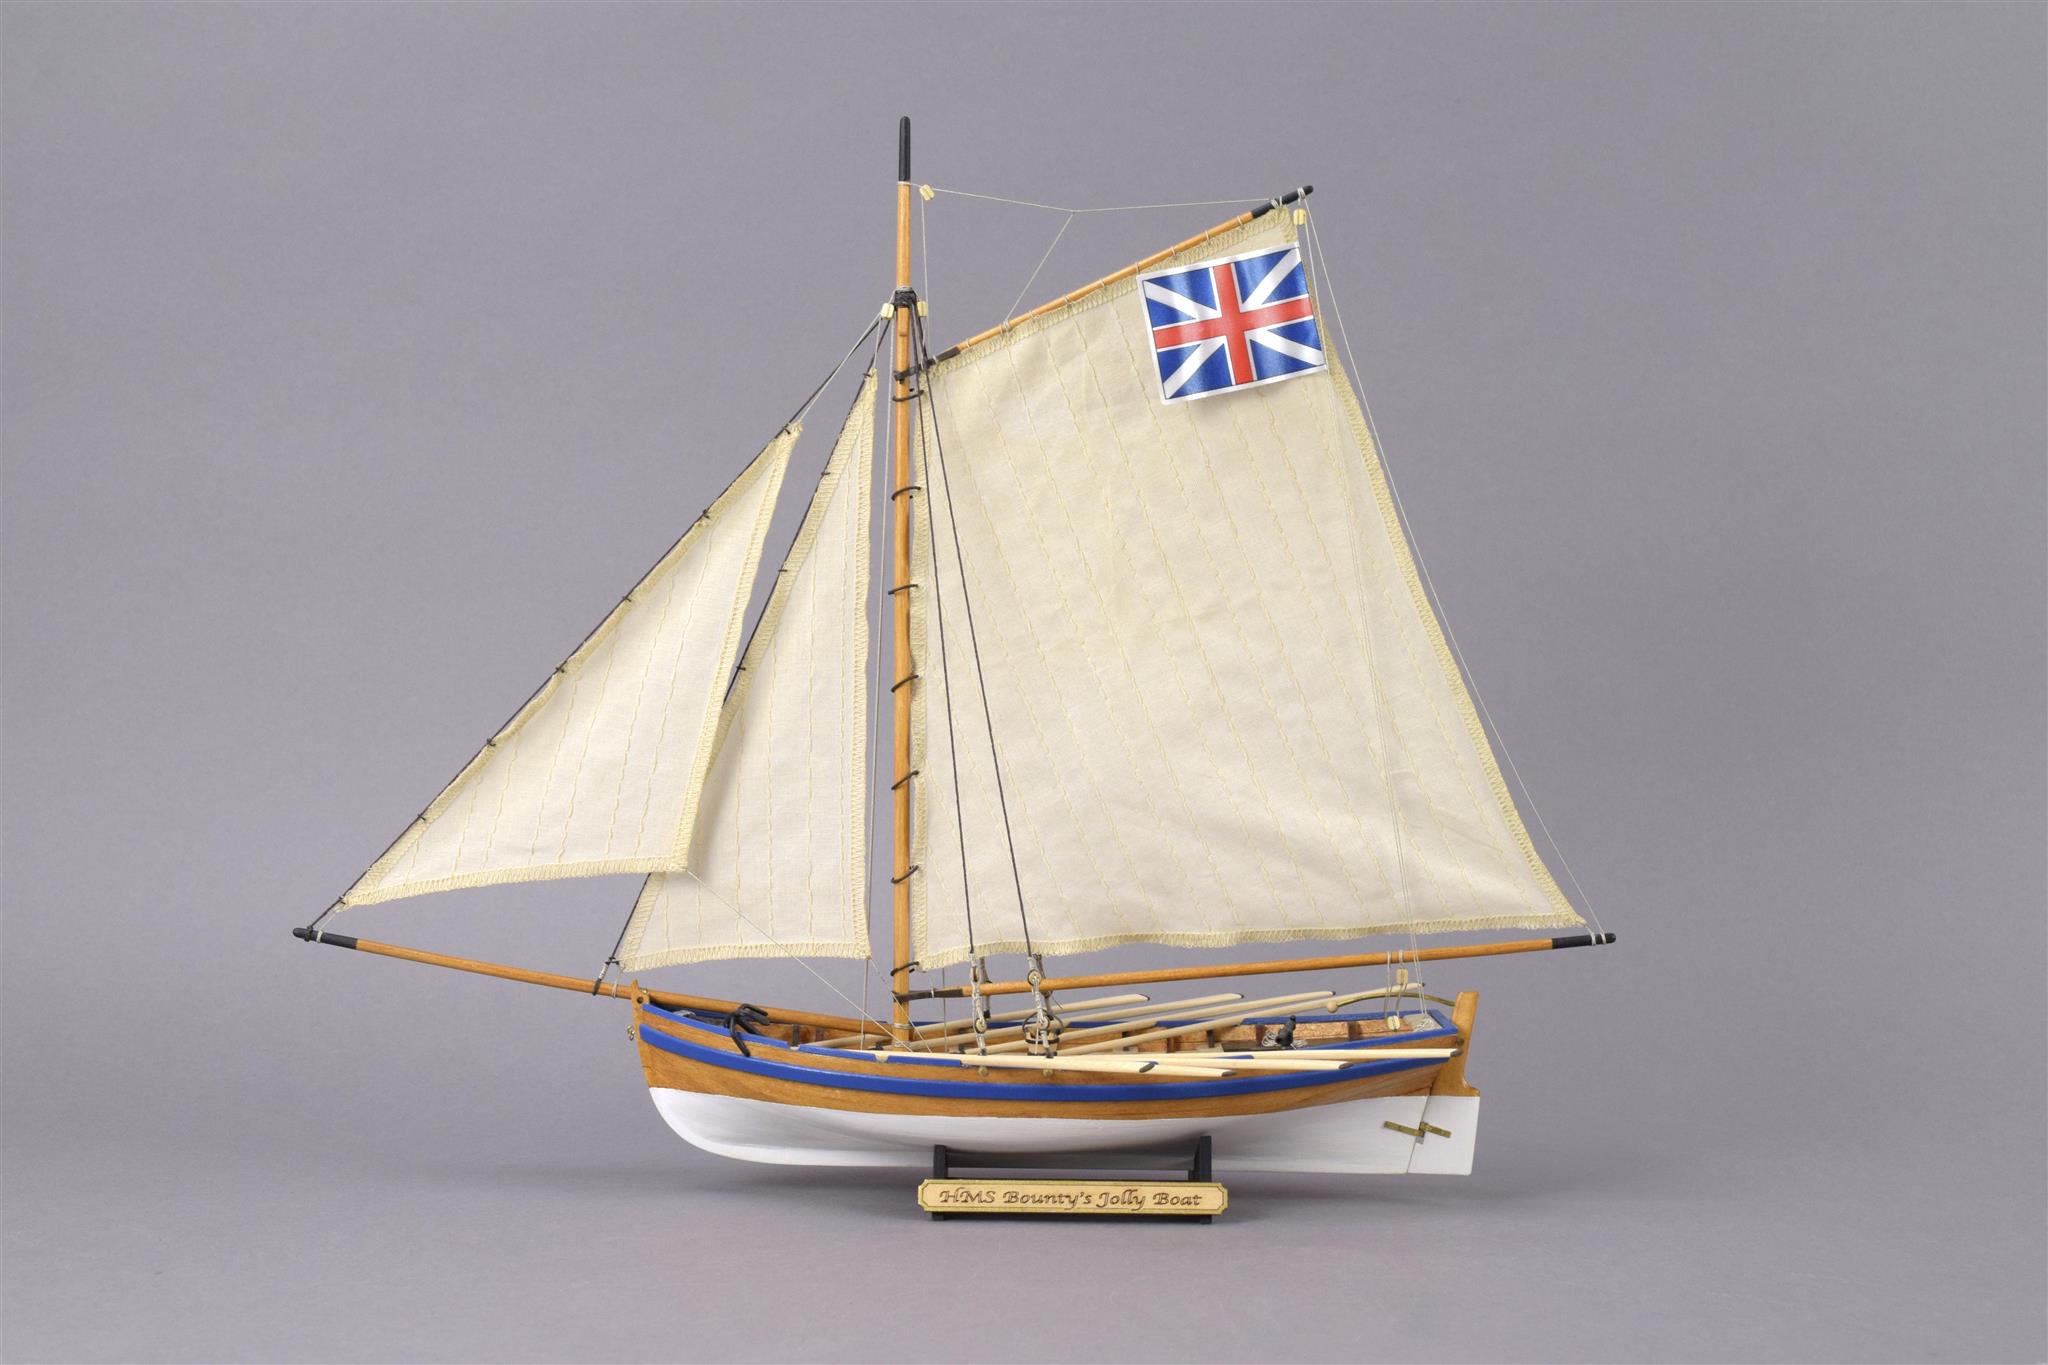
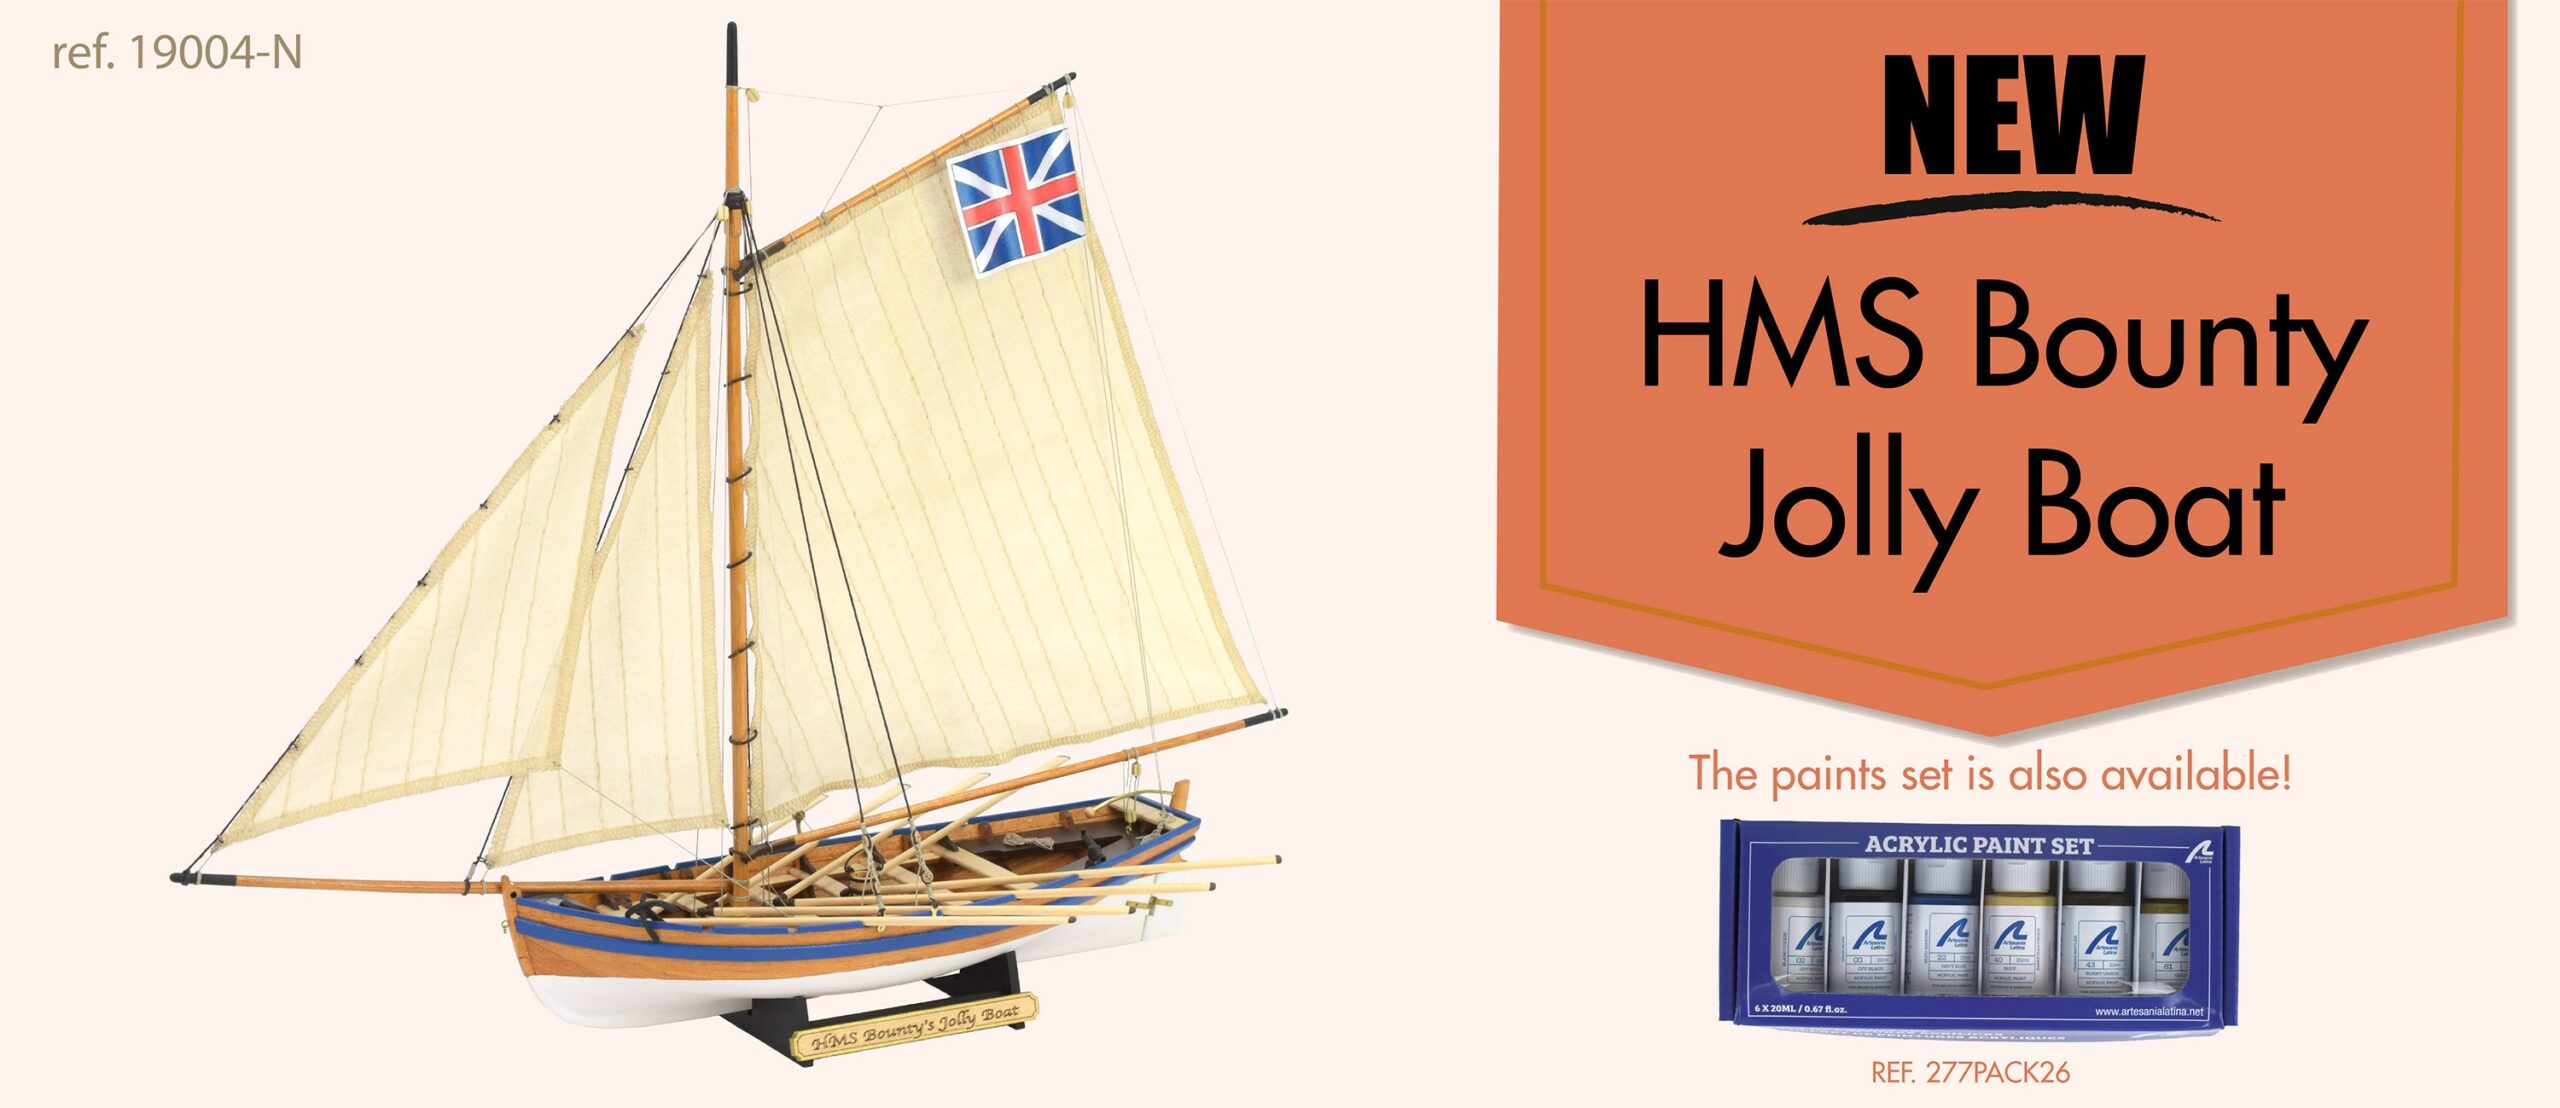
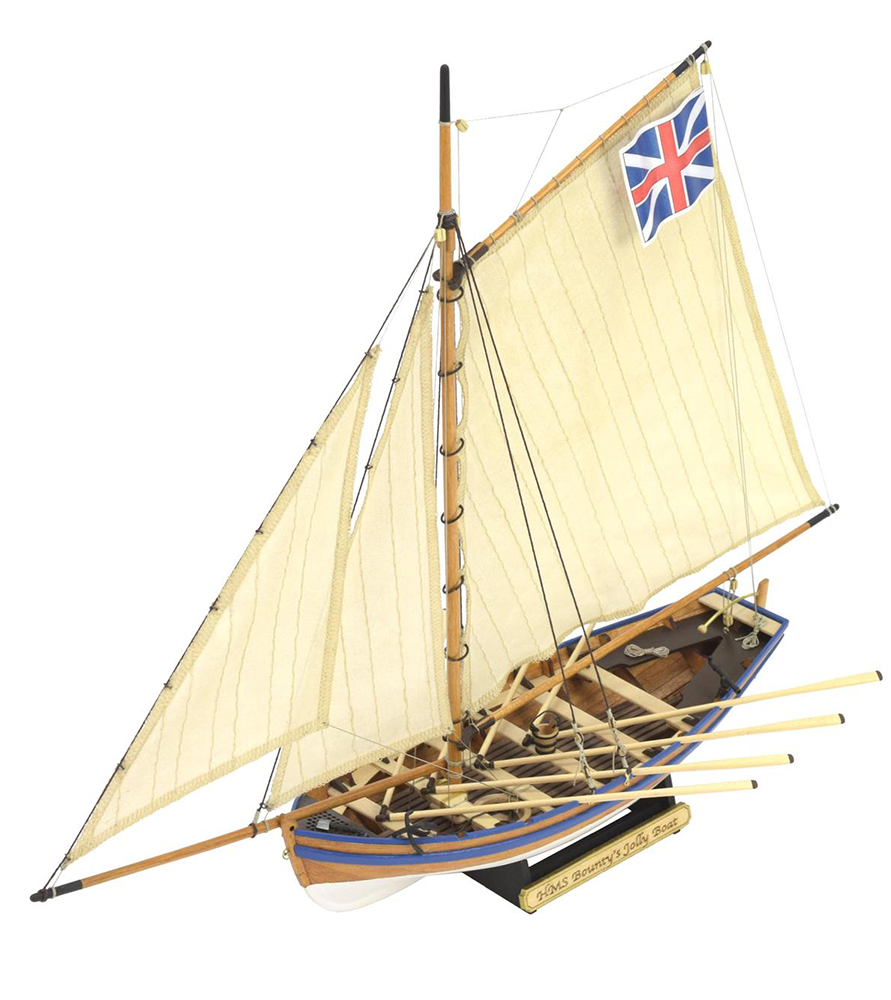
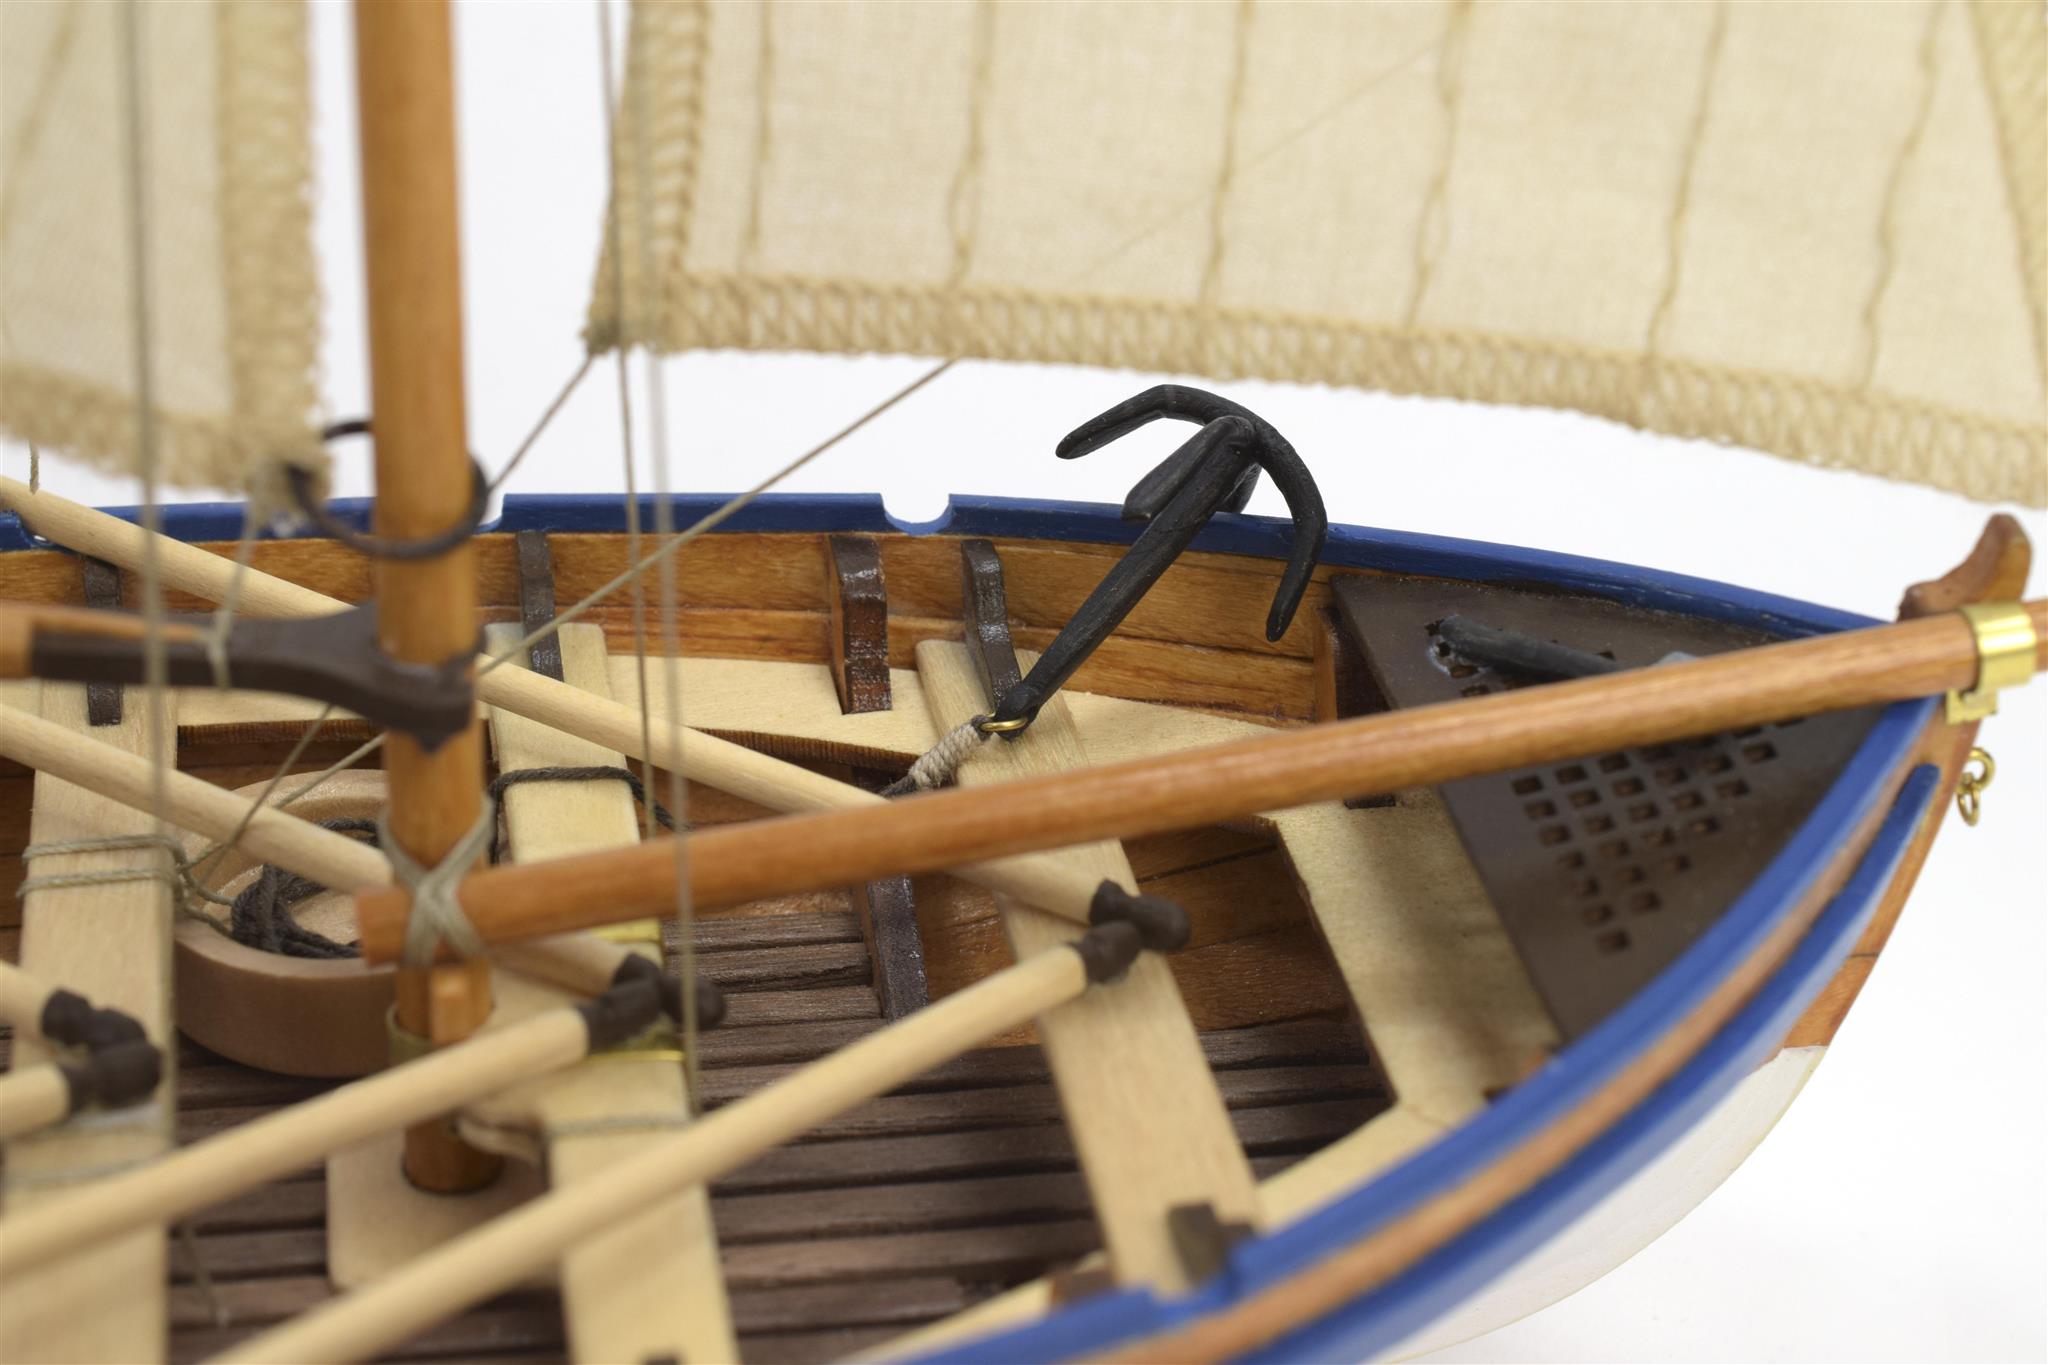
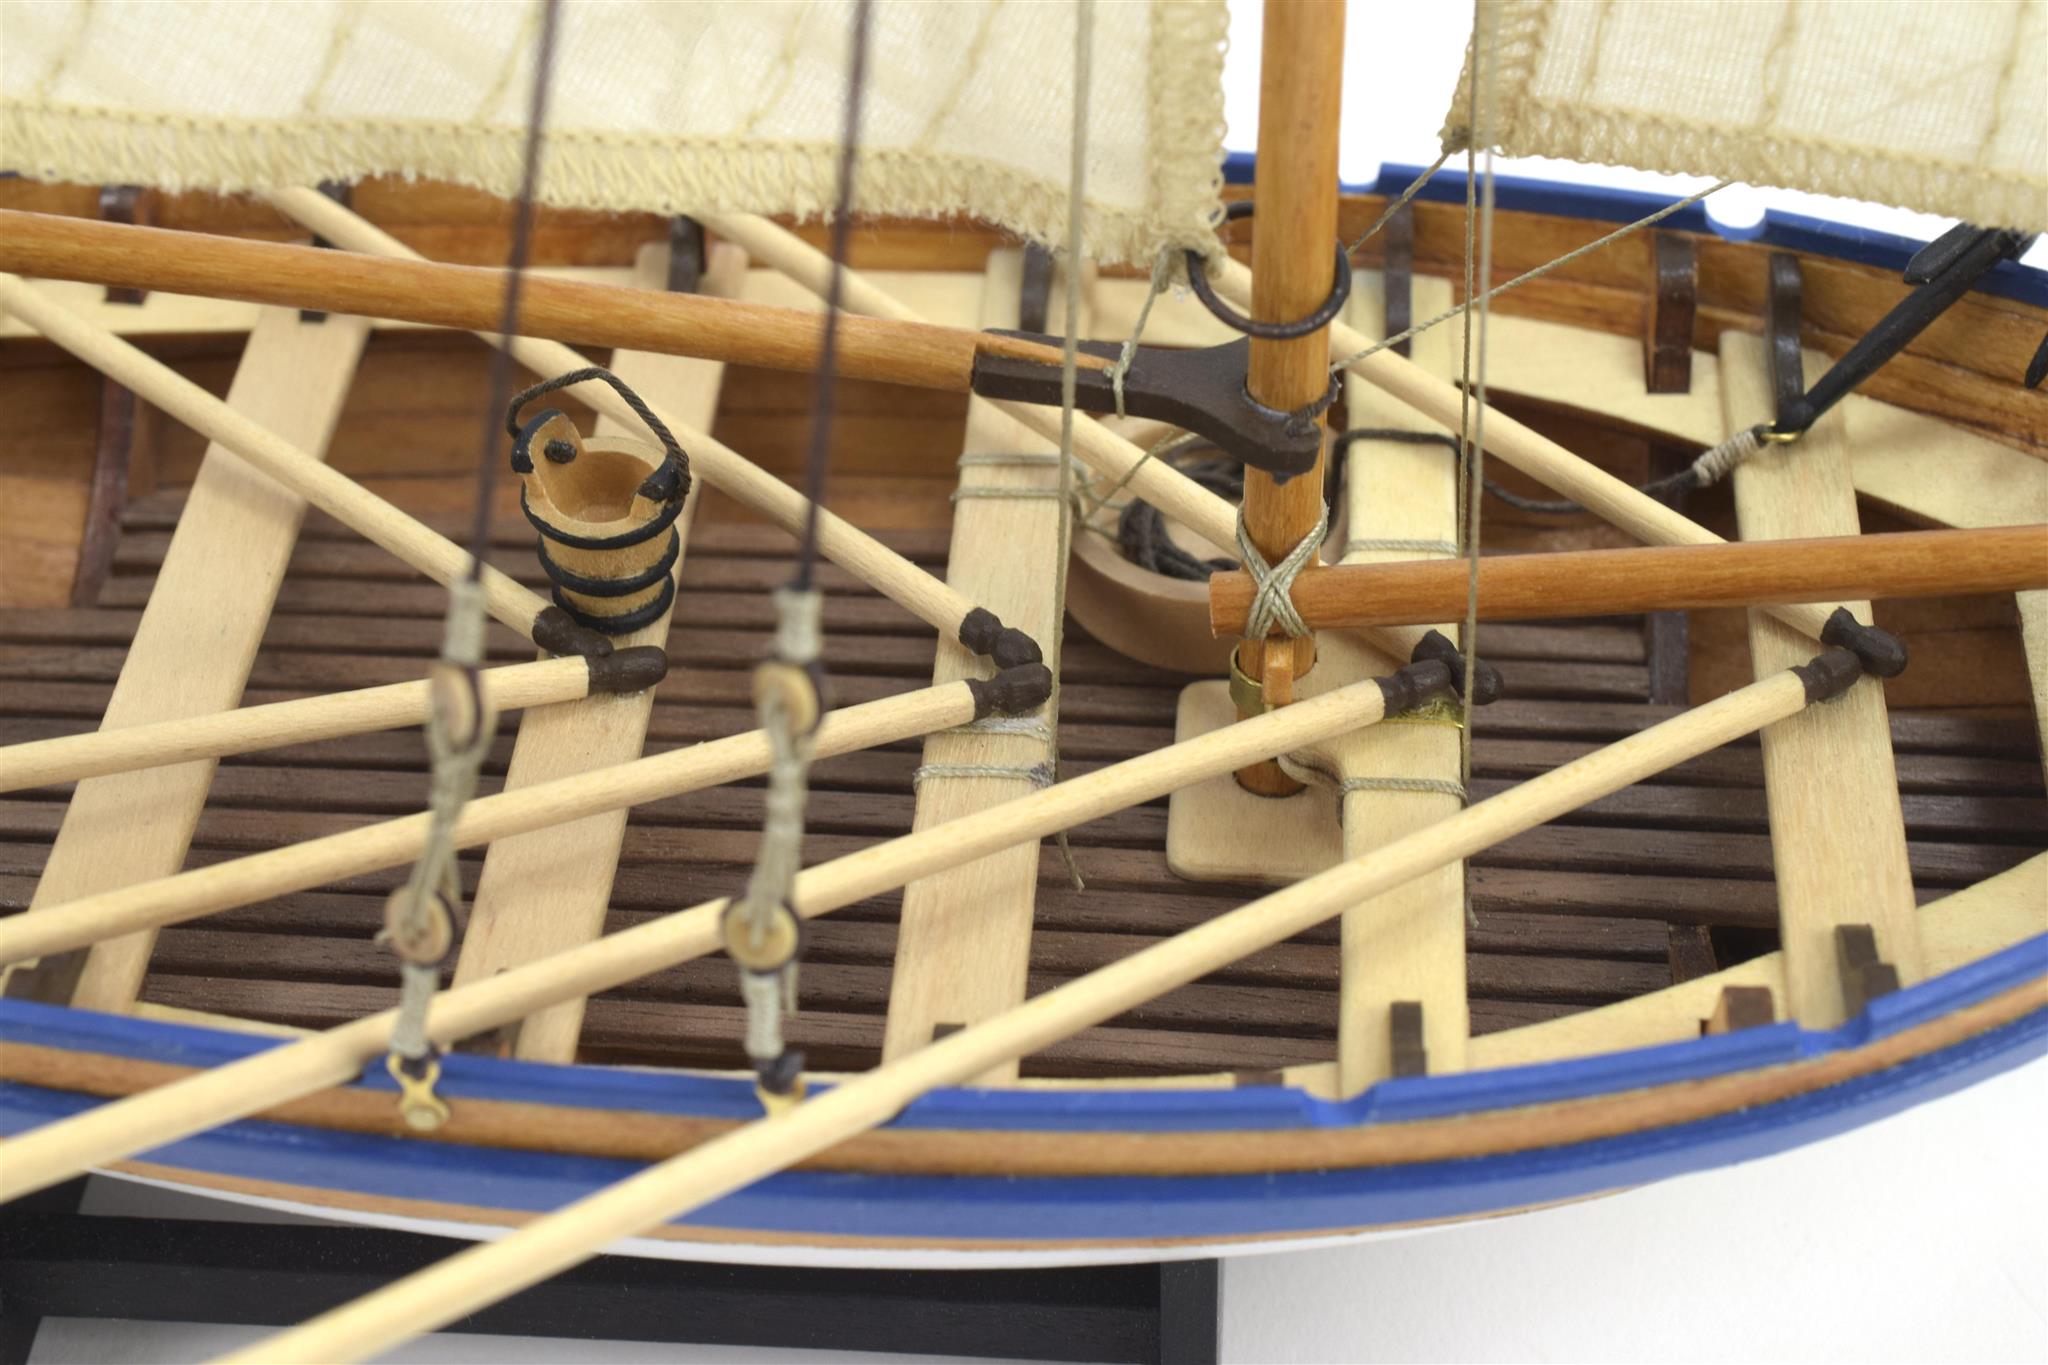
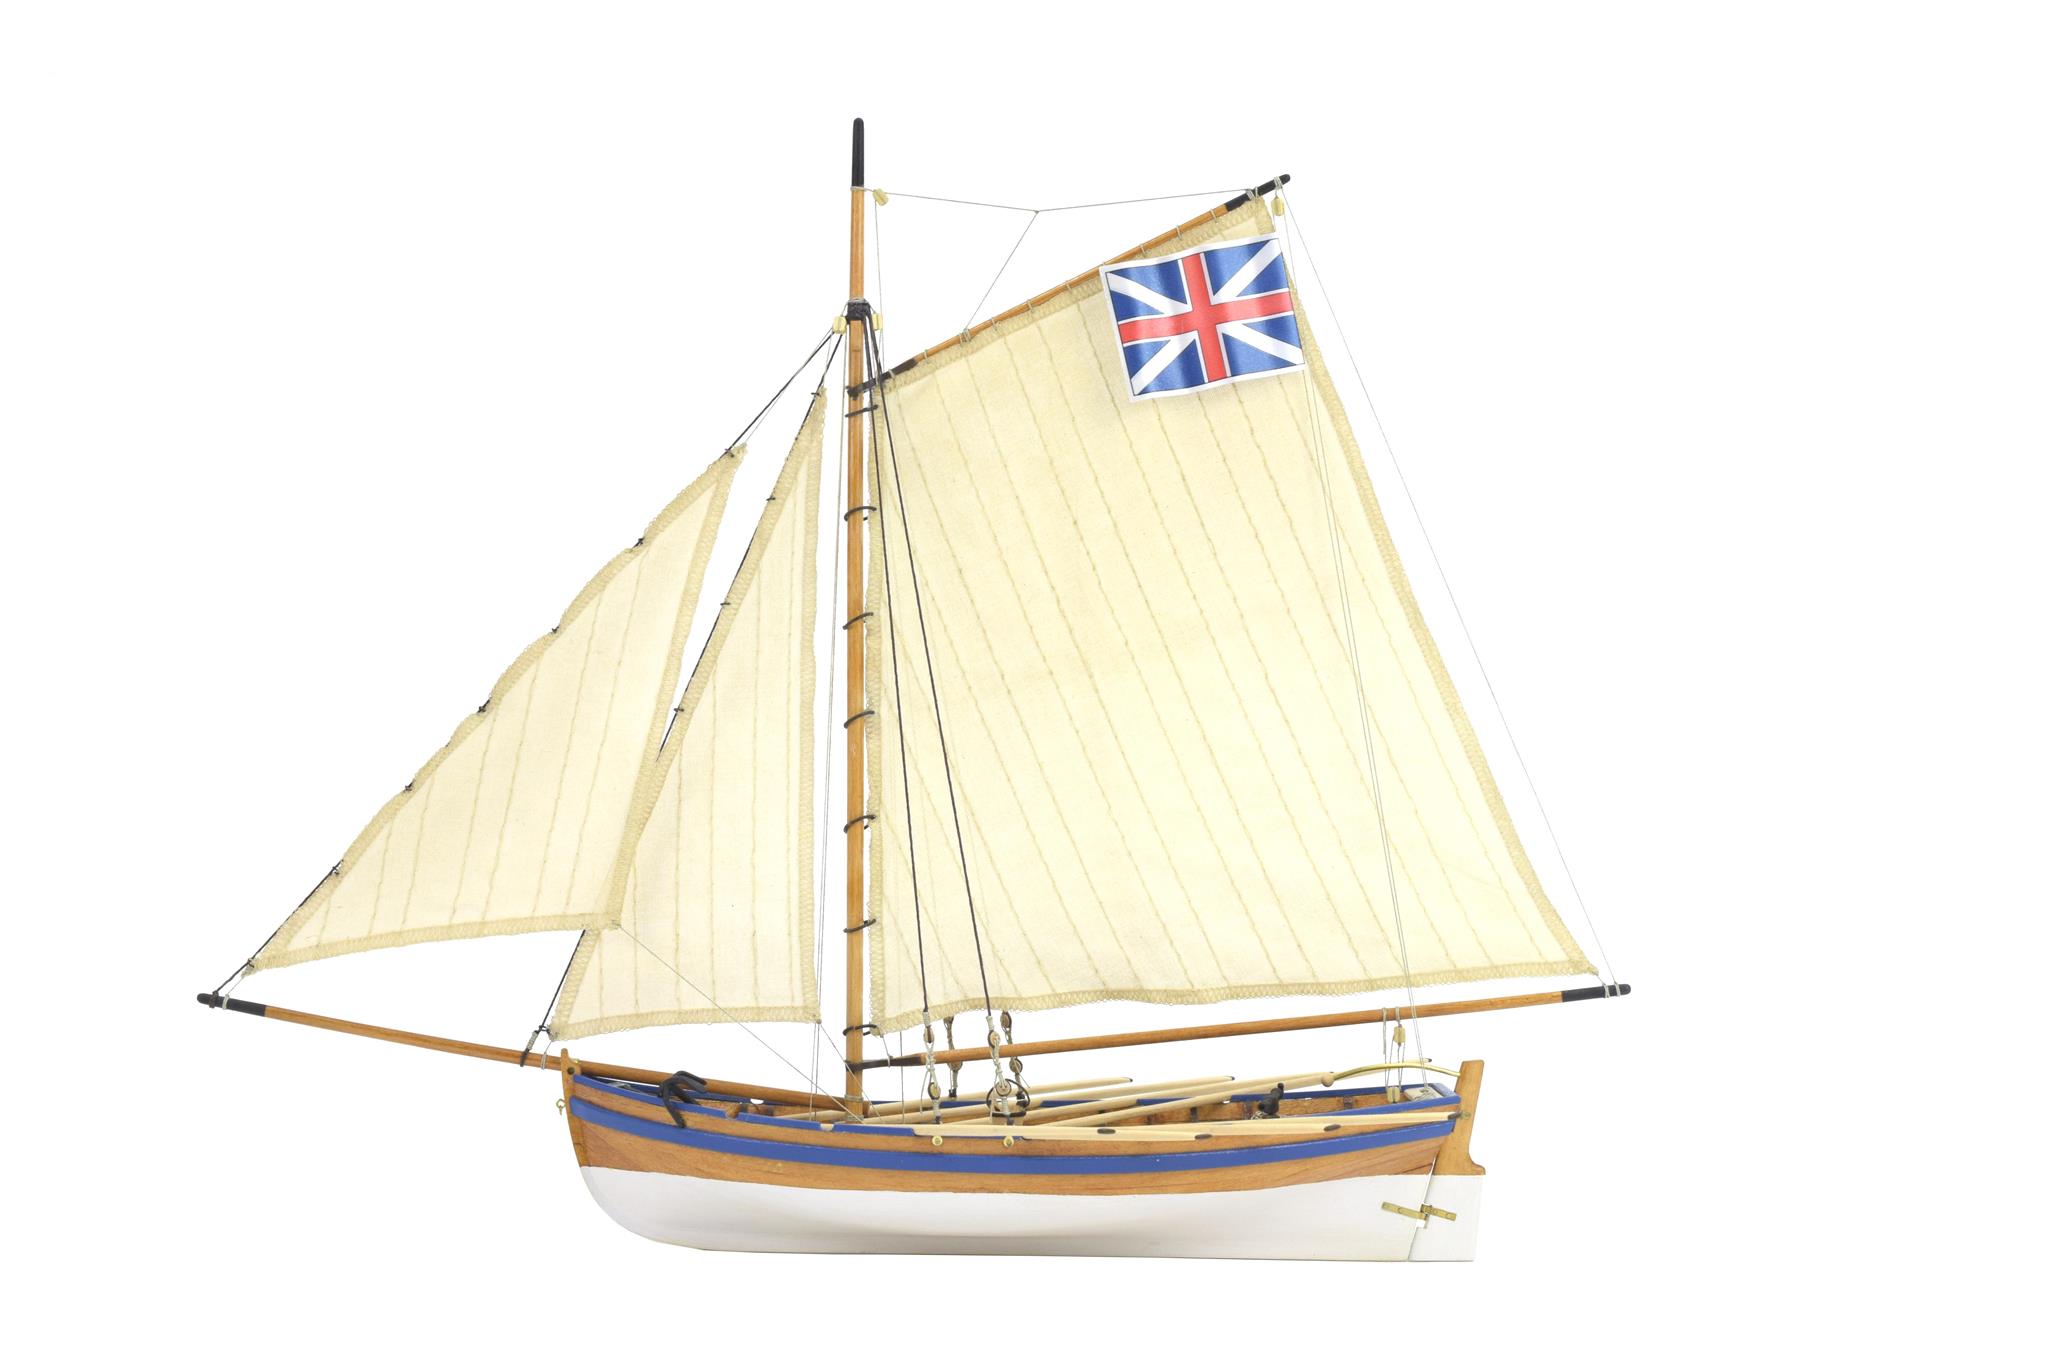
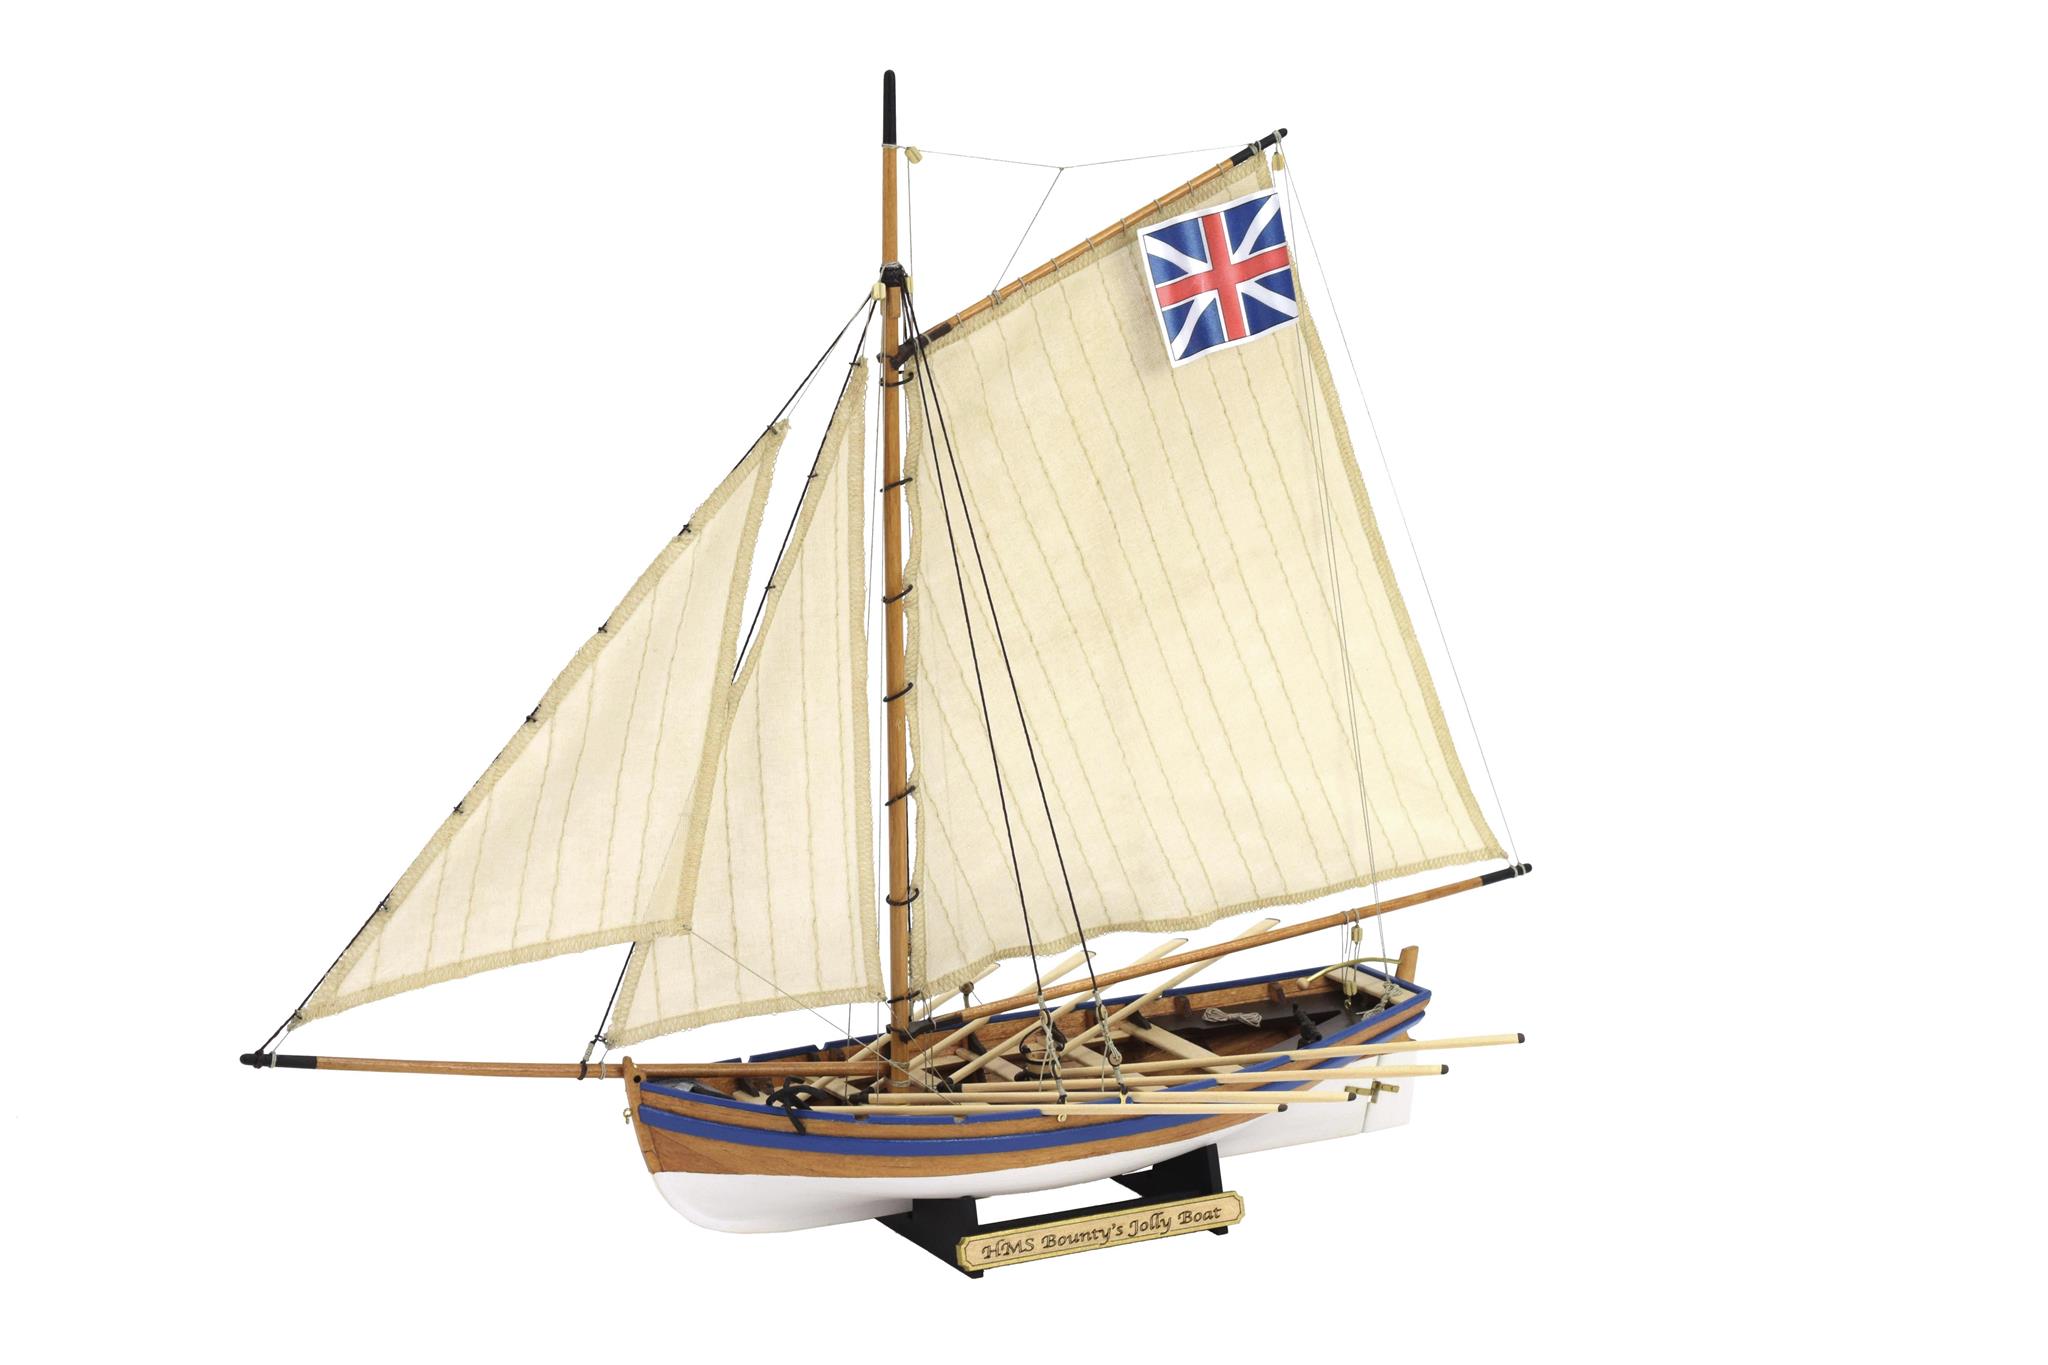
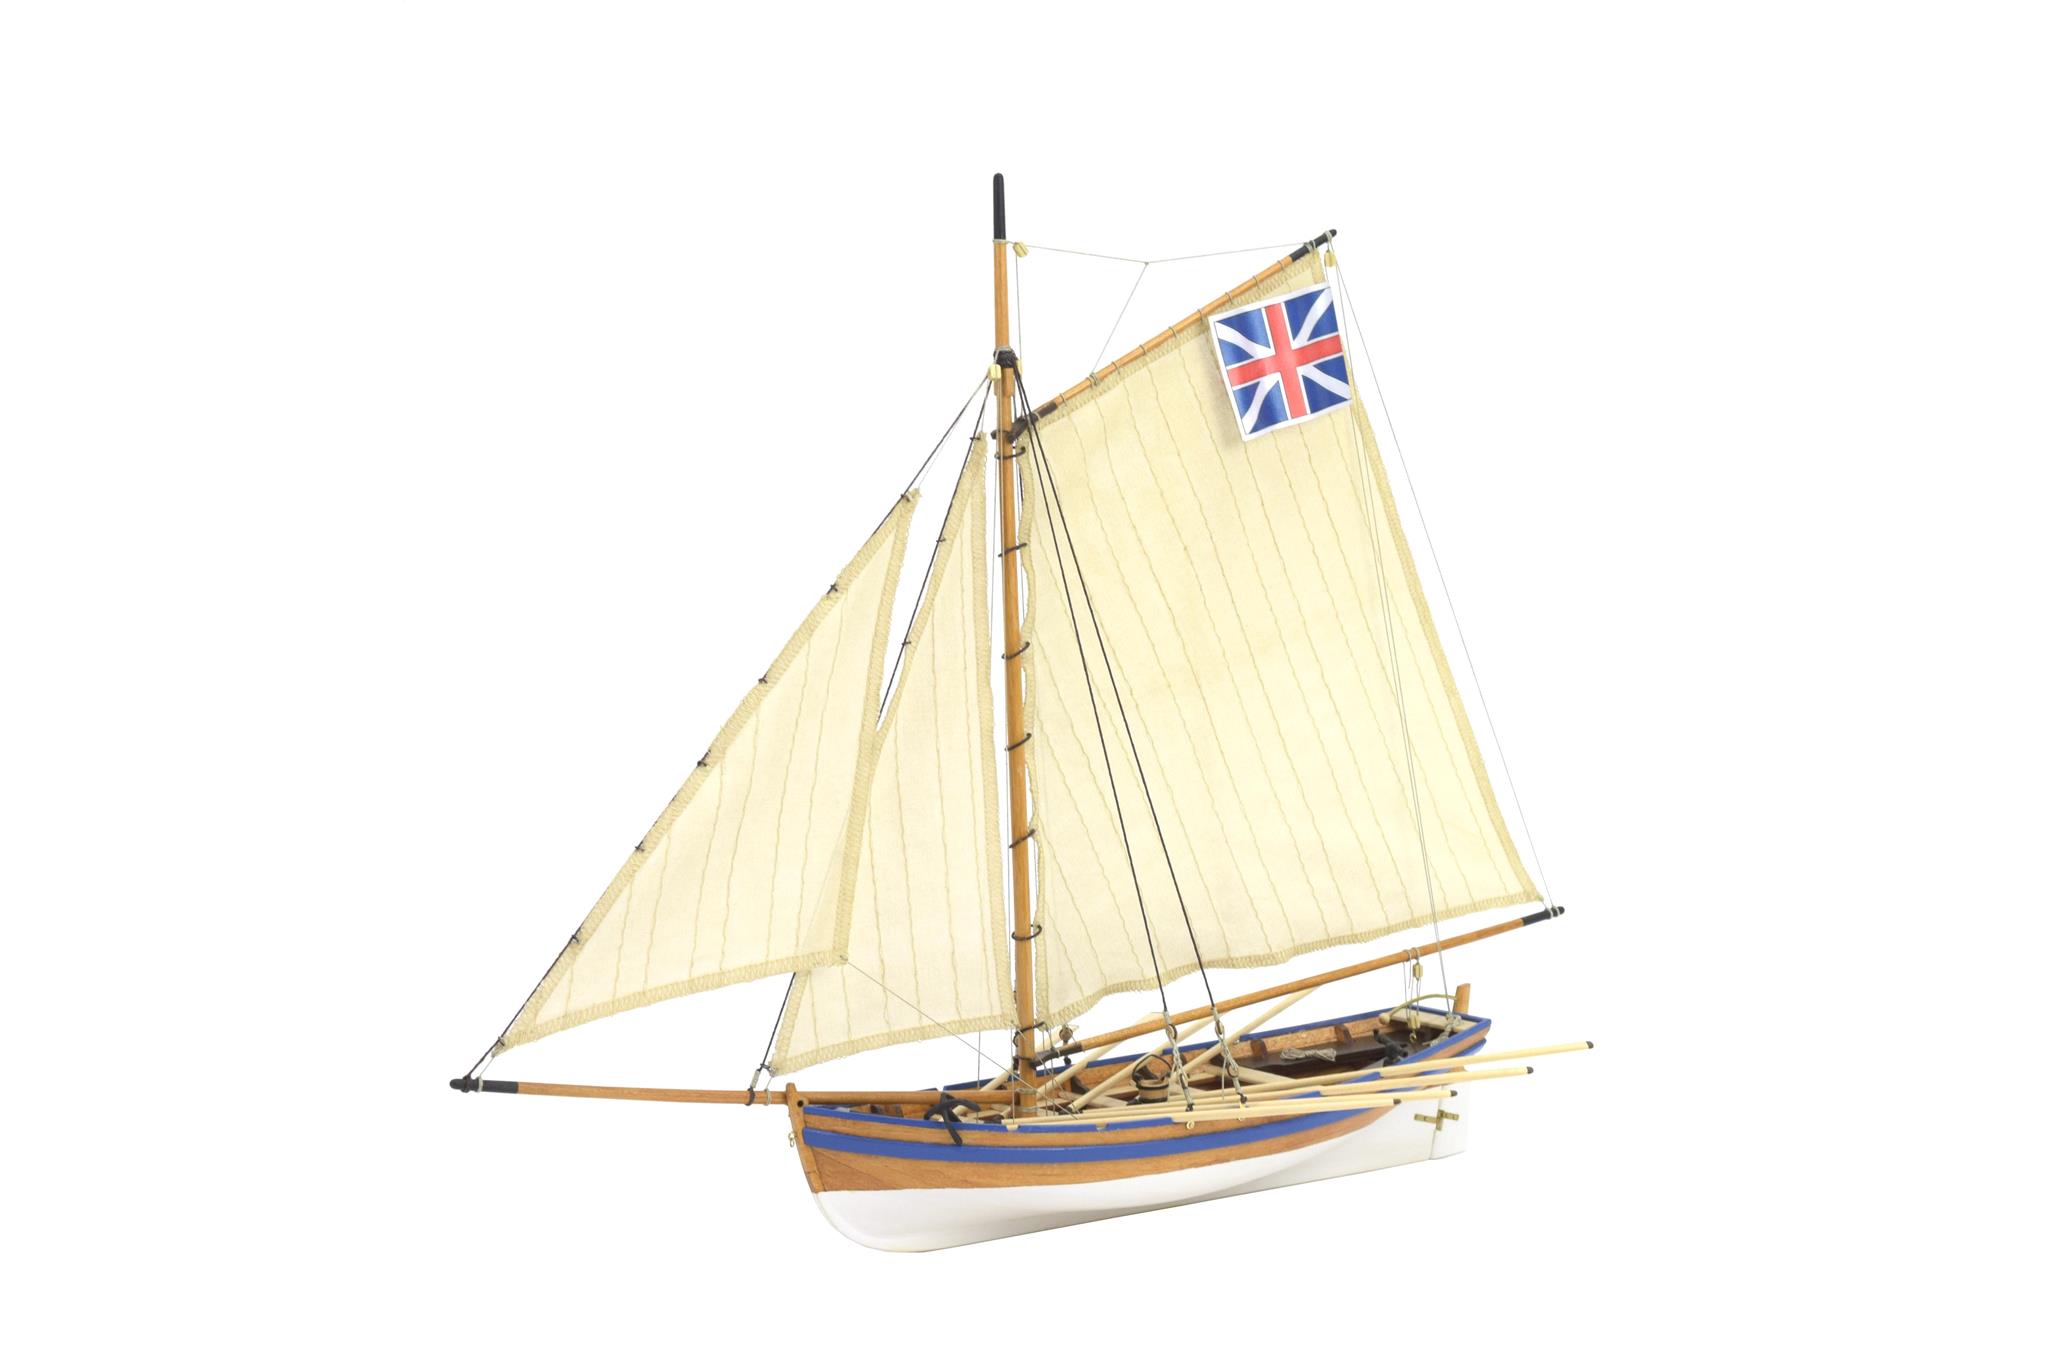
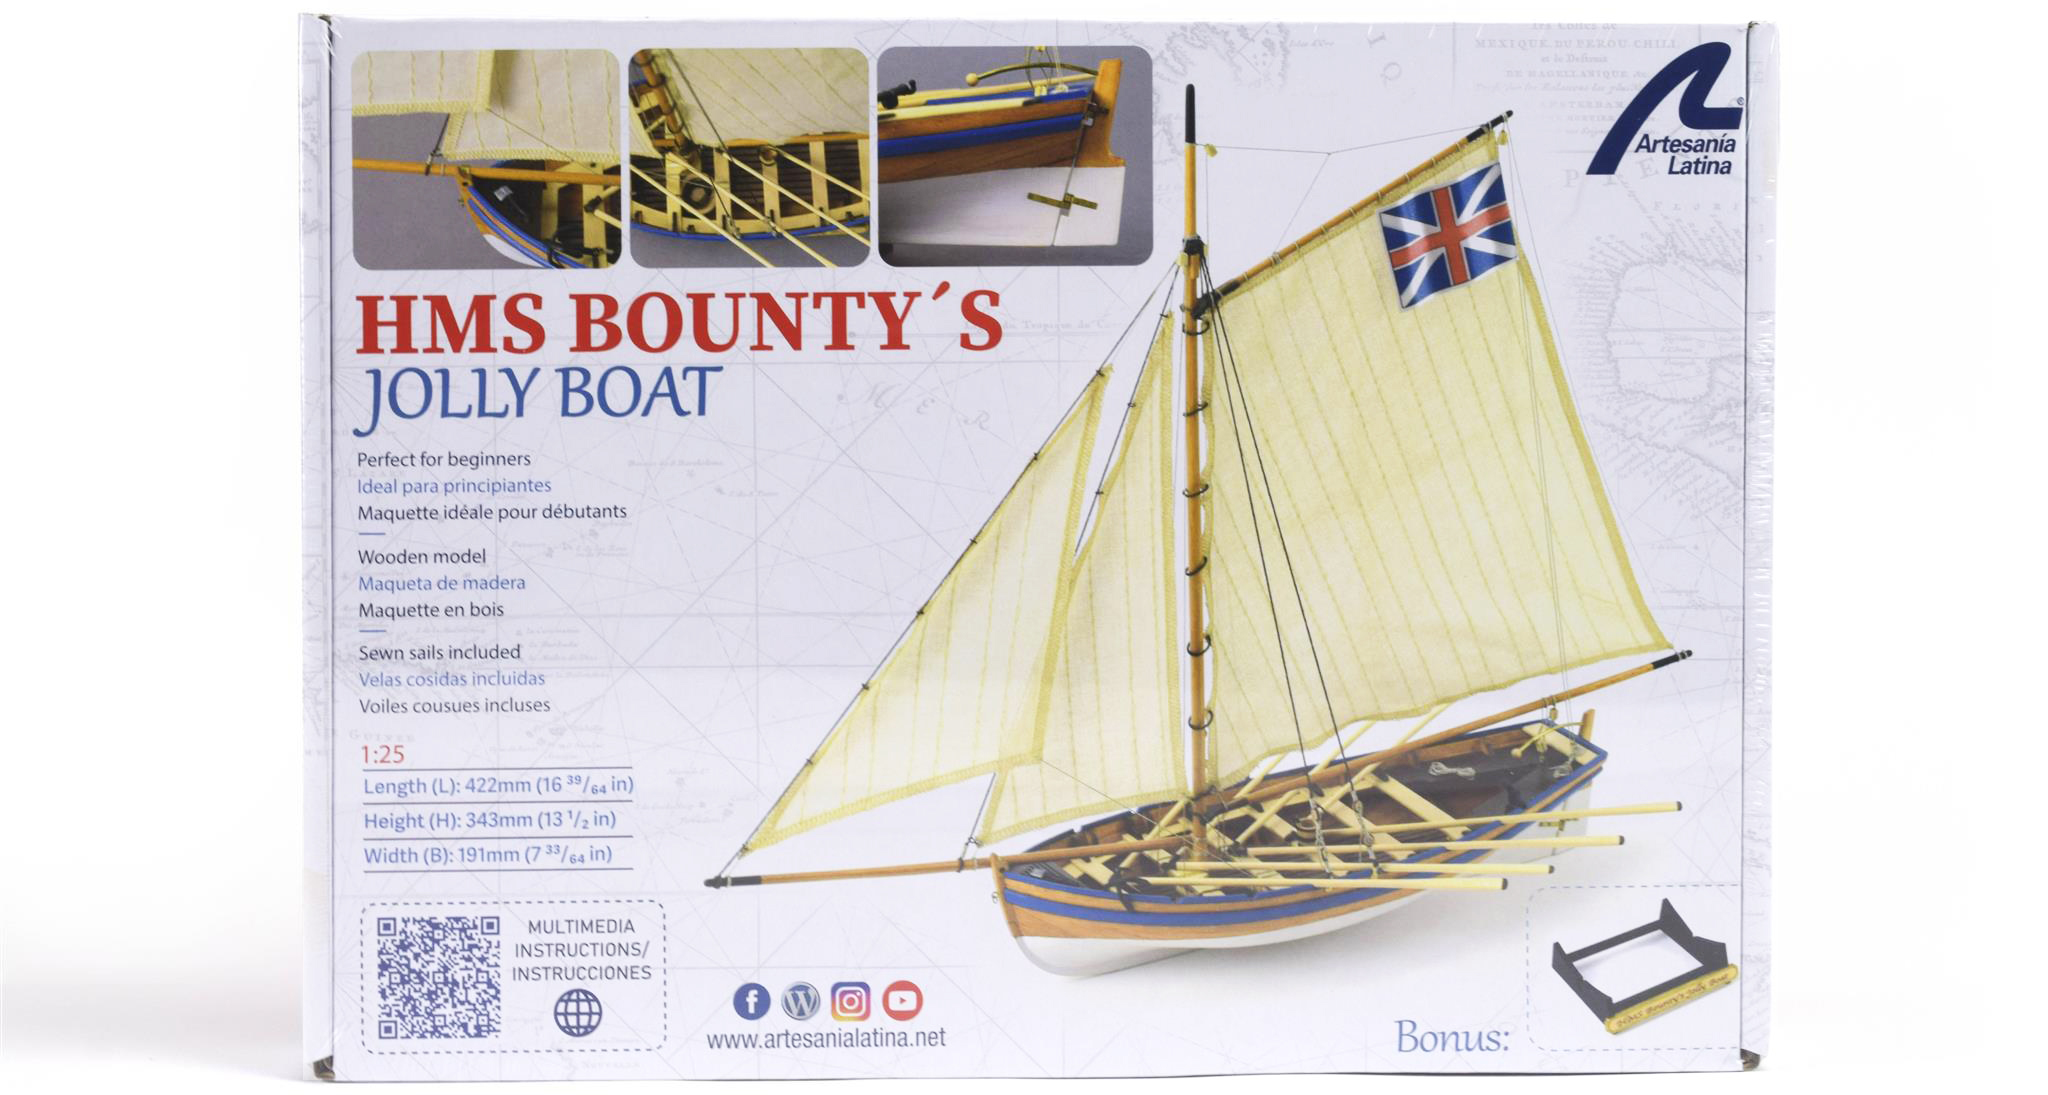
We were impatient for its arrival in our warehouses… And it’s here! We have spent months redesigning one of the emblematic wooden scale models in our catalogue. Everything to make the assembly experienceoptimal and fun. It is a great joy for the team of modelers from Artesanía Latina to present the new HMS Bounty Jolly Boat Model (19004-N), the legendary British ship. The naval modeling kit at 1:25 scale of the HMS Bounty auxiliary boat is aimed at beginner modelers and also those who want to accompany its merchant vessel (22810).
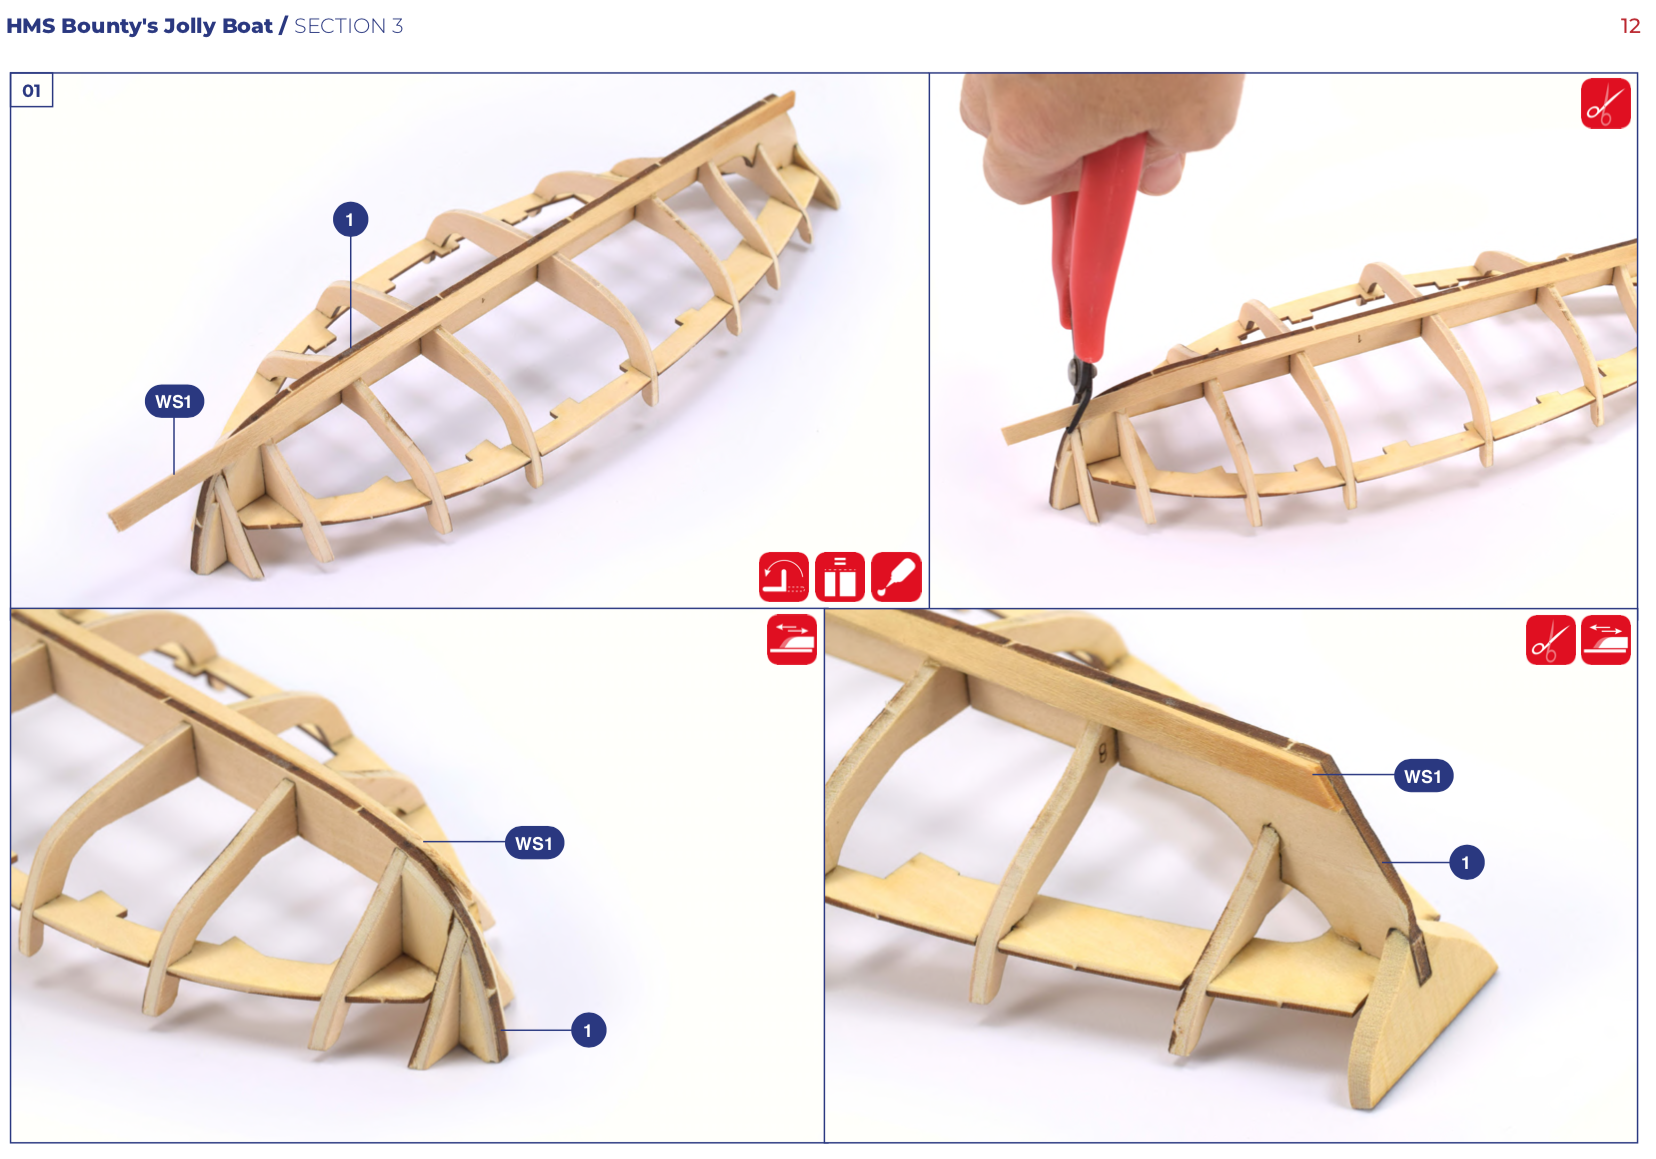
Get started in the wonderful world of naval modeling building your own new1:25 scale model in wood of the HMS Bounty Jolly Boat from 18th century. This was, without a doubt, an essential vessel in the development of one of the most famous nautical feats in history. Now, with an improved assembly experience that is much easier and more enjoyable! In addition, its assembly system using a false keel and frames brings its design closer to that of a real ship and will delight novice modelers who build this faithful miniature replica.
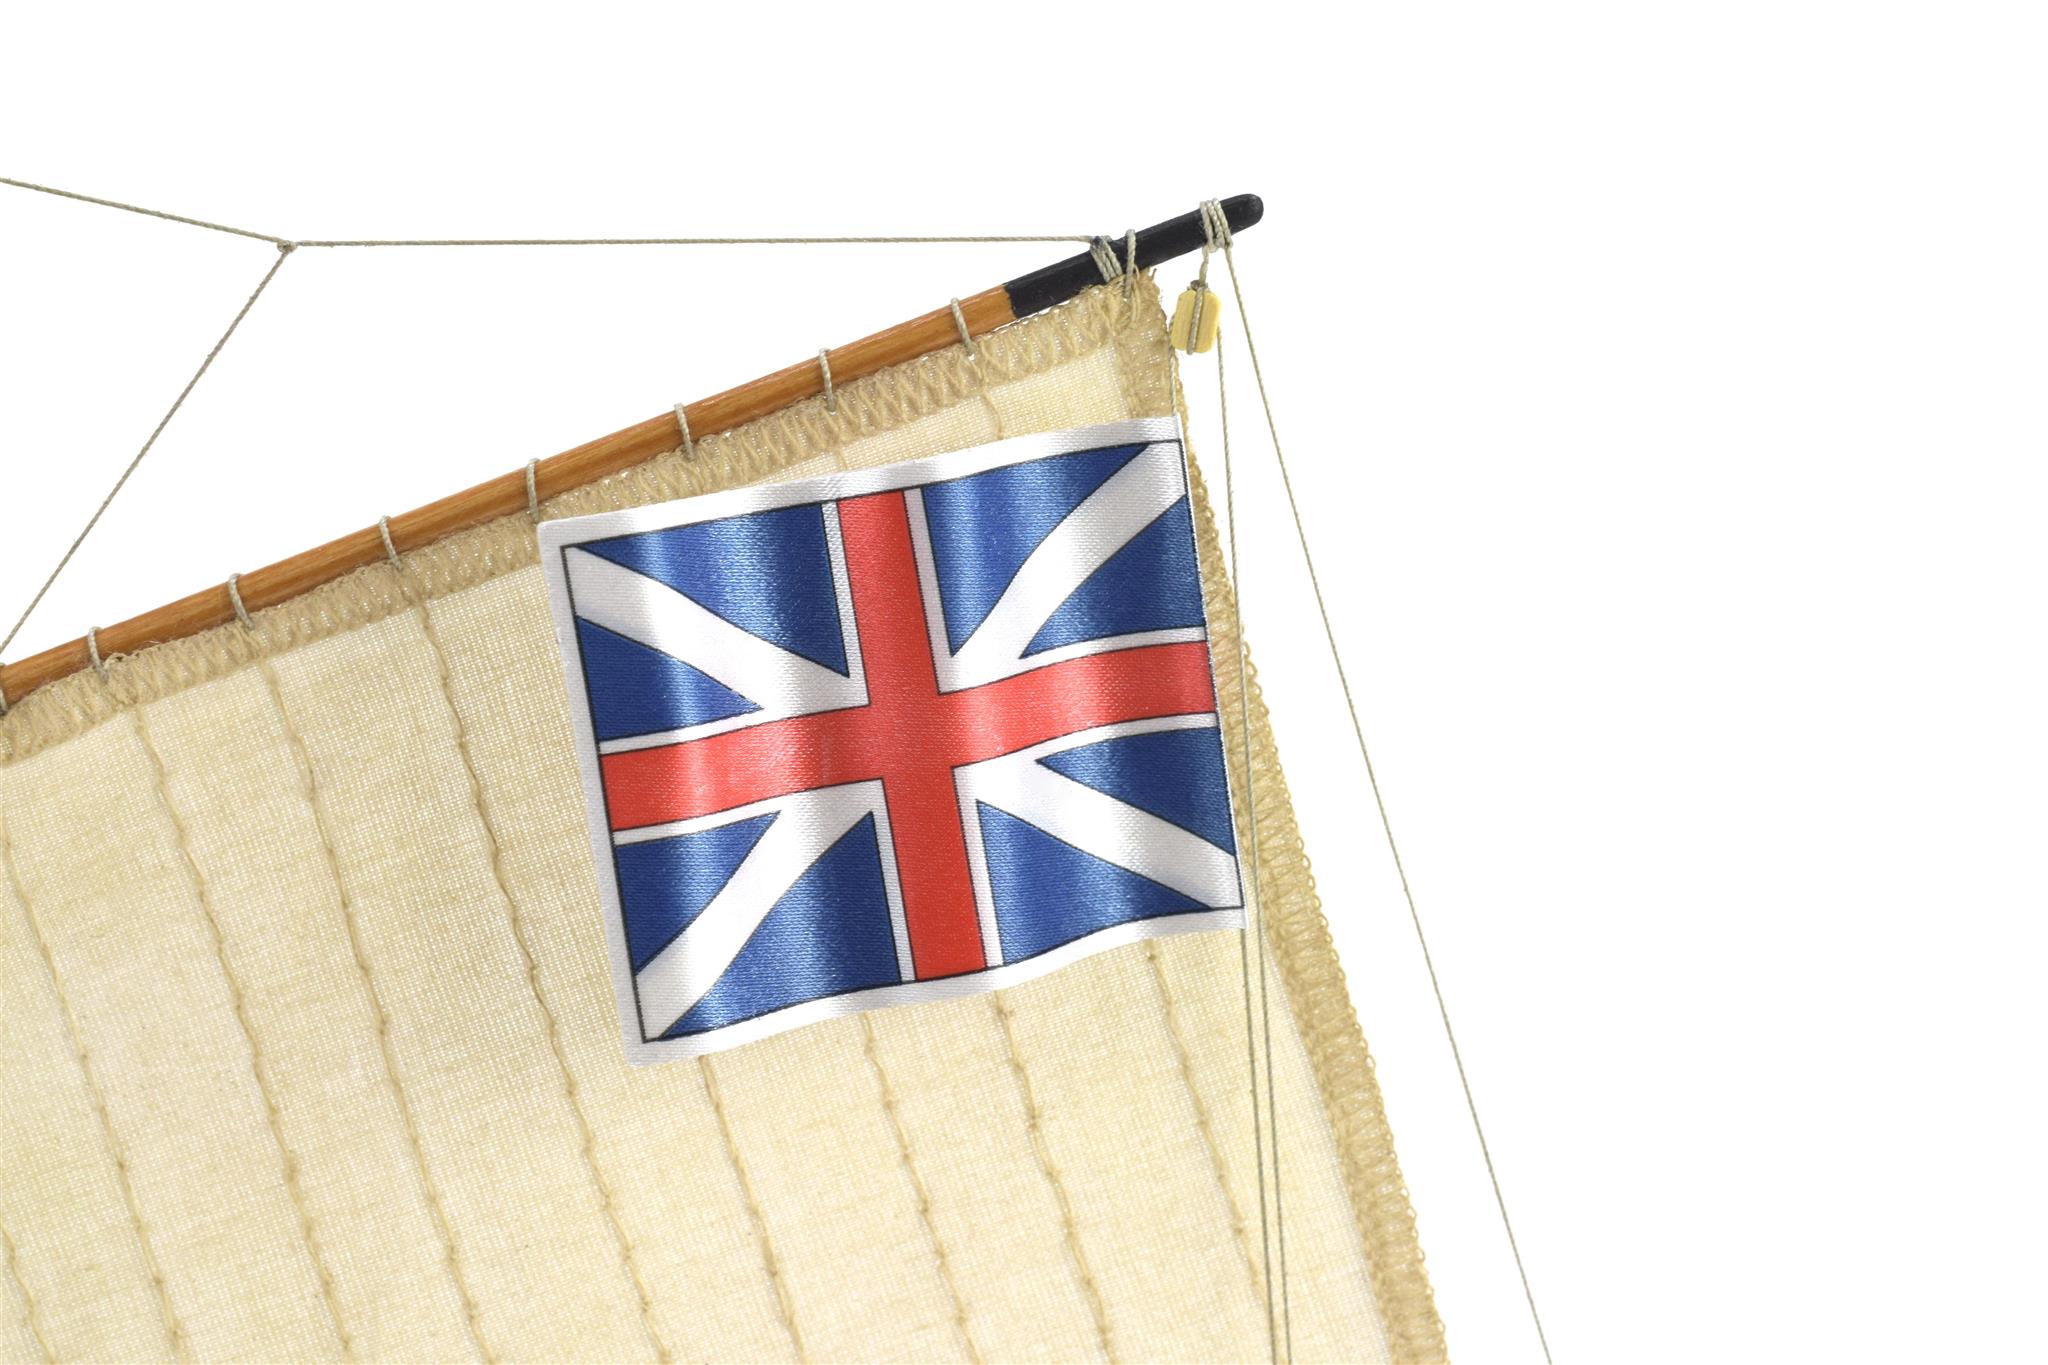
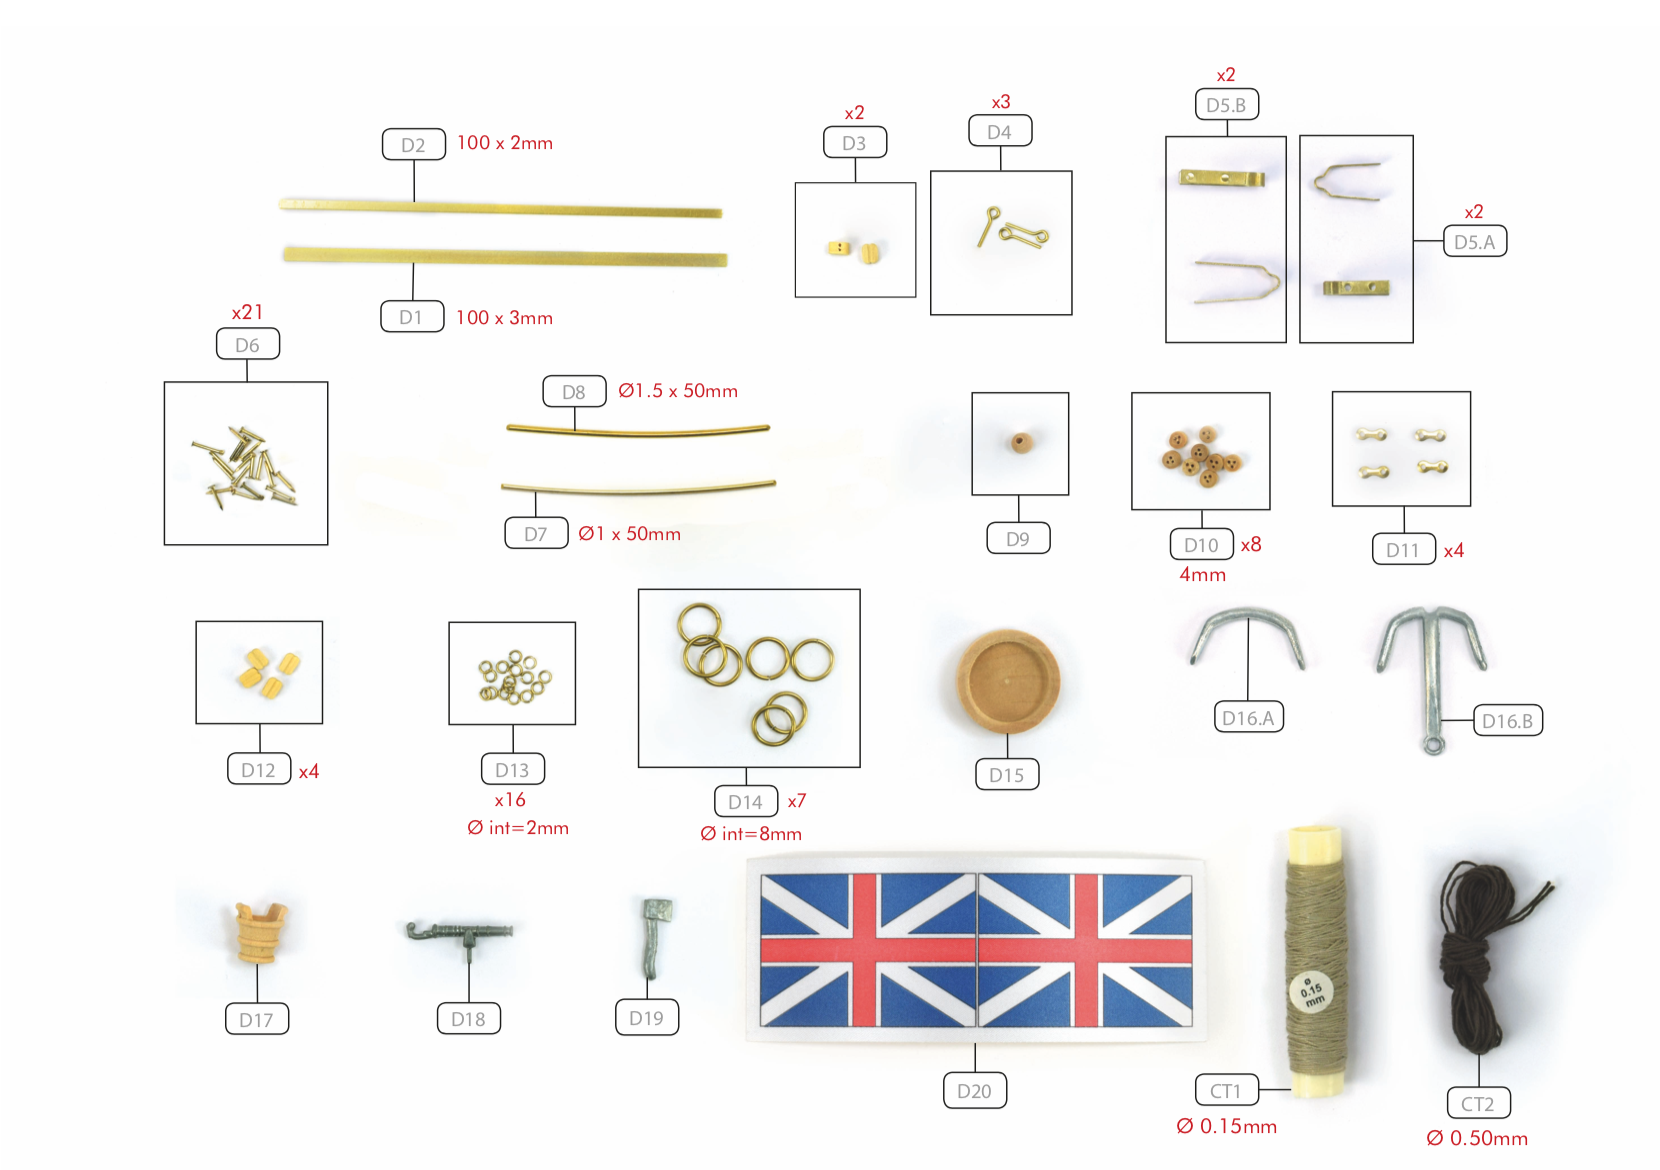
The 2023 renewed naval modeling kit with the model of the HMS Bounty Jolly Boat brings all the necessary parts for assembling this naval model. In this sense, the box contains three plates cut by high precision laser to be able to extract the parts without problems. Two of plywood (one of 2 mm and one of 3 mm) and one of 3 mm hardwood. Discover its set of wooden strips, veneers and round dowels, also accessories in die-cast, brass and wood and the flag… It has a new design!
It also brings a magnificent set of hand-sewn cotton sails ready to be placed and cotton thread.
As a bonus, beautiful wooden exhibition base to assemble with name plate of the boat.
EXCELLENT INSTRUCTIONS FOR ASSEMBLY OF JOLLY BOAT
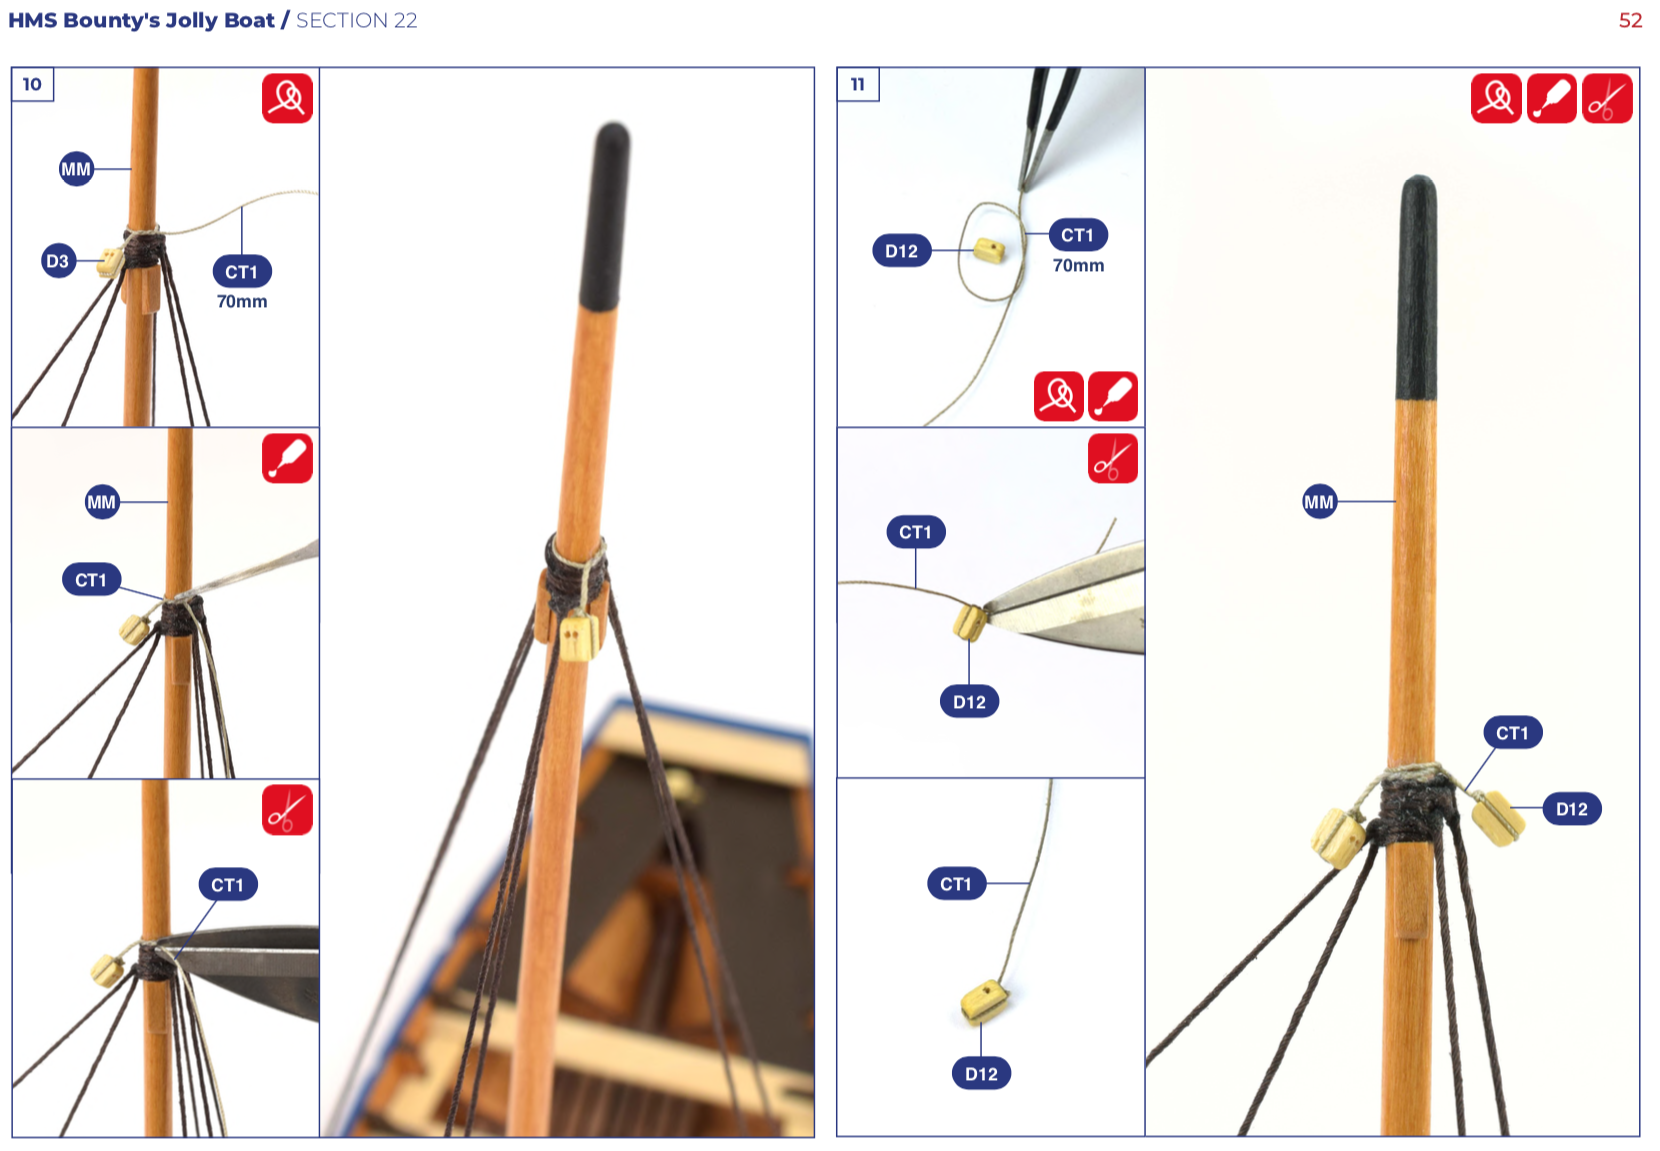
If you want to assemble the HMS Bounty Jolly Boat Model of the British ship, you can use our renewed and complete instructions, -step by step with full colour images-. There are so many photographs and explanatory steps with their descriptive legends that the assembly is very comfortable for the novice modeler. It does not come with printed instructions. You can also download the digital instructions for free on the button on this product sheet called ‘Instructions and Downloadable Content’. If you want to get the digital assembly guide, you can also scan the QR code existing on the kit box and plan. This action takes you to this same web page where you can download all the instructions you need.
Kit also includes printed boat plan and parts list. Once built, the model measures 16.61” (422mm) length, 13.50” (343mm) height and 7.51” (191mm) width.
BOUNTY JOLLY BOAT MODEL: ACRYLIC PAINTS SET
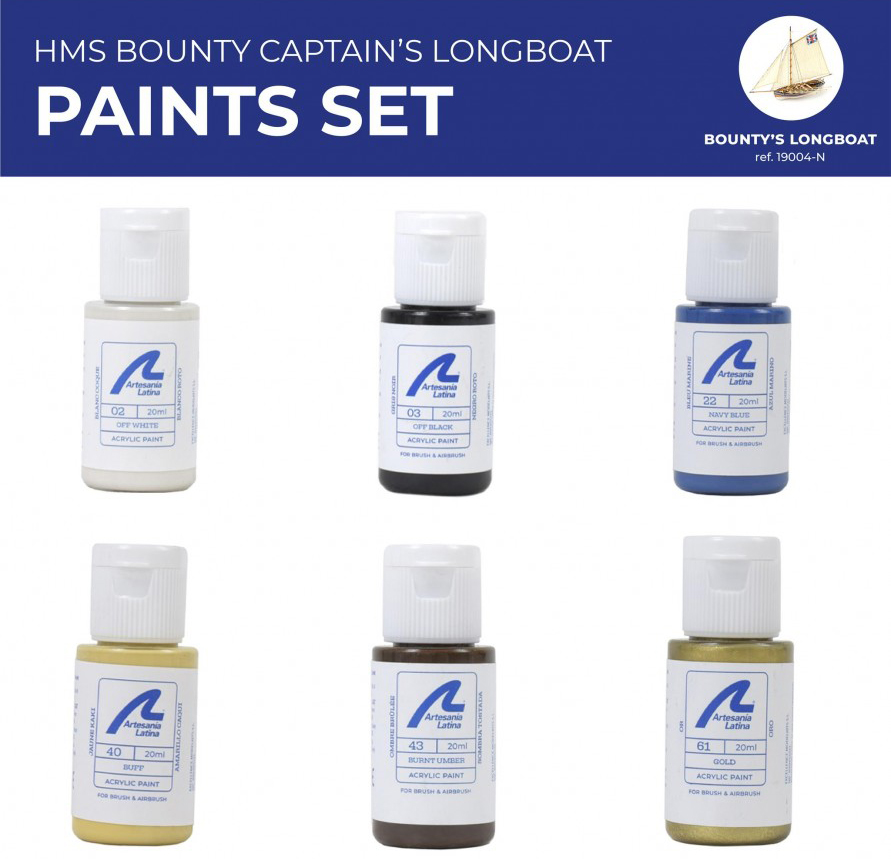
Achieve perfect and faithful finishes! We recommend that you paint your HMS Bounty Jolly Boat Model with our Specific Set of Acrylic Paints (277PACK26), for sale separately. This has 6 jars of different paints, each with 20 ml of product. In this sense, it includes the following colors: Off-White, Off-Black, Buff, Burnt Umber, Navy Blue and Gold.
The drying time of the set of water-based paints for the HMS Bounty Jolly Boat model is very fast. The paints are usually dry to the touch in about 20 minutes and completely dry in an hour. If you need to give a second layer, you will only have to wait approximately 6 hours. It is advisable to give it a white primer filler before applying our paints. The final result will be what your eyes see below these text lines… How precious!
Get further enhance for your collection of naval modelling, accompany, if you are an expert modeller, the HMS Bounty Jolly Boat Model with its own merchant shipHMS Bounty(22810), for sale separately. The British ships couple will shine at your showroom!
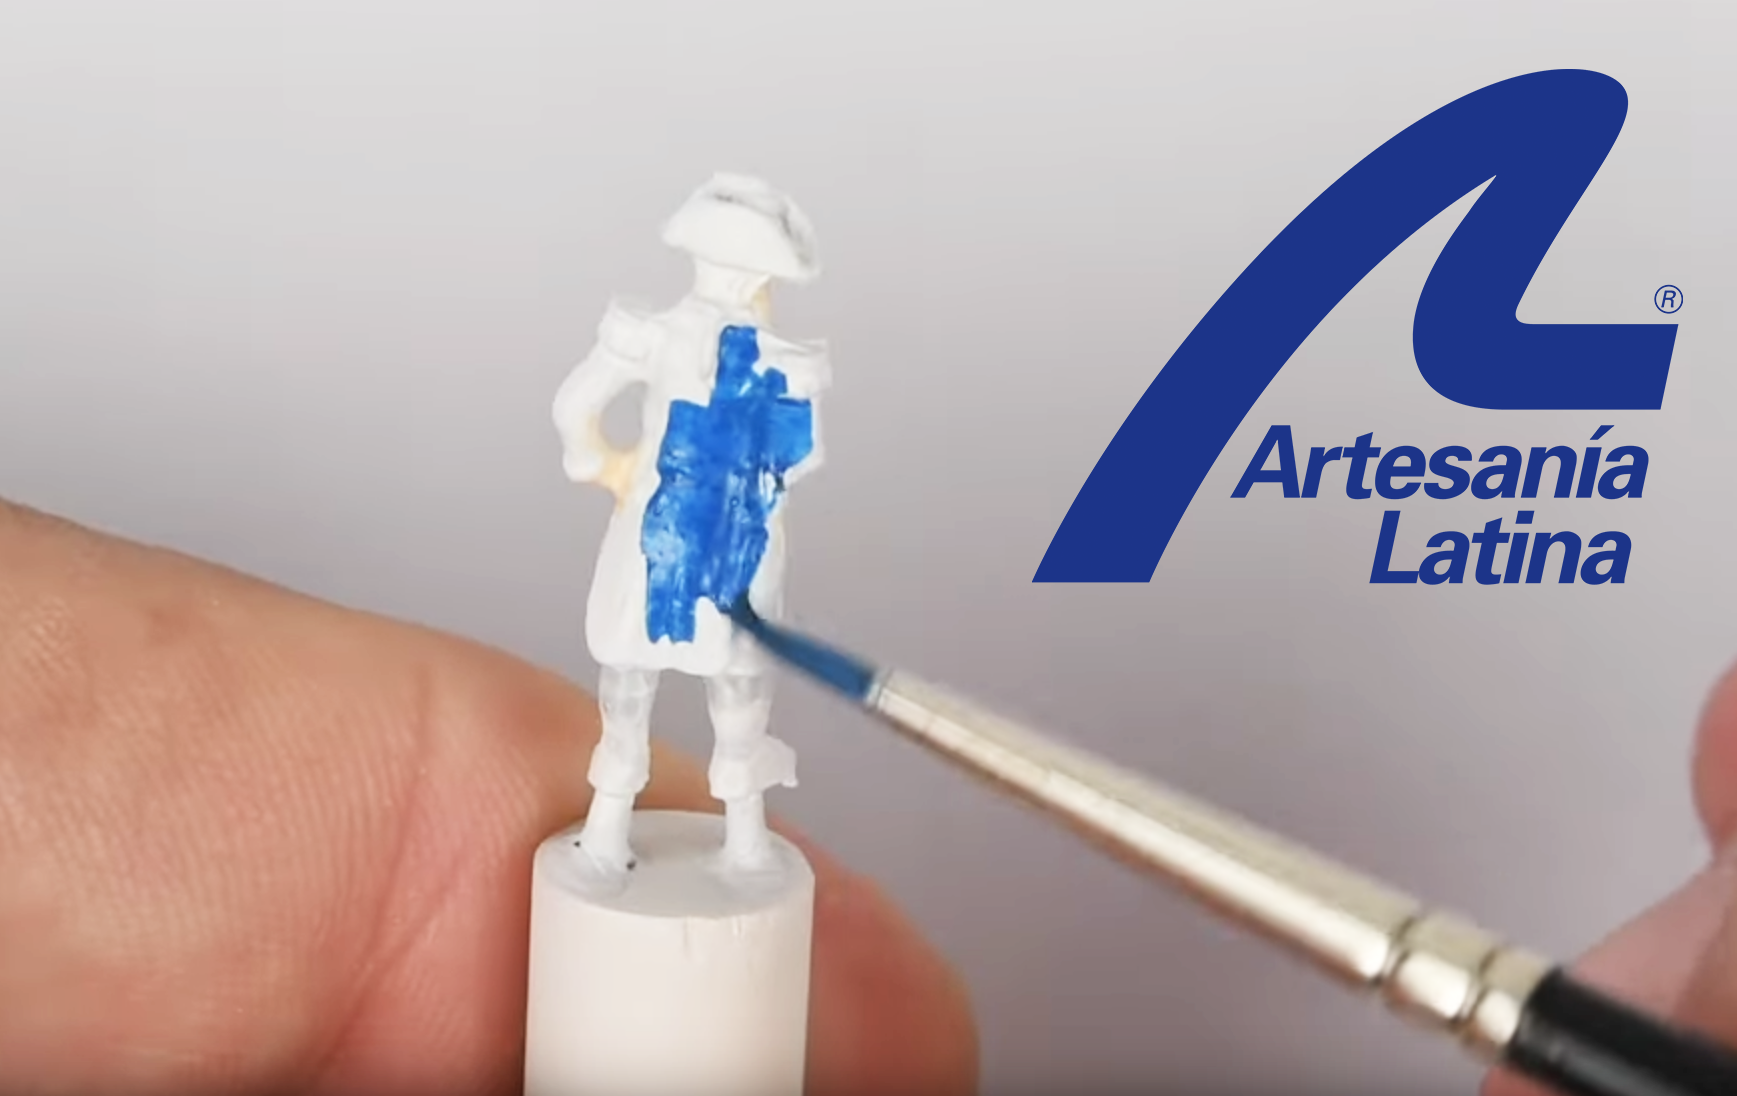
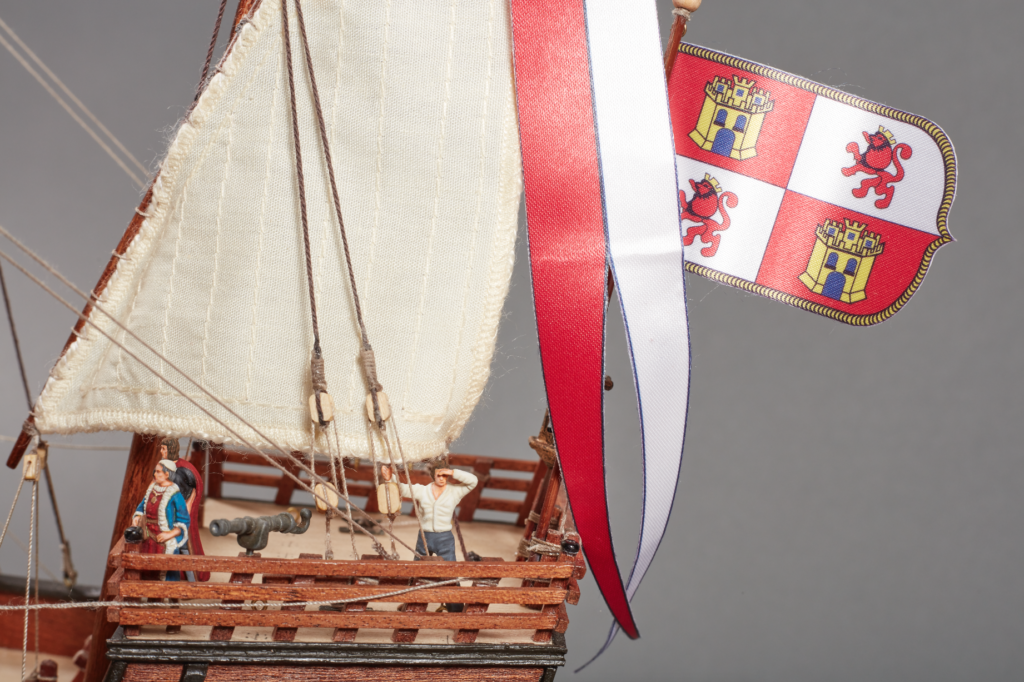
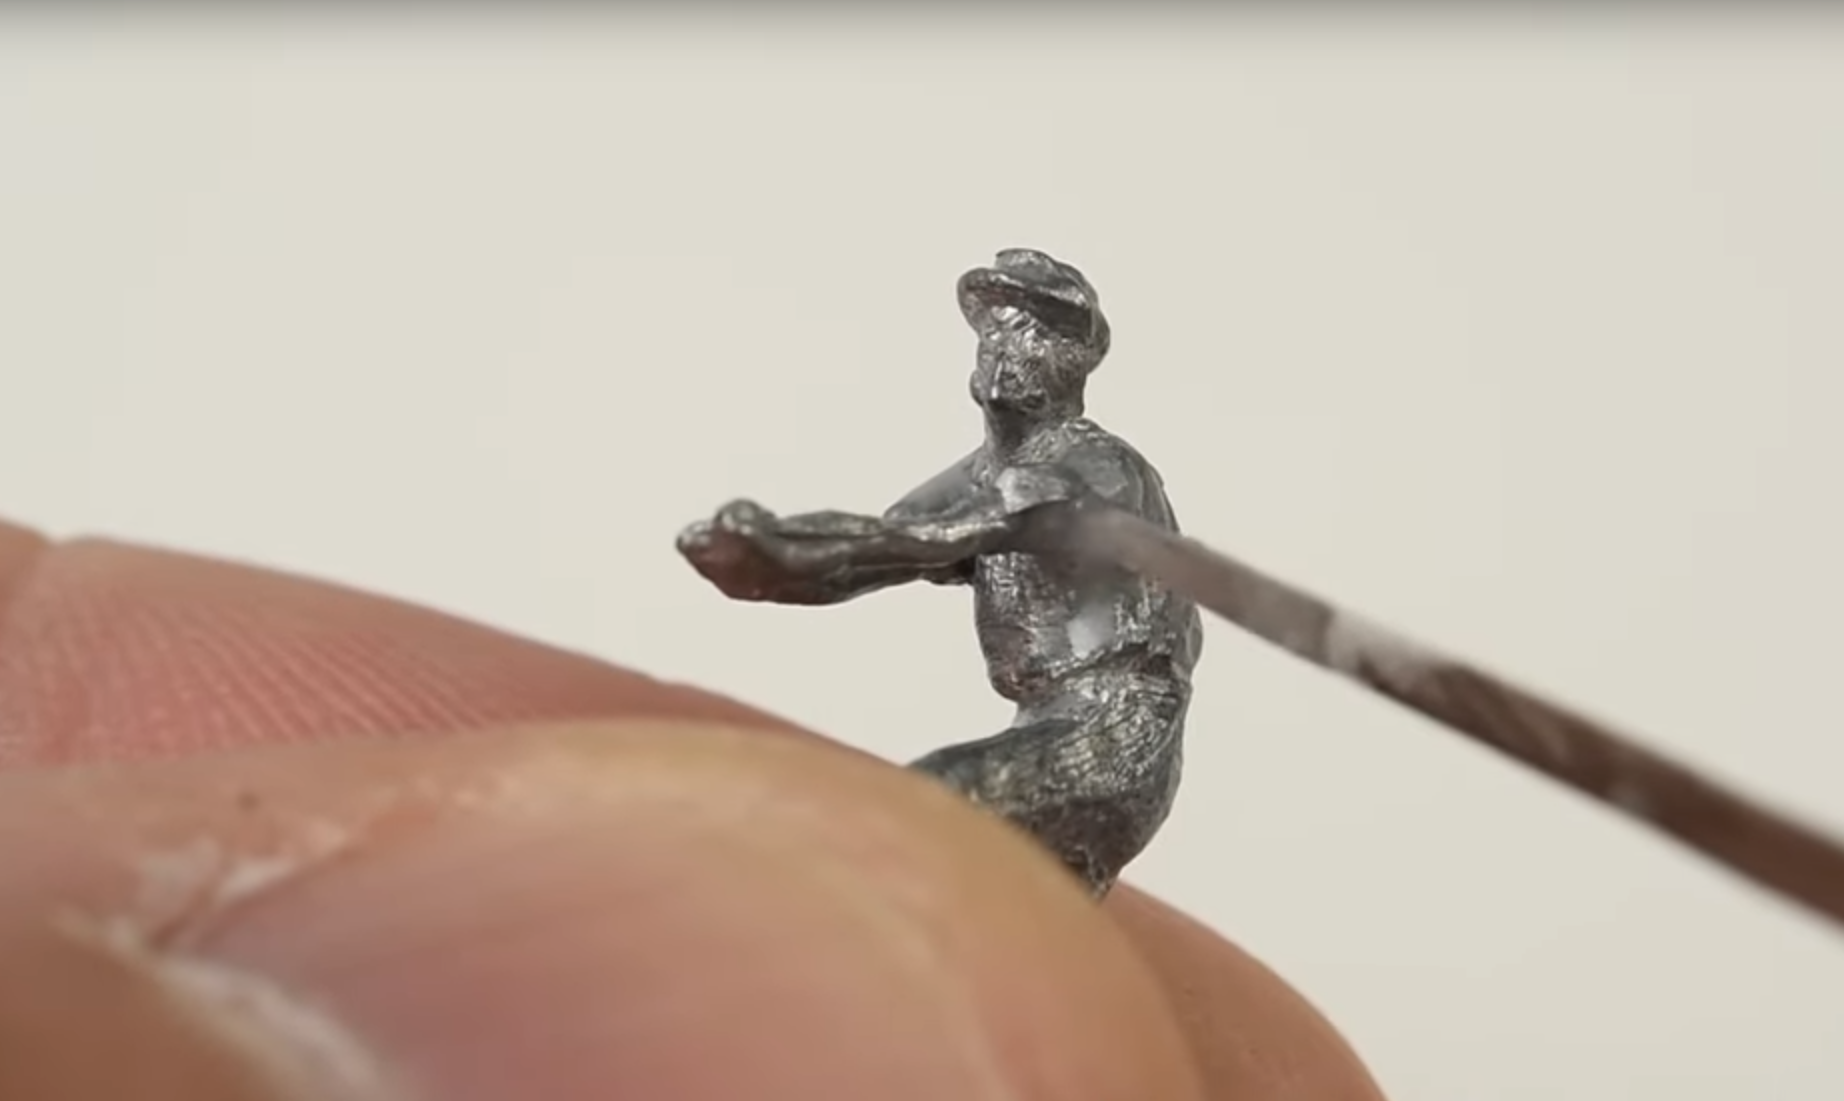
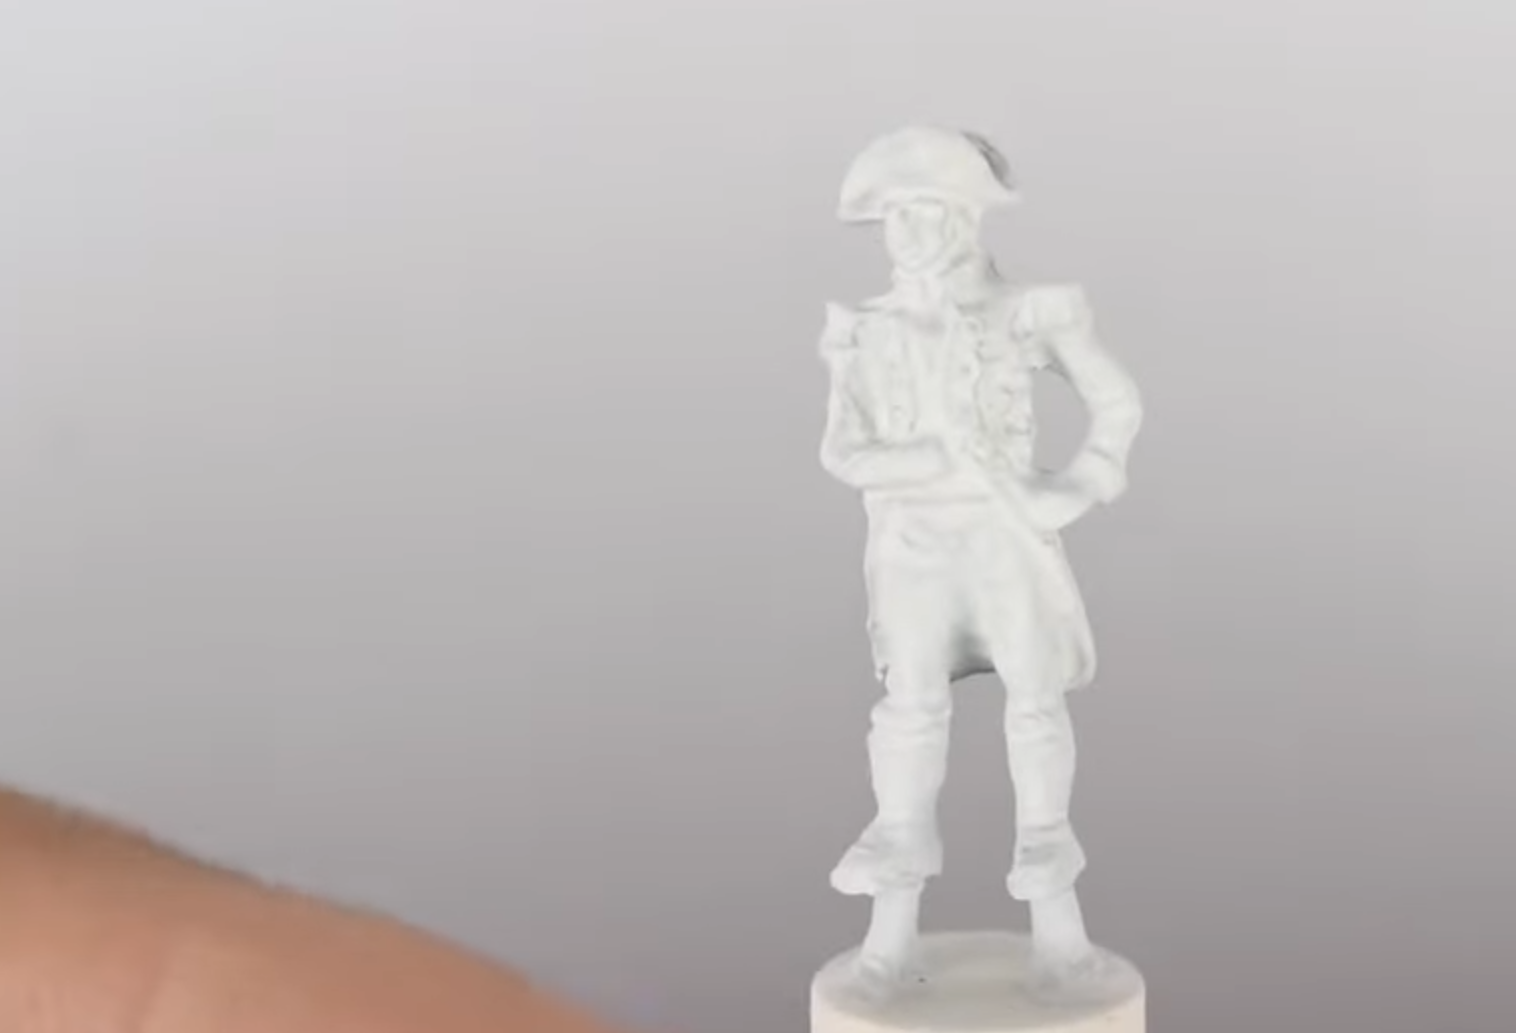
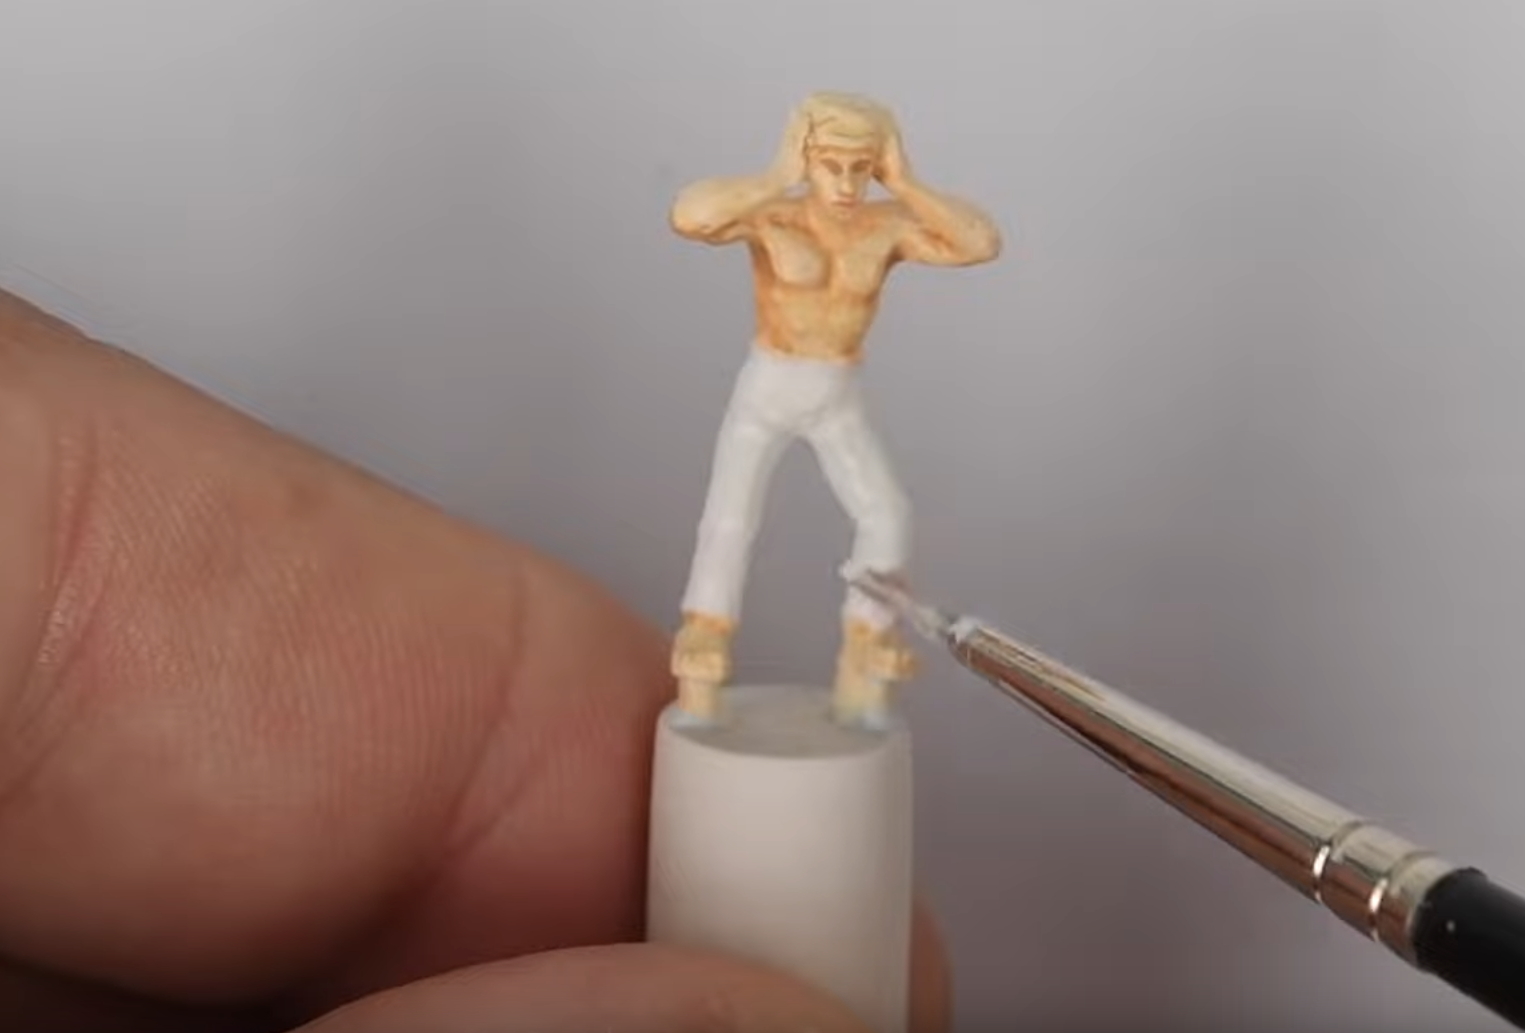
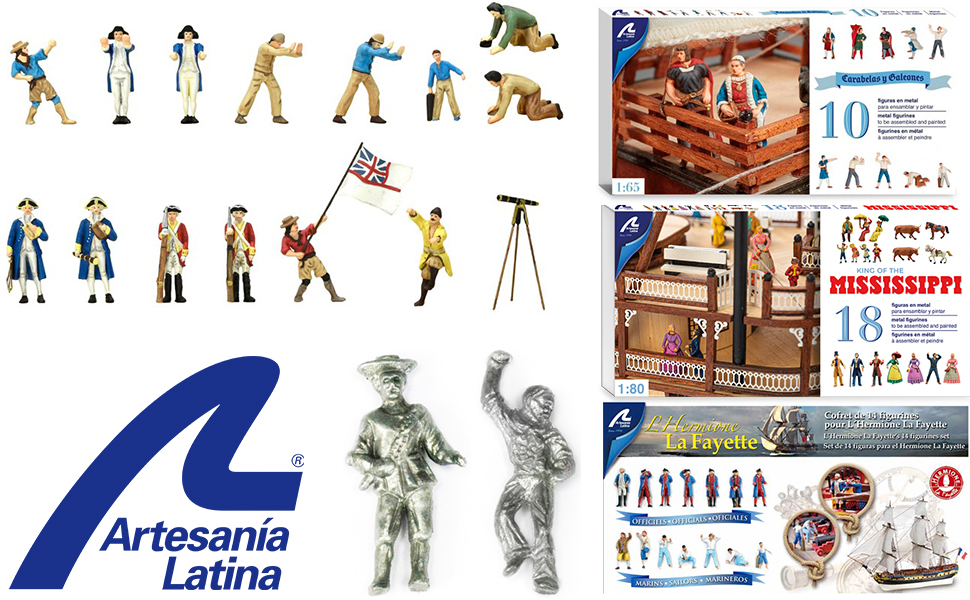
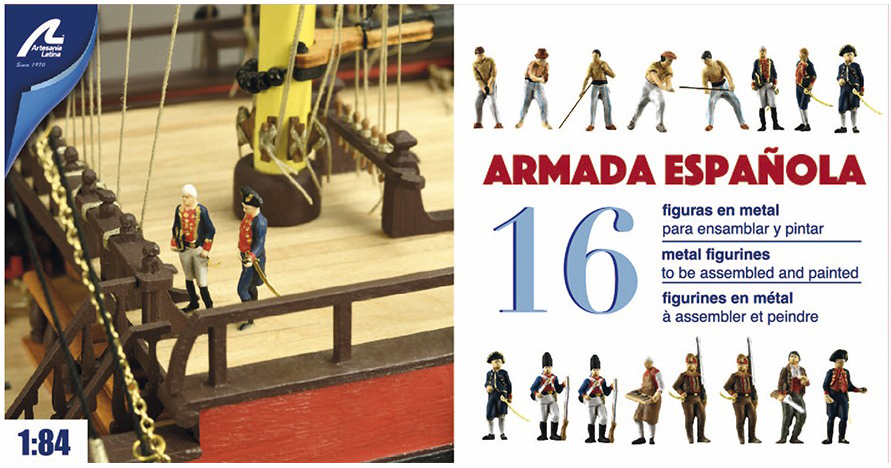
The metal figurines made by Artesanía Latina provide great realism to the wooden model ships where they are placed. They are the icing on the cake when the modeler has finished assembling any model on a naval scale. Currently, we have a wide assortment with different sets and crews sold individually that will be further expanded in the future. In this sense, many of our modelers friends have asked us on numerous occasions how to paint the figurines of the models. Well then, we are going to explain the process through a video tutorial made by our team of professional modelers.
But, first of all, we must remind you that, if necessary, you have to assemble or glue the two parts with which any of the figurines are formed. To do this, we strongly recommend that you use any of the cyanoacrylates from Artesanía Latina -sold separately- to obtain an optimal result -with the spray accelerator drying is faster-. If you wish, you can apply the glue with one of the two adhesive applicators included in the Set of Micro Saws, Applicators and Scriber (27302), for sale separately.
Let’s start painting the figurines thanks to the fantastic video masterclass of our professionals, for which you have to prepare them first.
HOW TO PAINT FIGURINES FOR MODEL SHIPS: PREPARATION BEFORE PAINTING
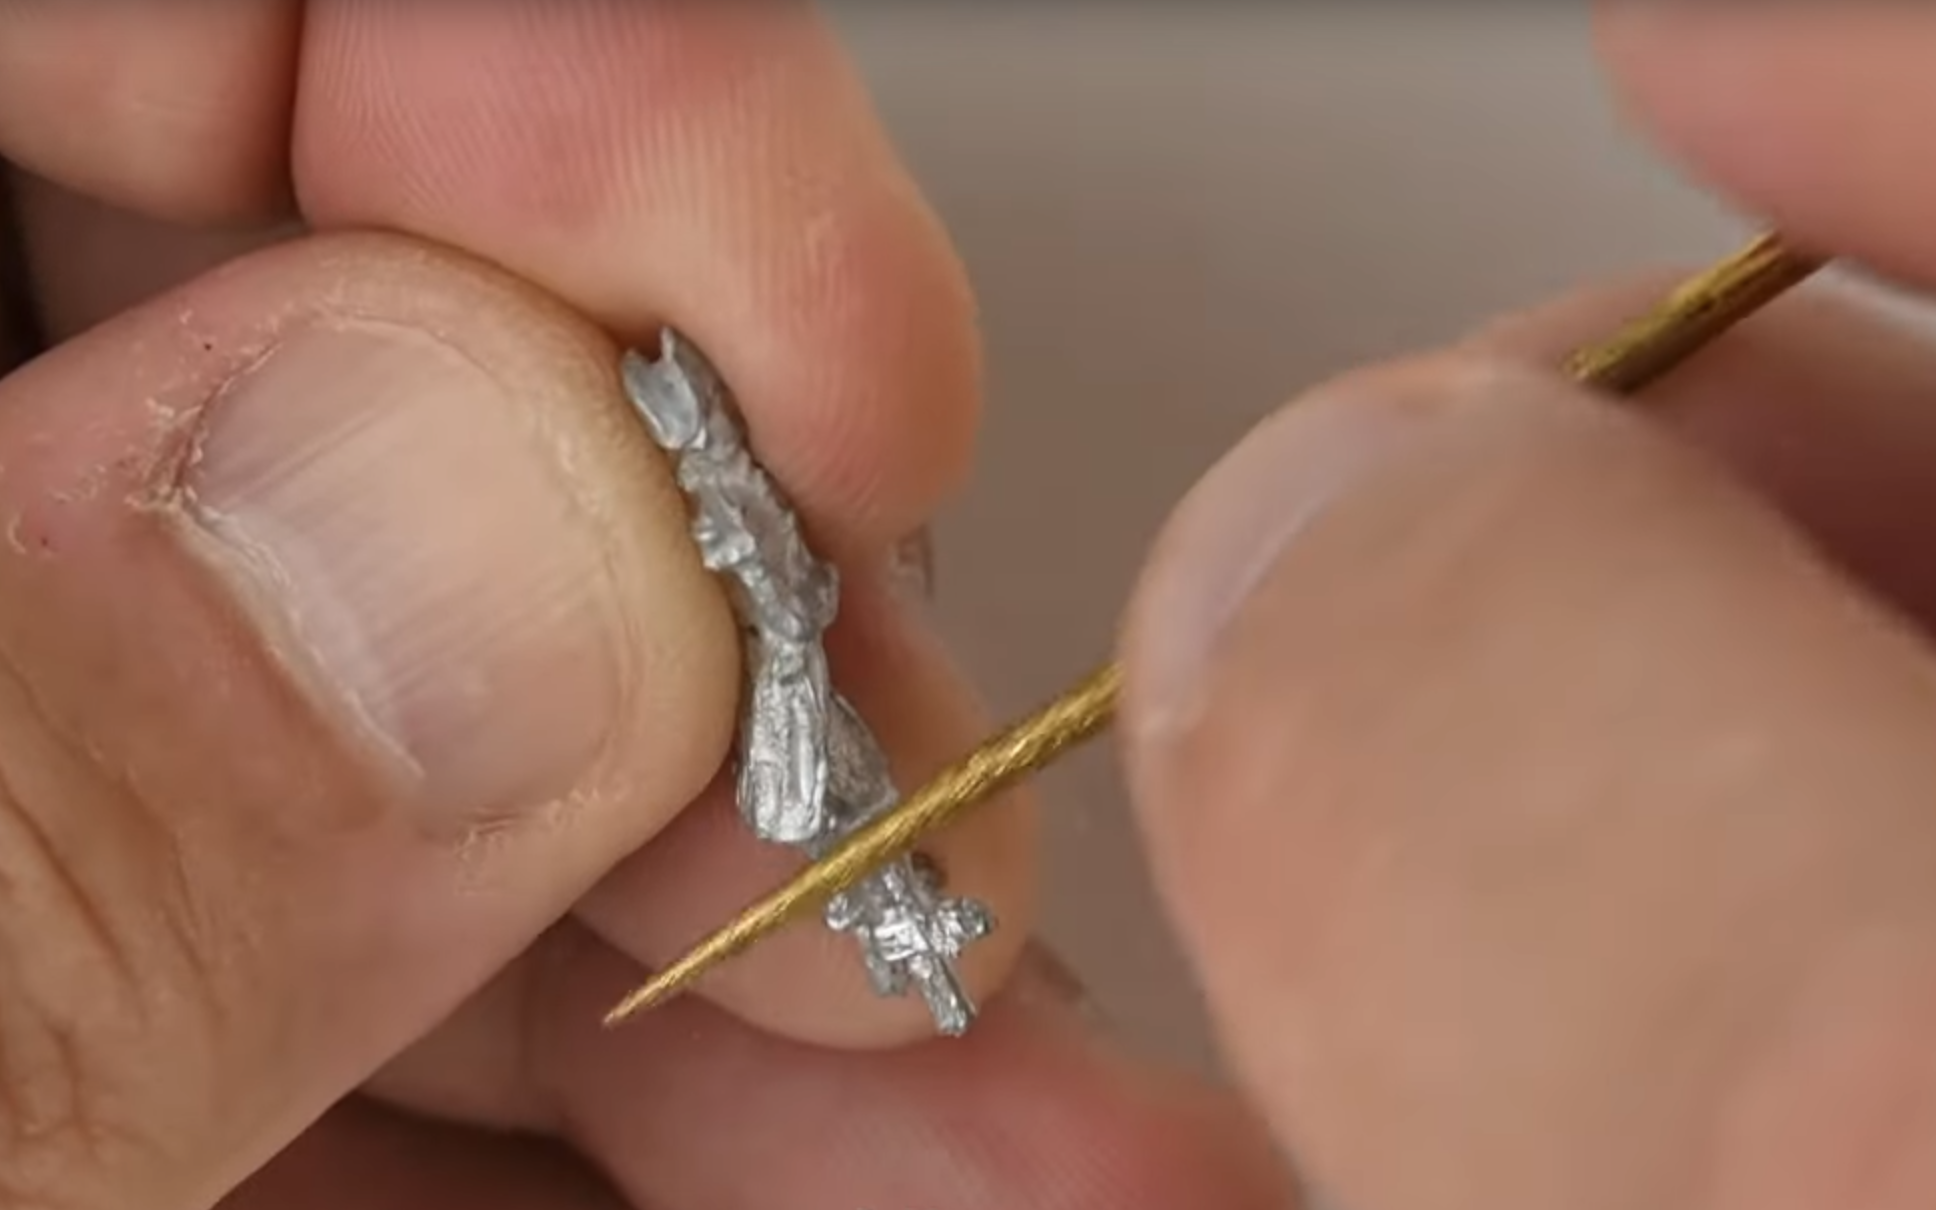
We start the explanation of how to paint figurines for model ships. Grab a Round Diamond File (27015-3) to remove mold lines and marks. File the entire profile of the figure, since it is the place where it is inserted and glued to the mold where it is stored.
Now, prepare the surface of any object you don’t need -for example, an unused compact disc or DVD- a quick putty. To do this, mix dense cyanoacrylate with talcum powder. Help yourself, for example, from the applicator to mix both products once they are applied. Apply that mix also with the applicator all over the figurine.
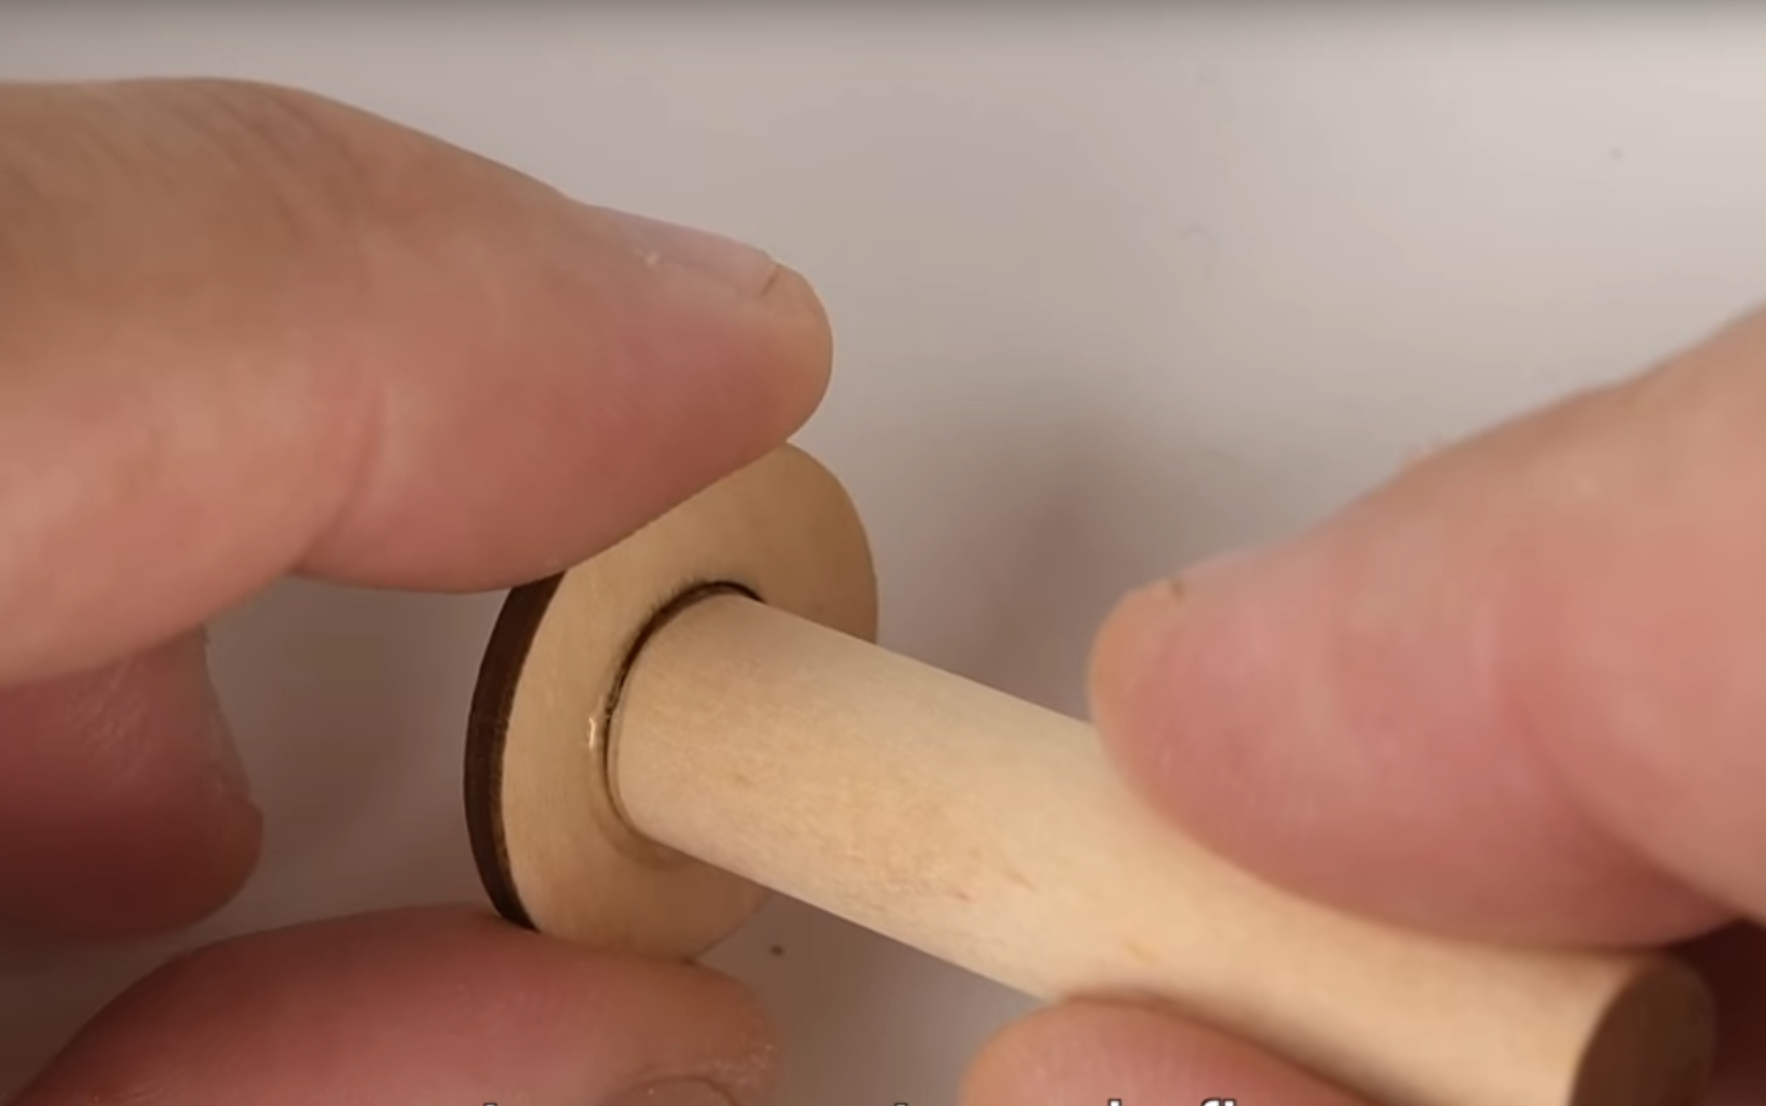
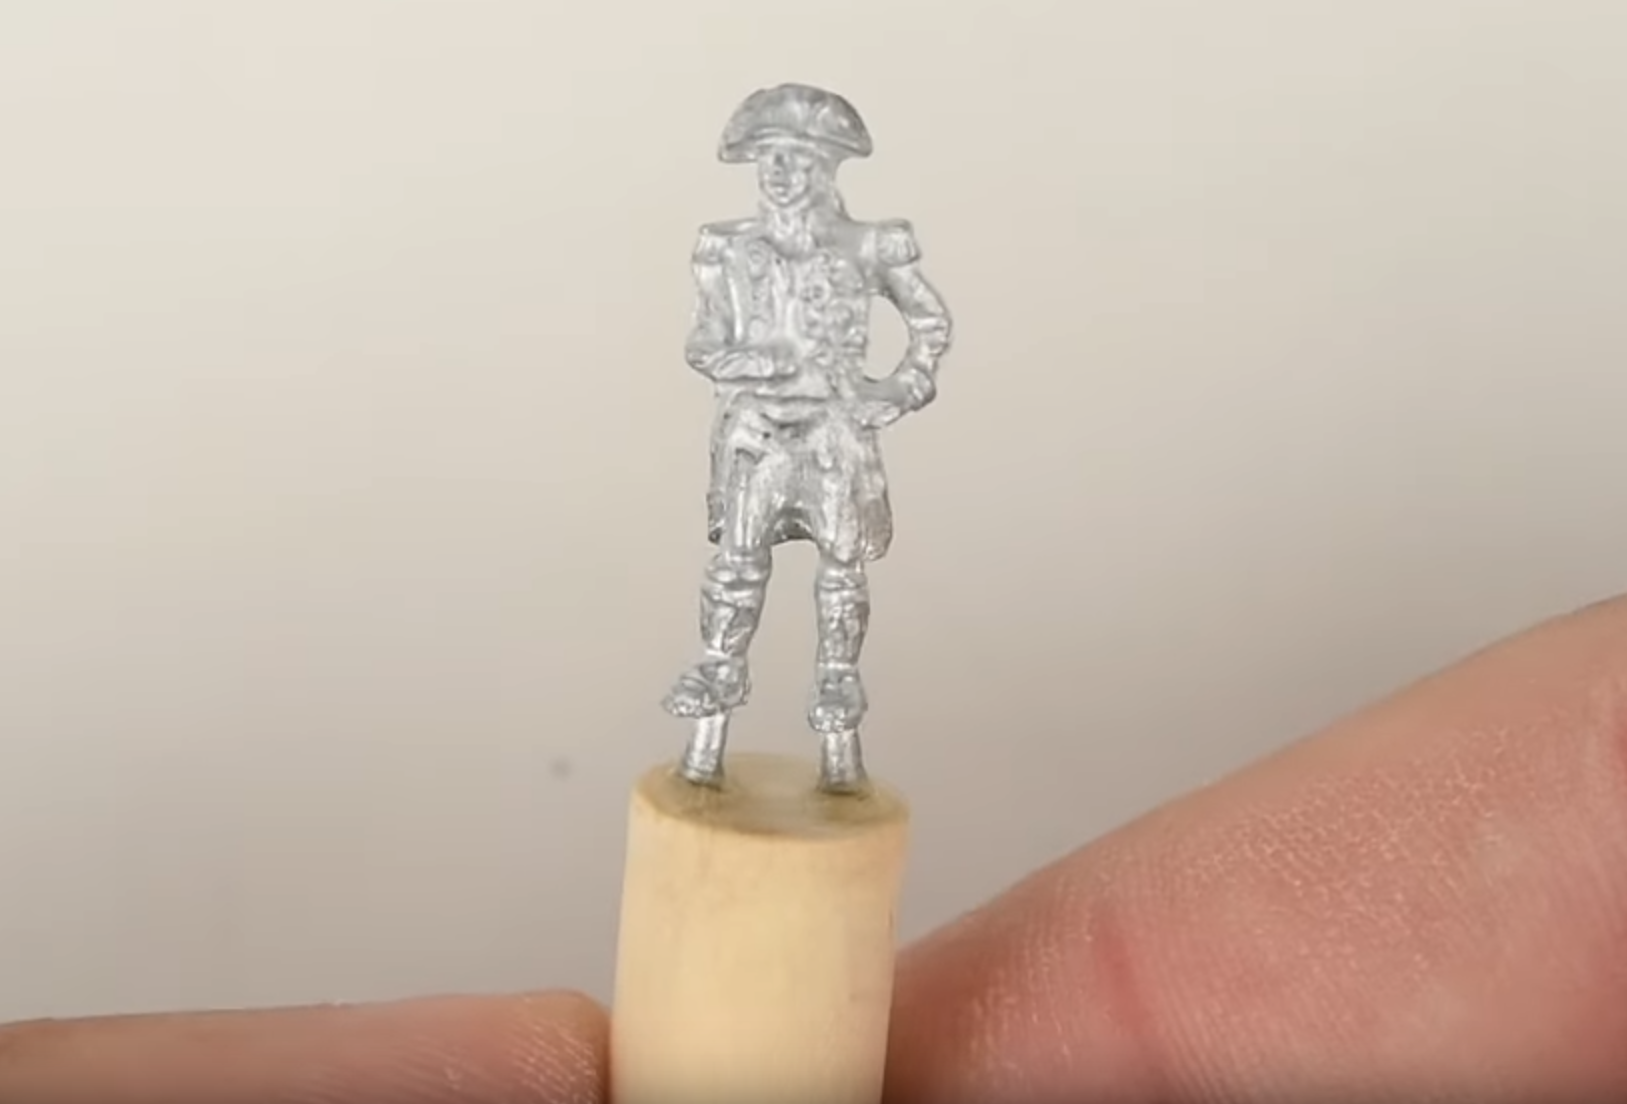
The next step is to create a base thanks to our Support for Painting Scale Model Figures (27640), where you can place the figurine so you don’t touch it while preparing and painting it. Take or create a round and a cylindrical part, both of wood. Put cyano in the center of the round piece and glue the cylindrical piece right in the center of the circle, where the adhesive is. Next, glue, again with cyano, the feet of the figurine to the cylinder.
The last phase of the preparation prior to showing you how to paint figurines for model ships. It is time to apply a lightlayer of white primer (27701) using any of our high quality synthetic hair brushes.
SET OF PAINTS AND SINGLE COLOURS FOR FIGURINES
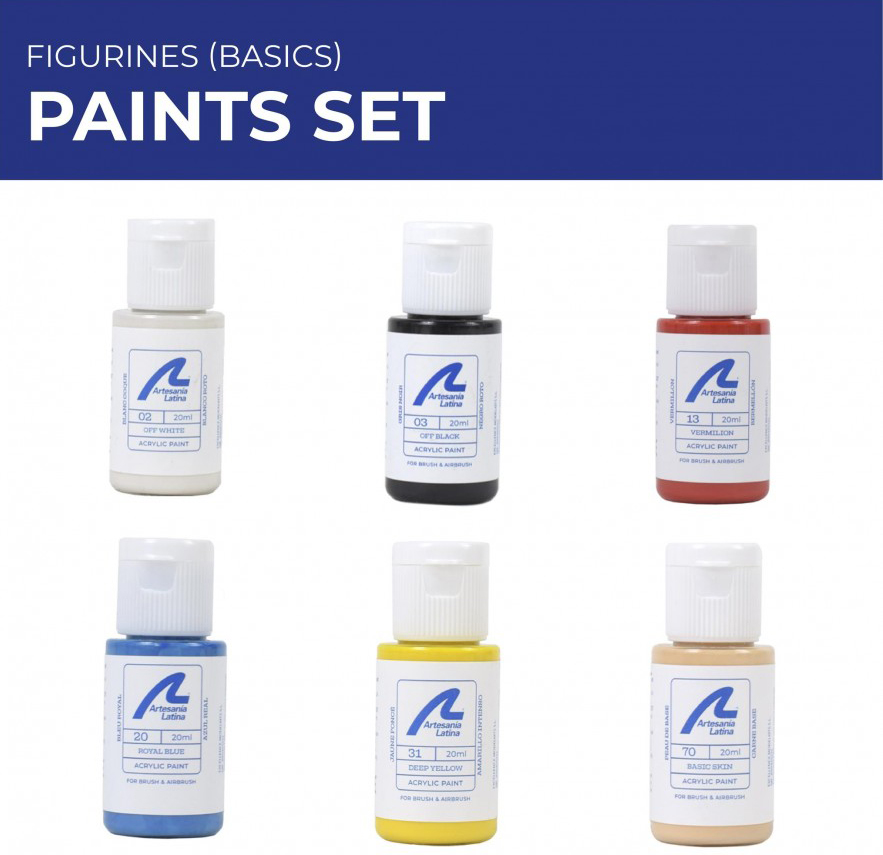
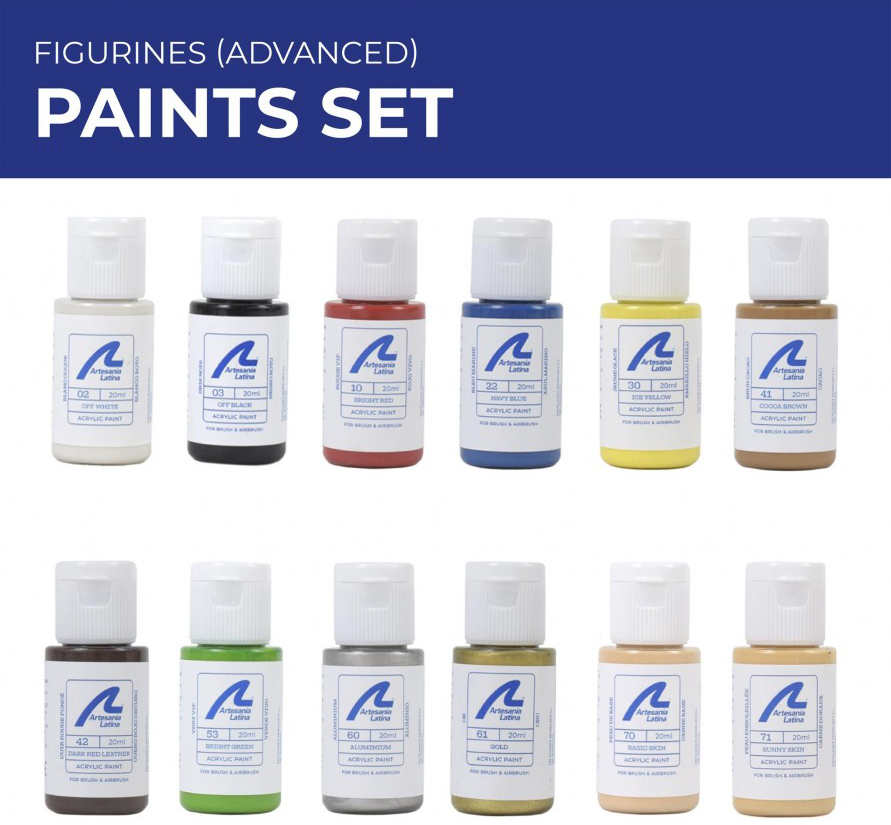
Before starting with the explanation of the video on how to paint figurines for model ships, we offer you two sets of acrylic paints for figurines -for sale separately-, choose according to your needs. On the one hand, there is the Basic Set (277PACK14), with 6 paint jars of 20 ml. each with the following colors: Off White, Off Black, Royal Blue, Deep Yellow, Vermilion and Basic Skin. On the other, the Advanced Set (277PACK15), with 12 jars: Off White, Off Black, Bright Red, Ice Yellow, Cocoa Brown, Dark Red Leather, Aluminum, Gold, Navy Blue, Bright Green, Basic Skin and Sunny Skin.
Of course, you can also purchase the colors you require from our extensive catalog of single acrylic paints with over thirty different colors… which ones do you like best?
HOW TO PAINT FIGURINES FOR MODEL SHIPS: PAINTING PROCESS
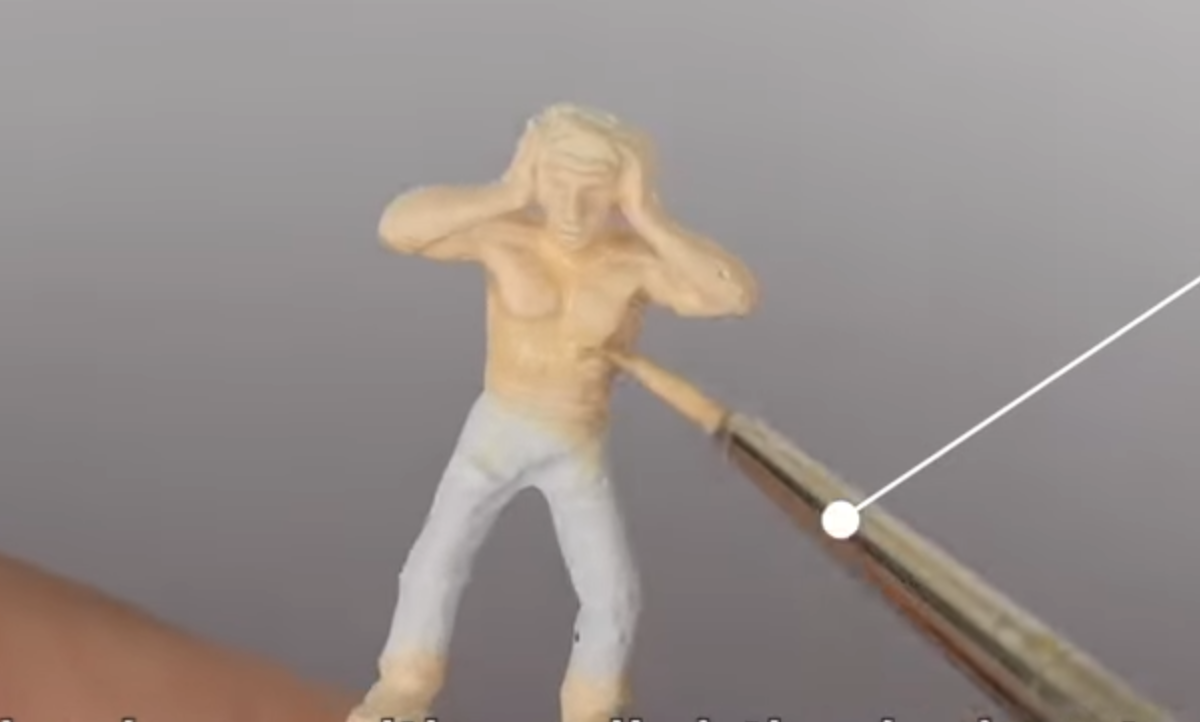
We will detail in advance how to paint figurines for model ships. First, paint all the visible parts of the character’s skin with a round brush and an basic skin color (27770). Right after, apply a general eyeshadow with a slightly darker tone diluted in water –sunny skin (27771)-.
Now, on a palette or other surface, you must have the color cocoa (27741). Add a bit of diluent (27700) -put it with a syringe to dose- and mix it with it. Remove excess paint and sharpen the tip of the bristles of the brush by painting on a piece of paper. Paint the flesh parts of the character as a hard shadow, also outlining the color. Repeat the process on the lighter parts, first, on the rest of the character as a whole -especially on his clothes-.
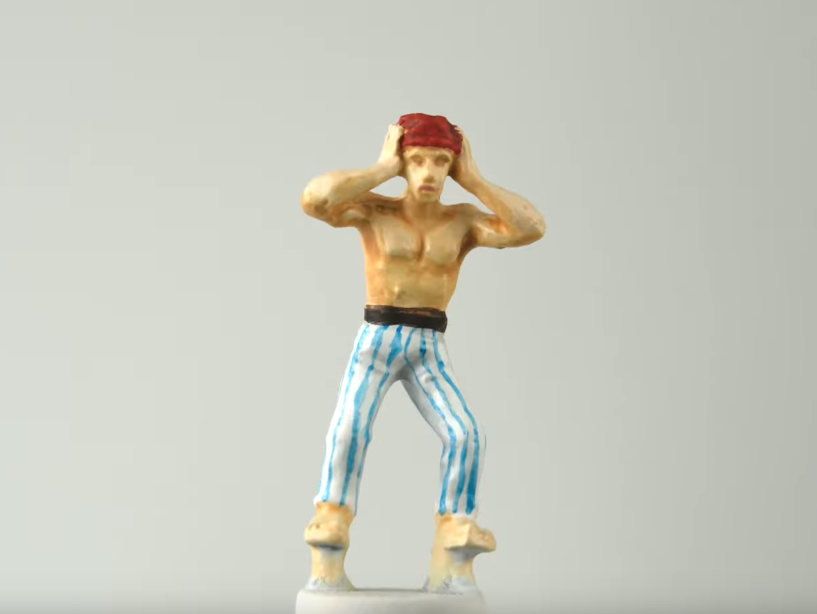
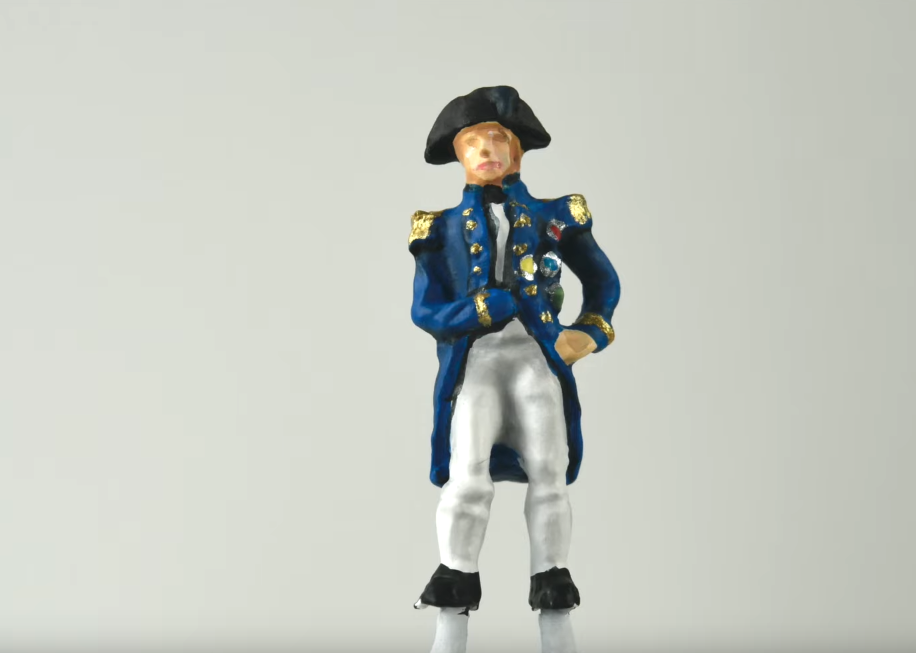
The moment has come when you have to paint the clothes with his colors and their details. We recommend that if the character is wearing multiple garments, one on top of the other, paint the outermost layer first. All you have to do is look at the video of our modeler to appreciate the rest of the painting, already to the taste of the fan. Here is the final result.
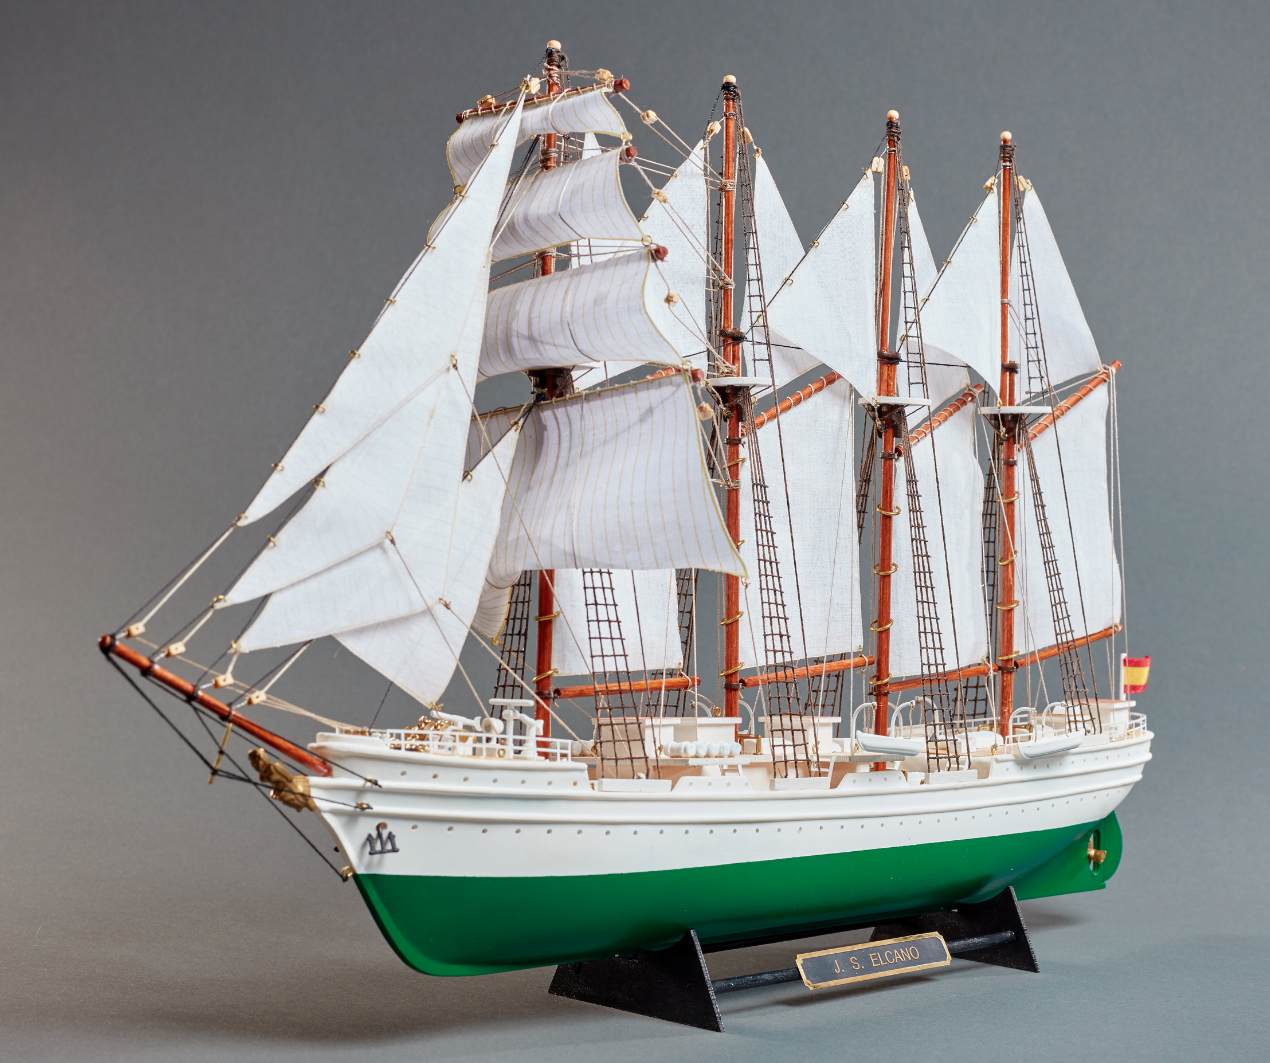
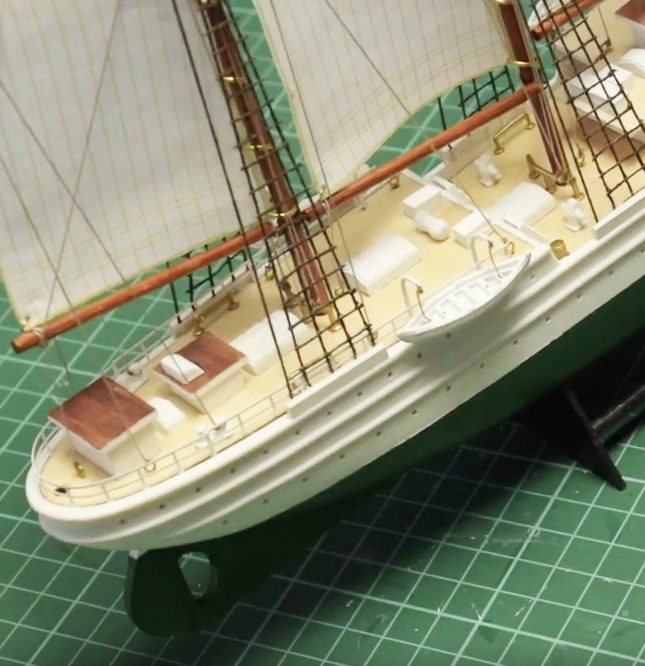
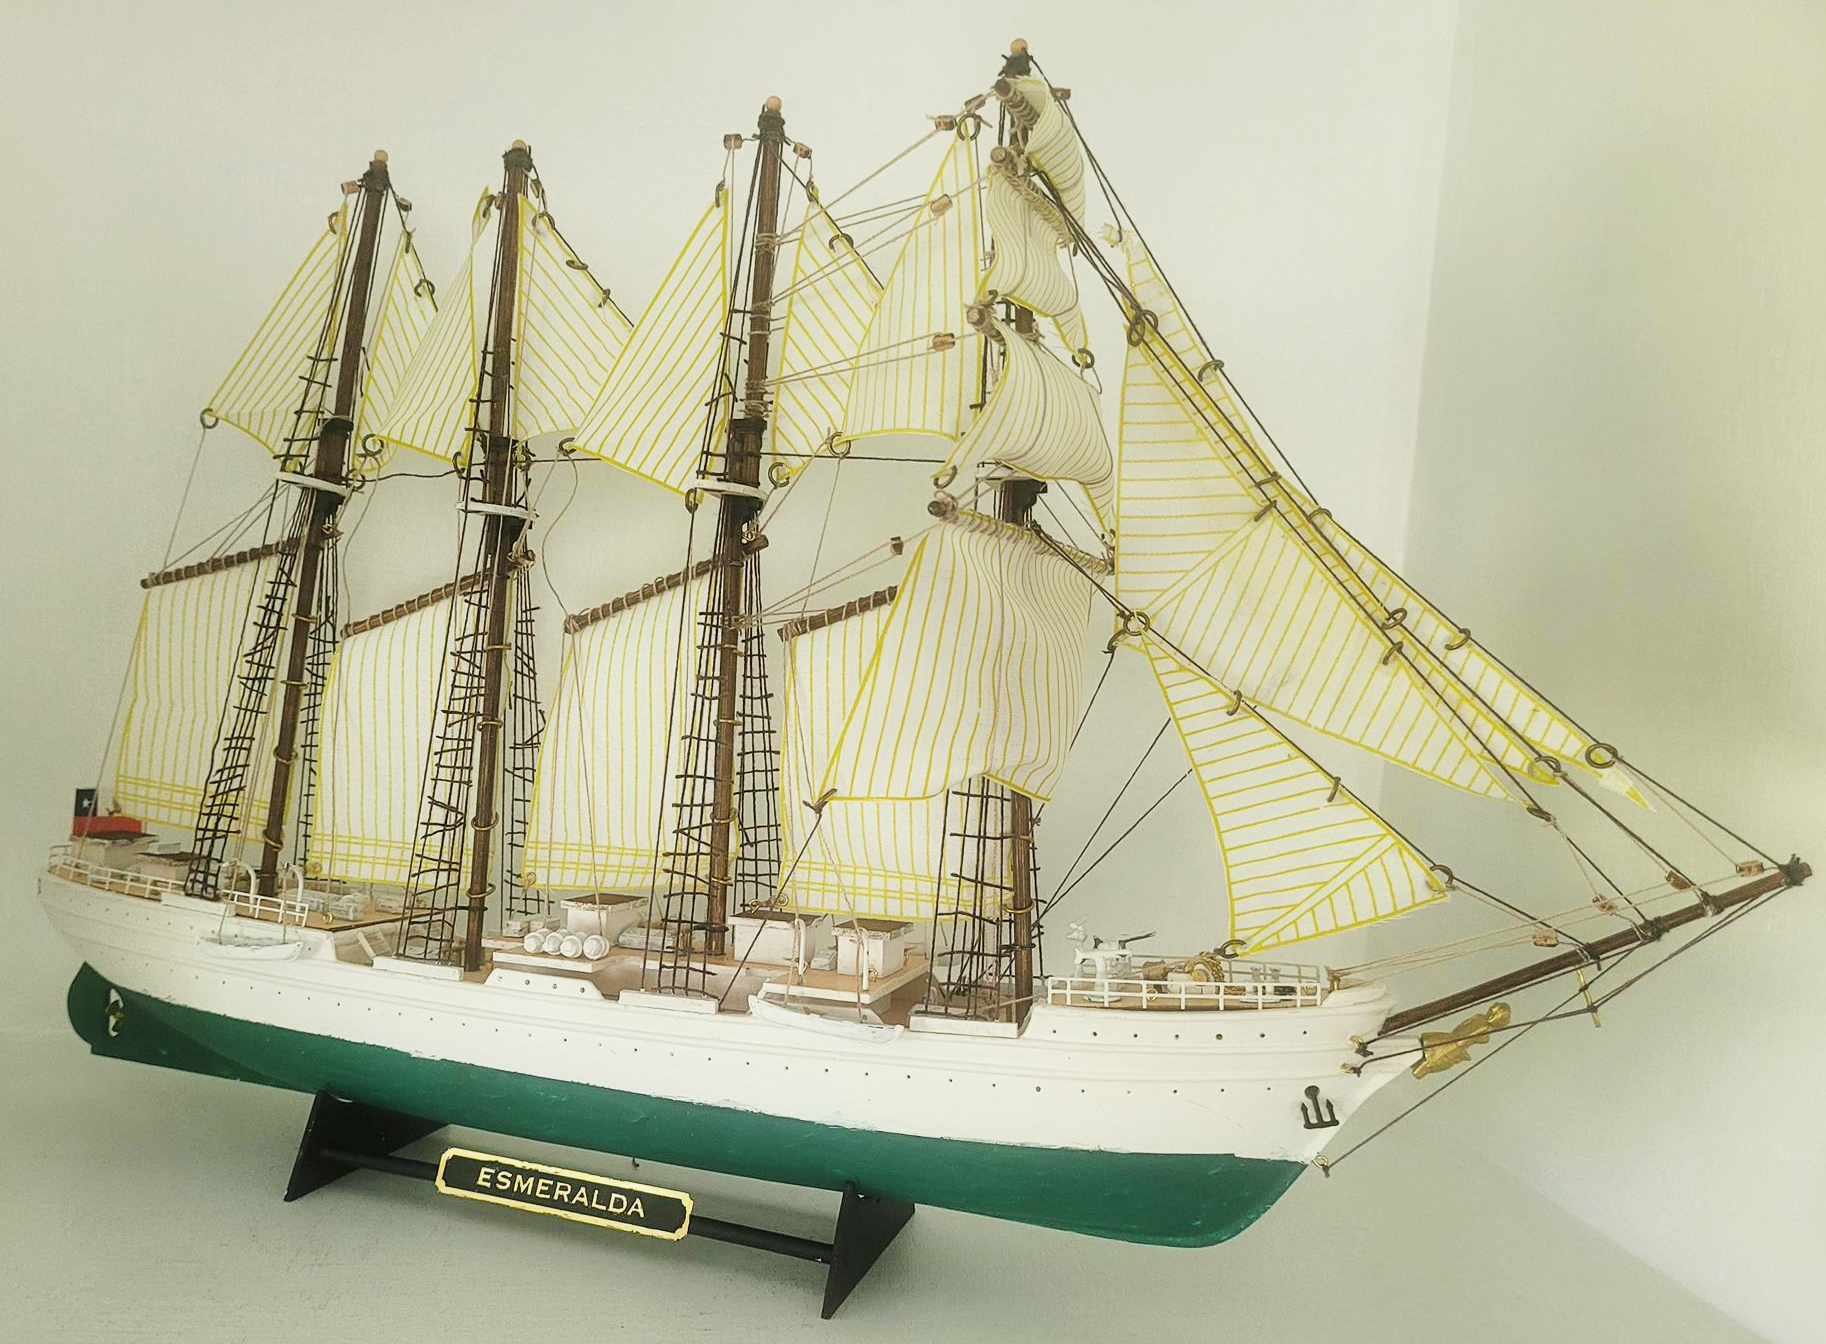
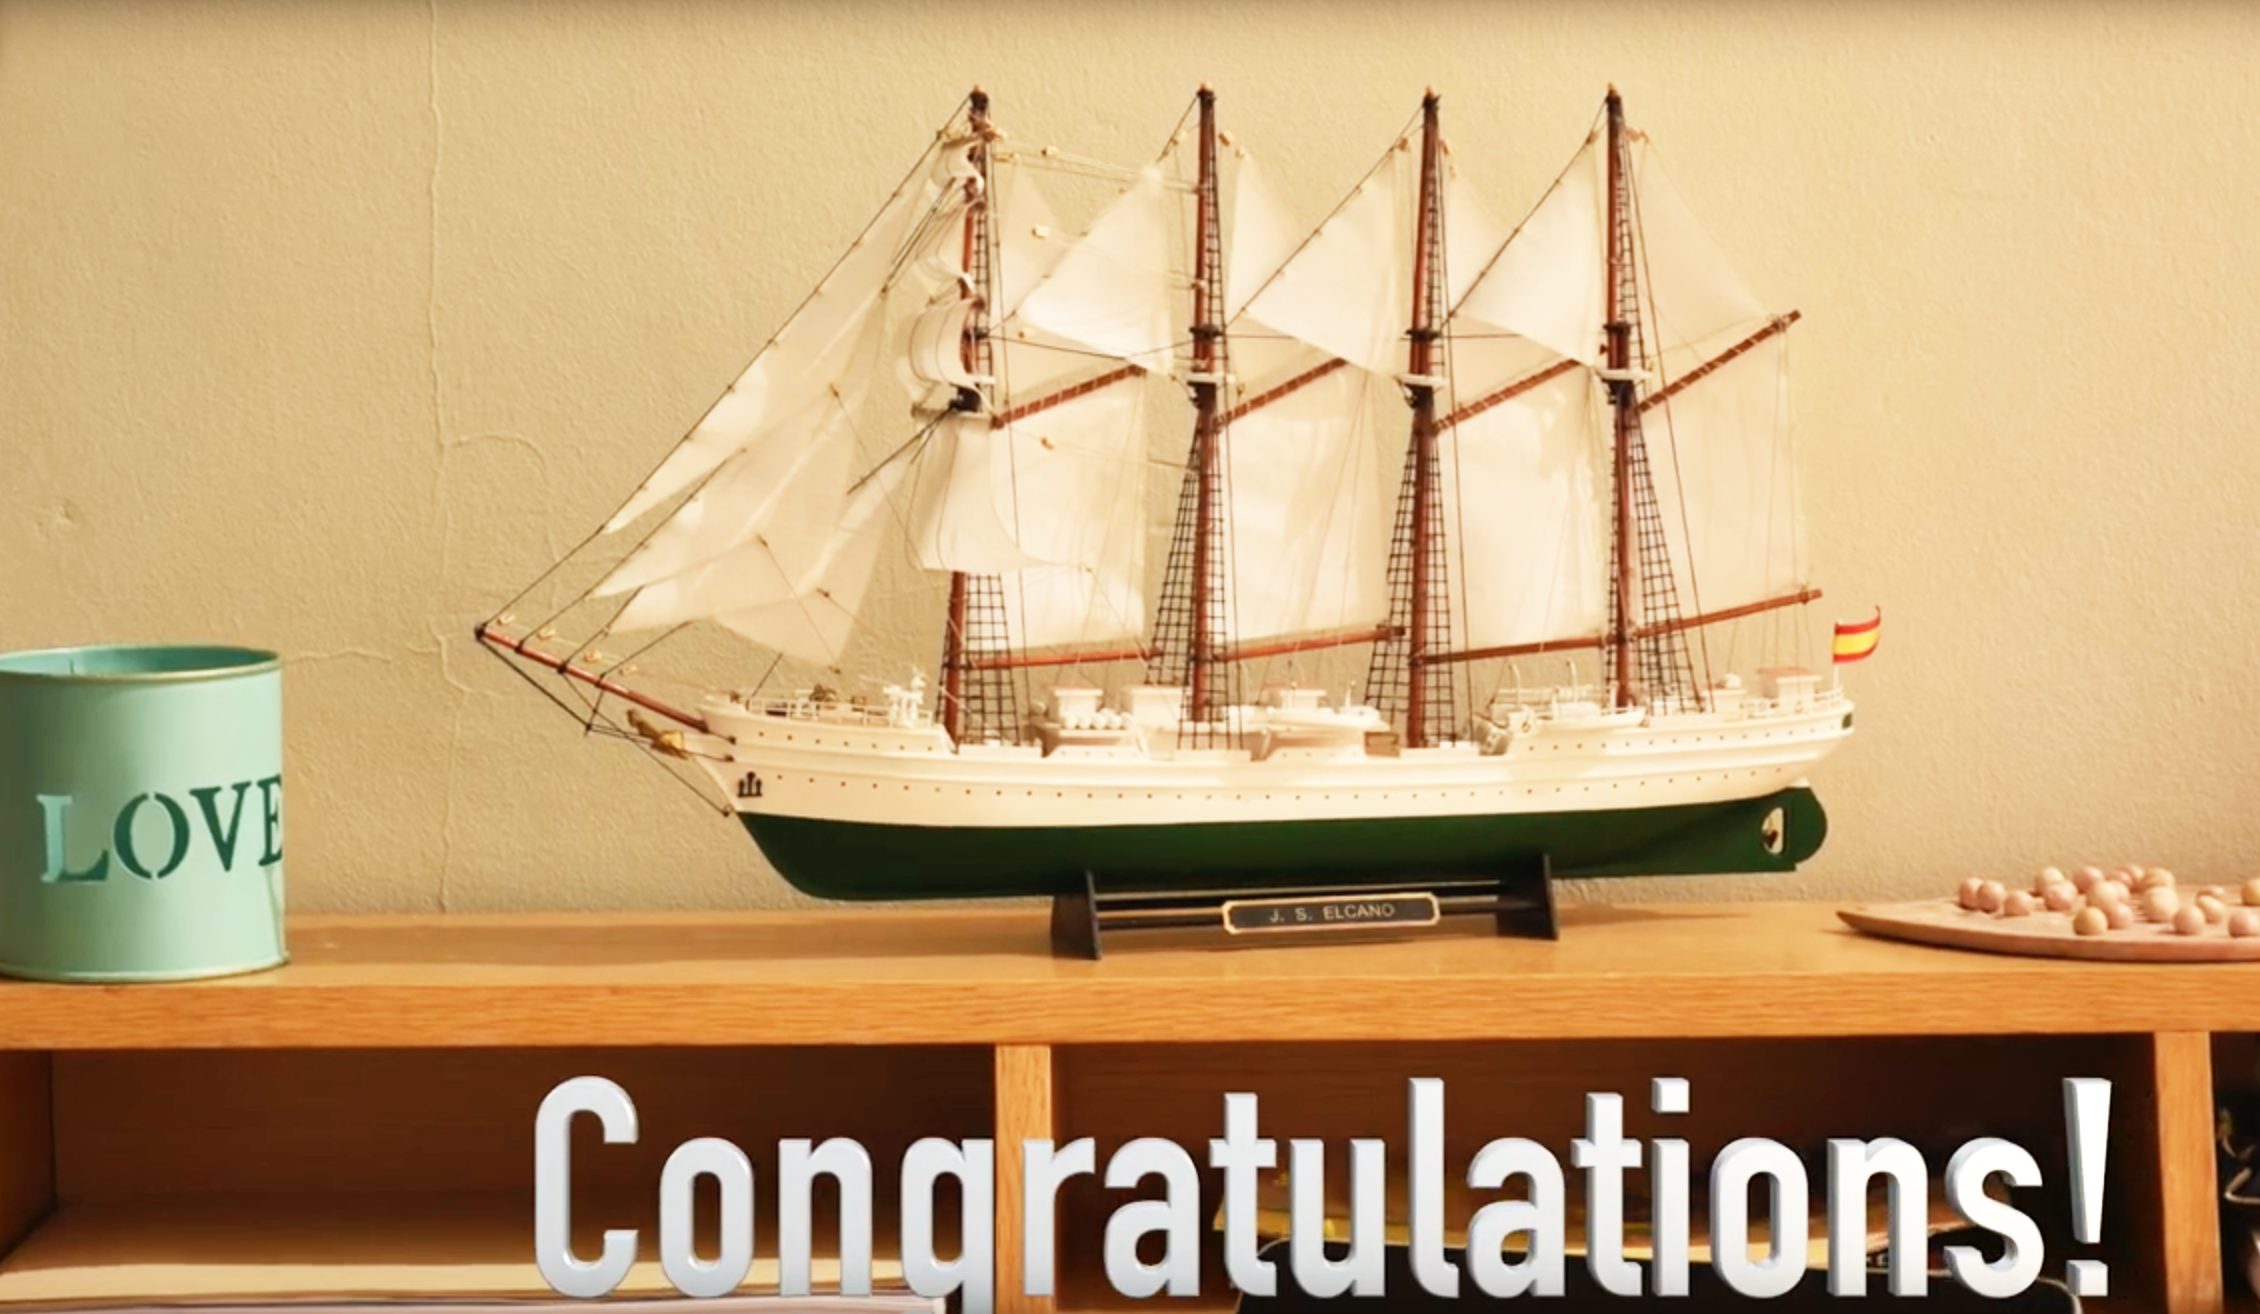
We dive into the last part of the Elcano ship model instructions for its assembly. With these video tutorials made by our modelers, we put the finishing touch to the set up of the Spanish school ship model Juan Sebastián Elcano / Chilean Esmeralda (22260) at 1:250 scale. As we mentioned before, it is a faithful miniature replica excellent for beginners on the hobby of naval modeling.
ELCANO SHIP MODEL INSTRUCTIONS: SAILS (PART III – A)
We continue with ‘Sails – Part III’, which is Step 21 of the instructions for assembling the Elcano ship model (22260).
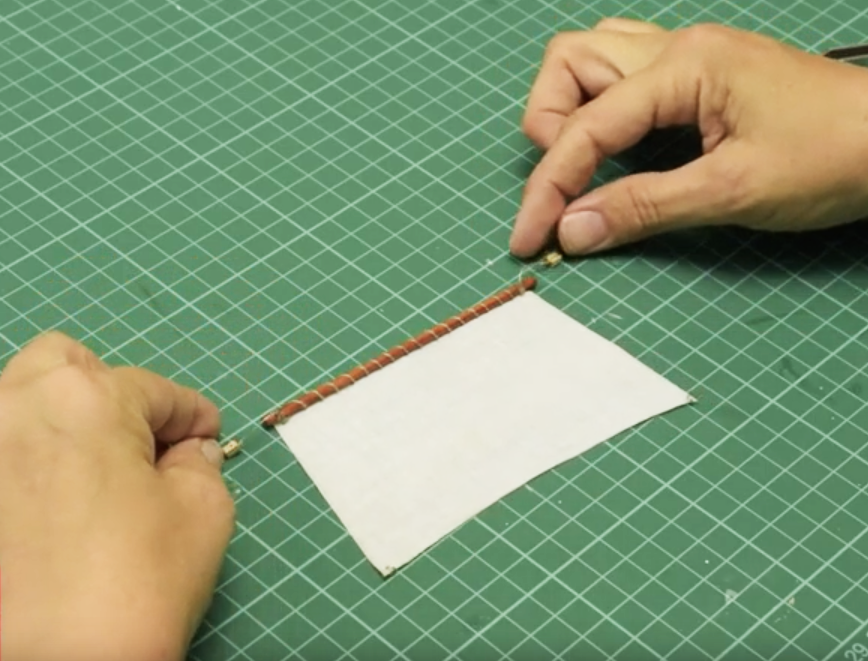
Arrange one unit of parts S7, S8, S9 and S10, that is, more sails. Take part S7, and sew it with a needle cotton thread –part CT1– around the stick part Y1, from top to bottom. When you finish sewing, help yourself with some Straight Fastening Tweezers (27020) to tie the knot on the stick.
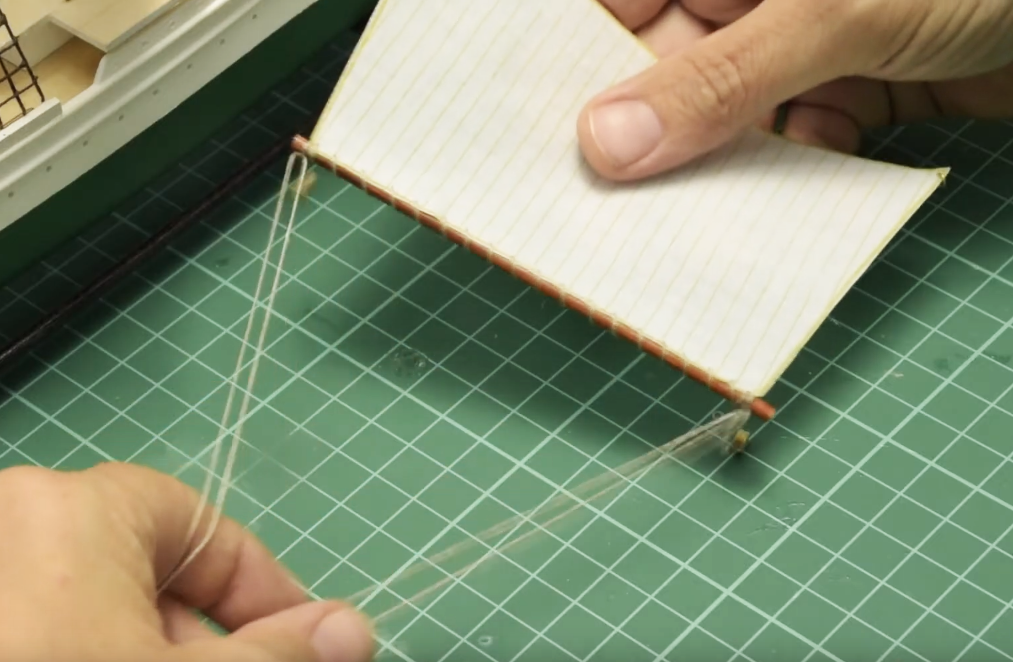
Now, with a cutter, drill two small holes in the two opposite corners of the stick. Insert the two BR1 parts -two rings- into these. Take a part BL and thread -part CT1-. Put the thread through the hole and around part BL. Tie a knot at the end with the help of the aforementioned tweezers. The thread should be fully stretched through the hole and around the part BL. Apply Dense Cyanoacrylate for Porous Materials on the knot and allow to dry.
Next, you will have excess thread on both sides of the knot. First, completely cut one of the threads, while the other leave a few centimeters long. Don’t cut it all the way. Second, also using the tweezers, tie that thread with the BL part to the left side of the stick and tie the knot with cyano. Third, if there is excess thread, remove it with a cutter. Repeat all these actions on the other end of the stick with another BL part.
The result should be this:
ELCANO SHIP MODEL INSTRUCTIONS: SAILS (PART III – B)
Then go through the entire process again with the other SAILS. For the sail part S8, you will need one Y2 part, two BR1 parts and two BL parts. For the part S9, one Y3 part, two BR1 parts and two BL parts. And for the S10, one part Y4, two parts BR1 and four parts BL. Take again the sail part S7 and thread part CT1. At one end of the stick, tie a knot with plenty of thread left over from both sides. Apply cyano and let dry. Repeat the process on the other end of the stick.
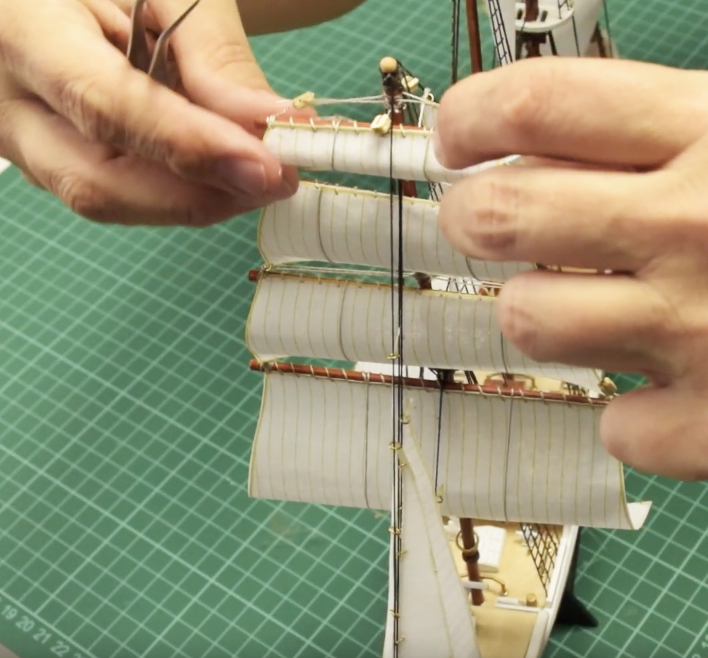
Take the S7 sail. Use a Curved Fastening Tweezers (27021) to pass the thread -part CT1- with a needle above the mast top, as seen on the video. The goal is the sail can be already hanging on its mast. Make the knots as shown, apply a little of cyano and cut the excess thread with the Thread Snips (27060). The sail already stays in place.
Repeat the process with the S8 sail. Once hung, it has to be attached to the S7 sail with thread. Tie them by means of the two BR1 parts that are on the sail. Passing the CT1 thread through the BR1 ring and, right after, tie it to the end of the stick. Repeat the process also for the other end of the pole with the other BR1 ring.
Do the same with the S9 sail, but this time tying it to the S8 sail. And finally, with the S10 sail, knotting it to the S9. This should be the final look with all the sails in place.
ELCANO SHIP MODEL INSTRUCTIONS: SAILS (PART IV – A)
Well, it’s time for the next task. Step 22 of the assembly instructions for the ship model Elcano (22260). This one is about ‘Sails – Part IV’.
Take the four sails parts S11. Now take one and, using a utility knife, drill three holes in each of the three corners of the sail. Then, insert one of the three parts BR1 -rings- into each hole. Open each part BR1 with two Needle Nose Pliers (27213) and insert the ring through the sail. After inserting it, close it again using the aforementioned pliers. As we have discussed, repeat the process with the other three sails.
Again, take a sail part S11. Insert thread through the BR1 ring found on the most pointed part of the sail, at the top and tie a knot. Cut the excess of one of the ends of the thread and pass the other end through the mast. Then bring the thread to the hull, tighten it, tie it off and glue it with cyano. Watch the video for it.
Now, thread CT1 through the outermost ring BR1. Begin to tie a knot and leave a hole to insert it into the bottom sail pole. Insert into the stick and close the knot. Do the same with more thread through the remaining BR1 ring, the third one, the one closest to the mast. In this sense, the sail part S11 will be attached to the lower sail.
ELCANO MODEL SHIP INSTRUCTIONS: SAILS (PART IV – B)
Below that bottom sail, place a PCL part. Bend the wire that has the stick on it and attach it to the mast. Use the pliers to twist the wire around the mast.
Take CT1 thread and pass it through the eye of the BR1 part of that lower sail to make a knot and pass it through the PCL stick. The sail will be attached to the mast. Remember to apply cyano to all the knots you make.
Thread CT1 through the ring on the hull and tie it to the stick so that it is taut. The rest of the thread, pass it through the mast top and tie it to the deck. Take a look at the video to run this process, which you will need to repeat for the other three sails.
ELCANO SHIP MODEL INSTRUCTIONS: SAILS (PART V)
Step 23 of Elcano ship model instructions (22260) for the assembly of Spanish school ship, is about the ‘Sails – Part V’. You need to pay close attention to the video so that you can build the rest of the sails.
JUAN SEBASTIAN ELCANO MODEL SHIP: DECKS (PART III – A)
We continue with Step 24 of the Elcano ship model instructions for its assembly. This is about ‘Decks – Part III’.
Take two M8 parts and glue them parallel to the foredeck as shown on the video. Next, take ten units of the part DM4. With the help of cyano and grip pliers, take five of these and glue each one next to the other on the deck area shown. Then turn the boat 180º and do the same for the other five on the other side of the deck.
Once this task is done, take a Stainless Steel Ruler 150 mm (27069). Use it to mark with a pencil on the edge of the hull two points with an equidistance of 18 mm. From each of these two points, with the ruler, measure and mark two points 6 mm inside the deck. Drill with a small hand drill at the two points marked on the deck.
Take an M6 part. Apply a drop of cyano and insert it with tweezers into one of the two holes made. Repeat the process with another M6 part and insert it into the other deck hole.
JUAN SEBASTIAN ELCANO MODEL SHIP: DECKS (PART III – B)
It is time to use thread part CT2 for the placement of part P2, previously painted with Off-White Acrylic Paint (27702). First, thread the thread through the two holes in part P2. Second, take the other end of the thread and feed it through an M6 part. Do the same with the other end. When you are inserting the two ends of the thread into each M6 part, insert them from the outside to the inside.
Next, make a knot in each of the two inserted ends so that the part P2 does not come loose. Apply a little cyano to each one. Repeat the process on the opposite side of the boat.
JUAN SEBASTIÁN ELCANO ASSEMBLY: HANDRAILS AND PROPELLER
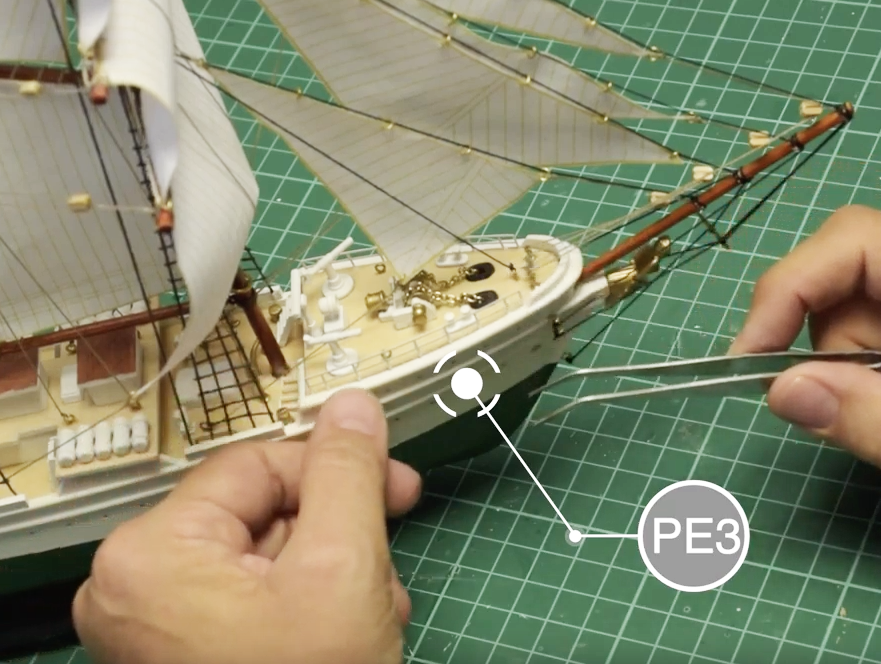
The ‘Handrails and Propeller’ is Step 25 of the video tutorial for building the model of the Elcano ship. Take two PE3 parts, previously painted with off-white paint. Apply cyano to each of the tips of the base that will be inserted. Place each of the two PE3 parts on the edge of the hull and the deck with the help of a Curved Fastening Tweezers (27021). There are two in the bow.
Then, take a PE4 part, also previously painted with off-white colour. Bend it with your hands so that it takes on the curved shape of the stern. Once you have the shape, apply cyano to each of the corners and glue the part with both hands to the edge of the deck. Take another PE4 part and tack it right next to the one you placed earlier. Put it behind the lifeboat. Repeat the process on the other side of the hull.
Finally, the part M11 -propeller- enters the scene. Apply cyano to the tip to be inserted and place it with your hands and a pair of tweezers on the hull.
JUAN SEBASTIÁN ELCANO ASSEMBLY: LAST DETAILS TO FINISH (PART I)
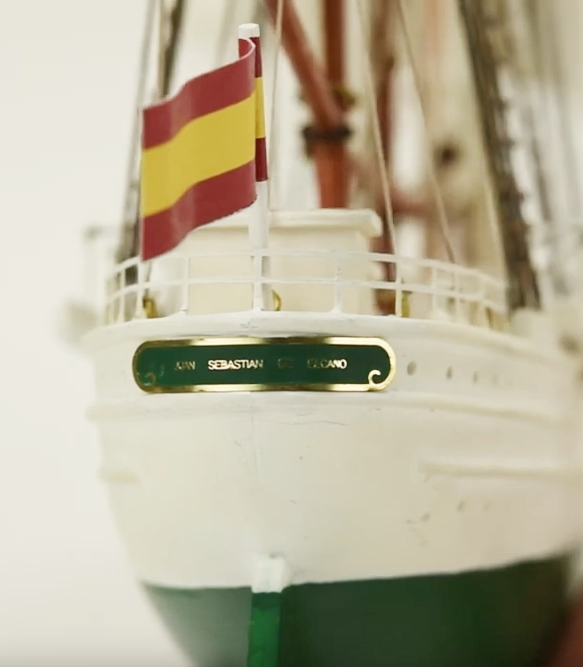
We continue with the final step of the Elcano ship model instructions for its assembly with the ‘Last Details’, which is Step 26. Arrange a unit of the part WD3 with a diameter of 2×35 mm, previously painted off-white. Later, take the part FL1 -Spanish flag- and with the help of a cutter, remove the sticker protector.
Place the center of the sticker -it has a stripe drawn- on the stick and close the sticker with your hands and the handle of a scalpel cutter until both sides of the flag stick together. Stick it in the hole in the aft deck provided for it.
It is the turn of the part PE5 Elcano / PE6 Esmeralda -metal sheet with the name of the ship-. First, paint it with Hull Green Colour (27751). Then, sand the entire edge of the sheet with a utility cutter until you can see the metal of the sheet. Apply cyano and glue it to the stern of the boat, just below the flag.
JUAN SEBASTIÁN ELCANO ASSEMBLY: LAST DETAILS TO FINISH (PART II)
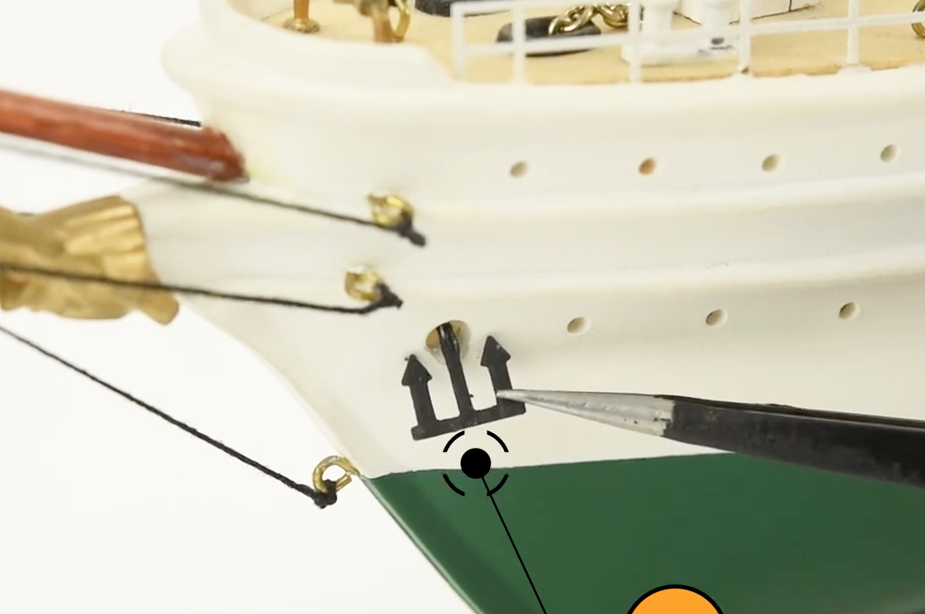
Now, take the two parts M17 -anchors-, previously painted with Off-Black Colour (27703). Place them into the two holes provided for this with the help of tweezers and a few drops of cyano. Finally, there is the part PE7 / PE8 -name of the ship for the base-. Also paint it with off-black colour, sand the edges with a cutter until you see the metal part and, with cyano, glue it to the exhibition base.
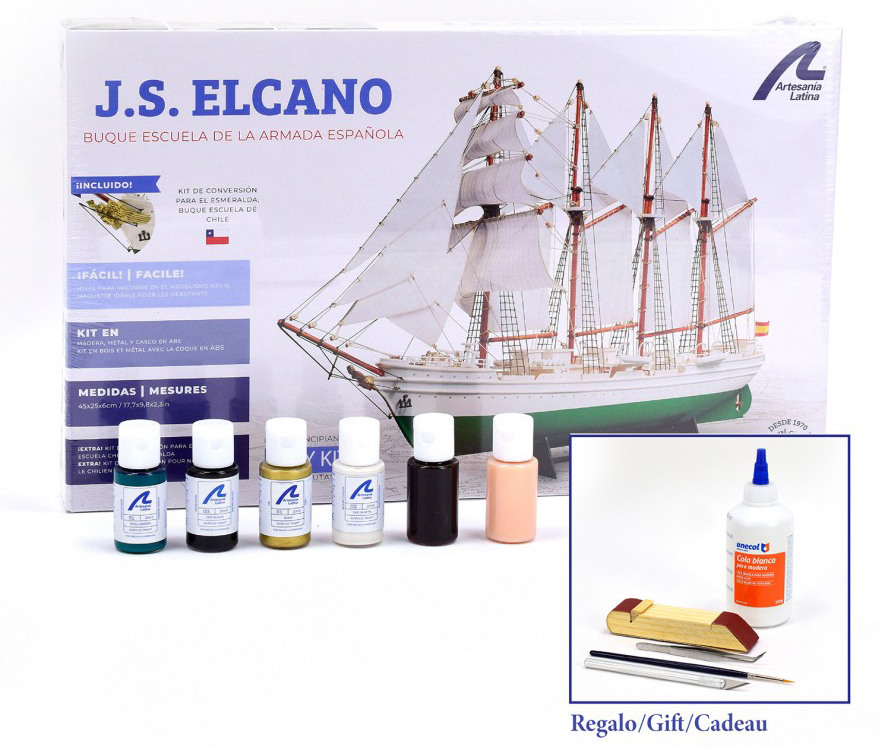
We remind you that you can also purchase the Elcano Gift Pack (22260L), which includes the kit with the schooner sailboat, its paints and some tools. It has a lower price than if the products are purchased separately.
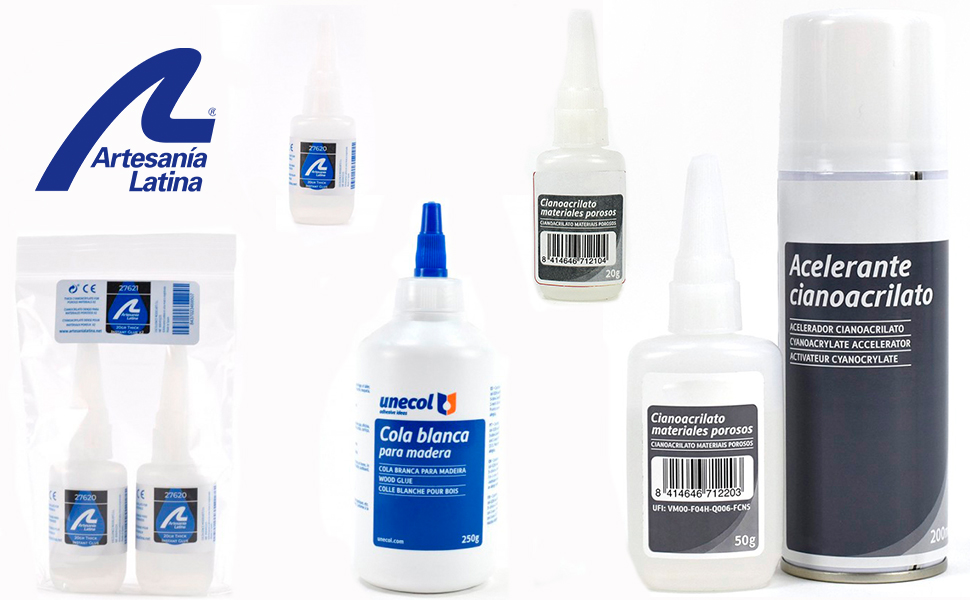
There are many occasions when our modelers friends ask us what adhesives and glues for modeling and crafts to use. Even more, when they are assembling one of our model boats and model planes made of wood. Well, the time has come in this blog post to talk about it. If you want your parts are completely united with the best results, there is no doubt, the glues made by Artesanía Latina are at the forefront.
Next, we indicate you which are the glues for modeling and crafts that you can obtain on our website, pay attention.
GLUES FOR MODELING AND CRAFTS: WHITE GLUE
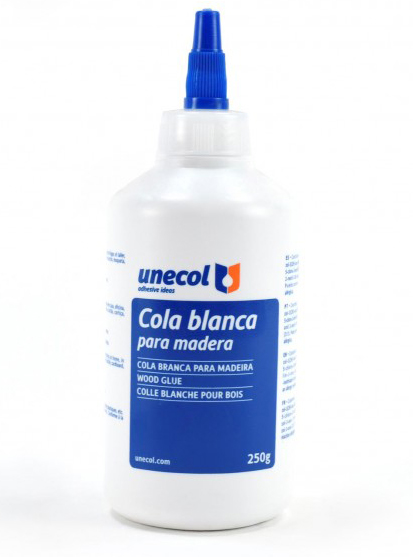
The first option you have is white glue for wood and porous materials (27602). Presented in a 250 gr bottle, it is one of the so-called easy-to-apply vinyl adhesives. It dries quickly -by having a short drying time- and you can use it on porous materials such as wood, cardboard, carpet, cork, fabrics and tablex. Its texture is creamy.
It comes with a nozzle for easy opening and closing, thus avoiding any type of spillage or the white glue for wood from drying out. Also, if you have traces of this adhesive on your skin, don’t worry, it is not inconvenient for the skin. And if the glue smells too much, neither, because Artesanía Latina’s white vinyl glue does not release toxic fumes.
As for its uses, it can be used, as we discussed, when you are building models made of wood and making crafts such as sewing and fashion, cork and rubber creations, and an endless number of other tasks and hobbies. In this sense, we recommend that if you apply the glue with a brush, keep it moist in water.
GLUES FOR MODELING AND CRAFTS: CYANOACRYLATE FOR POROUS MATERIALS 50 GR. AND SPRAY ACCELERATOR
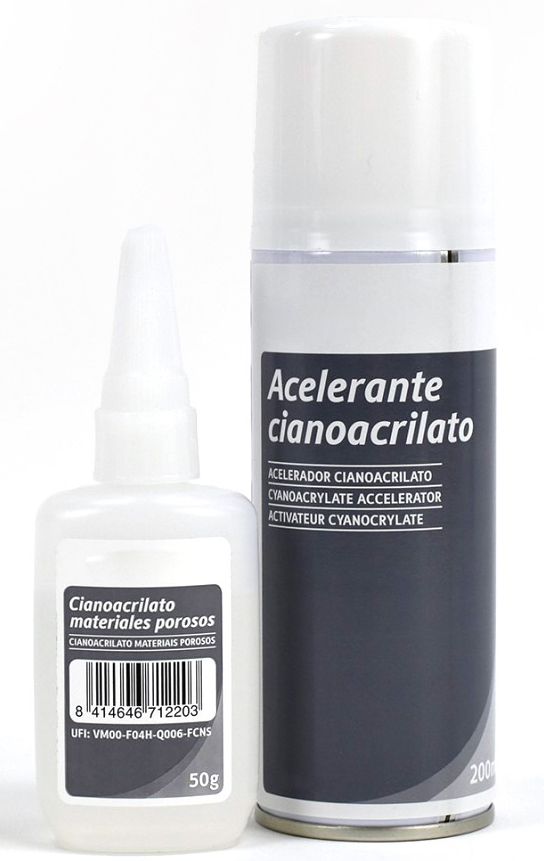
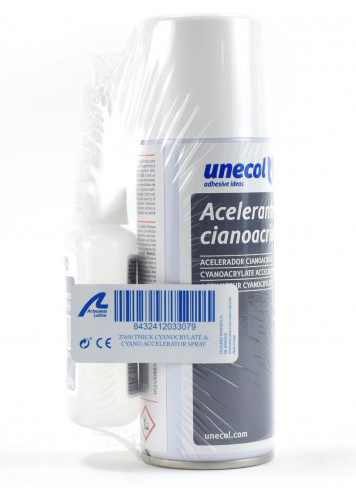
Another of the fantastic glues for modeling and crafts. When you require even faster drying than white glue, this is your option. The set with the dense cyanoacrylate bottle and its 50 gr. of product and with the cyanoacrylate accelerator spray of 200 ml (27602) by Artesanía Latina. The adherence you will obtain is maximum and instantaneous!
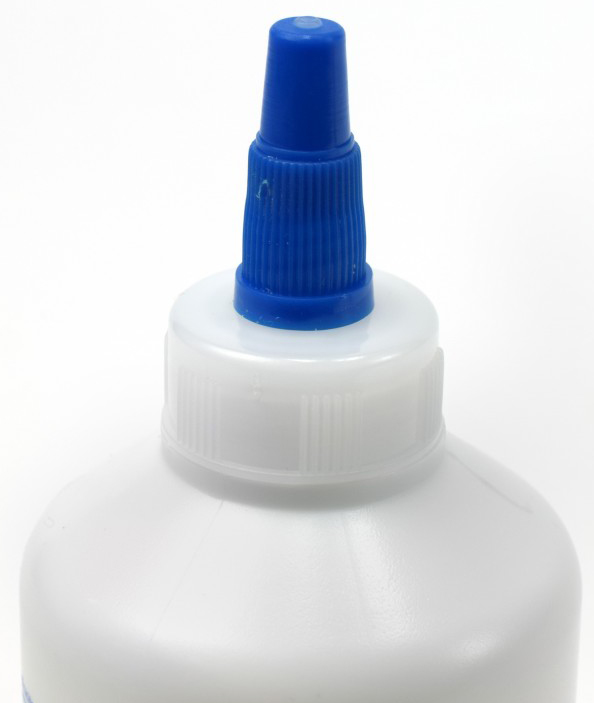
It is perfect for gluing wood and other porous materials such as cardboard, carpet, cork, fabrics and tablex. The dense cyanoacrylate has a nozzle for easy opening and closing, thus preventing any type of spillage or that the cyanoacrylate itself dries up. And a cannula for its measured and precise application. It is also important to note that our cyanoacrylate does not have solvents.
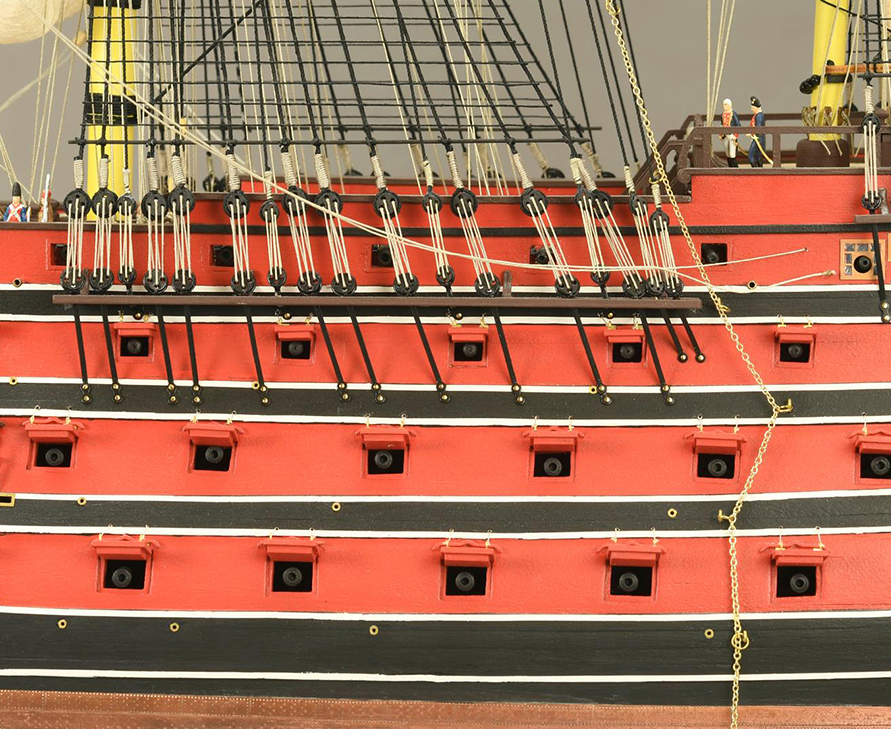
Being a dense cyanoacrylate and slower drying compared to other cyanoacrylates, the accelerator is essential as it makes the glue dry more quickly. Before using it in your activity, we recommend that you test it.
1. Put a drop of dense cyanoacrylate on the two parts to be glued.
2. Next, apply the cyano accelerator spray to one of the two parts to be joined and wait for the product to evaporate.
3. At that instant, put the two parts together. Be careful because as soon as you stick them they will not be able to detach from each other.
Store and protect the dense cyanoacrylate bottle for better conservation in a place out of direct sunlight, dry and with a cool temperature. Wash your hands repeatedly with lukewarm water in case they get stuck with the product.
CYANOACRYLATE FOR POROUS MATERIALS 20 GR.
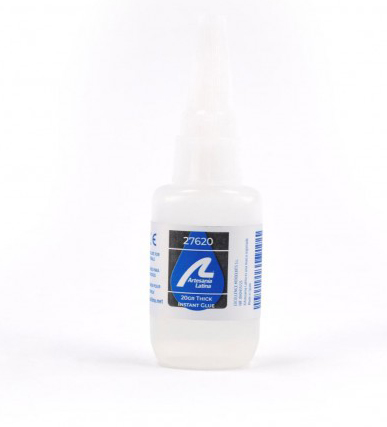
Another novelty in terms of glues for modeling and crafts is the bottle of dense cyanoacrylate 20 gr. (27620) by Artesanía Latina. This is an easy-to-apply glue and is used to achieve instant joining of parts. Ideal for gluing wood and other porous materials such as cardboard, carpet, cork, fabrics and tablex. The jar has a spout for easy opening and closing, thus avoiding spills or drying of the product.
SET OF 20 GR. JARS WITH CYANOACRILATE FOR POROUS MATERIALS (x2)
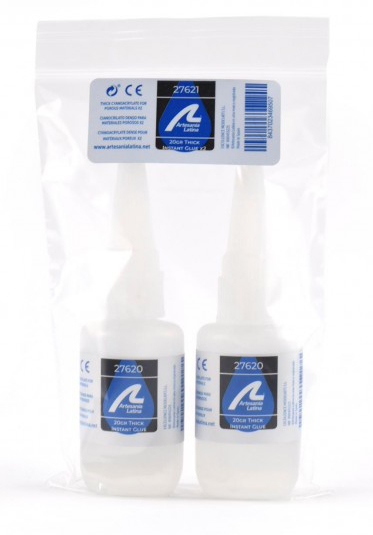
New! In 2023, we have created this pack thinking about our customer friends who use adhesives a lot for modeling and crafts tasks. The set with 2 bottles of cyanoacrylate dense (27621) of 20 gr. each one -40 gr in total- made by Artesanía Latina brings this magnificent glue that is easy to apply for instant union of pieces.
GLUES FOR MODELING AND CRAFTS: GLUE APPLICATORS
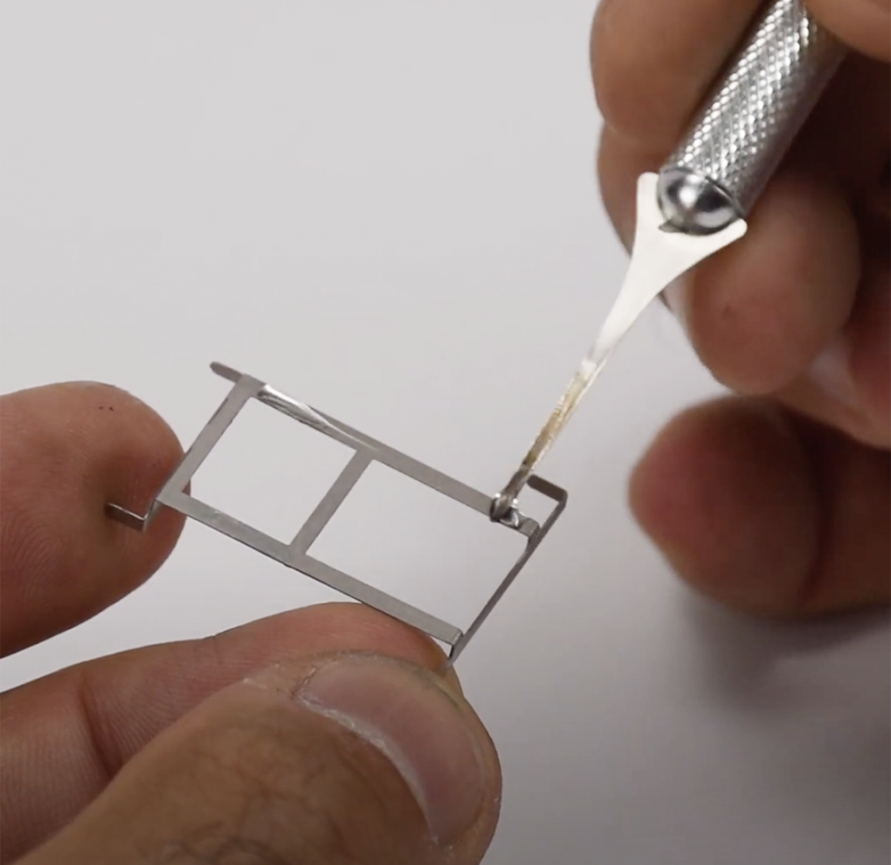
Do you need maximum precision when you are applying the glue? Don’t want to get your fingertip dirty? We have the best product to achieve these two objectives. Our glue applicators! These are included in the set of micro saws, scriber and applicators (27302). Glue applicators are really essential.
Under this text, we also show you on video how to use the applicators and we show you the rest of the very useful tools that come in the set.
In 2022 we brought you a very useful type of product for modelers and here we presented it to you. It is not easy for family and friends or for the fans of this hobby themselves to have modeling gift ideas. ‘What do I buy you if I don’t know anything except that you build miniature models?’ The ultimate test for those who are close to the modeler. Forget breaking your head because we offer you the gift with which you will surely get a positive answer. The Gift Packs made by Artesanía Latina. And now we have many more news for 2023!
These Modeling Gift Packs include the model, the paints, the figurines and, in addition, some tools in the same product. In addition, your pocket will be happy because the packs are at a lower price compared to if the items are purchased separately. Let’s get to know the new modeling gift ideas!
Finally, we would like to remind you the blog post in which we talk about the pre-existing gift packs. We also have more 2023new packs you can find out here! Know which ones there are in total and find out about them in depth to choose the one you really like. And all that remains is to put your hands to assemble!
On the previous post, we reminded you all the latest news in relation to modeling tools. On this occasion, we present the new small sized modelling tools created by Artesanía Latina, the so-called Micro Tools, which have recently arrived at our warehouses. This exclusive collection has a whole series of small-sized utensils with high quality standards to be able to work with the different materials of any wooden, plastic and metal model, and much more handicrafts. Above all, they are essential for naval modeling.
SMALL SIZED MODELLING TOOLS: MICRO RIVETING TOOL 17X5 MM
One of the small sized tools for modelling -in this case, naval- most useful and requested by our client friends. The new Micro Riveting Tool (27320) 17×5 mm for Ship Model Hull is the ideal tool to decorate the mentioned hull and… All kinds of models and crafts! What is the objective of this Micro Riveting Tool? The modeller uses it to mark on the 5 mm Adhesive Copper Tape (27595) -for sale separately- the heads of the nails with which the copper plates were nailed to the hull during the old days.
This is one of the new small sized modelling tools that you must have. It helps you provide realismto the copper hull finish of any naval model. This way of creating the hulls under its waterline began in the middle of the eighteenth century to prevent mollusks and other marine animals from attaching themselves to the hull, because they caused a serious problem: less speed navigation.
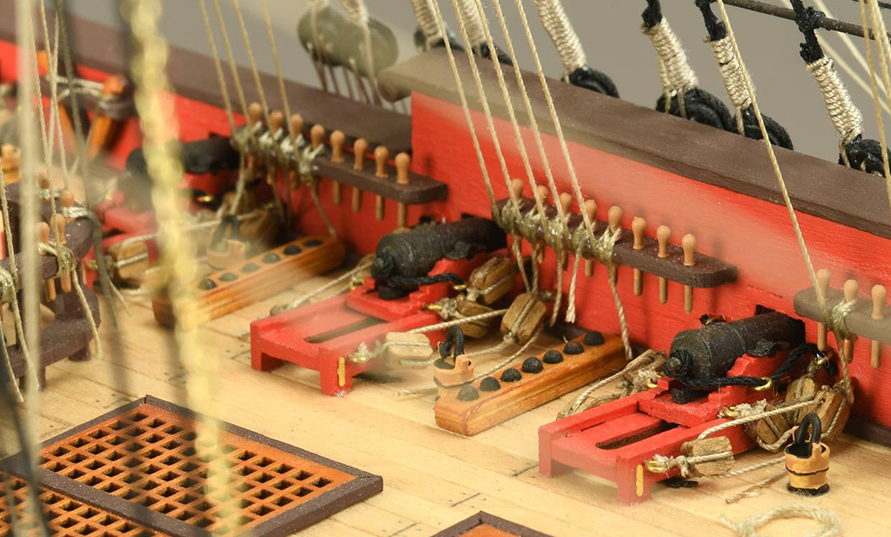
The Micro Riveting Tool needs to be assembled so our modelers have edited a video tutorial showing how to assemble the product and how to use it.
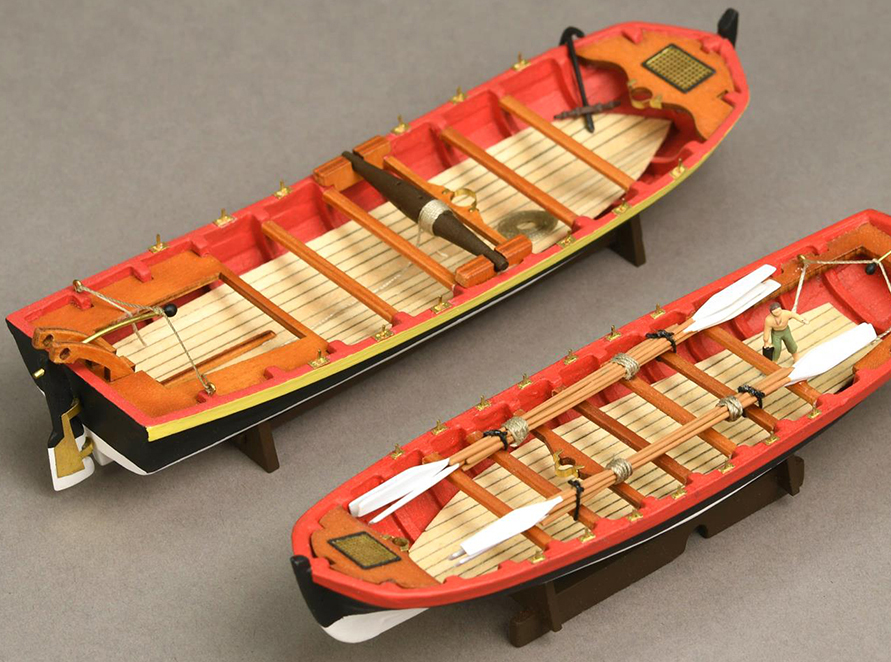
SMALL SIZED MODELLING TOOLS: MICRO CENTERING RULER
The Micro Centering Ruler (27326) is the measuring tool that was missing from our catalog… And that you need! It is perfect for working comfortably on model and handicraft parts as it allows to know what the exact center is of these with absolute precision. The modeler’s work is much more concrete during the assembly process. It is an excellent ruler as it is made of high-quality stainless steel.
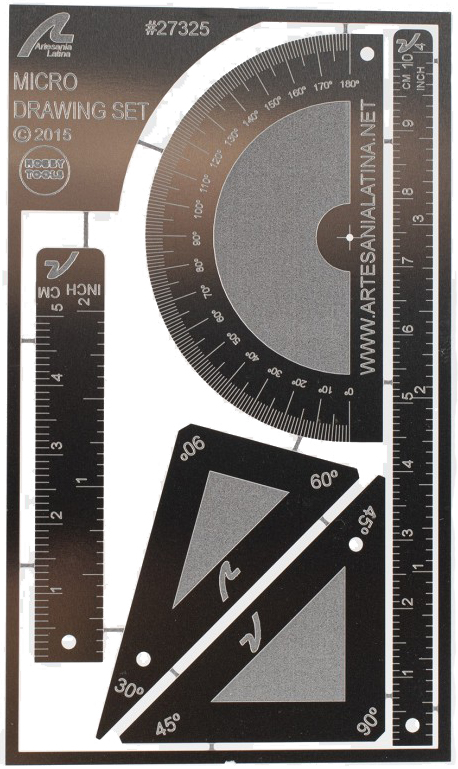
A normal ruler has 0 at one end, the Centering Micro Rule places 0 on the center and the numbering grows towards both sides. Includes measurements in metric and imperial systems. The total length of the ruler is 7.87” (20 centimeters), 3.93” (10 centimeters) at each end.
How to know the center of a part? Place the centering ruler so that the measurement matches the edges, and the 0 on the rule marks the middle of the part. The tiny points allow you to mark measurements with total accuracy, being able to insert a pencil into these to point. As can be seen on the enlarged image below, it also has a protractor. Likewise, it should be noted that the Micro Centering Ruler has two holes to hang it, thus avoiding its possible loss and helping to organize the work table.
Learn more about the Micro Centering Ruler on the video below.
MICRO TOOLS FOR MODEL SHIPS: MICRO EASY RATLINES TEMPLATES 5 & 8 MM
The latest innovations -surely there will be more in the near future- of small sized modelling tools for are the Micro Templates for Easy Ratlines5 mm (27310) and 8 mm (27312) by Artesanía Latina. Each set contains three templates made of wood with different widths so that the naval modeller can easily build the scales of the ship model. The best thing is that, in addition, it can reduce the amount of thread used!
Each set of 5 and 8mm Easy Ratlines Templates contains three templates to suit the width of the shrouds on the three masts. The templates are designed so that when the templates are being installed they are slightly spaced behind the shrouds so that the adhesive does not stick to them.
How to use these micro templates? Place them behind the shrouds and with the side ‘combs’ pass a zig-zag thread in front of the shrouds. Put everything correctly and apply glue at each joint of the shrouds and the thread that you have placed in front. Next, cut the excess threads, and you will be able to see how you have assembled the ratlines on a much faster and easier way than if you had made them knot by knot at each joint.
Here you can see howour modeler creates the ratlines on the video tutorial below, starting at minute 1:43.
KNOW BETTER ALL OUR SMALL SIZED MODELLING TOOLS
If you want to know more in-depth information about the rest of our small sized modelling tools, you can check out our two old blog posts. On the one hand, the one that speaks about Introduction to Micro Tools. On the other, the News before this article. In addition, you can view and purchase them on our website. Make your hobby more enjoyable thanks to the Micro Tools made by Artesanía Latina!