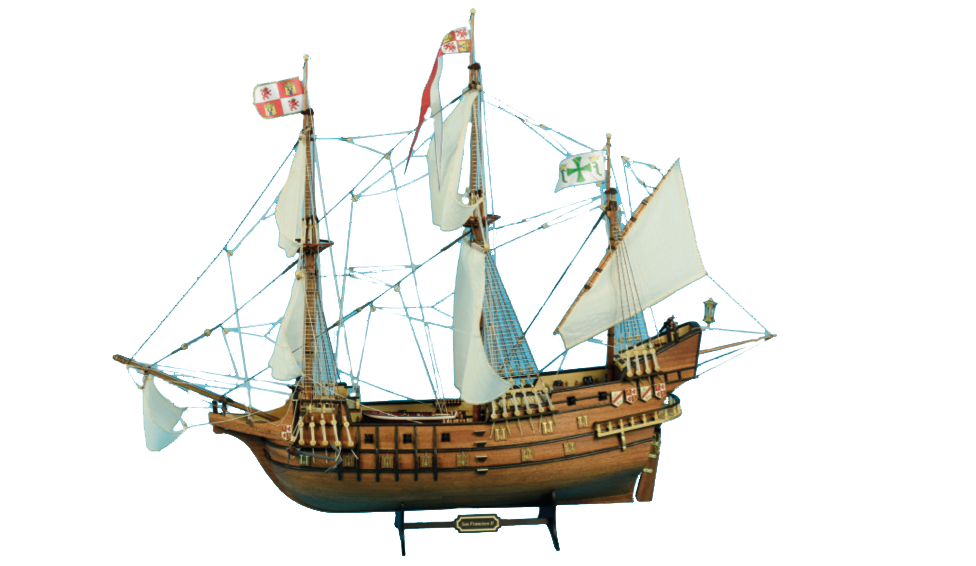
Once the hull and the rigging are built, it is the turn to give the finishing touch for the ship model made of wood, build and / or place the lifeboat or shallop – if the ship modeling kit brings it -, to paint and to put the anchors and flags -and the rest of the details that the box contains-.
The lifeboats that come assembled only need to be carved and filed the possible burrs, and be painted and put on the lifeboat, however, there are some kits that force the construction of the miniature, which will provide, for sure, more entertainment and a new challenge for the ship modeler.
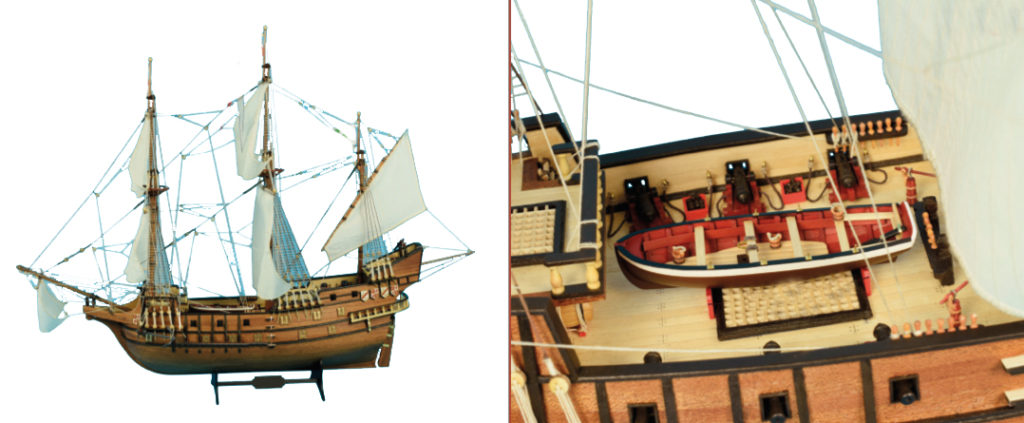
When you have to build the lifeboat, make sure the frames are properly centered on the keel before gluing them. Cover the outer edges of the frames with masking tape. Place a strip inside the frames as a temporary crossbar to help keep them in place. Adjust the strips as you would like on any boat and use double hull cover, making sure that the second layer covers the mistakes you may have made in the first phase. Once the second cover is finished, remove the frames and sand inside of the lifeboat’s hull.
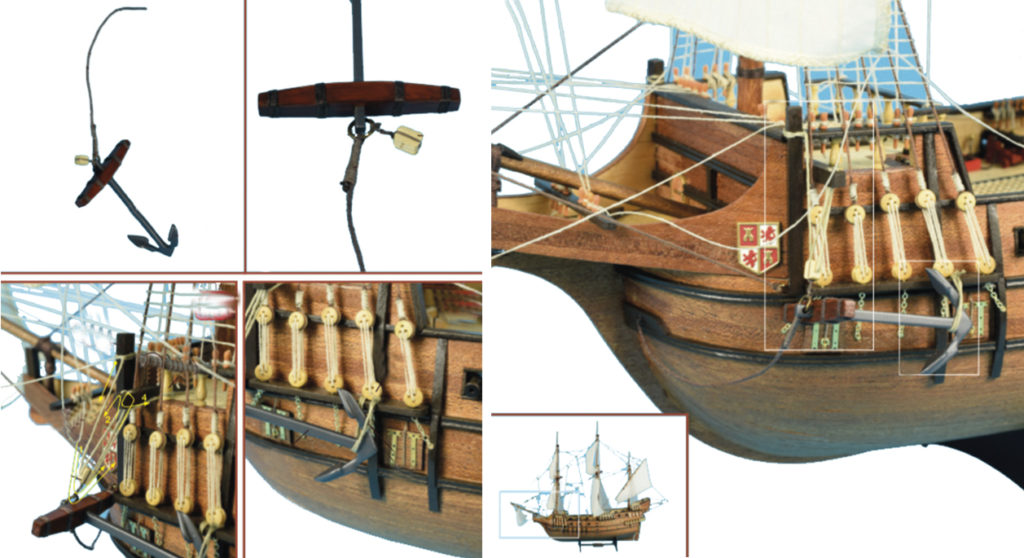
The anchors have undergone numerous modifications over the centuries. In the Artesania Latina modeling kits, the anchors are already manufactured, in the absence of sanding and painting.
At the beginning of time, the anchors were placed on the outside of the ship’s hull, tied with the chain to it. Later, the anchors were stored inside the hull.
FINISHING TOUCH FOR SHIP MODEL MADE OF WOOD: VARNISHES AND AIRBRUSHING
Now we need to know how to achieve the perfect finishing touch for any ship model made of wood, for any naval modeling kit. Depending on the period and style of the ship model you are building, the modeler can either leave the model to scale with its natural wooden color or paint it. Also, you can take an intermediate action: leave the natural color above the waterline and paint the hull under it. Of course, avoid glossy finishes on the vintage boat models when varnishing.
Therefore, use matte acrylic varnishes. Apply a first layer, let it dry and sand gently with very fine sandpaper. Then, give another layer of varnish and sand again. As an alternative, you can use varnishes on an acrylic base already applied to obtain a darker shade and greater protection. Of course, in the most modern scale ship models you can use medium acrylic gloss and varnish.
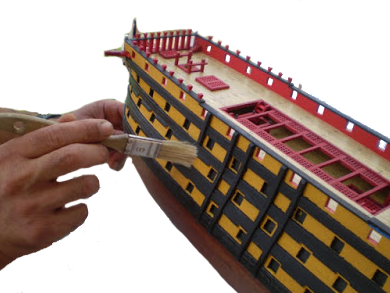
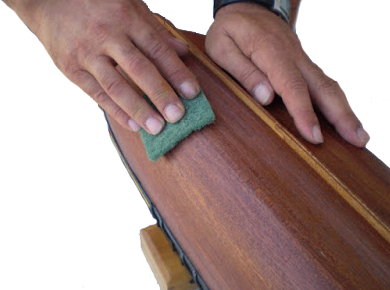
If you decide to paint the ship miniature, prepare the wooden surface of the hull to achieve better results. Apply a layer of acrylic putty with a trowel in the areas that you appreciate that there are small holes or where you want to subsequently sand them until the area is smooth.
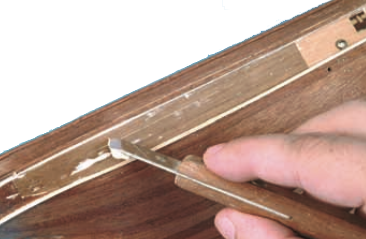
This action will facilitate you an easy way to paint with the color you have chosen. Very important! Use acrylic and water-soluble paints, if you must use oil-based paints, only use them in metal parts and in very small areas.
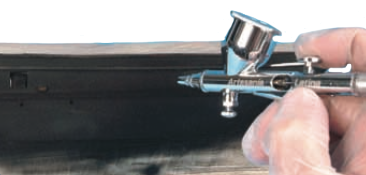
This will make it much easier to paint with the color you’ve chosen. Very important! Use acrylic and water-soluble paints. We recommend painting with an airbrush. Eso sí, si debe usar pinturas con base de petróleo, solo empléelas en piezas de metal y en áreas muy reducidas.
FLAGS, BANNERS AND BASE: END OF THE NAVAL MODELING KIT ASSEMBLY
The flags and banners are included in the Artesania Latina ship modeling kits, the modeler just has to take them out of the box and paste them into the ship model she / he is building.
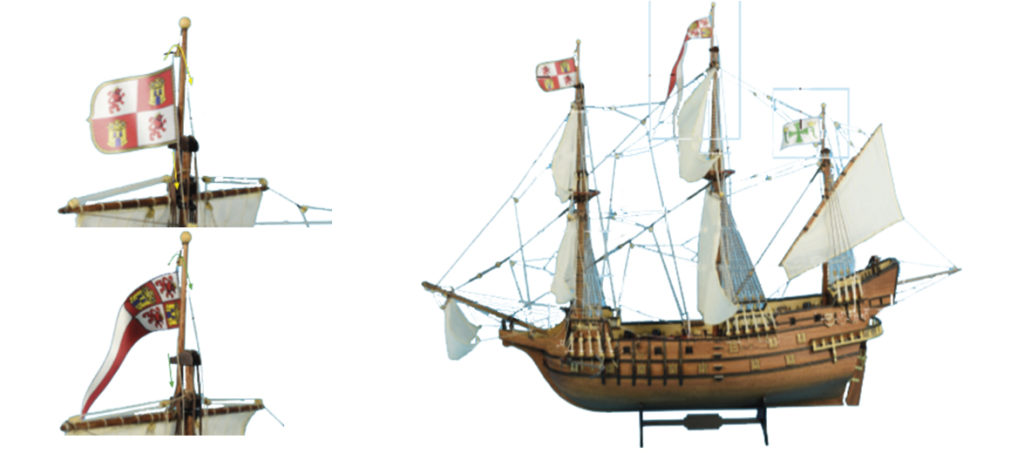
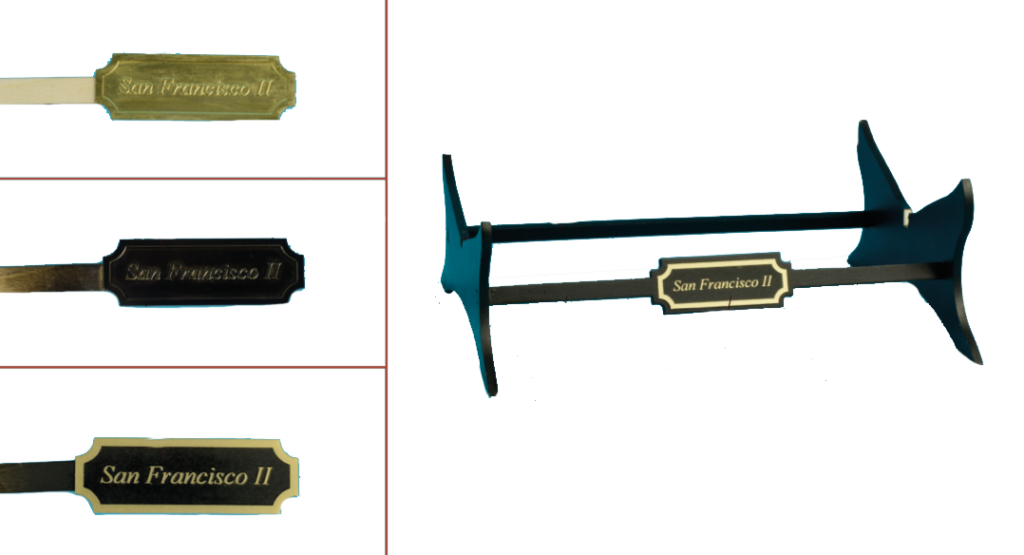
It is only necessary to prepare the nominative metal plate of the ship model – if the kit brings it – and put the scale model on its base. A jewel of naval modeling that will brighten the sight of all those who see it at home or at work. With this post about the finishing touch for ship model made of wood and about the details for your naval scale model, we have finished the guide called How to Assembly a Wooden Ship Model. For any questions, you can consult our modelers here.
